


Cap Cut - Recommended Material:
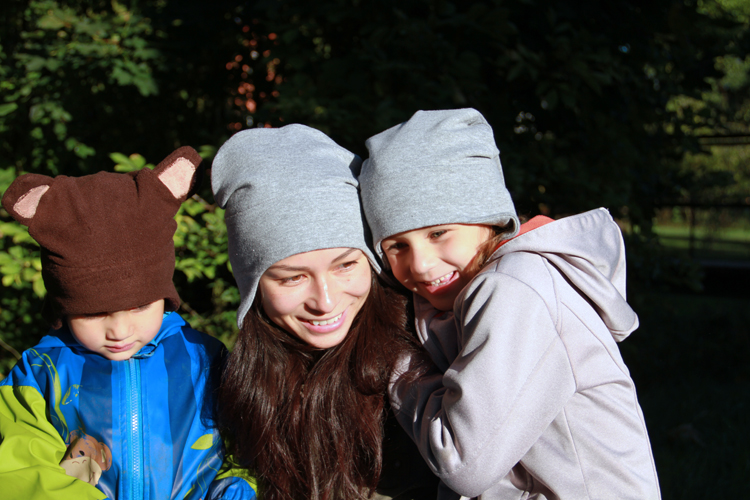
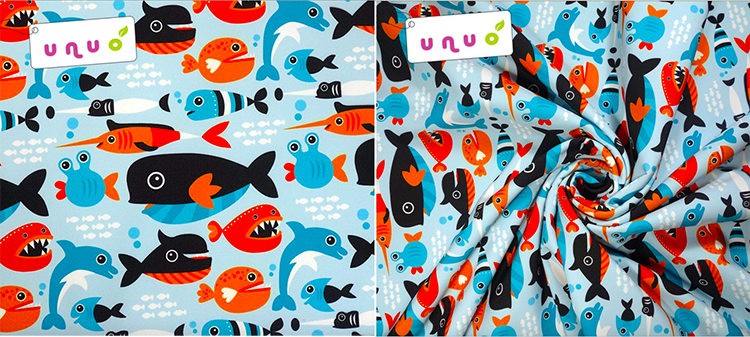
This pattern of the over the ears cap is designed for thicker knits, ideally flexible fleece, elastic tracksuit, warmkeeper, etc.
Cutting on a Hat - Recommendations:
The cap is sewn on an overlock or on a conventional machine with a flexible stitch. If you do not have a home overlock, I recommend reading this article:
Sewing Flexible Fabrics on a Simple Machine - 4 Steps to Achieve Excellent Results
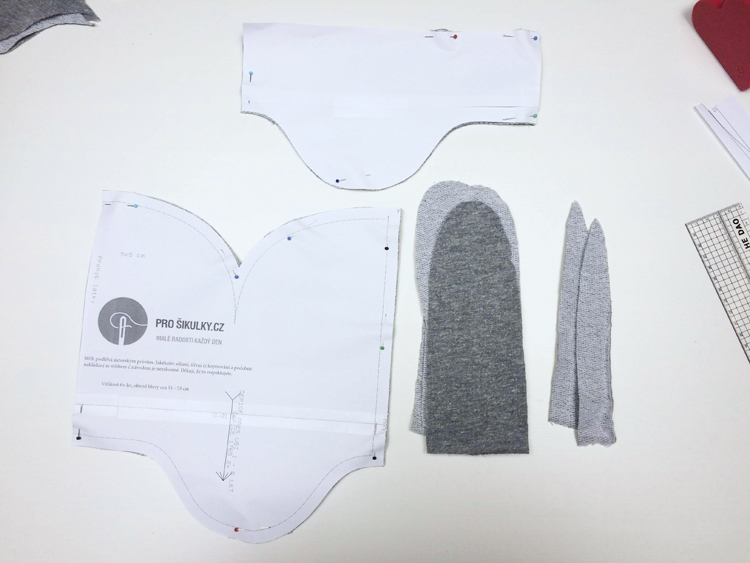
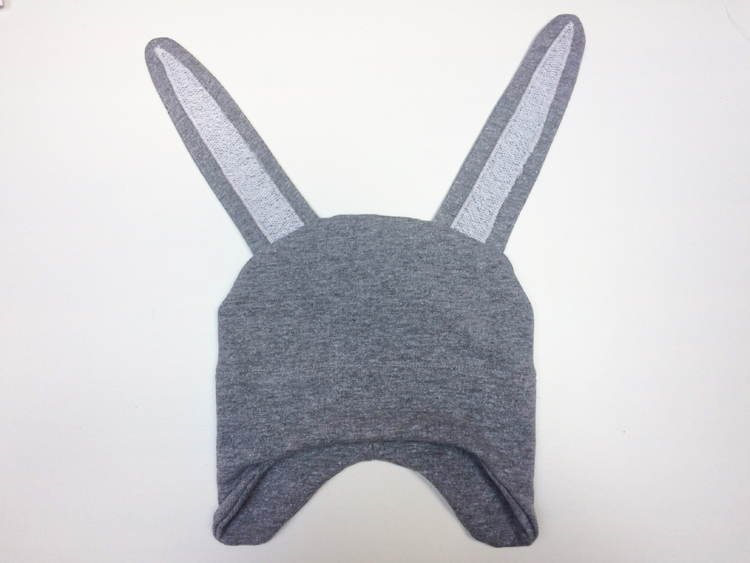
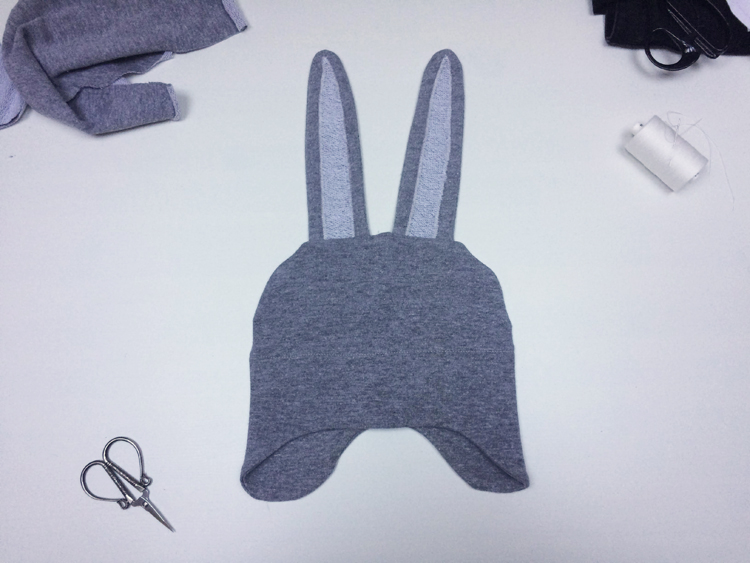
Cut on a Cap - How to Sew a Cap:
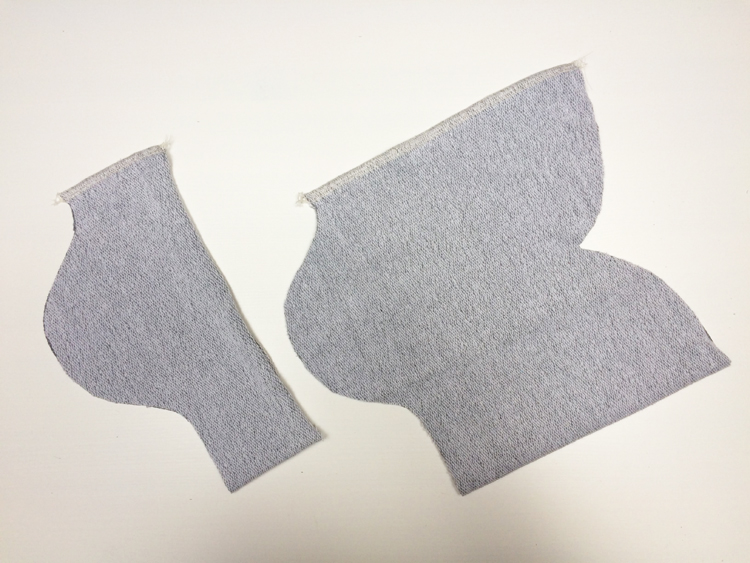
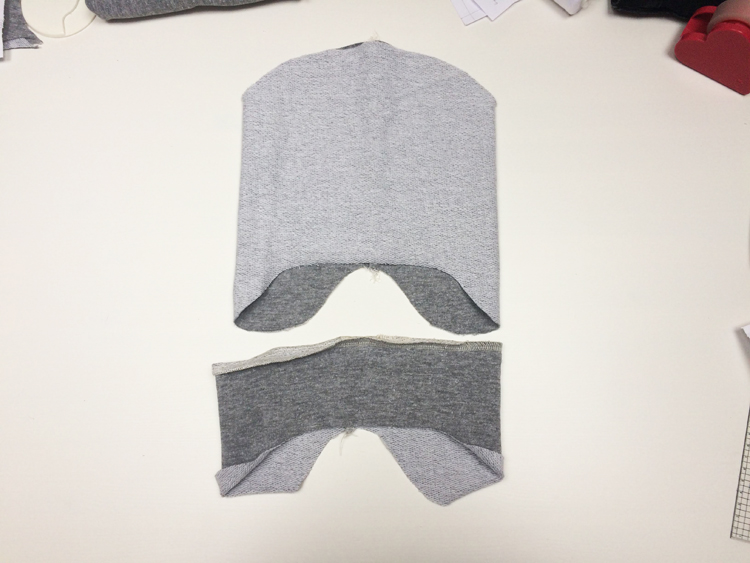
According to the cut template, we will prepare 1 piece of the hat for reloading (folding the cloth), 1 piece of the undercoat for reloading. If we fit the ears, then we will prepare a 4x large piece and 2x small (inner part). Be careful not to add seams. So, if you use a seam editing option, do not forget to add a seam mark on the big eyelets. We cut the small inner eyelets without seam allowances.
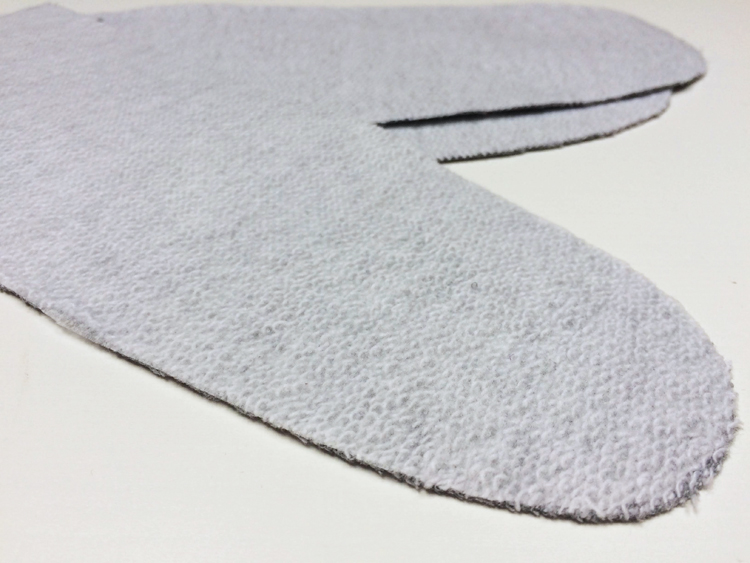
Ears
(If you are using the eyelid variant, simply skip this paragraph ?)
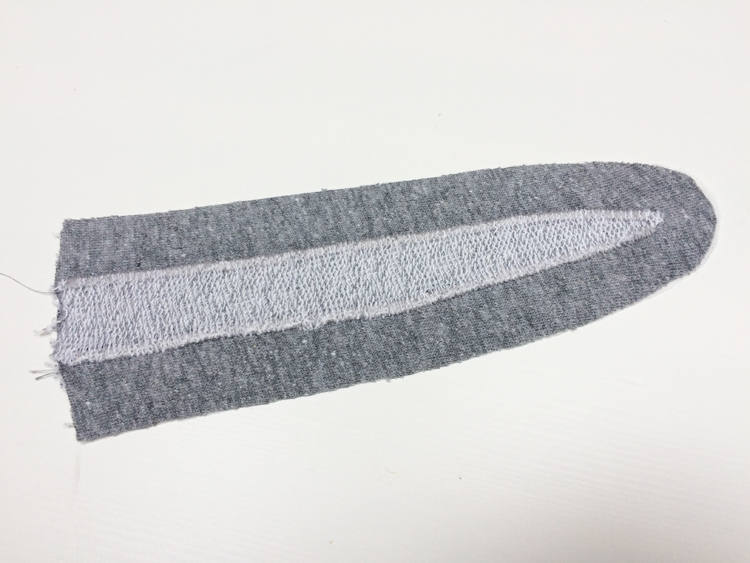
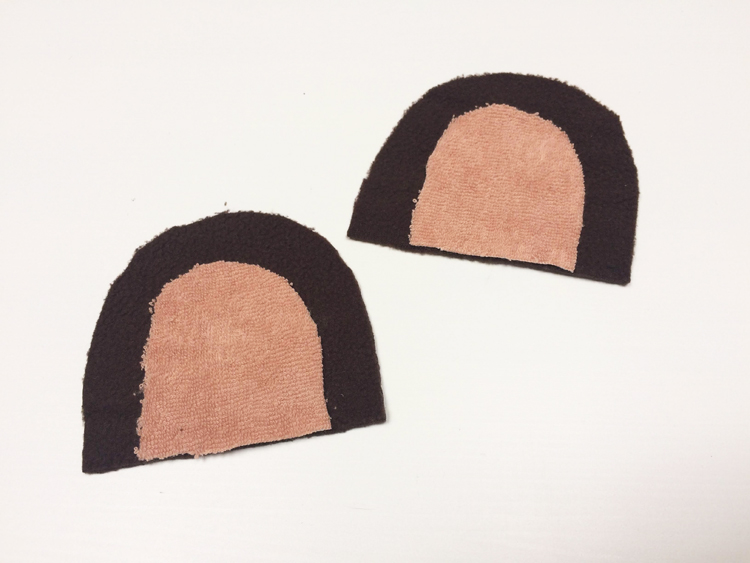
The inside eyelid can be stitched from some contrasting fabric, I used an uncoupled sweatpants as well as the rest of the cap, I only choose the back side behind my face.
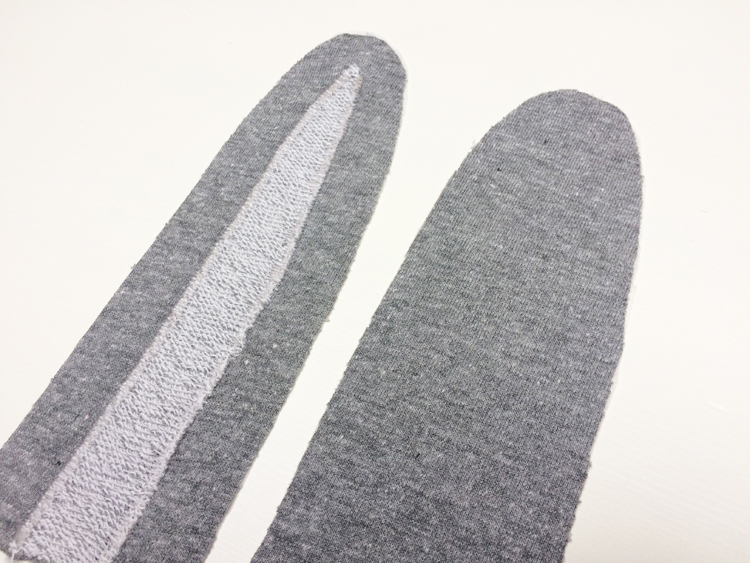
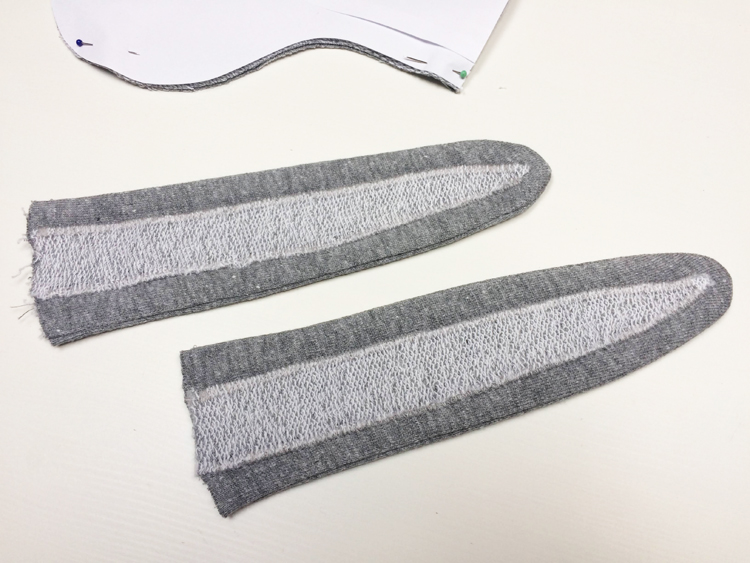
All the big ears will be lightweight with a single-sided iron-on reinforcement.
We also underline the inside eyelid from the back (in my case, from the smooth side face).
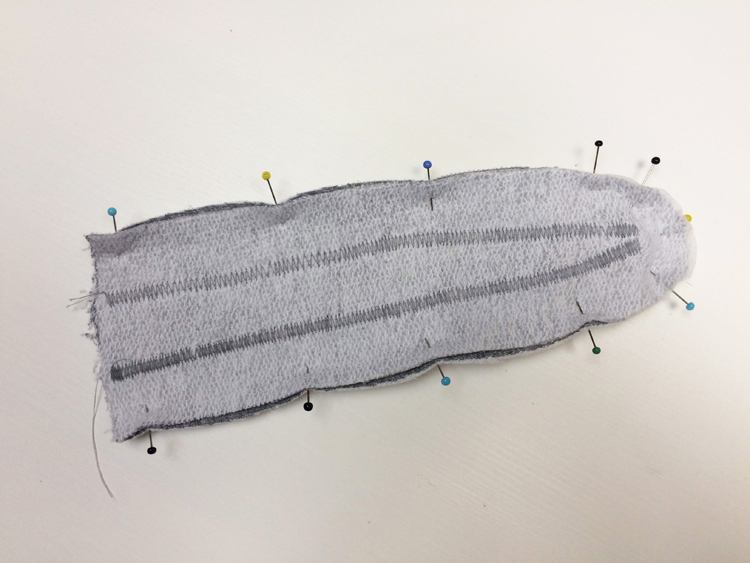
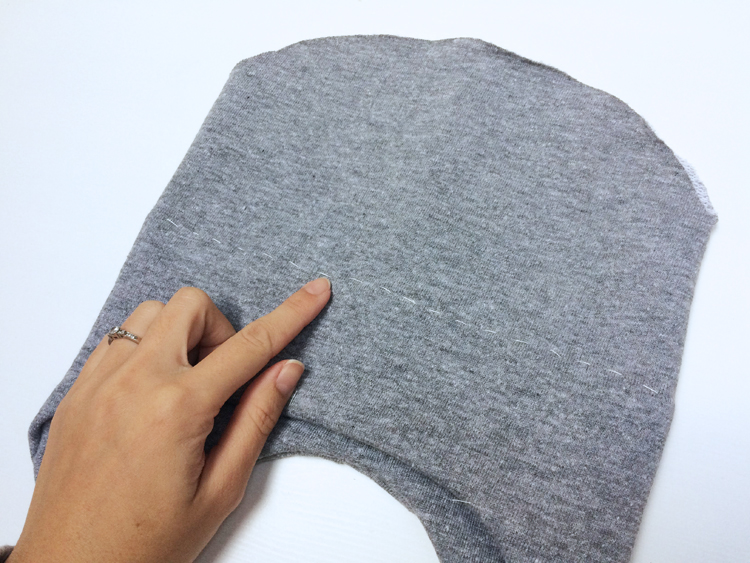
Folded inner ears are carefully studded to the big ears.
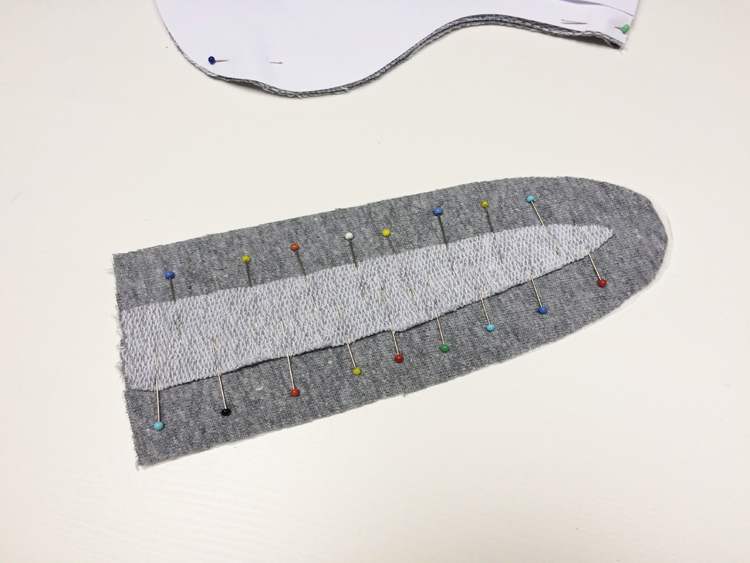
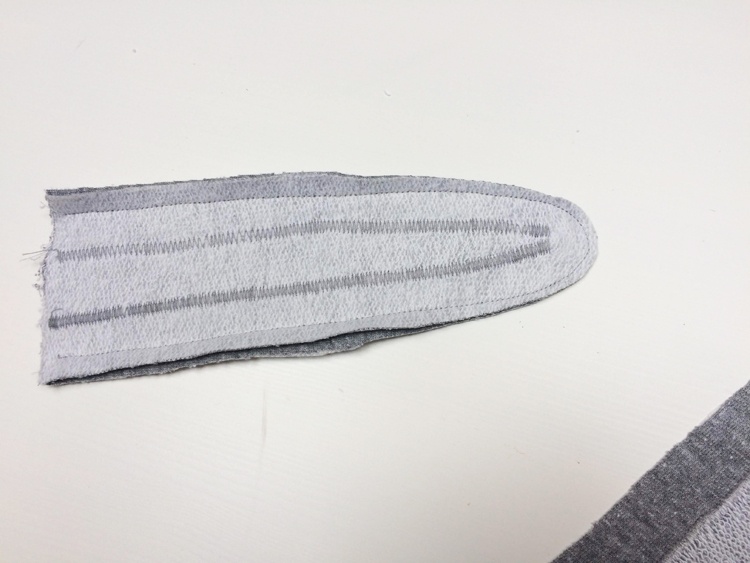
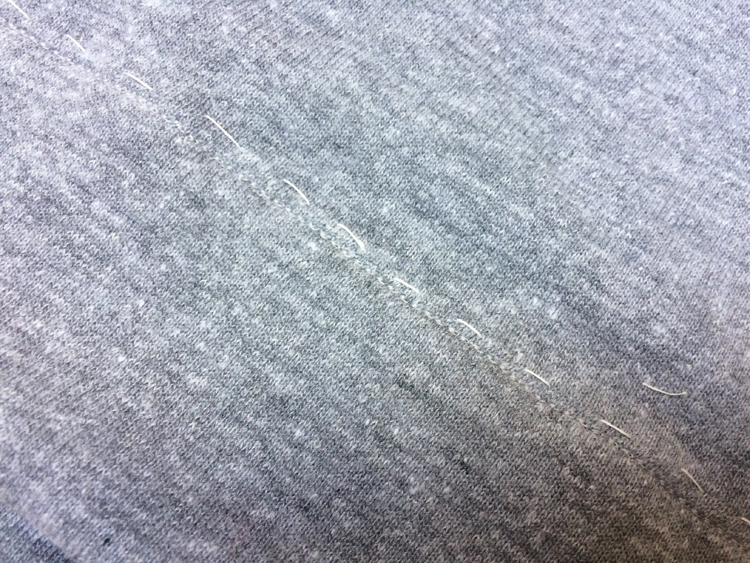
We sew a wide zig-zag, which is very dense. I have chosen a stitch width of 7 mm and a stitch density of 0.5 mm. We will overwhelm.
On this prepared front of the ear we put a second large piece face to cheek ...
... pin and stitch.
We cut the seam allowance of the outer arch in the upper part of the ear to approximately 3 mm.
We turn the ears on the cheeks and glow. We're ready and put them away for a moment.
(If you are sewing a small round bear / monkey ears, you do the same.)
How to Sew a Hat - The Sewing Process
Now we sew the cap and the underpass in the back center seam.
We flatten the backpack at a straight edge, and if we are sewing on an overlock, then loosen the free end of the chain under the loop.
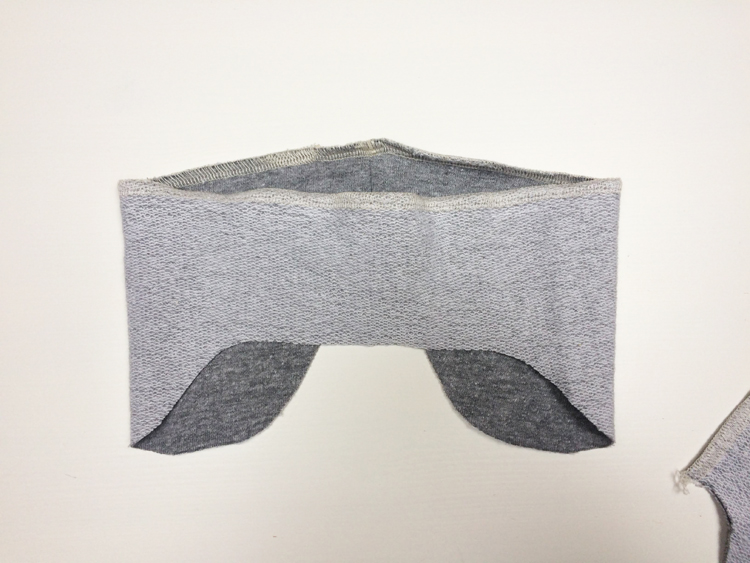
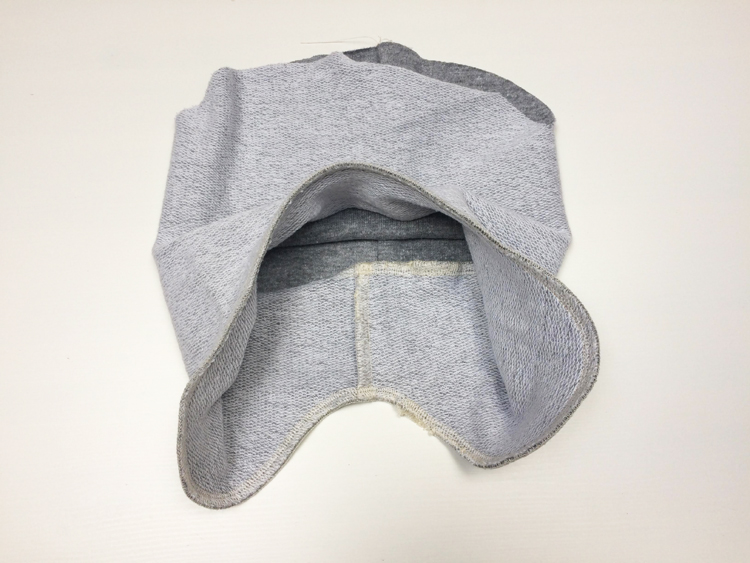
Our hat is turned in and out of the front.
Put the undercoat into the cap (the parts are face to face) and stitch the entire bottom edge. If we sit on an overlock, pull the loose end of the chain again under the loop.
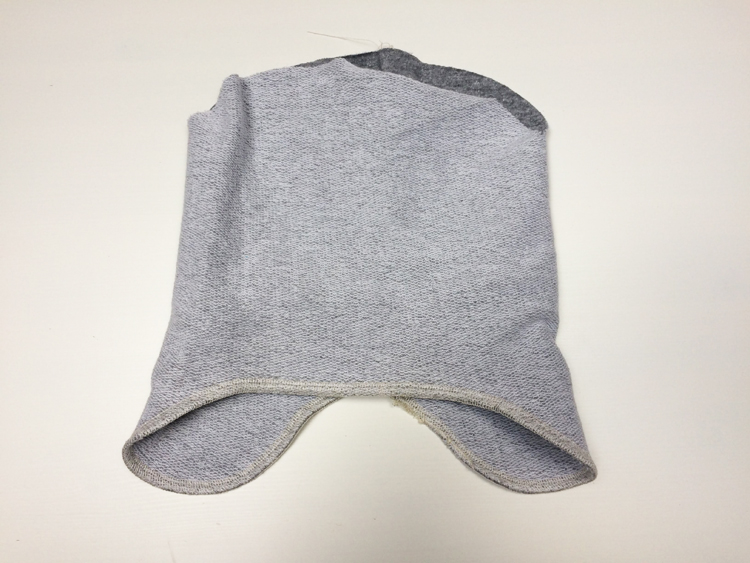
Now, loose (straight) edge of the bayonet is attached to the cap. We hitch at the very edge of the underpass.

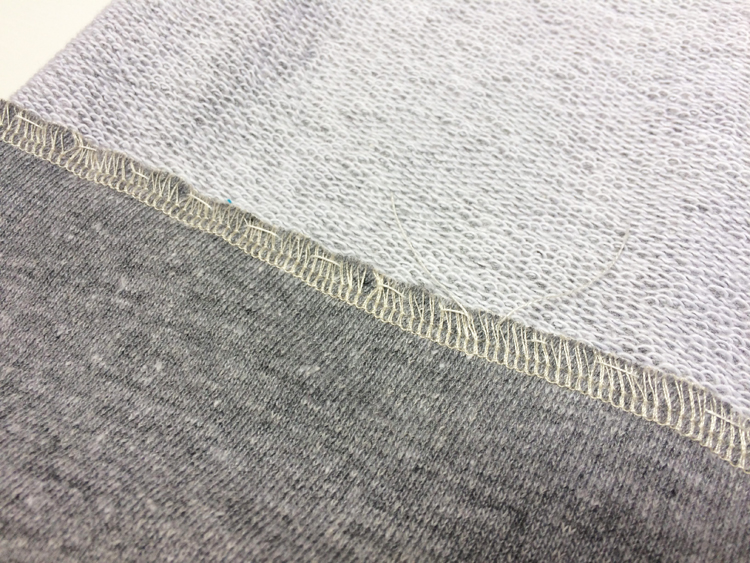
From the front side of the undercoat, attach the elastic stitch (eg, three-point equilateral, zigzag, etc.).
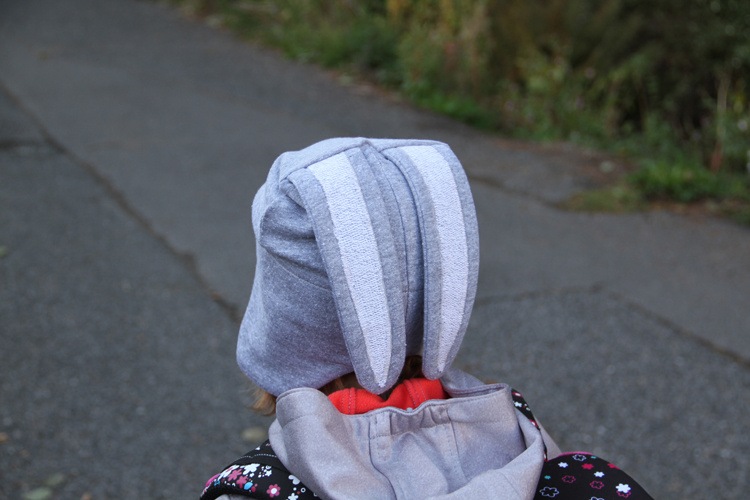
Insert the ears
We cut the crotch and sew. Now insert the eyepiece into the upper arc of the cap (the front of the eyelet faces the front of the cap). The whole crown of the hat will be picked and tested.
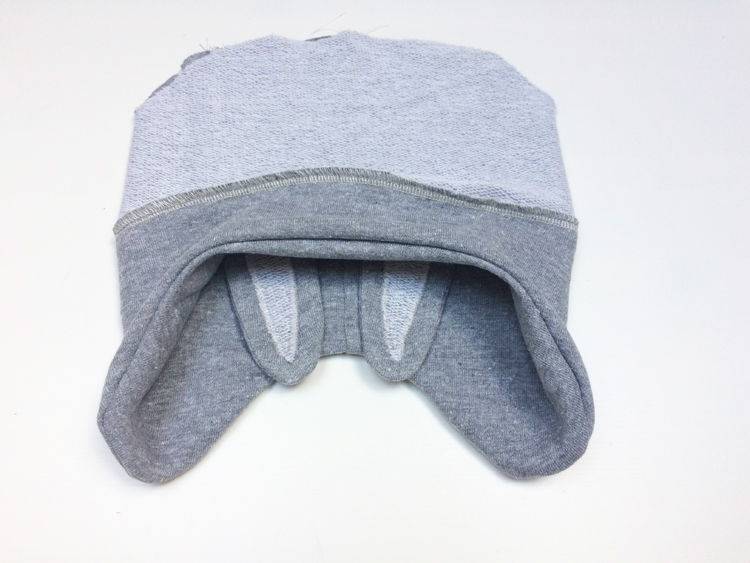
We will verify that the placement of the eyelid is correct and, if necessary, fix it.
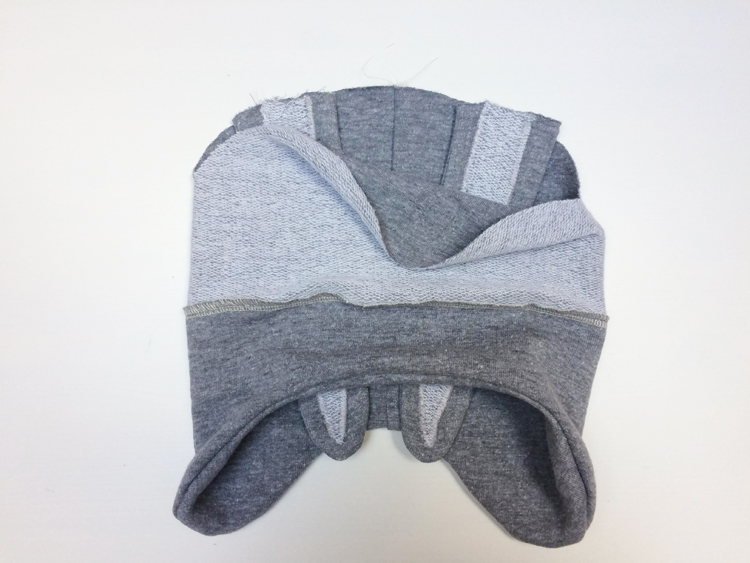
When we are happy with the placement of the ears, we can sew the crown of the cap and the eyelets. Again, if we are sewing on an overlock, pull both free ends of the chain under the loop.

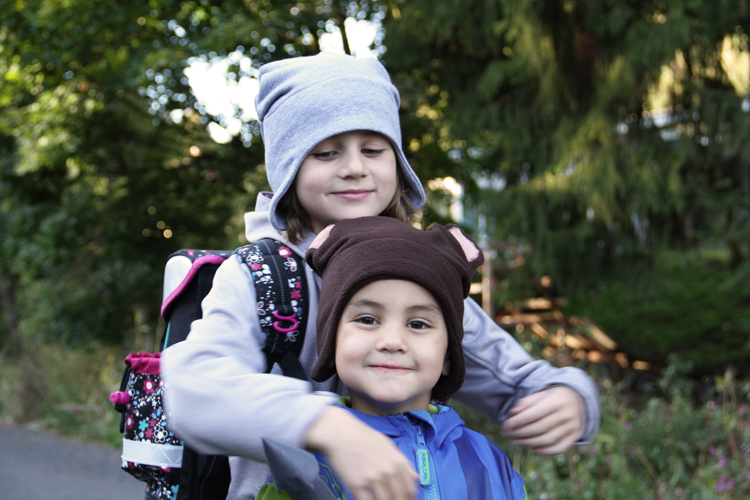
Well, that's the hat done. We will not forget the final ironing. ?
Do you like today's cap and the tutorial? Let me know down under the article in comment section, I will look forward to your feedback!
Have a nice day,
Peta