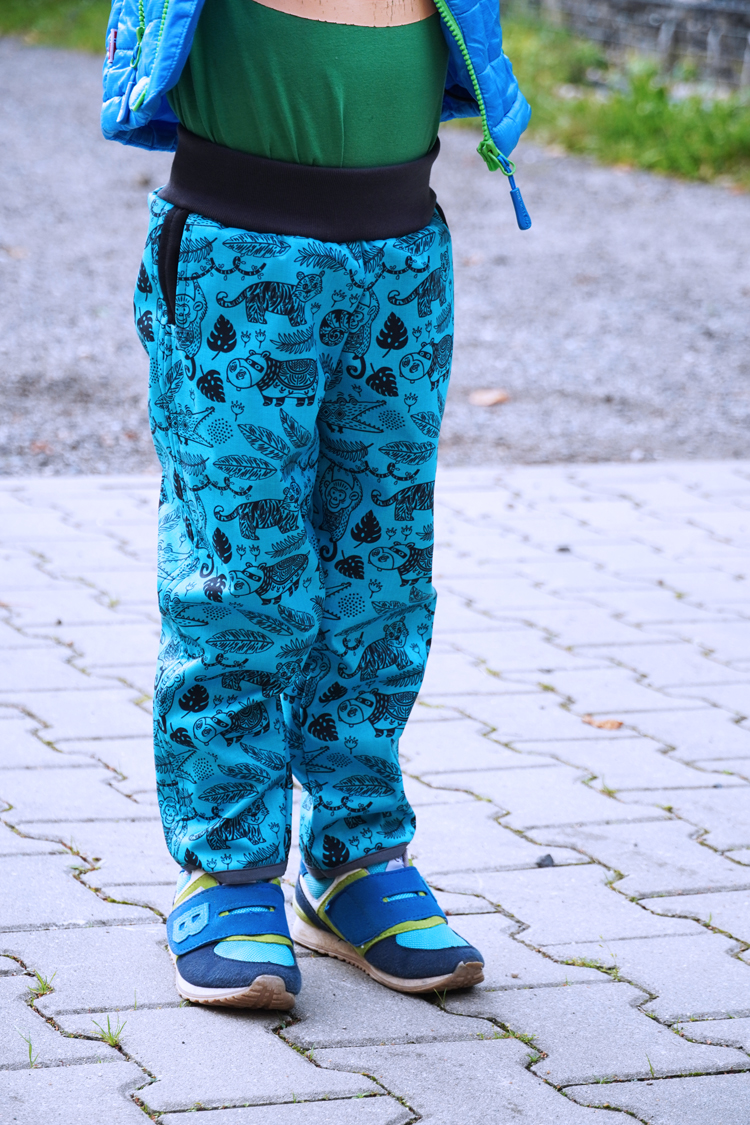
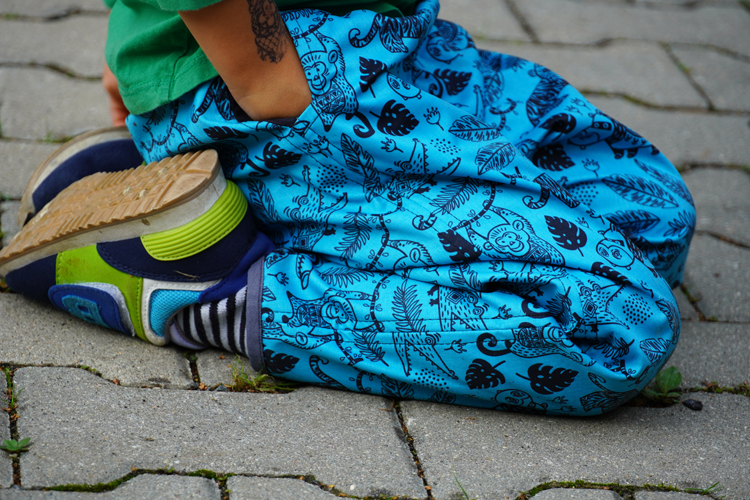
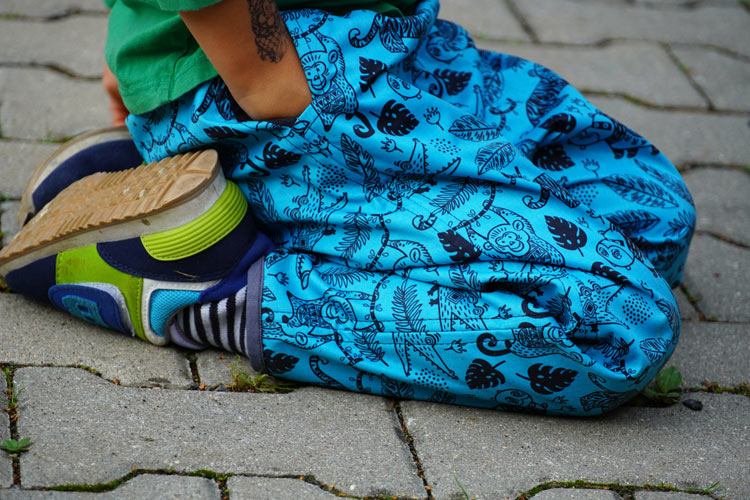
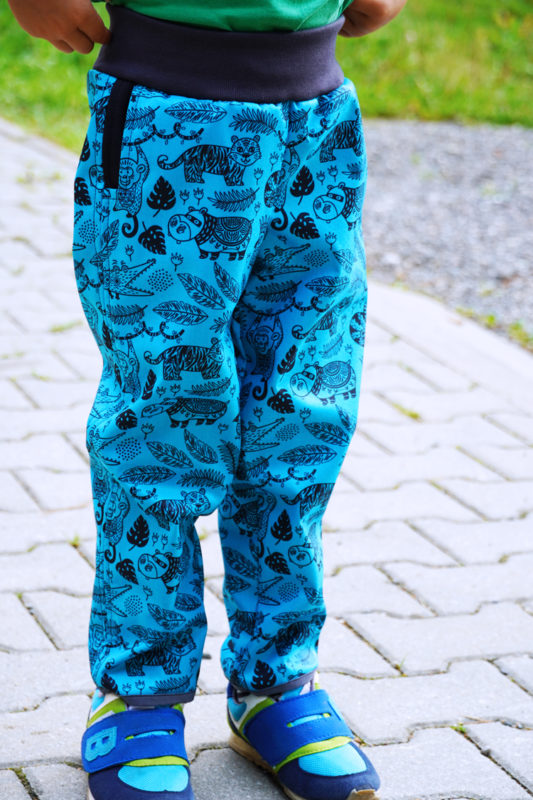
I’ve introduced new autumn pattern for simple children’s pants in the previous article. That pattern is very versatile, and you can use it to sew simple cloth trousers, corduroys, and softshell pants. Brown pants from the previous article are from simple cotton cloth and they are perfect for autumn days. But autumn is coming fast, so I decided to sew also the softshell pants for Tomík. I’m using the same pattern here. So, let’s get into it, today we will look at sewing instructions for children’s softshell pants. I’m saying “children’s” intentionally, because they have knit waistline. I don’t see it as particularly good choice for adult’s clothes, but it is great for kids.
You can now get this pattern in our online store:
Universal pattern for children's pants BASIC
You can read previous article with brown cloth pants here:
Sewing instructions for simple children’s pants
You can find detailed sewing instructions for children’s pants in that article, so I won’t repeat it here, use the original instructions when sewing the pants. In this article you will find mainly additional important information for sewing softshell pants.
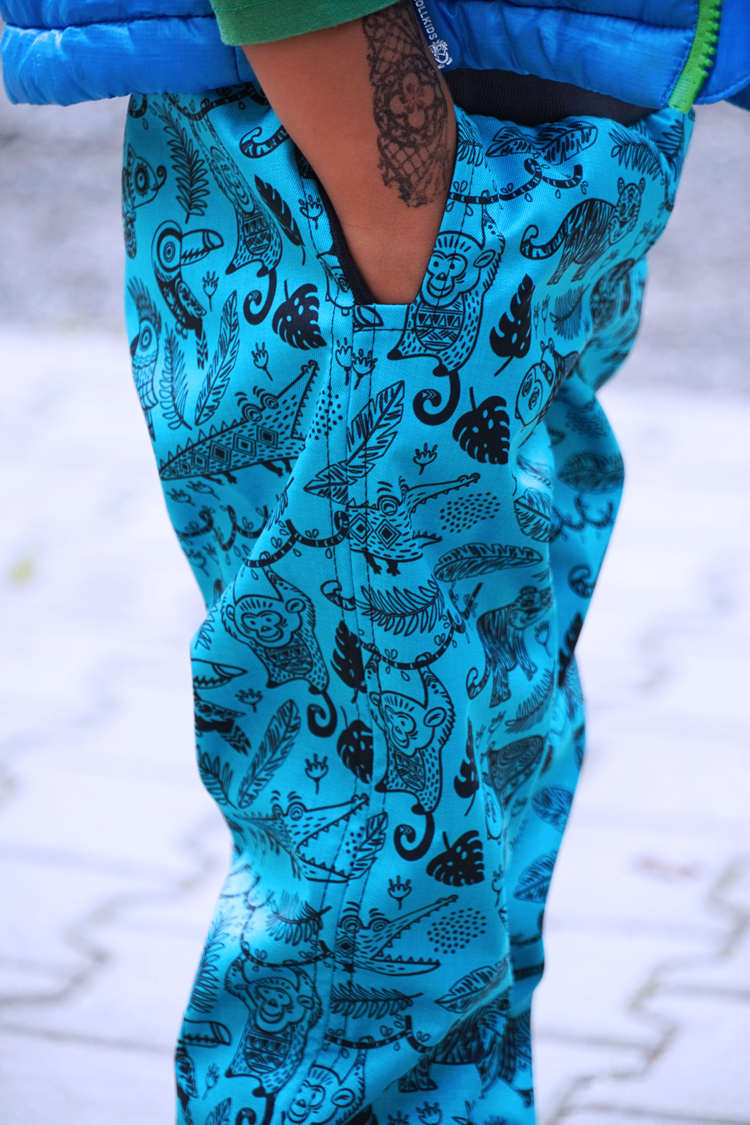
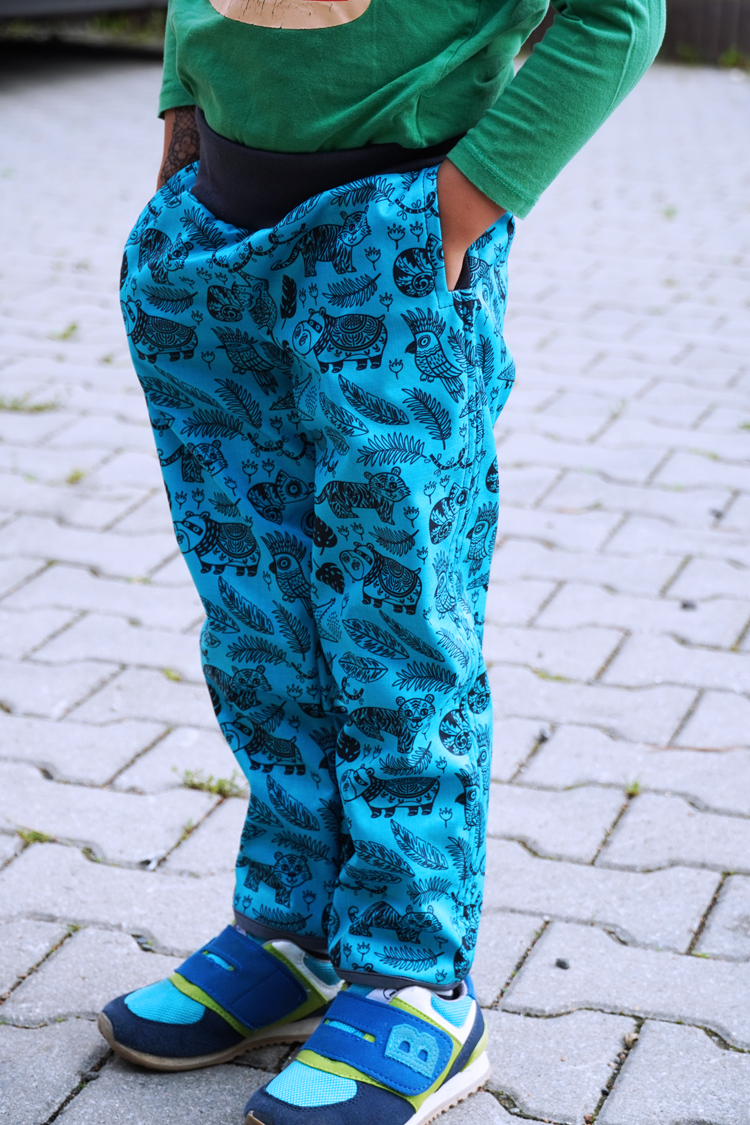
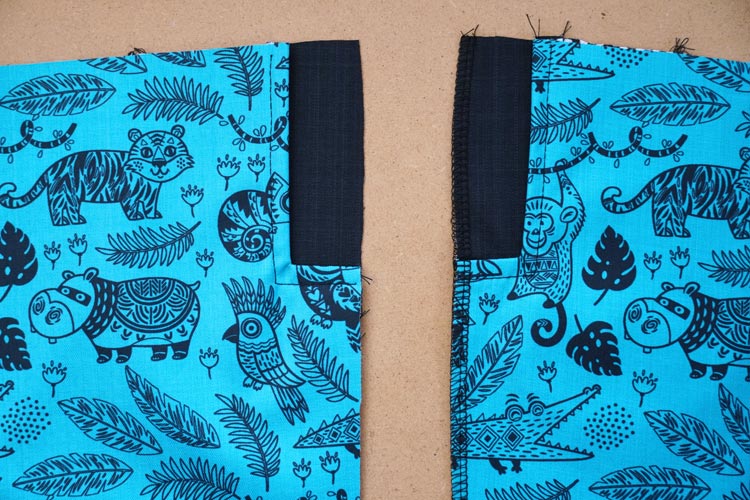
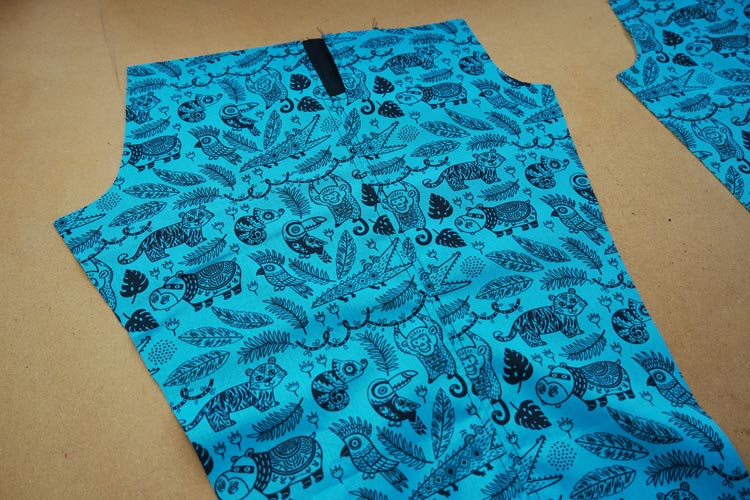
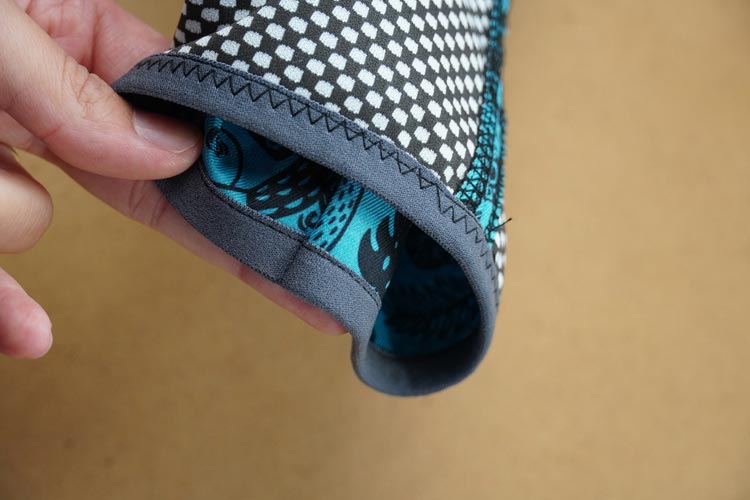
Let’s look at pockets right from the start. I sewed them in such a way that I did not clean or interface any parts in advance, I simply laid the piece with opening on the front piece (face side to face side) and sewed the two parts together. Then I cut the seam allowance in the inner corner to turn the pocket piece to the reverse side of the front piece of the pants I stitched through the pocket opening. Then I laid whole pocket piece over the sewed pocket piece with opening and sewed them together to form the pocket pouch. After that I cleaned pocket pouch with overlock (both pocket pieces at once).
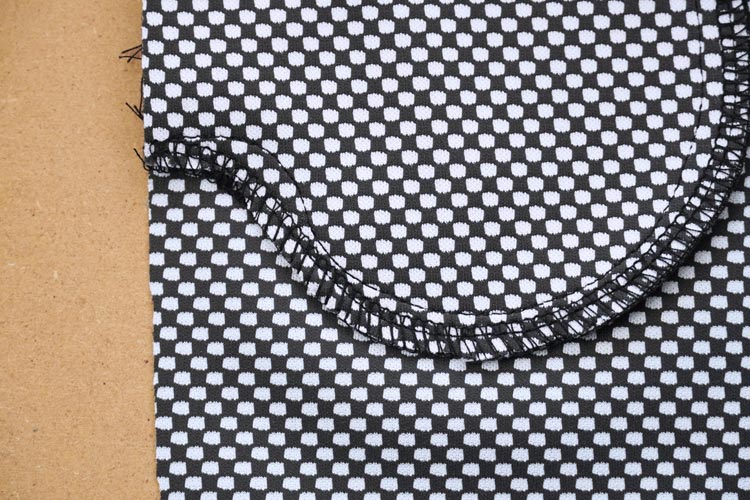

Then I cleaned side seams of the front and back pieces and the pocket piece at the same time.
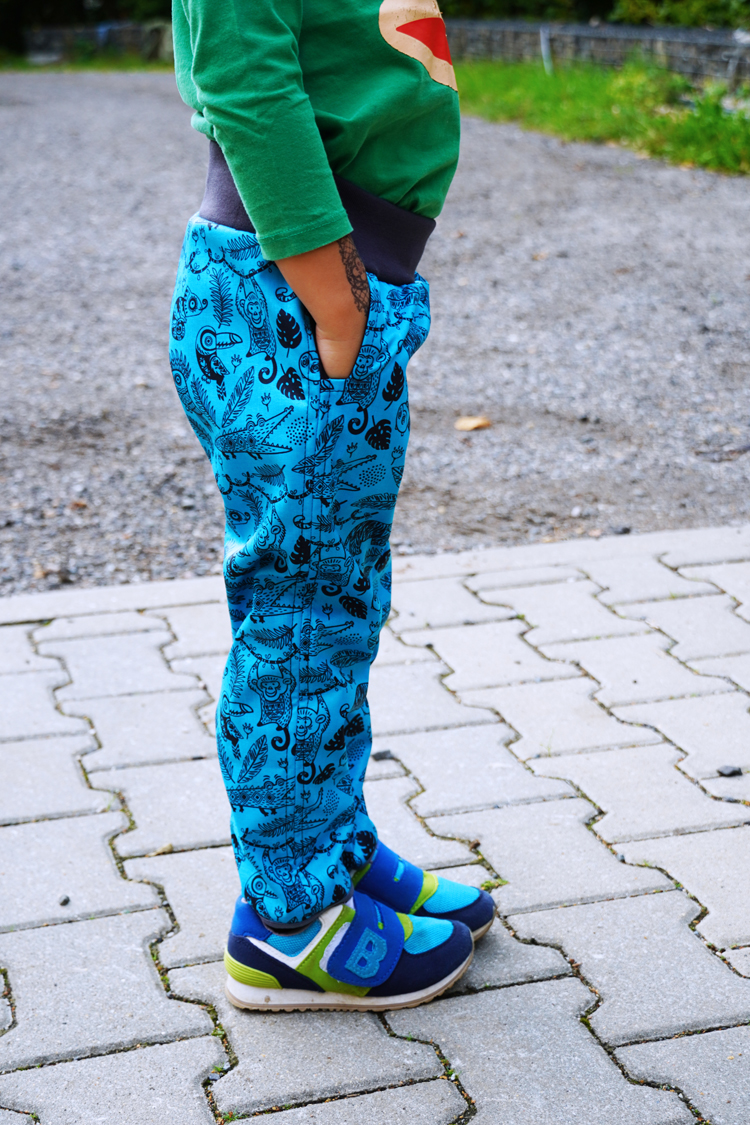
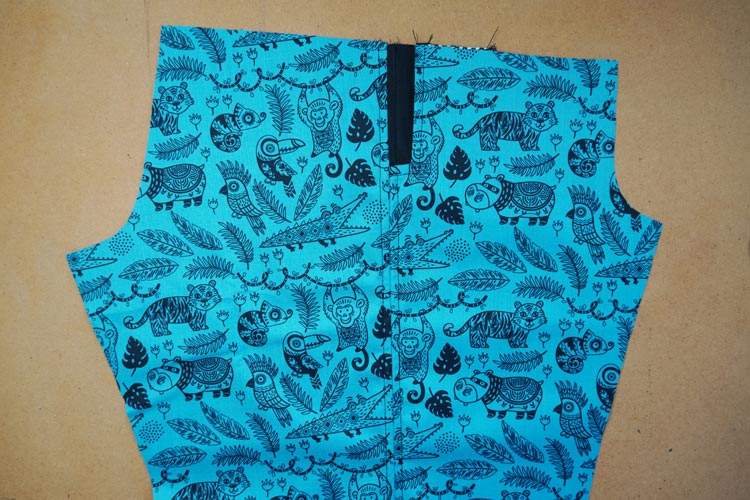
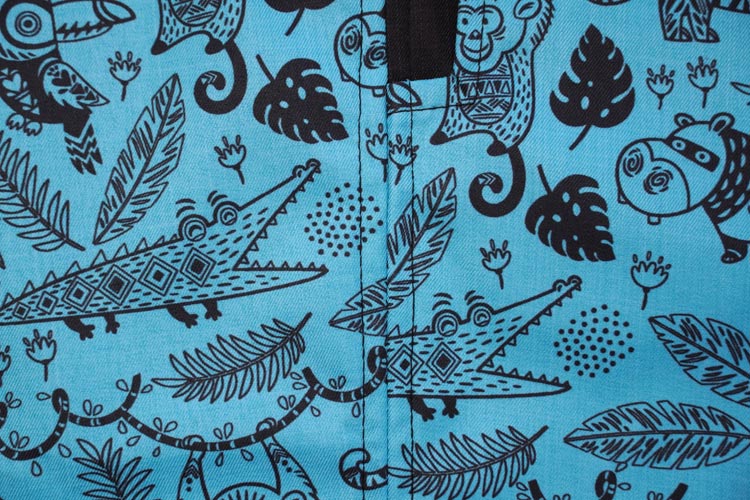
Now we are getting to the phase in which we did the side seams of the front and back pieces. Softshell is quite specific material and simply ironing the seam allowances of the side seam open is not enough. That is why I decided to topstitch them.
Topstitching line is about 7 mm away from the side seam (on both sides). It fixes both seam allowances in place and flattens the seam.
I have no negative experiences with ironing the softshell seams. However, if you are afraid that pants will be "leaky", then sew the side seam of the front and back pieces and clean the seam allowances after that. Then press the seam allowances towards the back piece and topstitch along the side seam in the back piece to fix those allowances in place. This will reinforce the entire seam and you will not have to worry about any water getting in.
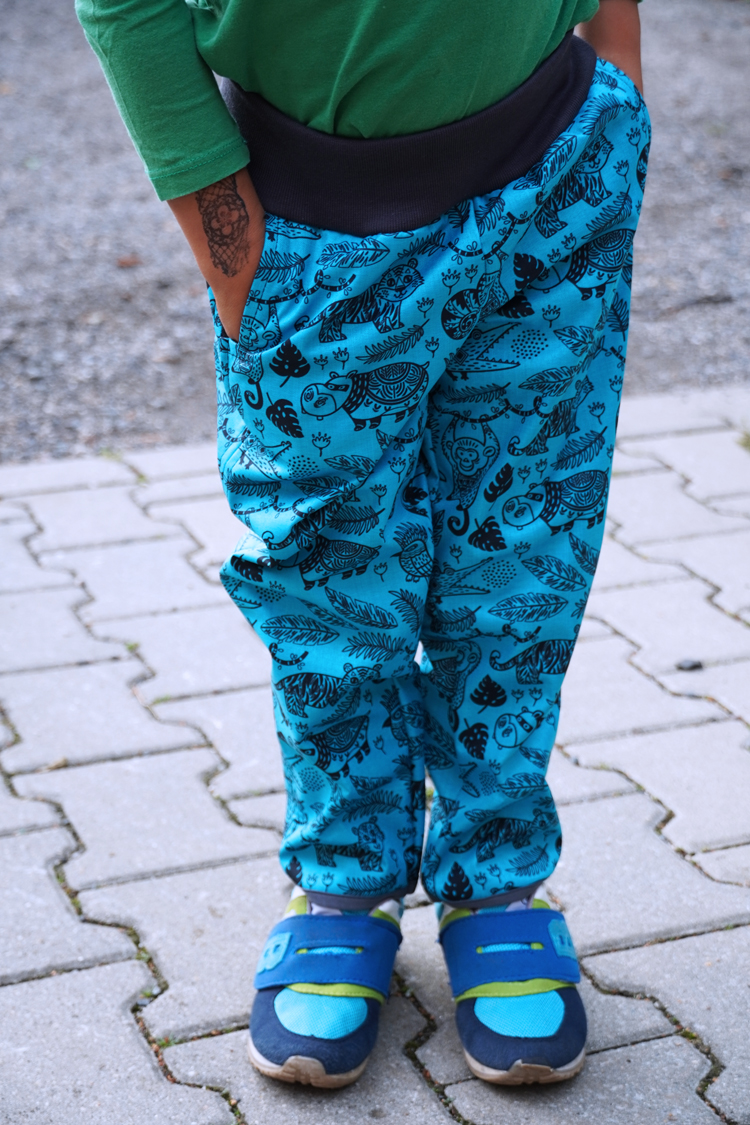
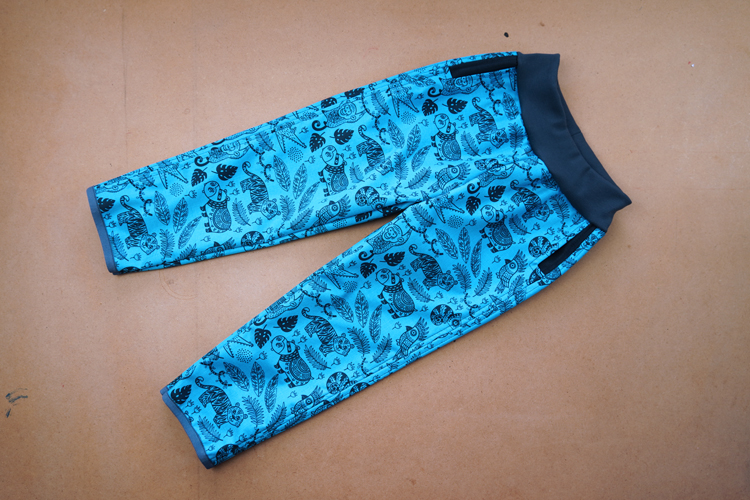
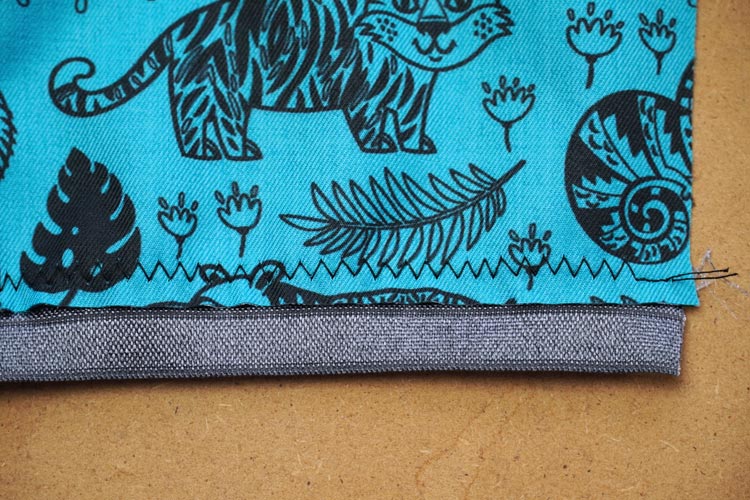
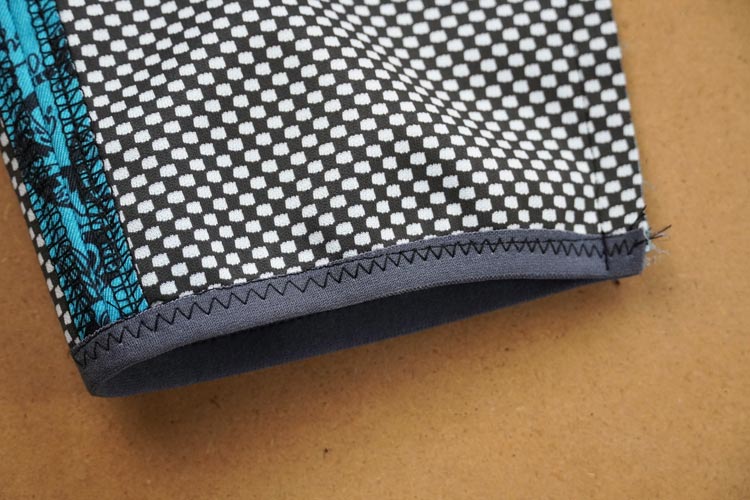
Before I did the instep seam, I also cleaned the bottom hems of the legs. I’ve used halved elastic bands this time, so I left only 1 cm wide seam allowances at the bottom hems.
I did not want the elastic band to be too tight, but I also did not want it to stick out unsightly (to look pulled out). So I cut the bands about 3 cm shorter than the bottom leg circumference.
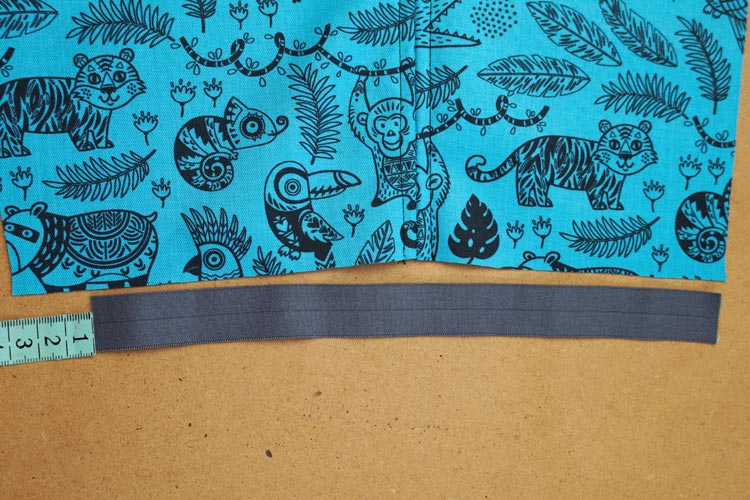
I’ve inserted the bands with their shiny sides facing in, because they can get chafed quite quickly (especially on the leg hems). Then I sewed the bands to the inside of the pants around the whole circumference of the leg hems using the zig zag seam. I only stretched it slightly.
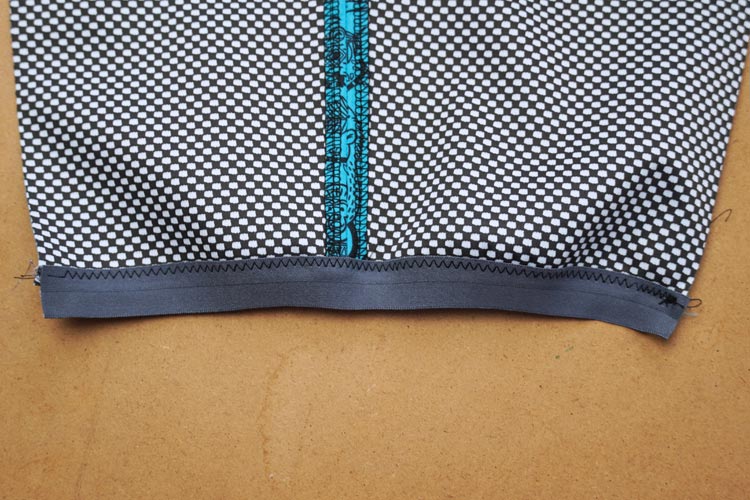
On the face side I checked that the cutting edge of the pants did not exceed the “halving” of the elastic band, otherwise it would be hart do fold it correctly.
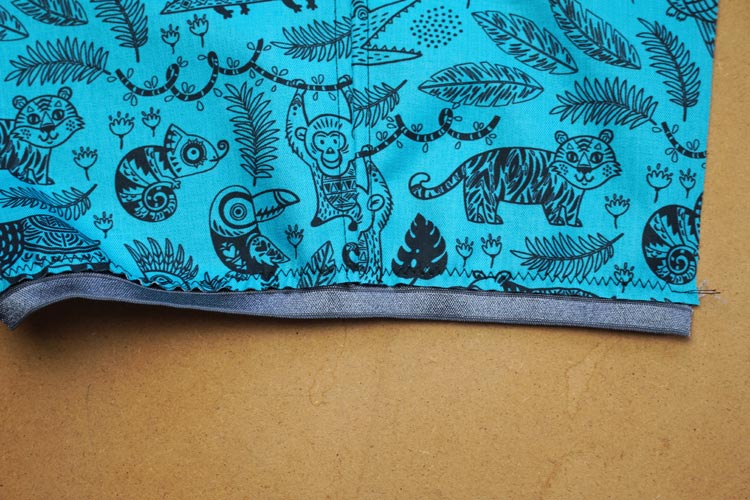
Then I folded the bands and sewed them to the face side of the pants. I did it along the edges of the bands with the straight seam
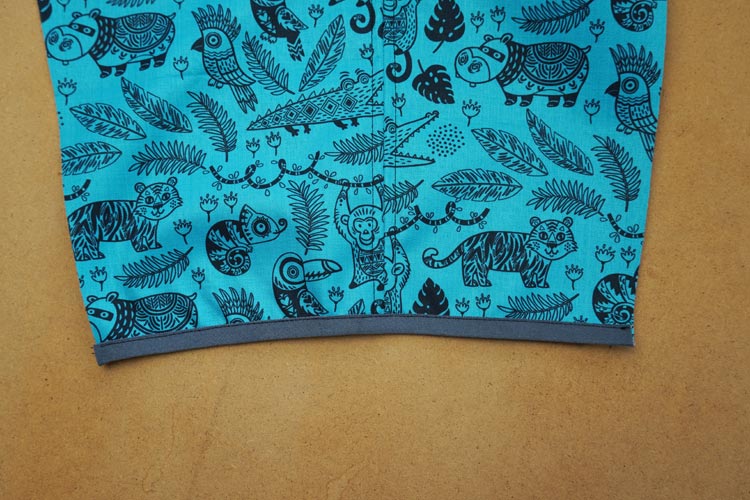
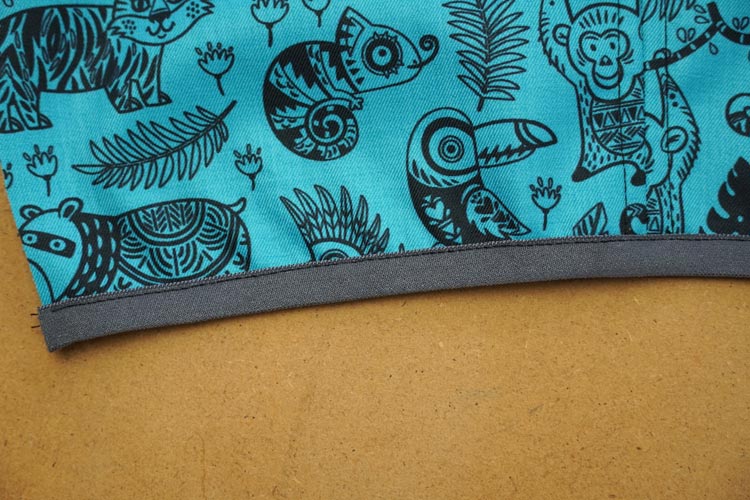
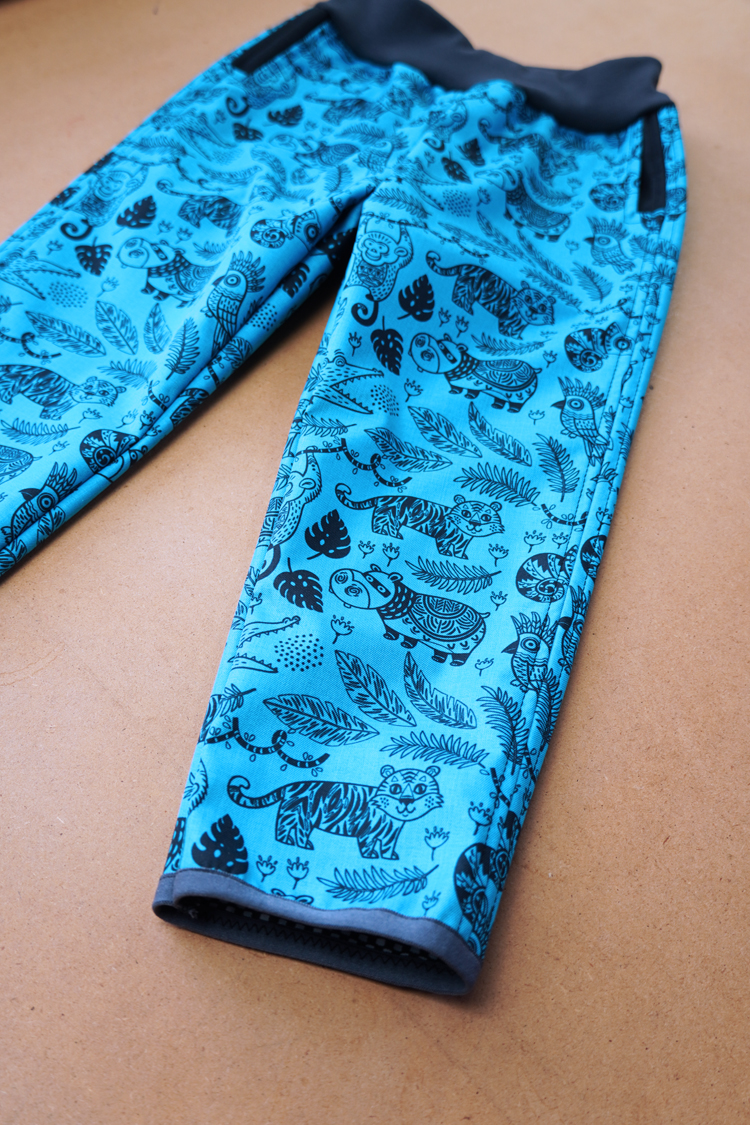
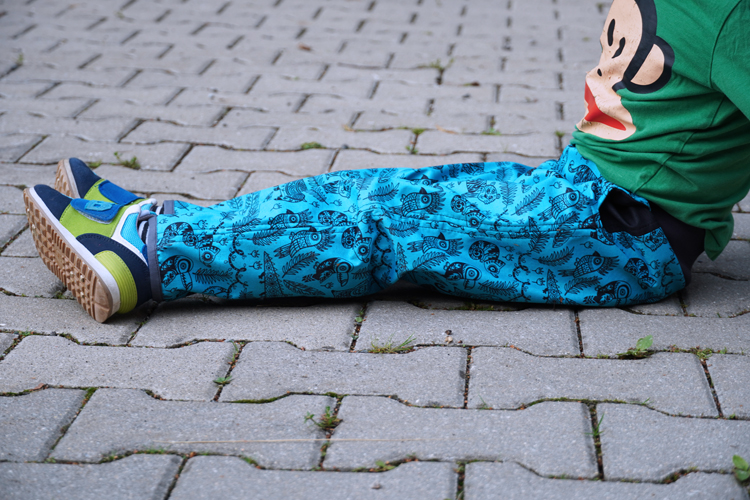
Now we just need to do the instep seams. Watch out for misalignment of the side seams near the leg hems. We want the hem to be connected seamlessly.
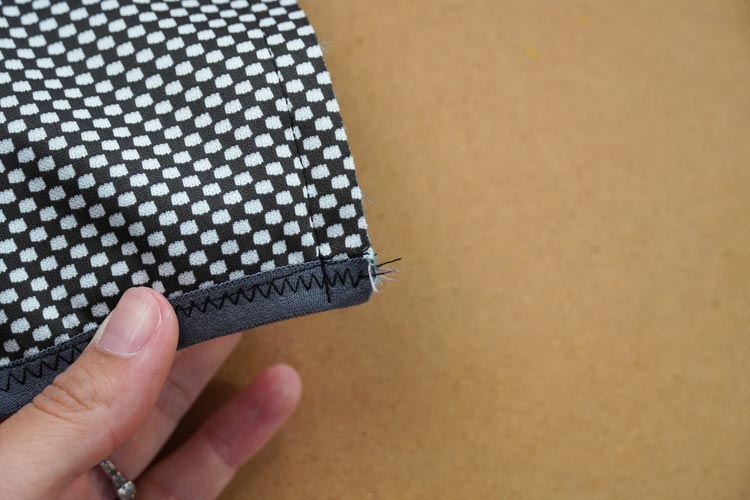
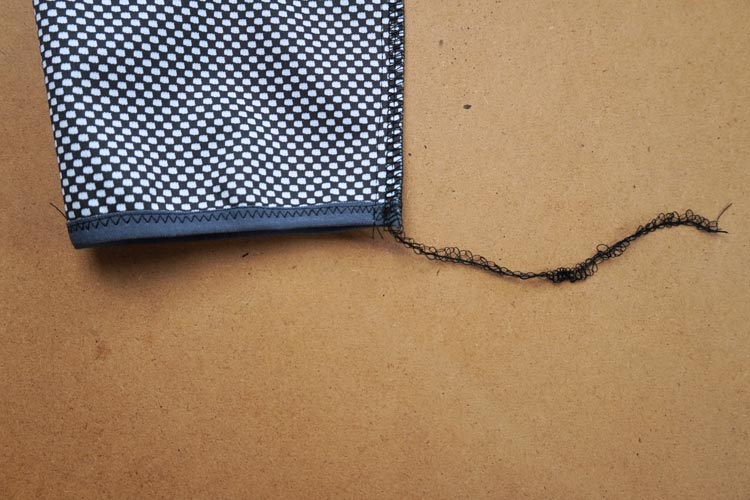
Then I cleaned the instep seam and pulled the thread chains under the loops near the leg hems.
And this is how I made simple softshell pants for Tomík.
Did you like today's instructions and pattern? Please let me know in the comments and share the article with your friends. I will be glad for any feedback and support.
Have a nice day, Peťa