


As I told you a while ago, I started constructing patterns in professional program for clothing patterns design. Today I would like to show you what the pattern looks like, what you will receive if you order it from me, and how to put it together simply and correctly.
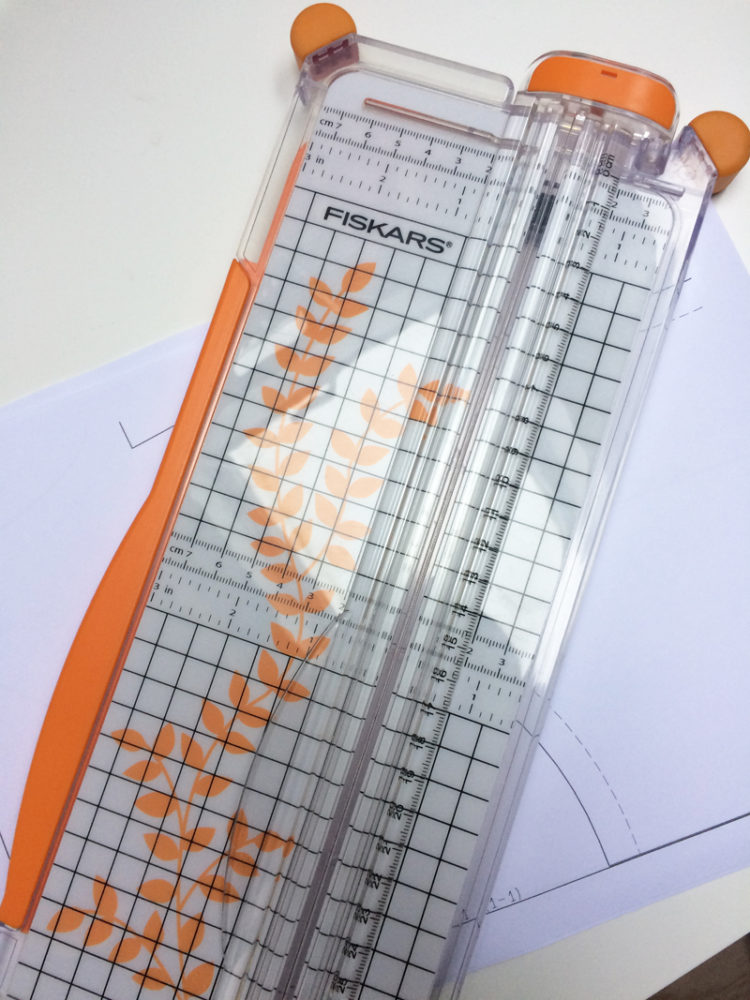
If you have a paper cutter at home (just basic one, for A4 format), you will be able to work a little bit easier and quicker, but you can assemble the pattern just as well with ordinary scissors.
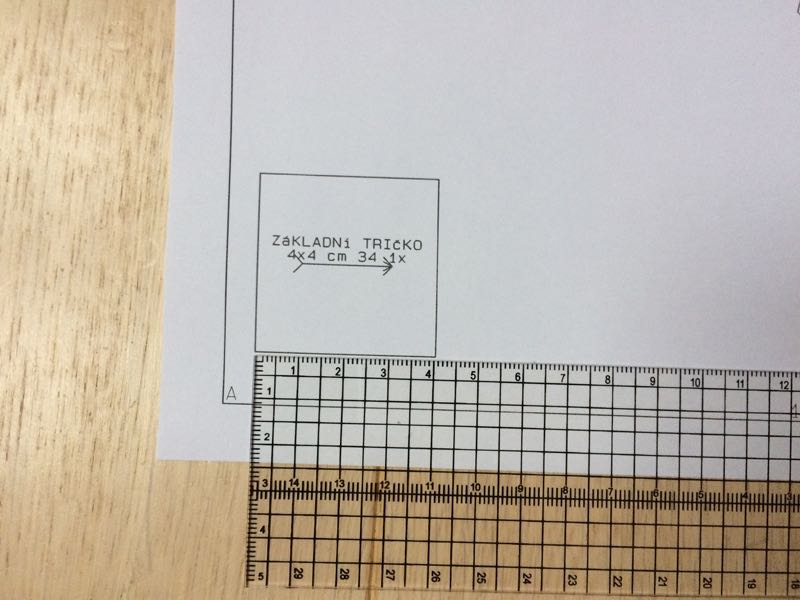
First, I recommend printing only a single page - the one with reference square on it. Do not downsize the print. Use 100% scale – real size.
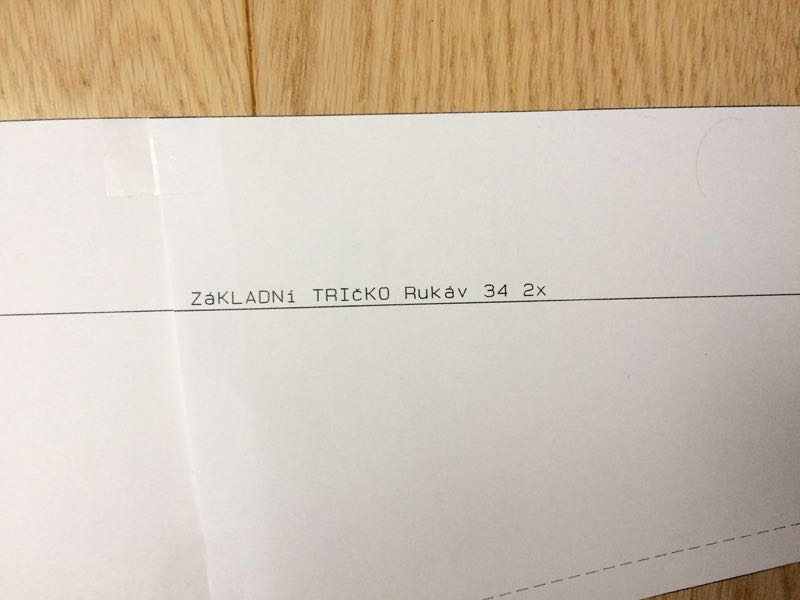
- Reference square
If the square dimensions match those written in it, you have set the print scale correctly. You can continue without worry…
Reference square is there to ensure correct print scale. It contains the following information:
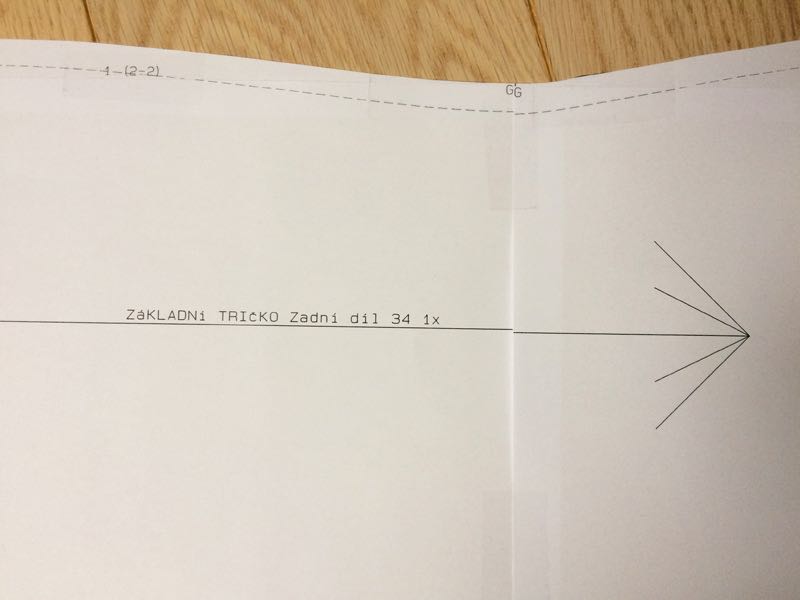
- Pattern name (“základní tričko” - basic t-shirt)
- Size of the reference square (4x4 cm)
- Size of the pattern (34)
- How many times do you need to cut this particular pattern piece from the fabric. We won’t be cutting the square itself, but we need to know how many fabric pieces we need to prepare before sewing (how many front pieces, how many back pieces and so on).
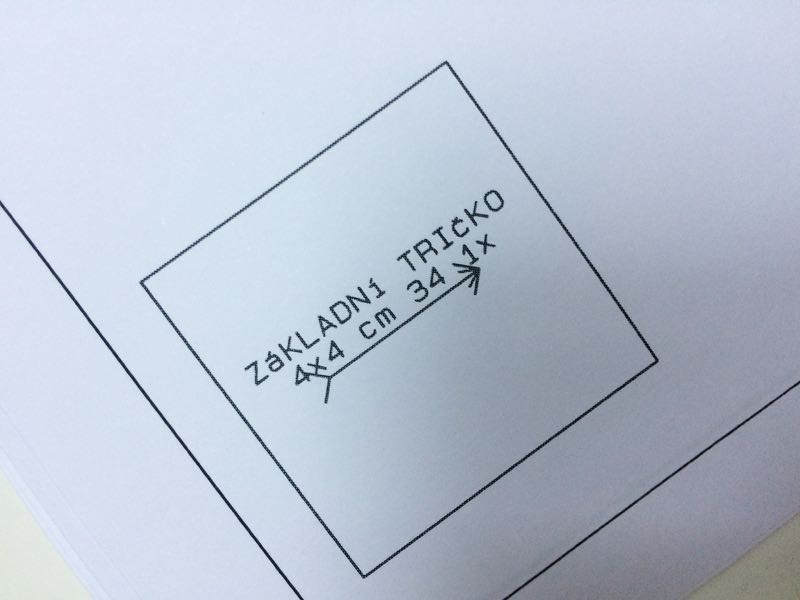
Use ruler to measure the square and verify correct printing scale. Now let's measure the size of the square with a ruler to check that the print scale is correct. If the square is smaller than it should be, we must increase the print scale, if the square is larger than the specified size, we must reduce the scale of the print.
- Lay out the pattern
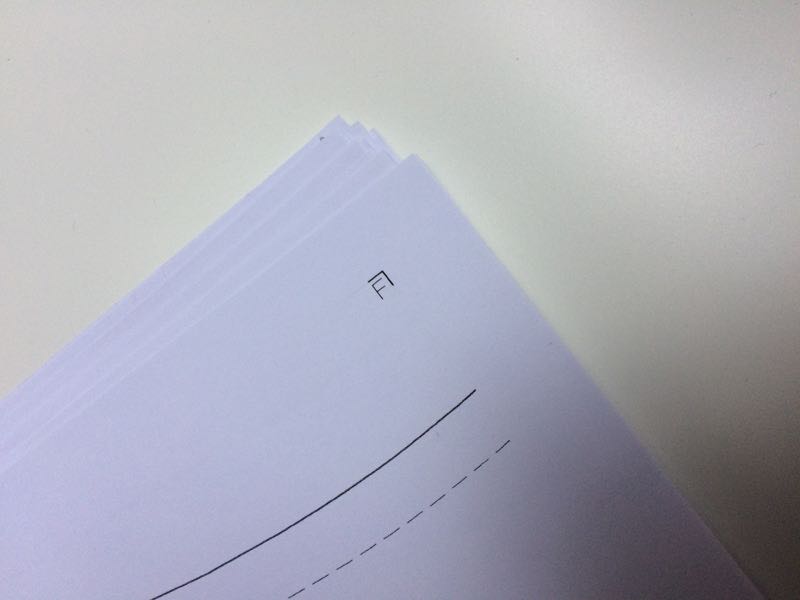
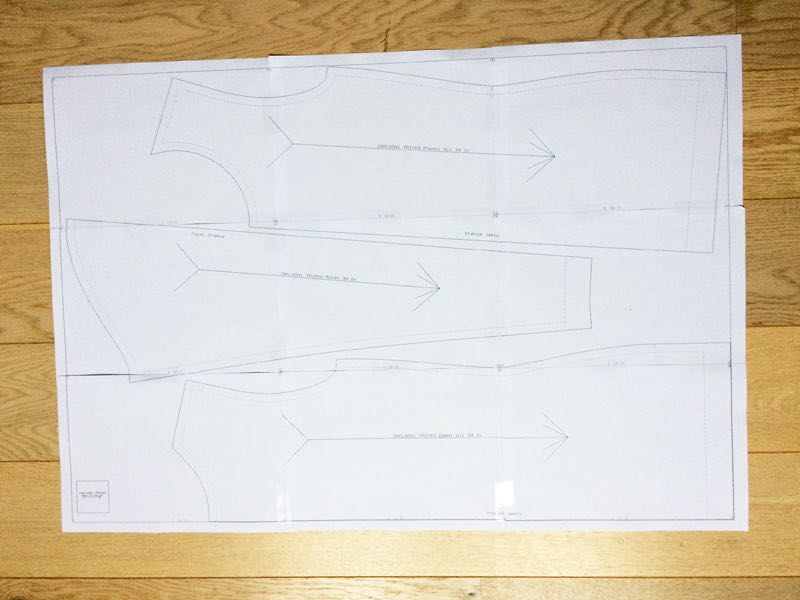
When we have the pattern printed in the correct scale, we can lay it out (ideally on the floor or on a large table). We are now aligning the pages to their correct positions. There are small corner marks near the corners of the pages, each with a letter assigned. Order pages so that corners with the same letter are always next to each other.
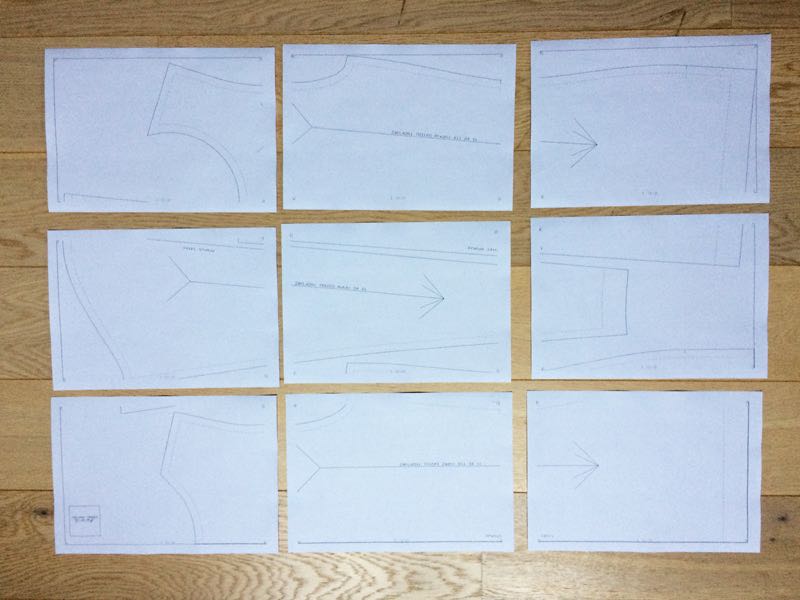
- Cut off one longer side of all pages
It is best to use paper cutter for this, but you can use classic scissors too. Cut off one longer unnecessary side of the pages. Think about which side are you cutting off of each page, because you need to leave “gluing flap” between each two. Use corner marks as a guide.
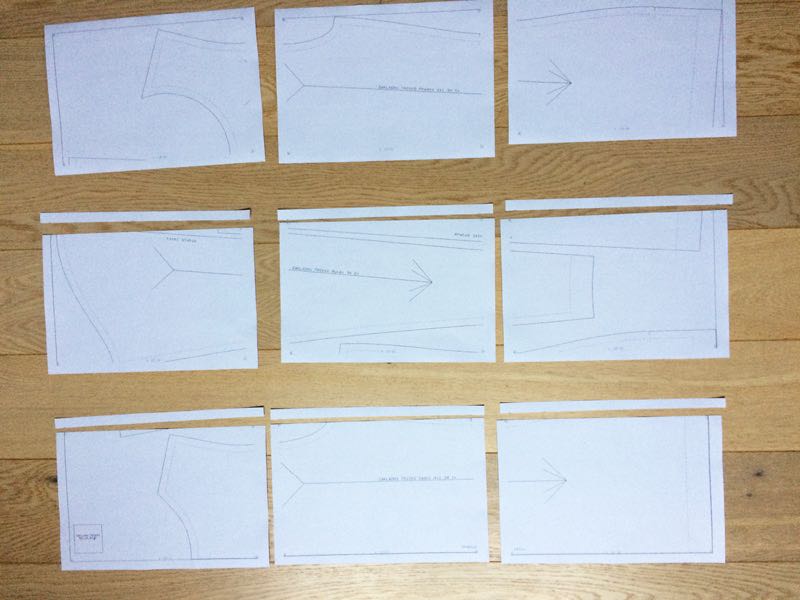
Align the pages and check the pattern.
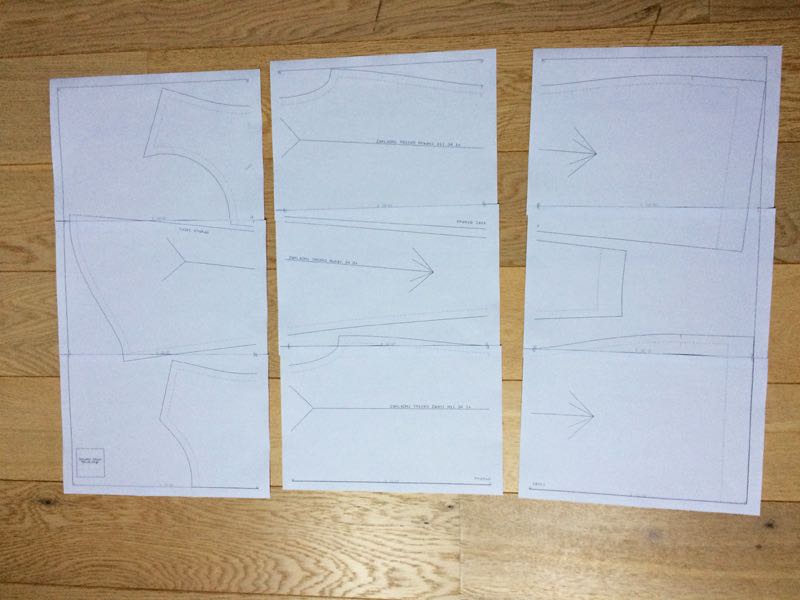
- Cut off one shorter side of all pages
proceed similarly with shorter sides of the pages.
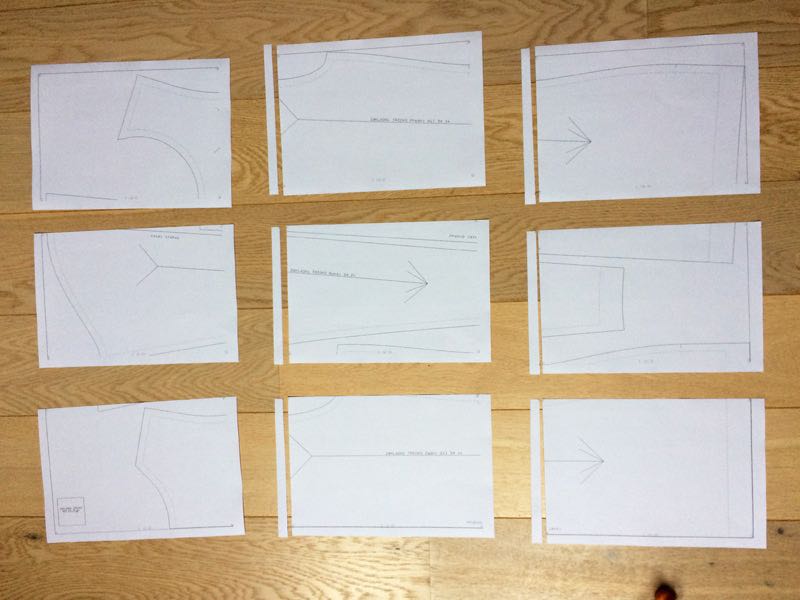
- Glue the pattern
Glue columns first. Lay pages without the sides over the pages with sides so that their corner marks are aligned.
Then glue columns together. As above - lay columns without sides over those with sides and use corner marks to align them correctly.
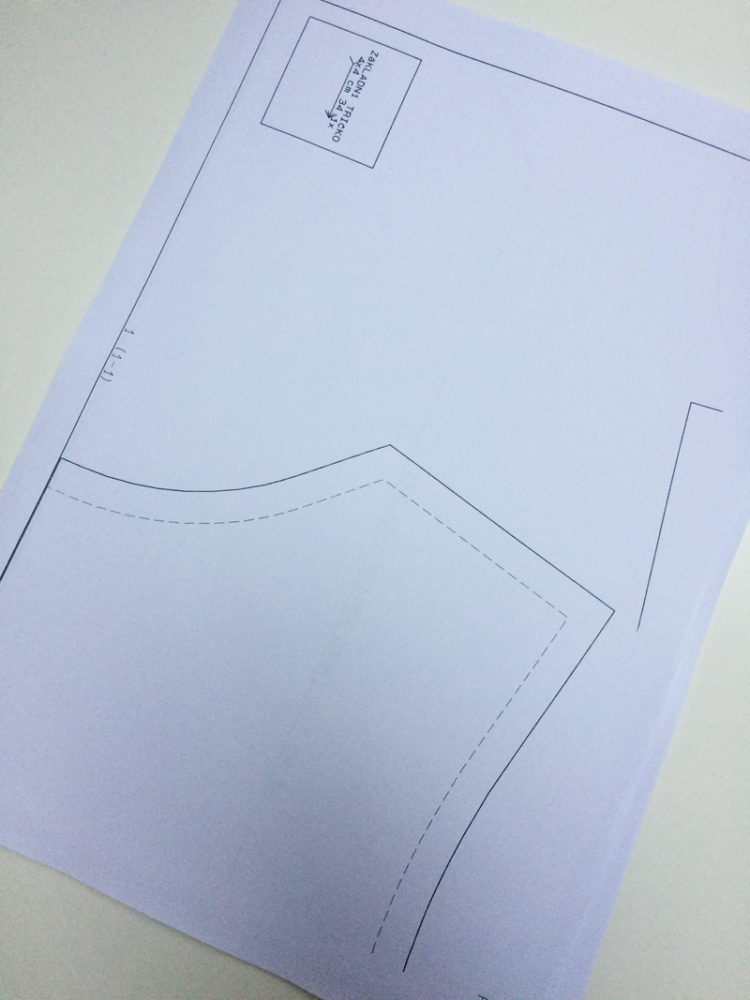
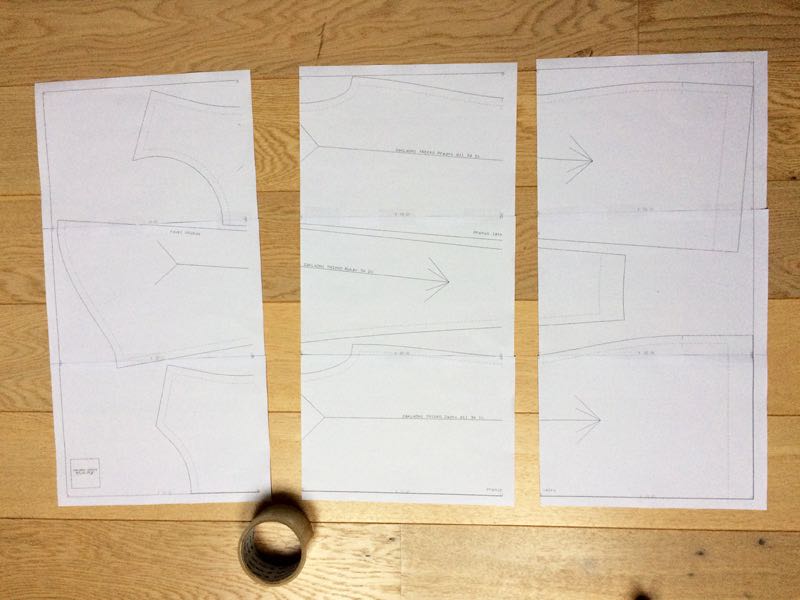
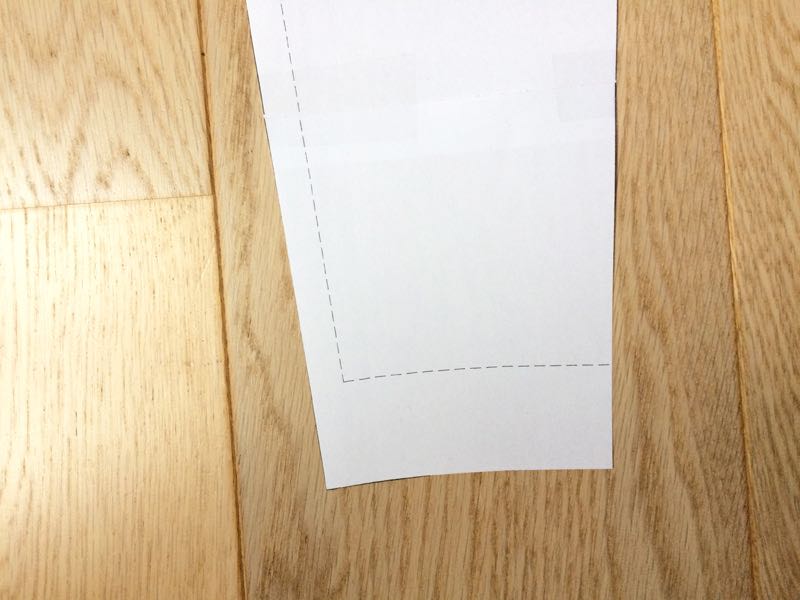
- Cut out the pieces
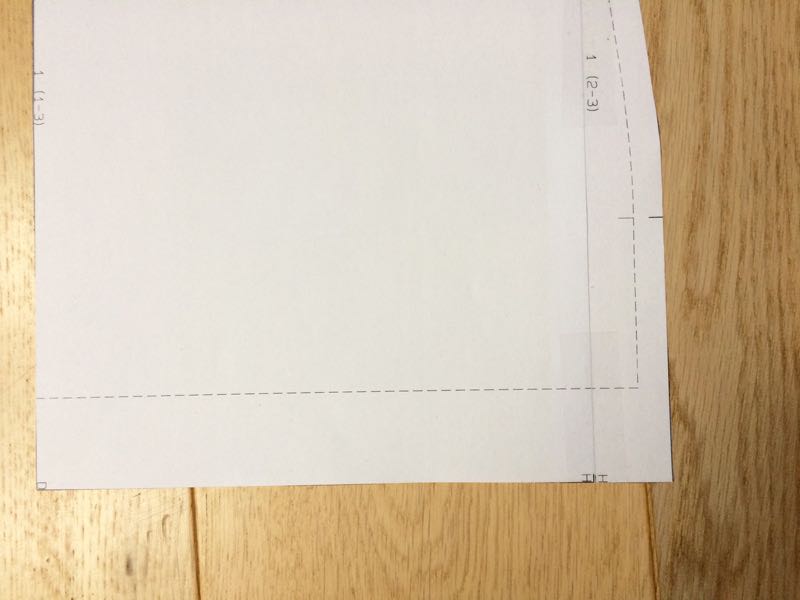
Cut out pattern pieces along the thicker line, which marks their full outline with seam allowances.
Dashed lines represent the sewing lines, it is 1 cm away from the seams near the cutting edges. This is the line along which we will be sewing the fabric pieces together.
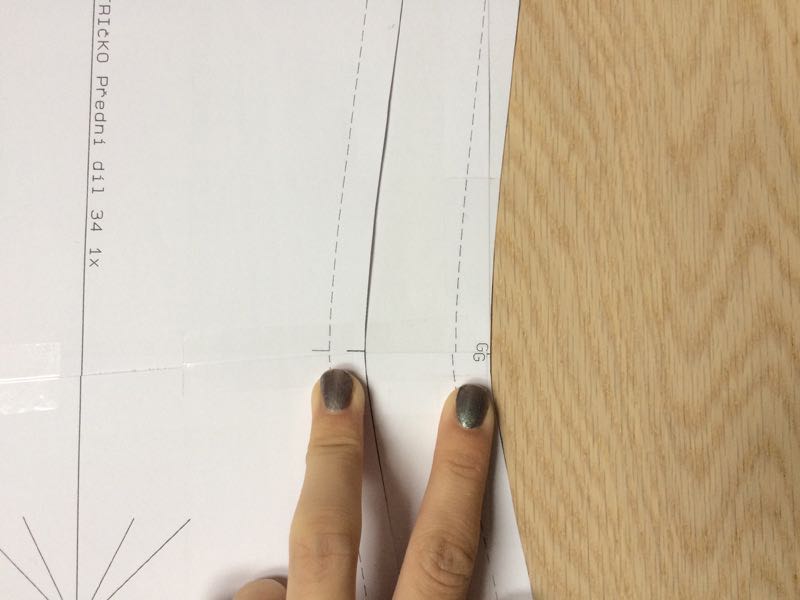
Important information on paper pattern pieces
Information on each piece:
- Pattern name (“základní tričko” - basic t-shirt)
- Piece name (“zadní díl” - back piece)
- Size of the pattern (34)
- How many of these pieces will you need (1x)
- Grainline direction - long arrow, indicates how to lay the piece on the fabric
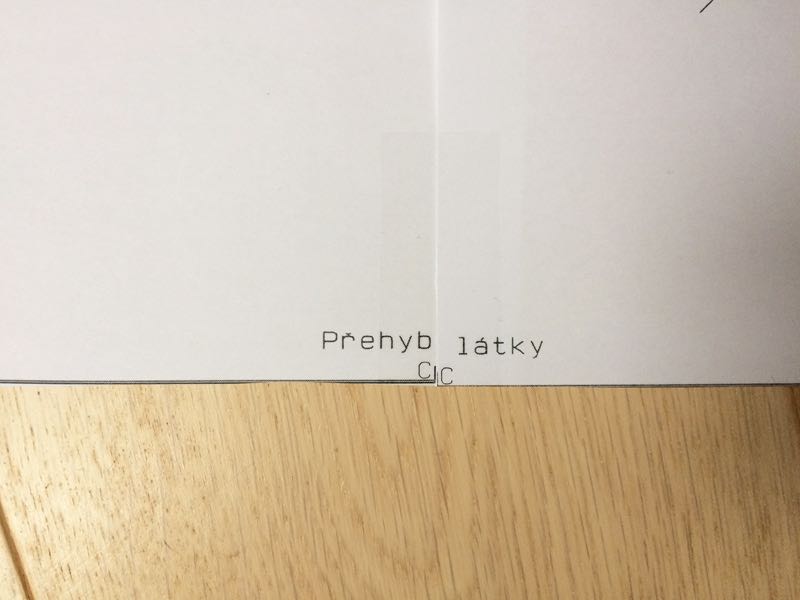
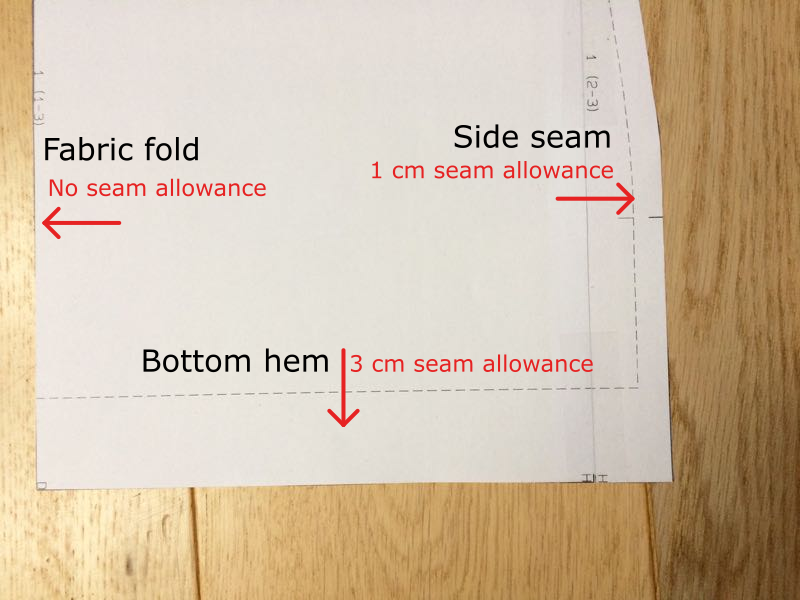
There might also be mark telling us that we need to cut this piece from folded fabric (“přehyb látky” - fabric fold). There is no dashed line along the fabric fold line, that is because we are not going to sew here therefore, we are not going to be adding seam allowances in this area.

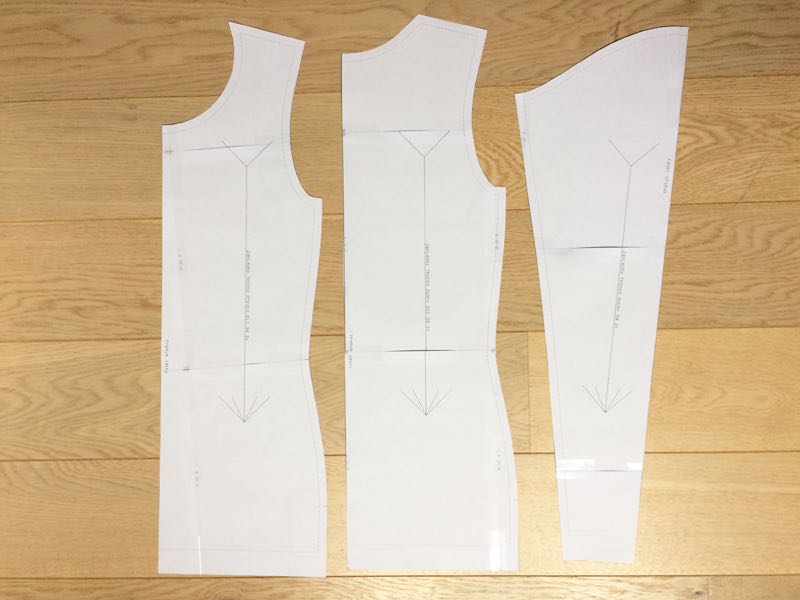
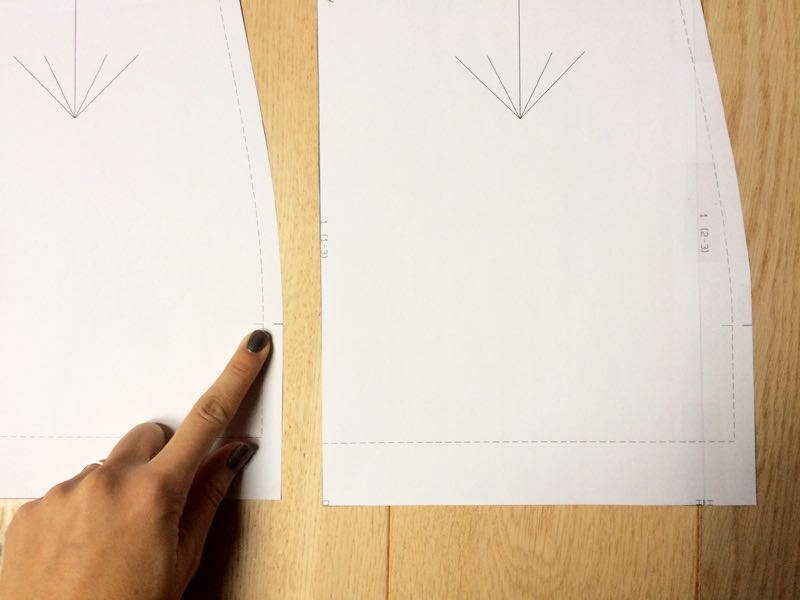
Different pattern views
I have two pattern versions (views) for you. There is one size view with seam allowance marks (this case, one size outlined) and then classic view that shows marks for all available sizes and no seam allowance marks. Later is the view most pattern companies and magazines (e.g. Ottobre) are offering. If you take a closer look at one size view you will notice, that there are differently sized seam allowances on the pieces (bottom hem allowance is bigger than side seam allowance etc.). All these changes are already in the pattern, so you don’t need to think about how much to add where. You are just following the outline of the pattern when cutting the paper pieces not adding anything anywhere.
You can find all the information about pattern on each piece, this is the sleeve piece for example.
You can see the difference in sizes of the seam allowances on this sleeve piece. Left side has 1 cm for sleeve seam, right side has none, because this piece is meant to be cut from folded fabric, and bottom hem has 3 cm wide seam allowance which is going to be folded to the inside of the sleeve.
What the marks on the pattern mean
You will find little marks on the pattern - dashes that are usually perpendicular to the cutting edge or sewing line. These marks are always at the point where one piece should meet the other. They are often used on longer seams, such as this side seam. This particular mark is at the waistline and it allows you to align the pieces precisely before sewing. This waistline mark is also important for eventual pattern adjustments. For example, if you need to widen/narrow the t-shirt pattern at the waist, or if you need to lengthen it for higher person - you need to know exactly where the waistline of both front and back piece is for all these adjustments.
You can find same marks on side seams of bottom pieces. These are here to show you where the hip/seat circumference is. You will need to know where the hip/seat circumference is to adjust it properly - marks are showing you where to widen/narrow the pattern if needed.
So, this is how you assemble the paper pattern before cutting the fabric and sewing.
Have a nice day, Peťa