


Unfortunately, many beginner sewers (but also those who have been sewing for some time) underestimate the power and importance of temporary stitching (and subsequently do not perform fitting tests). And that's a shame. Stitching (basting) is not complicated and it is definitely beneficial to learn it early. Most of those who avoid temporary stitching argue that it is time consuming. But that’s not true. Basting makes the sewing process easier; it significantly reduces the risk of having to rip sewing machine seams (nobody likes that) and it allows you to test and shape the garment into a perfectly fitting piece. Let's take a closer look at why, with what and how to baste.
Temporary stitching / Basting
1. Why?
If you are using a new pattern, take a good look at it. You have your own idea of what the garment should look like, and the designer who created the pattern had his/hers. To avoid unnecessary disappointment, always measure the paper pattern and compare it with your current body measurements. Think carefully about whether the pattern looks the way you want it to, or if any changes need to be made. Not sure? No problem, the next step will help you.
You can learn more about pattern adjustments here: How to adjust the pattern
When you are satisfied with the pattern, you should sew a test piece (muslin, calico, toile). The test piece should be made of a material that is as similar to the material you want to use on the final garment. You can sew the test piece in two ways - you can stitch everything by hand, or you can sew some parts on the machine and stitch some (the most critical ones) by hand. There is no universal rule that says what to stitch and what to sew. But I can tell you that it is better to stitch a seam by hand “unnecessarily” than having to rip the seam sewn on a sewing machine. If you are not sure about some part of the pattern after measuring, for example the area of the shoulders or hips, then cut slightly larger seam allowances there (1.5 cm for example), and always temporarily stitch these seams before sewing.
Thanks to the fact that you have first measured the patter, you know where there are places that could cause problems. You have identified the places that need to be temporarily stitched (so that you can perform a fitting test). Now your idea is beginning to materialize. If everything fits as it should, then sew the seams along the stitching line. I do not recommend sewing directly on the stitching line, because it would then be difficult to pull out the thread, sew 1 mm away from the stitching.
I recommend temporarily stitching even when sewing hems, whether it is on a tablecloth or clothing. It will help you fold the hem so that it is the same width everywhere. I recommend ironing the hems after basting. The ironing fixes the hem in the correct position and subsequent sewing will be much easier.
So now you know how to start sewing and why to baste. To sum it up - temporary stitching will help you avoid unnecessary ripping of seams if you need to adjust the garment. Temporarily stitched fabrics are easier to sew (no creasing and sliding), so your final seams will be better and more accurate overall. Various inaccuracies can easily occur without temporary stitching. Basting and subsequent fitting tests will lead to accurate results and your product will generally look more professional.
See also: Learn to use a sewing machine
Learn temporary stitching on simpler garments, ideally made of cotton canvas.
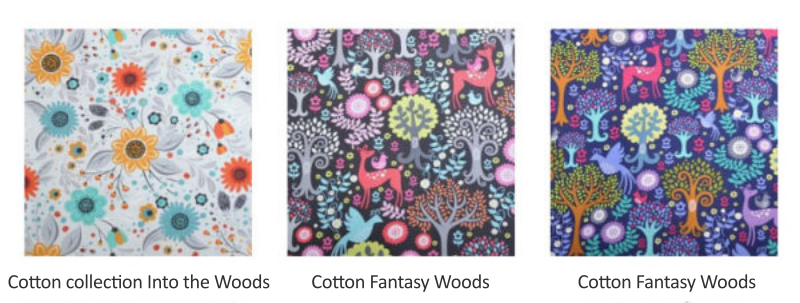
The easiest way to learn stitching is to line the tablecloths or placemats. These products are usually made from cotton canvas, which is easy to work with. Cotton canvases do not crease, and they aren’t elastic, which will help you train straight and precise stitching. Carefully double fold the cutting edges of the tablecloth or placemat and stitch the hem, making sure that it has the same width around the entire circumference. Iron stitched hem to make it keep its shape and sew. Sewing should be very easy at this point. After sewing, pull out the stitching thread and iron the piece again. Compare the result with a product for which you did not use temporary stitching… Can you see the difference?
Consider American cotton canvas if you are looking for quality cotton canvases with beautiful prints, which are suitable not only for decorations but especially for clothing (pleasant to the touch, high quality and with reduced creasability). You can find a huge selection at Dumlatek.cz store, for example. You will fall in love with these fabrics!
2. With what?
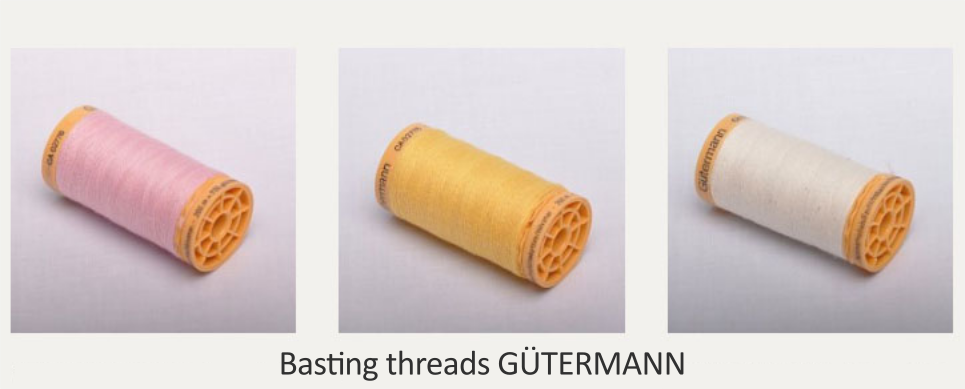
A special thread is used for stitching - stitching thread / basting thread Why use a special thread for stitching when you have a full drawer of spools of thread? For a simple reason - the stitching thread is a 100% cotton thread, woven from relatively short fibers that are not entirely entwined. This makes it easy to break and this is an important feature. The stitching thread forms a temporary connection, you don't want it to stay in place forever. You should pull it out after fitting test and sewing and if you have sewed through it somewhere, it is advantageous that it can be easily torn off.
Therefore, always try to use this type of thread for basting. Basting threads are available in many different colors and shades, made from various natural fibers and in various thicknesses. Thick and heavy coat needs a strong stitching so that it does not fall apart during fitting test and sewing process, but a silk blouse needs to be stitched with the finest stitching thread - you don’t want to pierce it with many large holes.
In most cases, a classic basting thread will suffice. You can find in every haberdashery and also in many e-shops, such as the Dumlatek: Basting thread - White / Basting thread - Color
Double-thread your basting thread to sew a stronger temporary seam.
Now you know why to baste and with what, so let's look at how to do it.
3. How?
Surely you have seen sewers sit with their legs crossed when sewing by hand. It's not because they want to stretch, but because they do not want to bend their backs too much (ouch!). Sewing causes back pain. That's just the way it is, and it is necessary to take this into account. It is good to get up from your chair, walk around and stretch from time to time. At first you will feel fine, but back pain will appear after a few hours or days of sewing. But that's a topic for another time.
We have two options when it comes to basting.
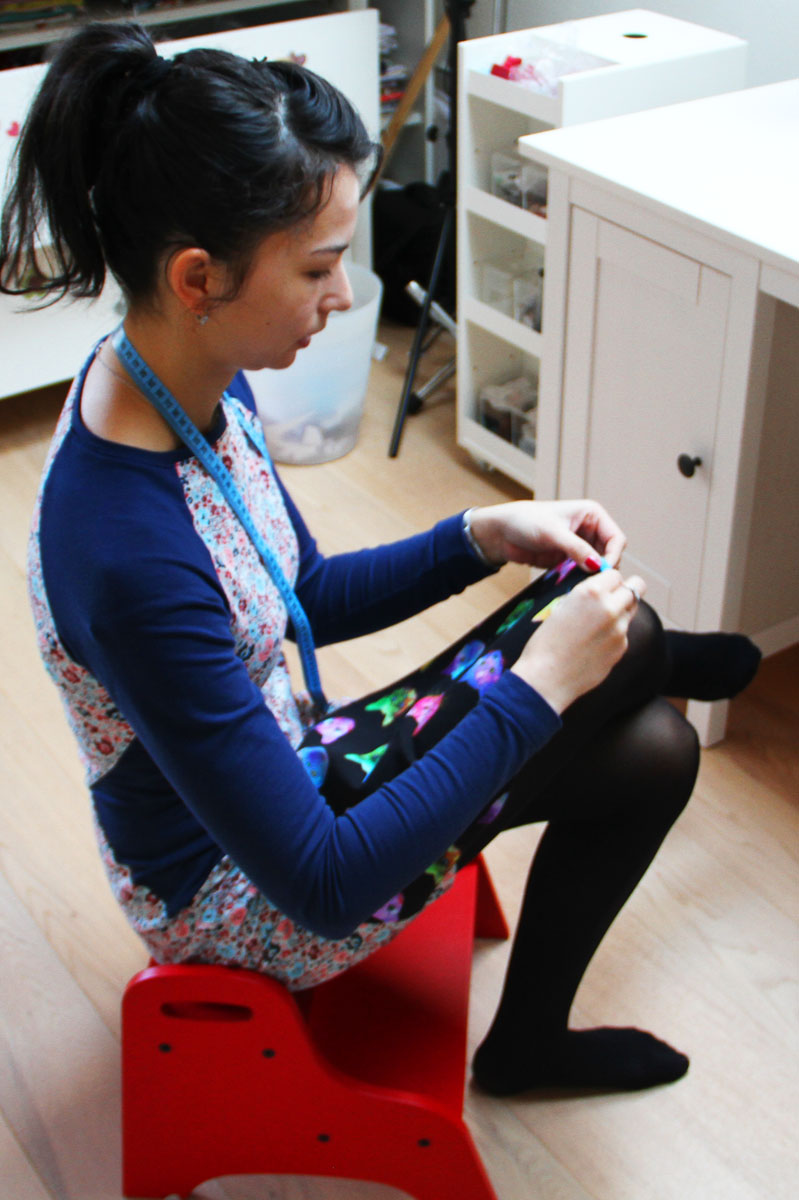
“Stitching pose”
Classic position with one leg over the other - but not like in a cafe - move your upper leg higher and rest your calf on the knee of the other leg. This makes you lean towards your knee with a straight back. Don’t slouch.
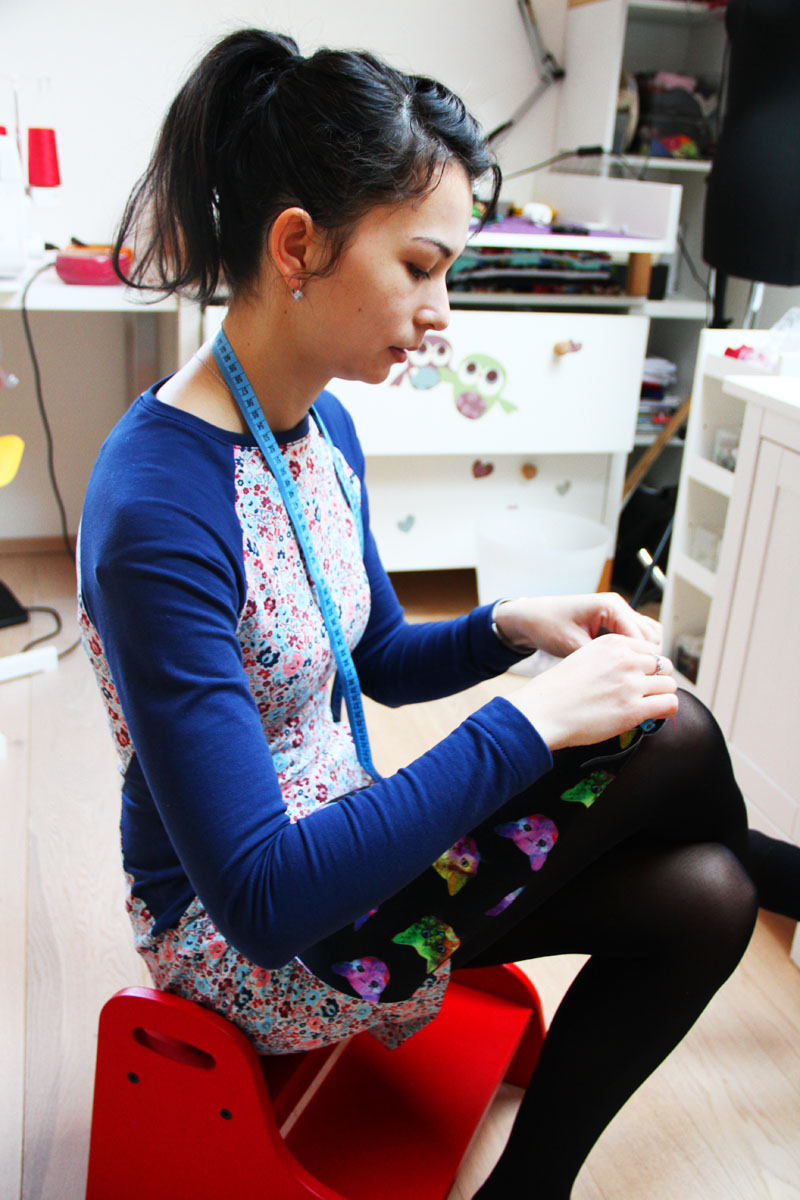
Put the fabric on your knee, which will become your makeshift table. Hold the fabric on your knee with the side of your dominant hand (or with its little finger) to keep it from sliding around. Don’t hold it up in the air. Sometimes I see someone sewing / cutting fabrics somewhere in the air above the table, but please don't do that, it is very inaccurate way of doing anything :) Use your dominant hand to “clamp” the fabric to your knee and other hand to stretch it the way you need (so you don’t stitch it to your knee) and sew. Simple, right? :D
Let’s see some pictures...
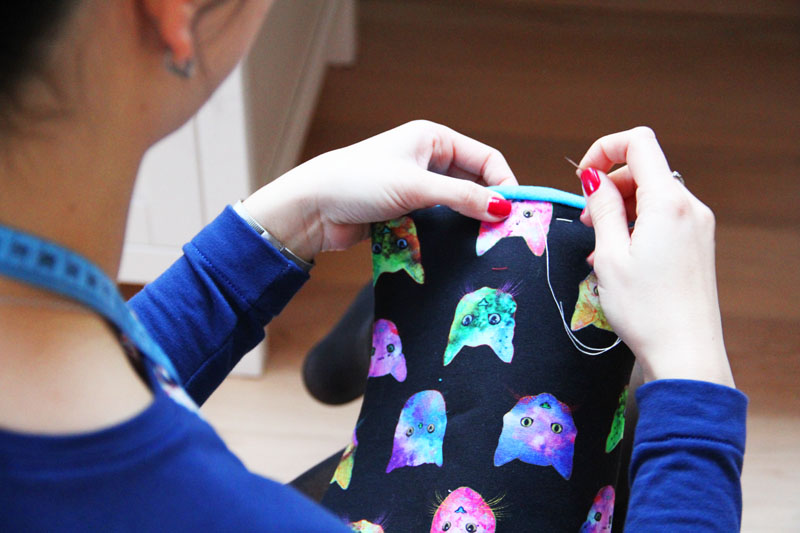
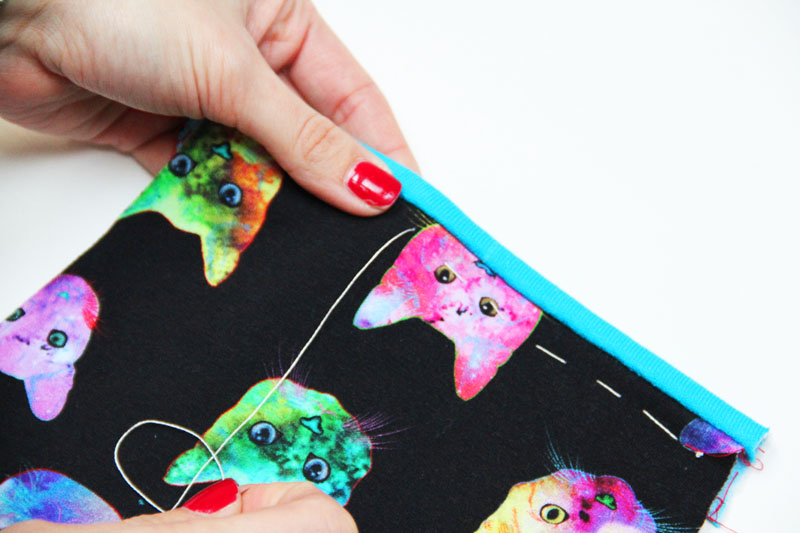
Assume “stitching pose” (try not to bend your back too much) and prepare your fabric.
Use your little finger (or side of your palm) to hold the fabric on your knee.
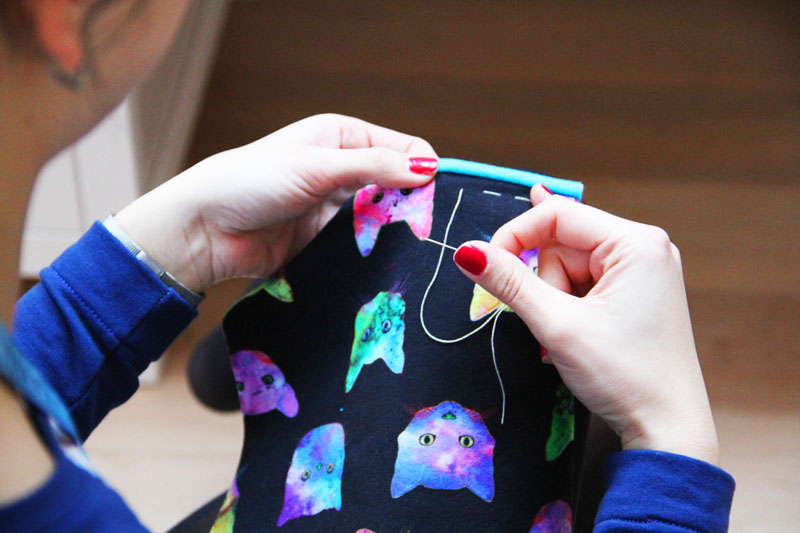
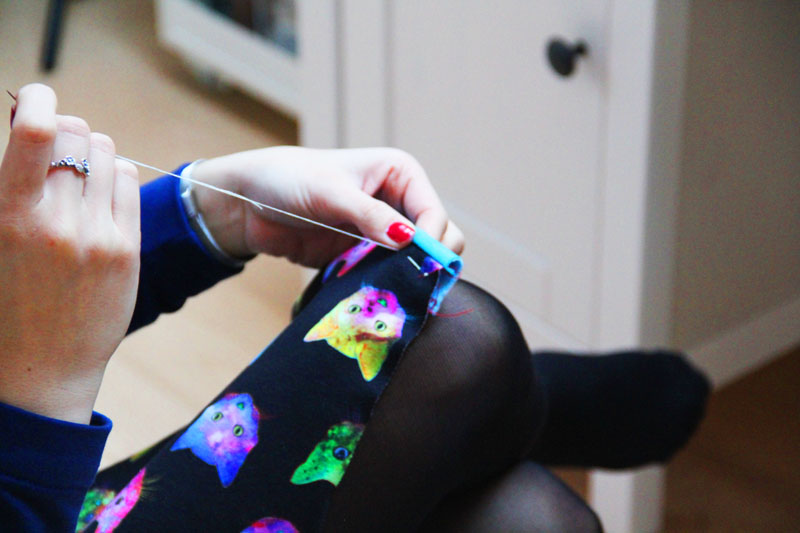
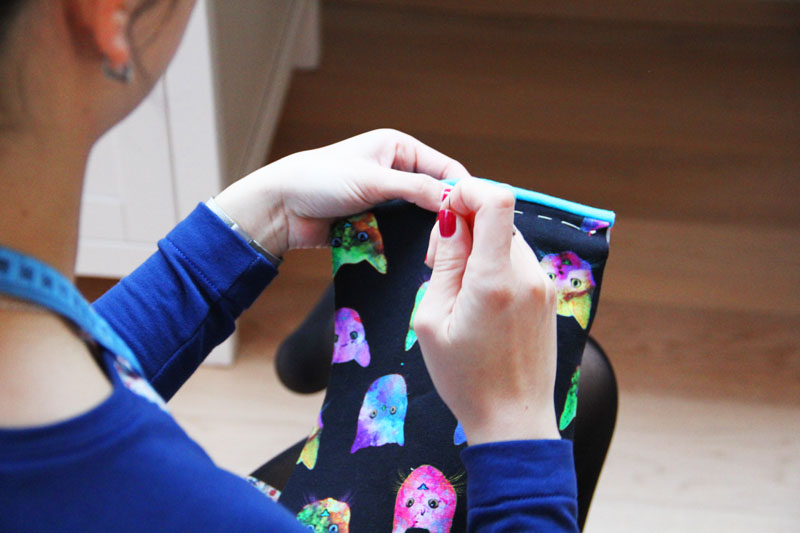
Stretch the fabric with your other hand away and up a little. Hold the needle in your dominant hand...
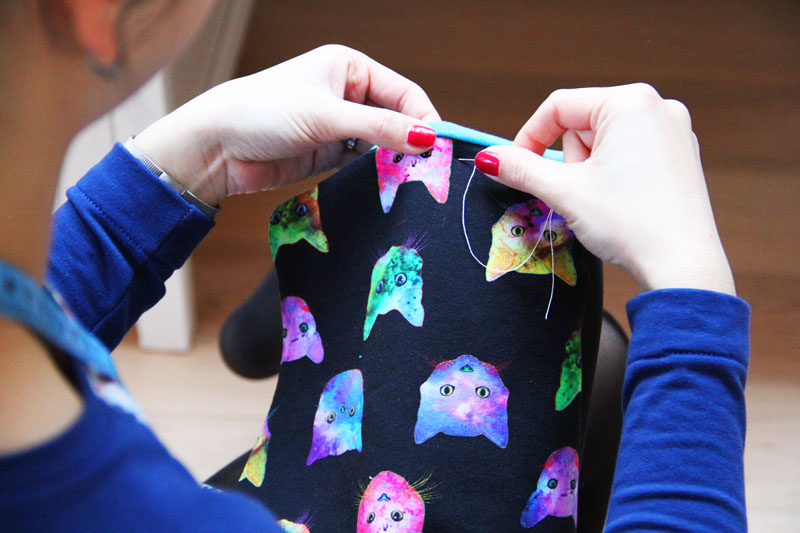
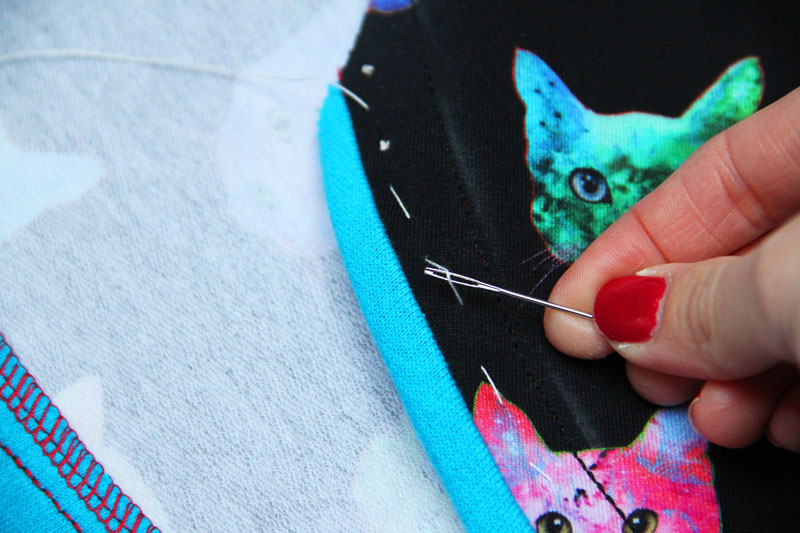
...and sew. You do not have to pull out the whole thread after each stitch. For example, I sew two stitches at once. I insert the needle, pull it out a little, re-insert it, and after that I pull out the whole needle, but I'm not pulling out the entire length of the thread yet. I sew two stitches at once again and only after that do, I pull out the needle with the entire length of the thread. This method saves time, but you can do it differently if you want to. You can sew one stitch at a time. Stitch calmly and carefully.
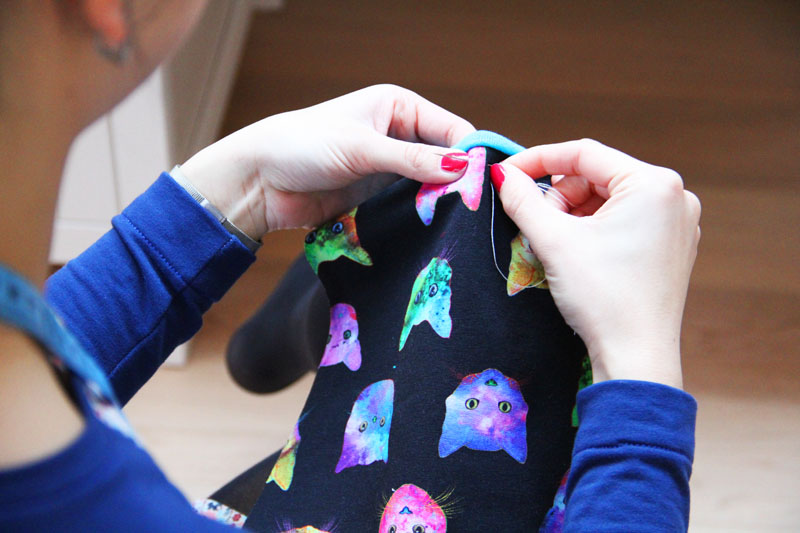
It is important to clamp the fabric to your knee with the side of your dominant hand and not to bend your back too much.
Stitching at the table
If you don't like the "stitching pose", you can sew at the table. You can use a classic table, but if you like to stand while you work, you can stitch at the ironing board. Again, the rule is not to bend your back unnecessarily, so if you are tall and have a low ironing board, then simply sit down at the table.
The stitching technique itself is the same.
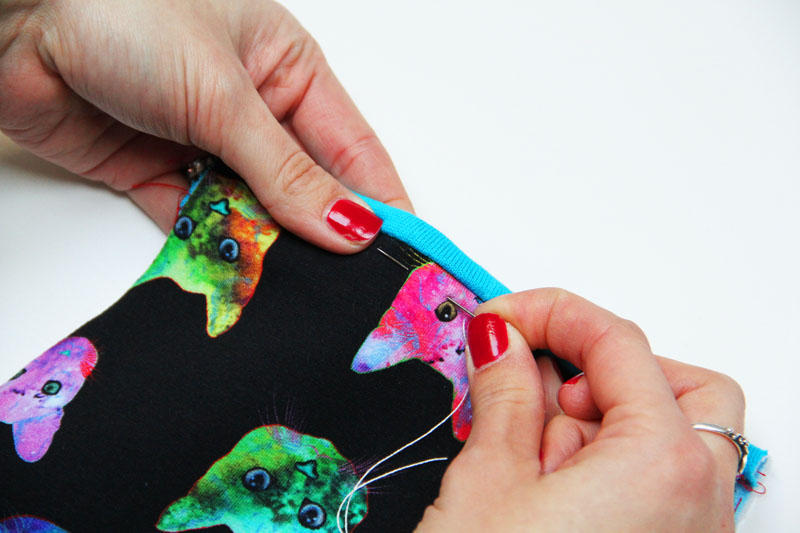
Lay the fabric on the table (or ironing board) and hold it in place with the little finger or the outer side of your hand. Lift the other end of the fabric slightly with the other hand.
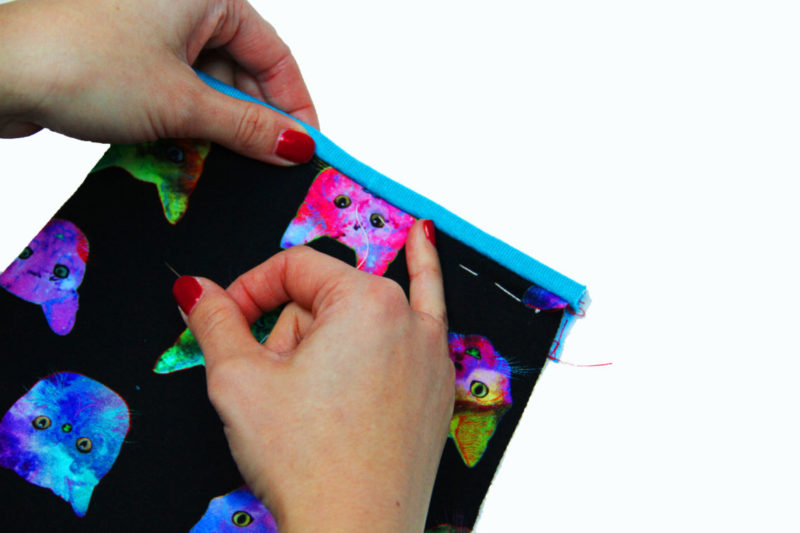
And stitch.
If everything was fine and the seams are done, you can pull out the stitching thread. You can do this by hand or with the help of a blunt needle (or with an eye-side of a needle).
Conclusion & What to watch out for
- Use the special thread I told you about - stitching thread / basting thread.
- Stitch in a comfortable position and try not to bend your back unnecessarily (do not slouch). If you get back pain unnecessarily, you probably won't want to move next time.
- If you get back pain, you probably won't want to stitch next time.
- The stitches do not have to be extra small, but don’t go too big either. Stitch so that the layers hold together nicely. About 0.75 - 1 cm long stitches are ideal. It is important to connect the fabrics nicely so that there are no loose segments of the future seam.
- For clothes such as blazers, jackets, formal dresses, coats, etc., we usually stitch side seams, try on the garment and then sew the seams on a machine. Only then do we iron the seam / press the seam allowances open. Then we stitch the sleeve into the armhole, so we can perform another fitting test. Focus on the size of the armholes to see if they are too tight or too loose. For smaller people, it may be necessary to shorten the shoulder seam (and position the sleeve higher), on the contrary, the armhole may be too tight for larger people (extend the shoulder seam / expand the armscye to loosen up this area).
- If you want to sew hems or sew a hood / pocket to your piece, first stitch everything in place and iron it. Then check that everything is exactly where it should be, and that the width of the hem is the same along the entire length. Only then start sewing on the machine.
- Sew on right next to the stitching thread, not on it, so that you can pull it out.
- You can start stitching with two overlapping stitches, so you don't have to make a knot on the stitching thread. Or you can start the usual way - with a knot - but be careful not to sew through the knot afterwards. The stitching thread would then be difficult to pull out.
- Simple garments (especially children’s clothing, knitwear and sweatshirts) usually do not need to be stitched. Always check the paper pattern and decide (according to the complexity of the piece) whether you want to temporarily stitch some seams or not.
Recommended and related articles :)
- Thread tracing is closely related to stitching. You can read more about this technique (thanks to which you can accurately transfer marks or lines) in this article: Thread tracing.
- Before you start stitching, you should have seam lines marked on the fabric. You will learn how to transfer patterns and marks to the fabric in this article: How to transfer the paper pattern to the fabric.
More articles with useful information:
- Sewing elastic fabric on a regular sewing machine
- 5 sewing tools that you cannot buy in the haberdashery
- How to calculate the required amount of material
I hope that you liked today's article. If you have a moment, please tell me how what you would like to see on the blog in the future in the comments below.
Have a nice day and don't forget to sew with love!
Peťa
PS: This beautiful French Terry knit is from the Dumlatek.cz store. You can get it here: French Terry - Cats.