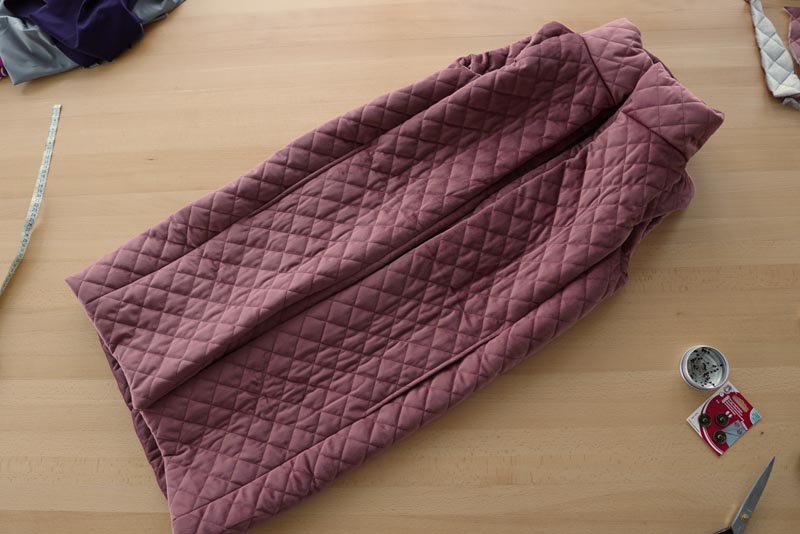
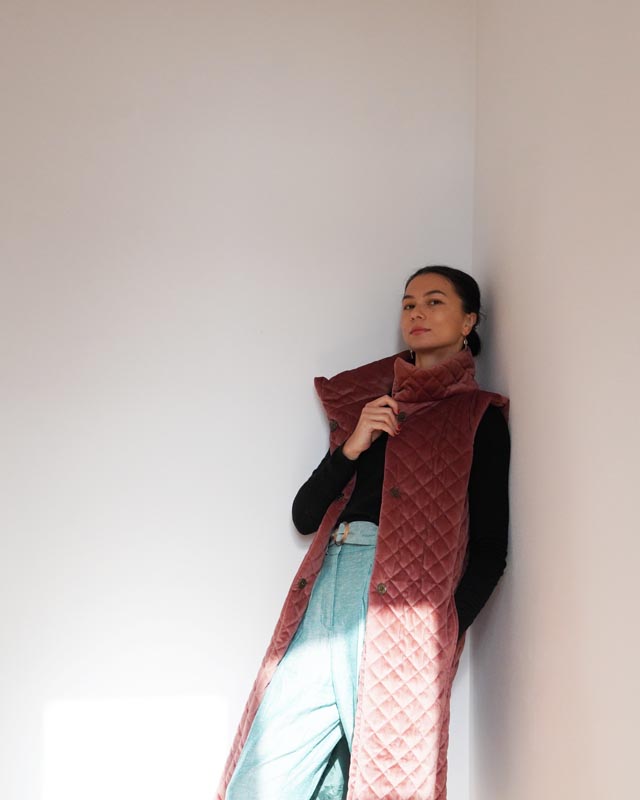
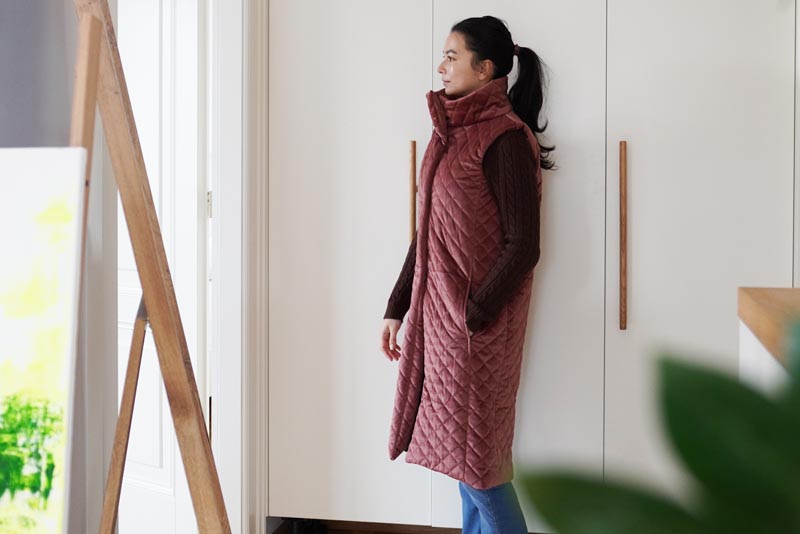
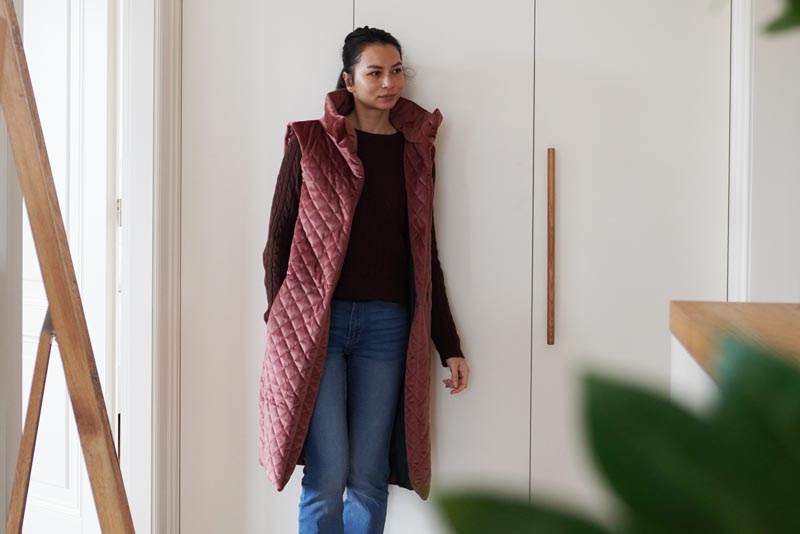
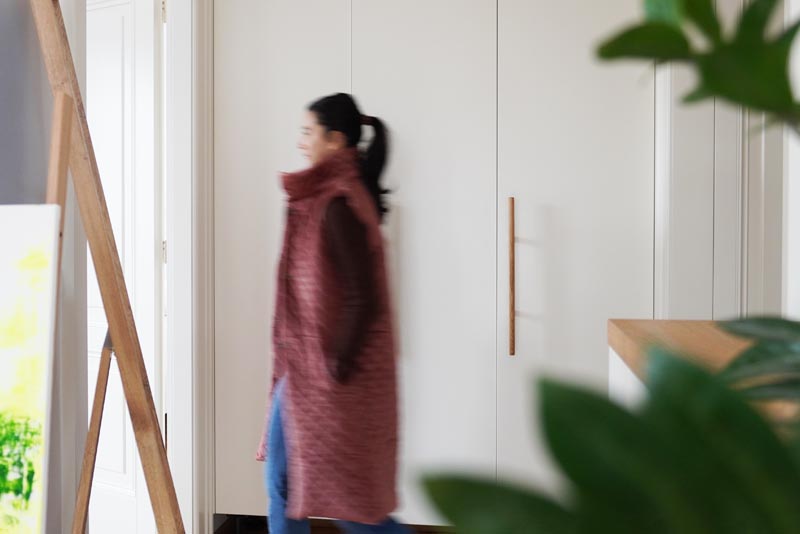
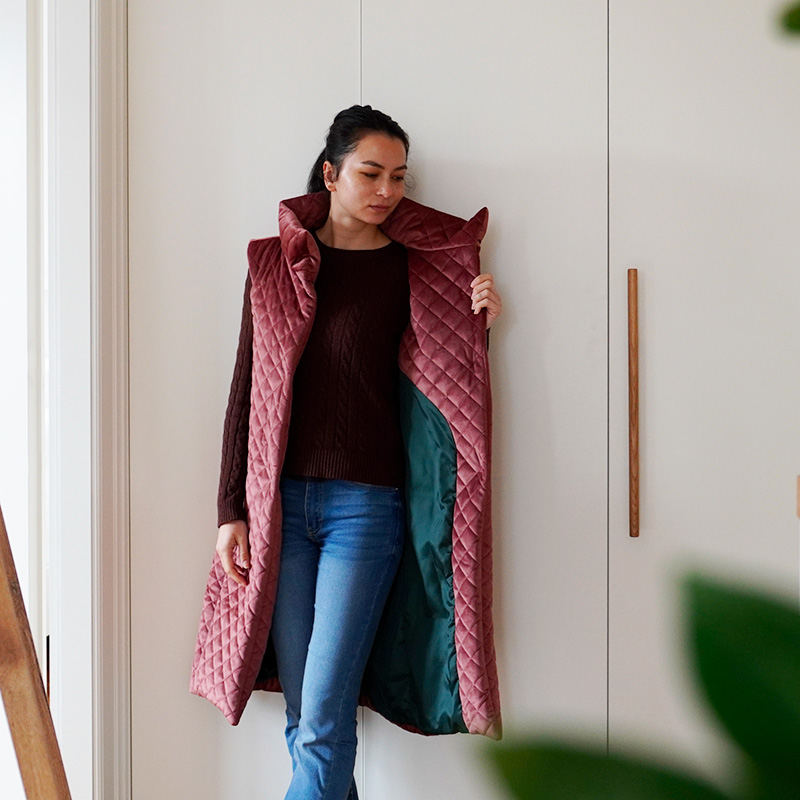
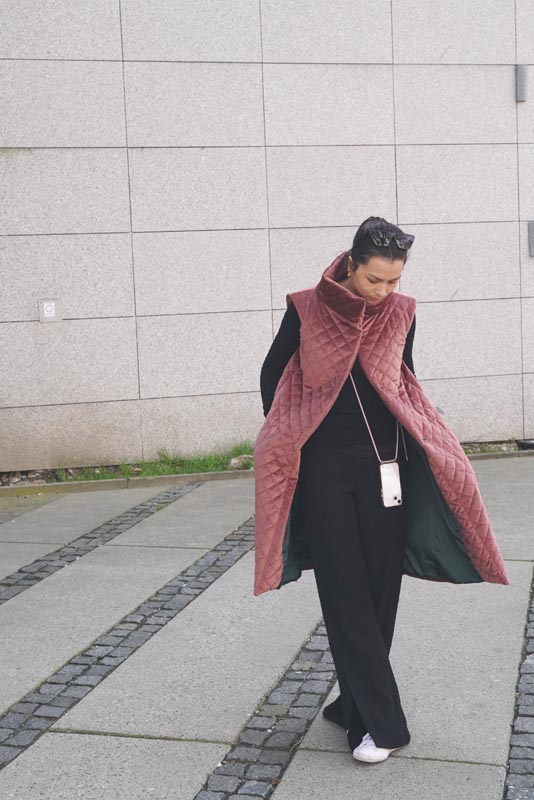
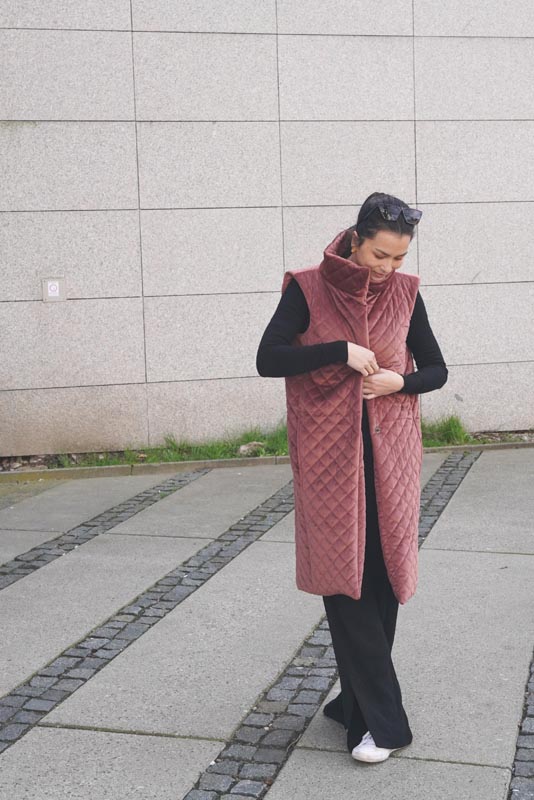
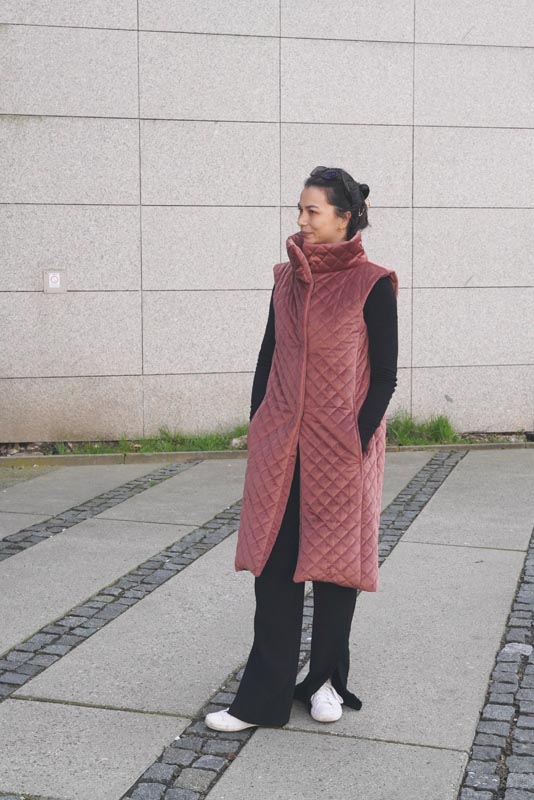
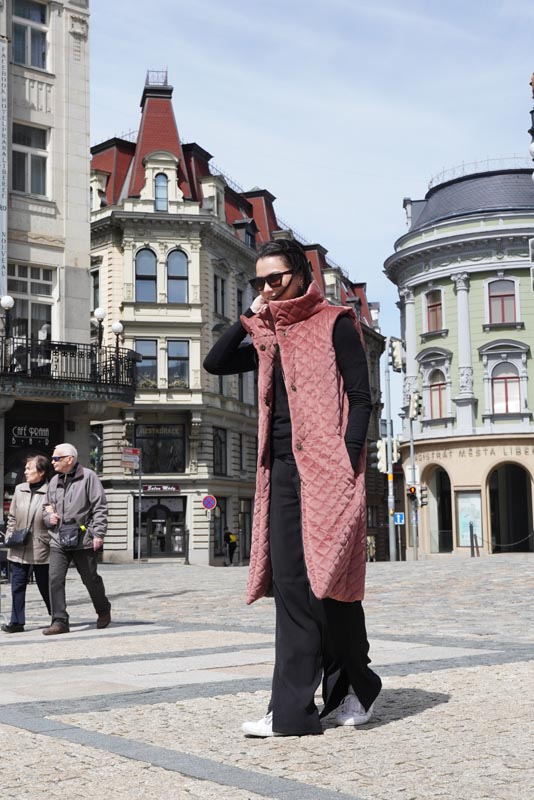
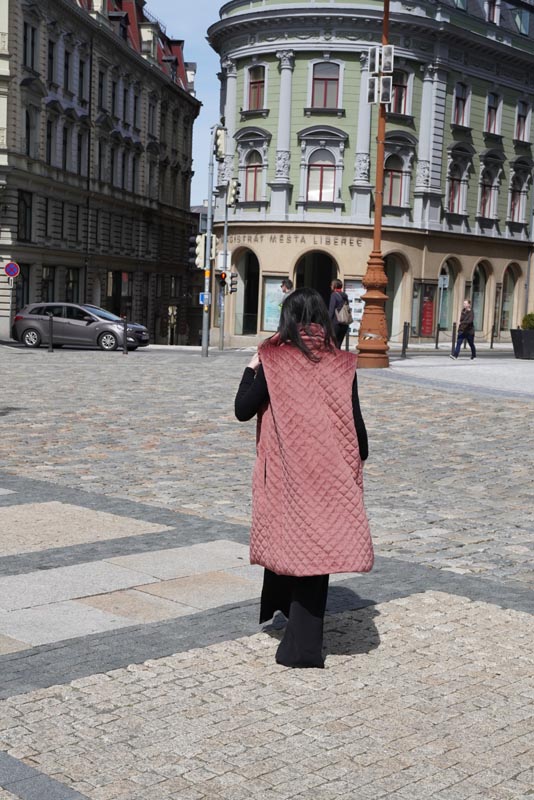
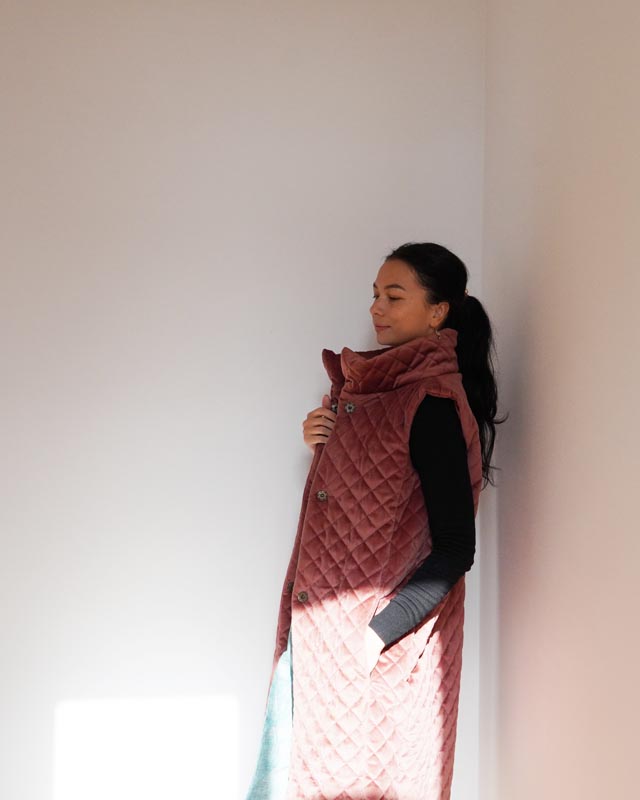
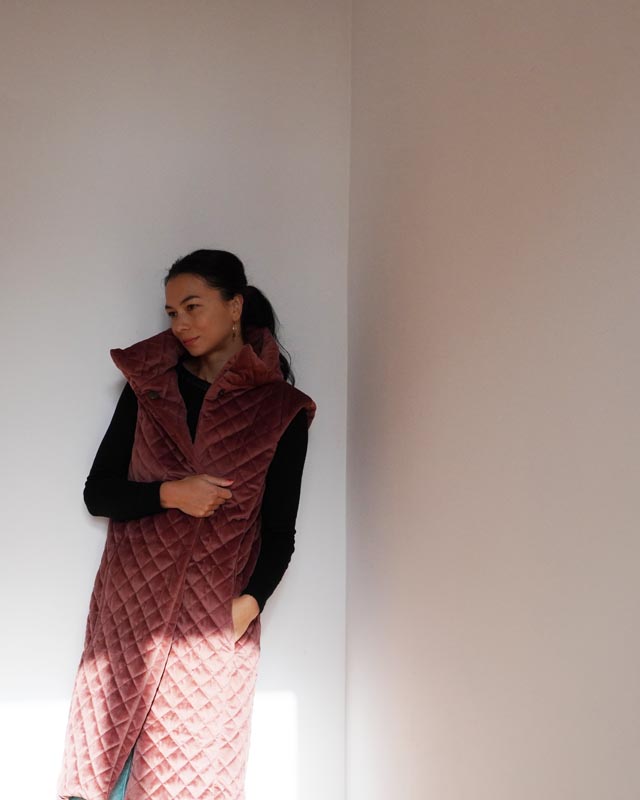
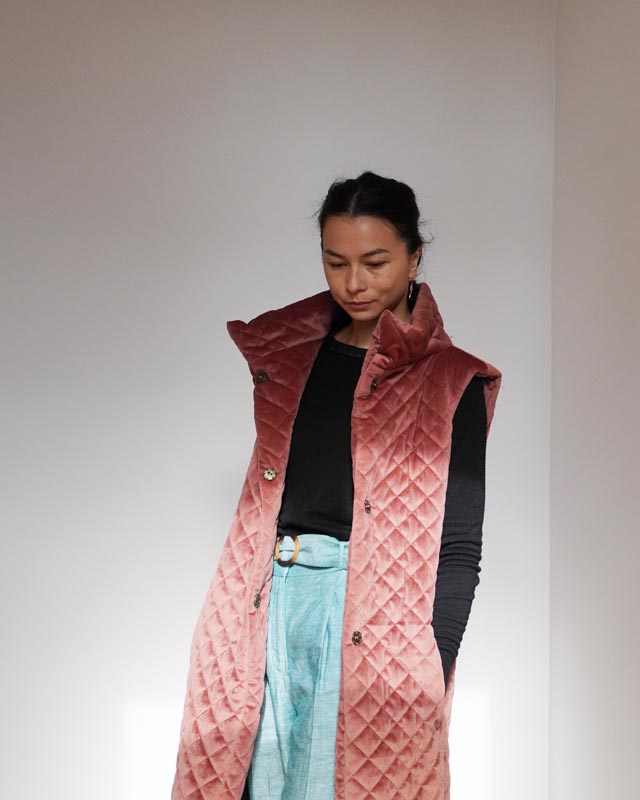
In today's article, I would like to show you how to sew a long women's vest with a lining, nested pockets and a wide collar.

You can find the sewing pattern for this model in my e-shop in PDF format:
Recommended material for women's vest:
The sewing pattern of the women's vest is intended for thick woven fabrics such as e.g. coat fabrics (tweed, fleece, boiled wool, etc.)
We will also need a lining fabric (classic lining fabric).
Top fabric (width 140 cm):
- sizes 32–38: 2,3 m
- sizes 40–48: 2,5 m
- sizes 50–60: 3 m
Lining fabric (width 140 cm):
- sizes 32–38: 1,8 m
- sizes 40–48: 2 m
- sizes 50–60: 2,5 m
Sewing tutorial - women´s vest AURORA
Photos are inserted in the form of galleries for the compactness of the article. To enlarge them and have a better view of the details, simply click on any of them.
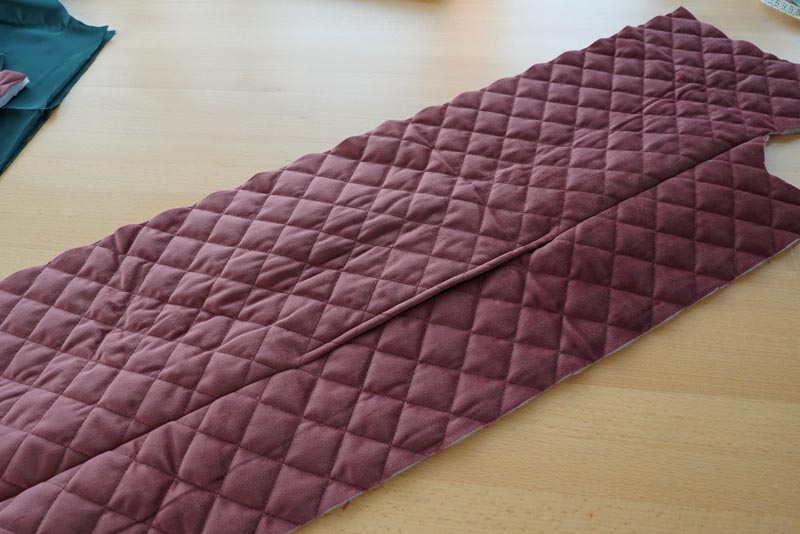
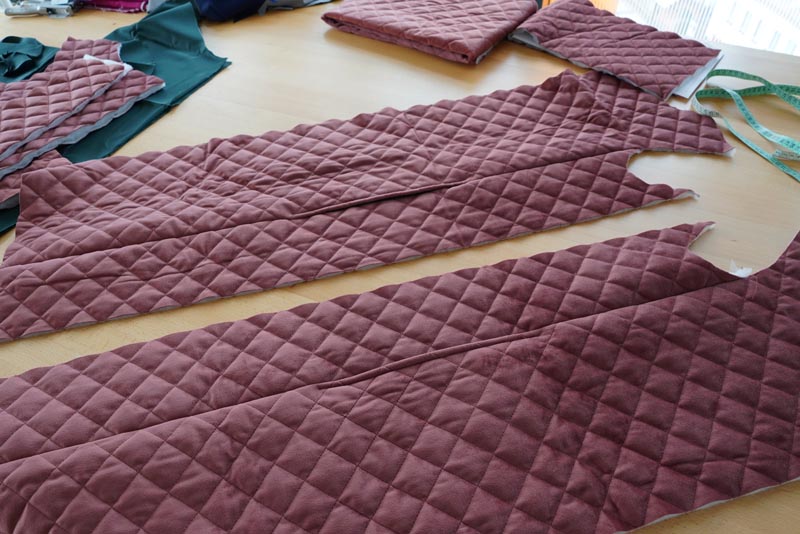
1 - Pattern layout
The pattern contains the following pieces:
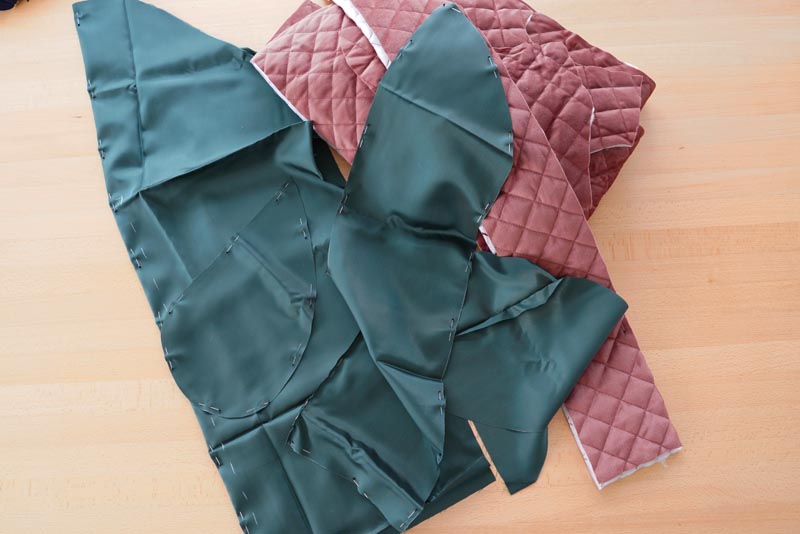
top fabric:
- 2x front piece
- 1x back piece (cut on fabric fold)
- 2x side piece
- 2x facing of front piece
- 1x facing of back piece (cut on fabric fold)
- 1x collar (cut on fabric fold)
lining fabric:
- 4x pocket
- 2x front piece - lining
- 1x back piece - lining (cut on fabric fold)
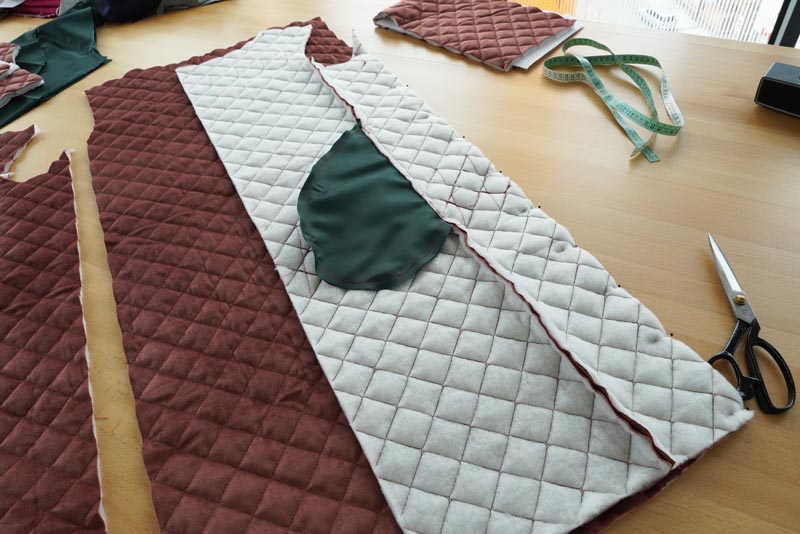
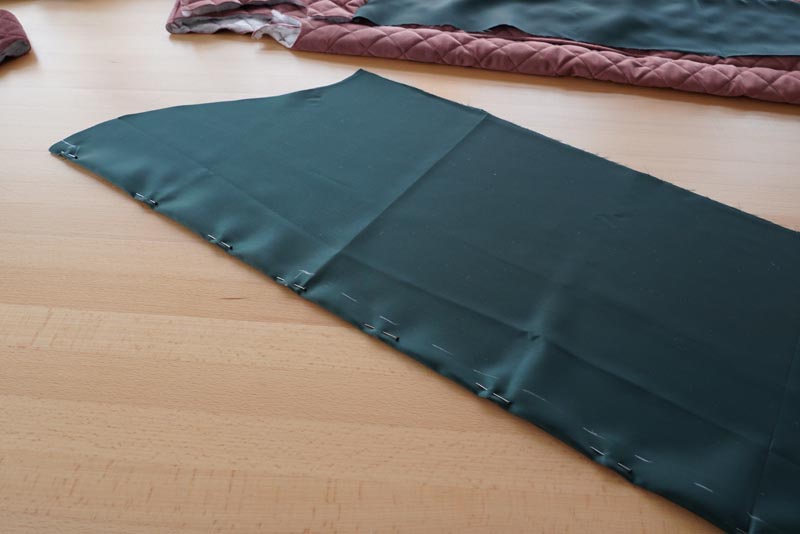
1 - Pockets
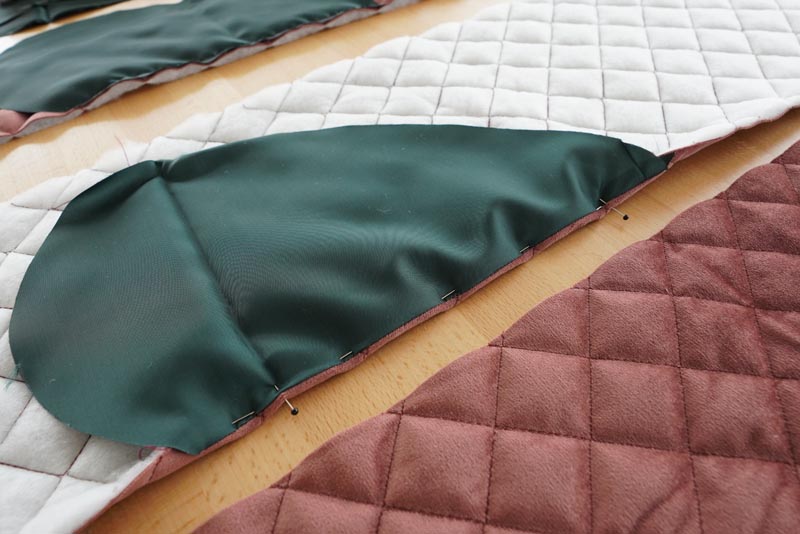
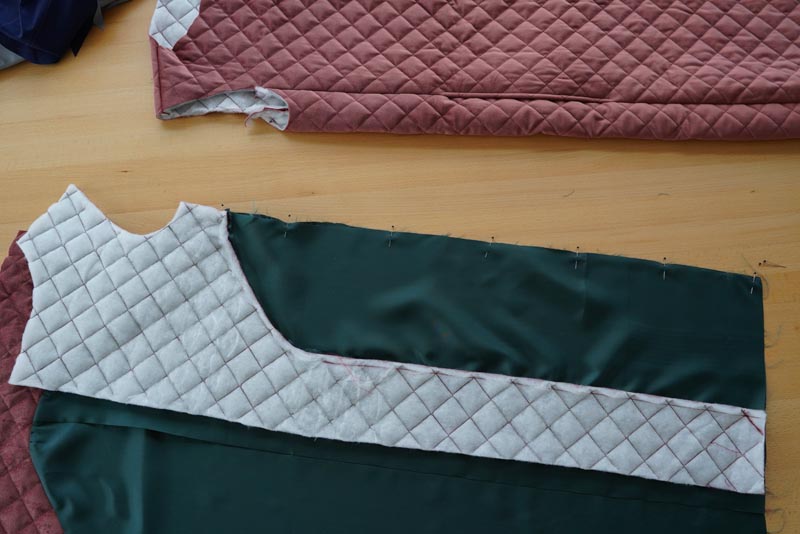
The first thing we do is make the pockets. We pin the pocket parts to the front parts on the front piece (face to face) in the marked place in the cast-off seam and sew.
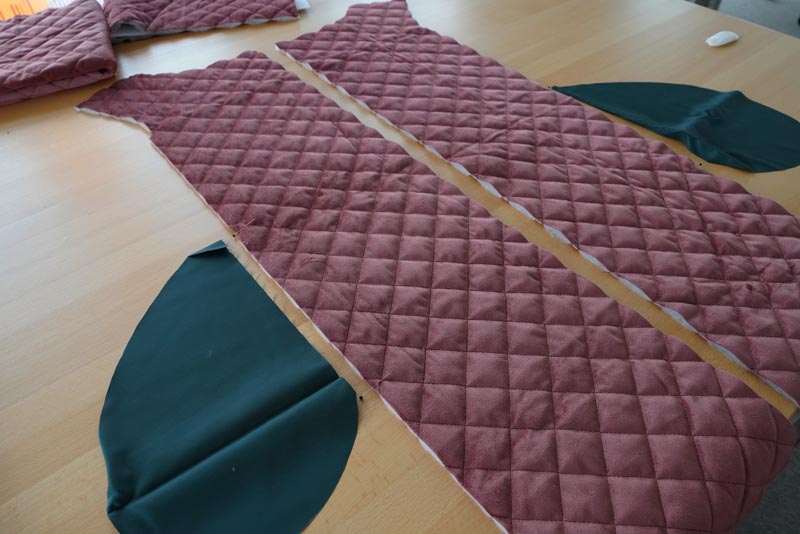
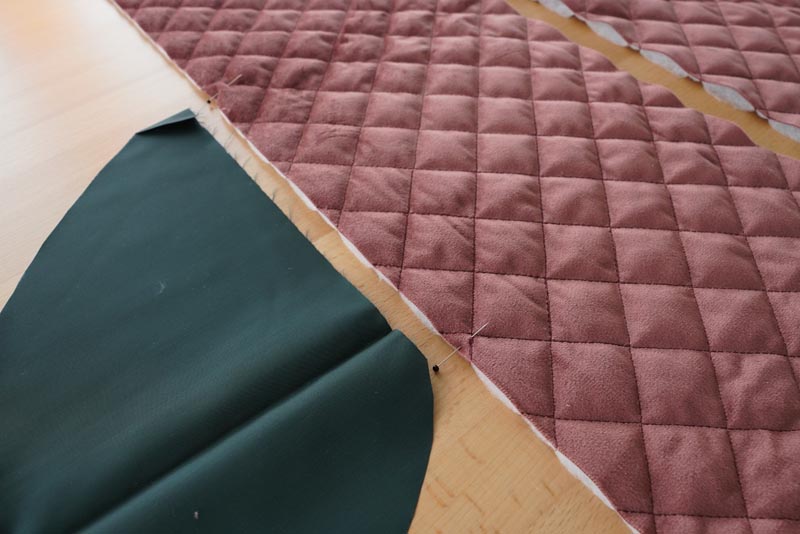
Pin the pocket parts and sew them also to the side parts according to the marked location on the paper cut.

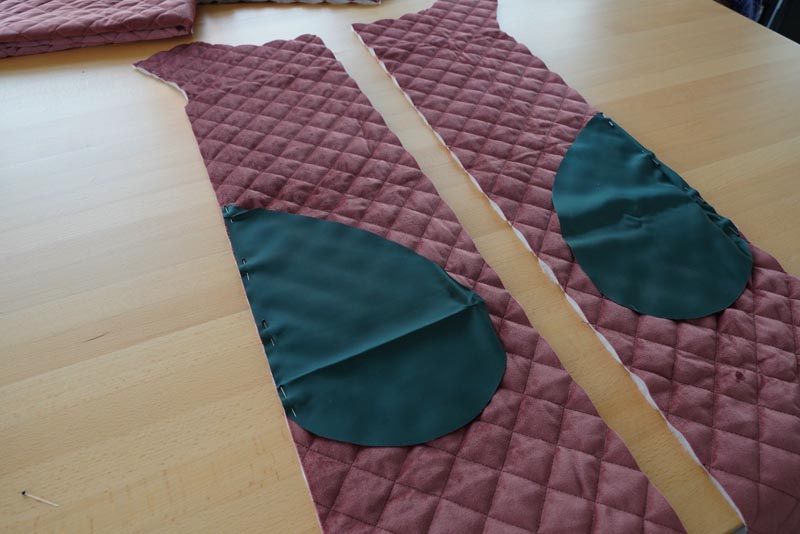
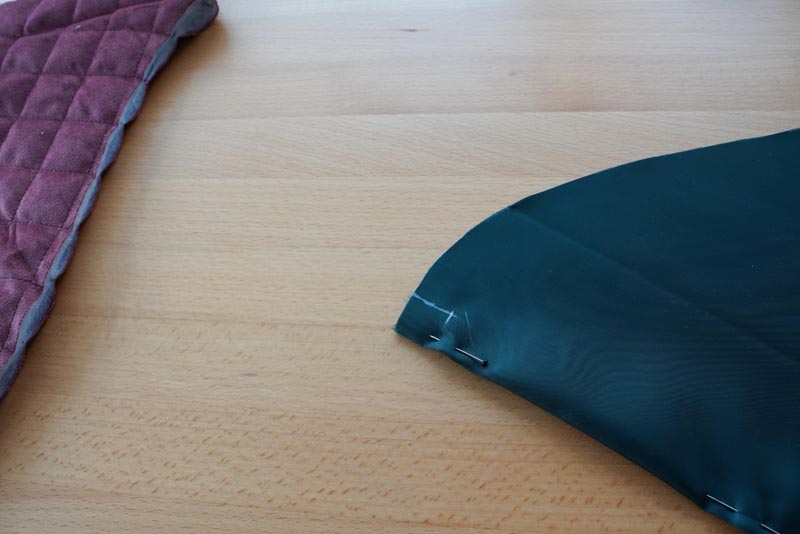
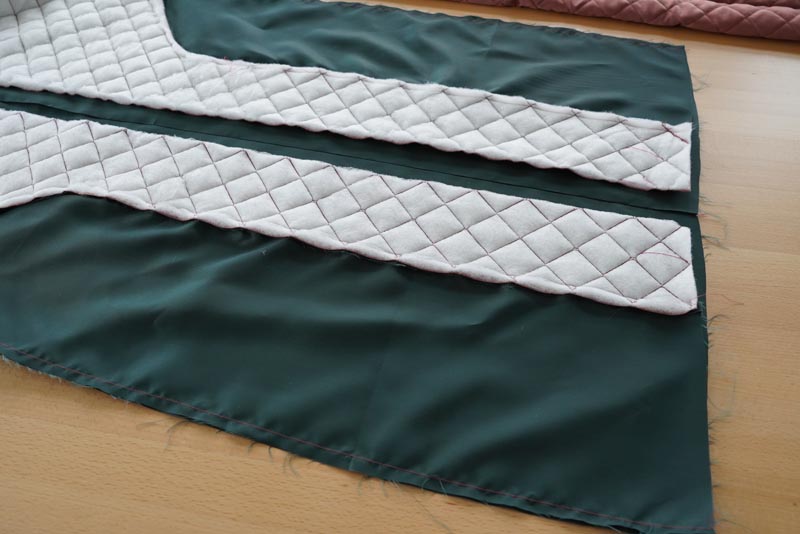
Fold the pocket parts to the reverse side of the front parts. We pin the pocket pieces that have been folded up in this way in the pocket opening so that the lining does not peek into the front of the vest. We measure approx. 4 cm from the upper and lower edge of the pocket.
On the front side of the front piece, sew the pocket seam between the measured marks. This stabilizes the lining "inside".
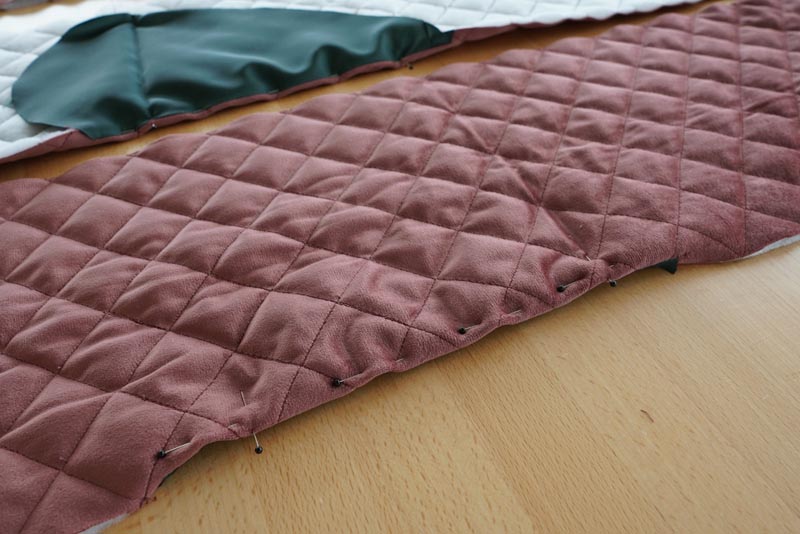
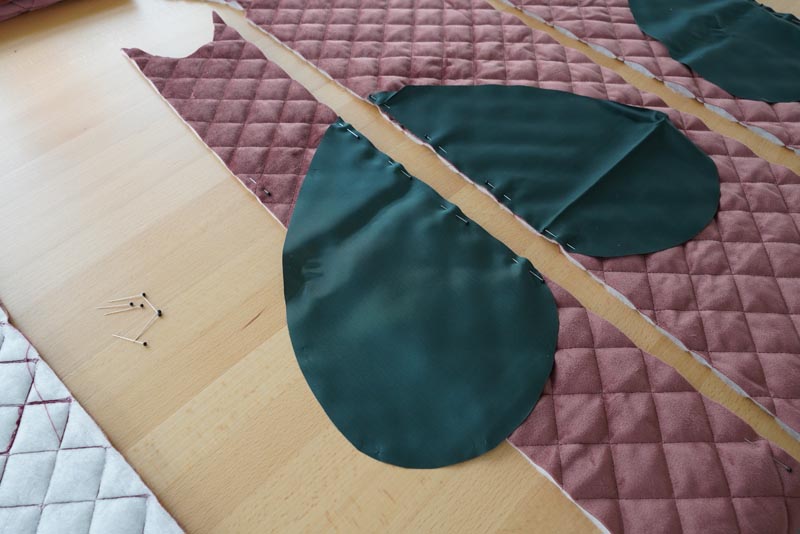
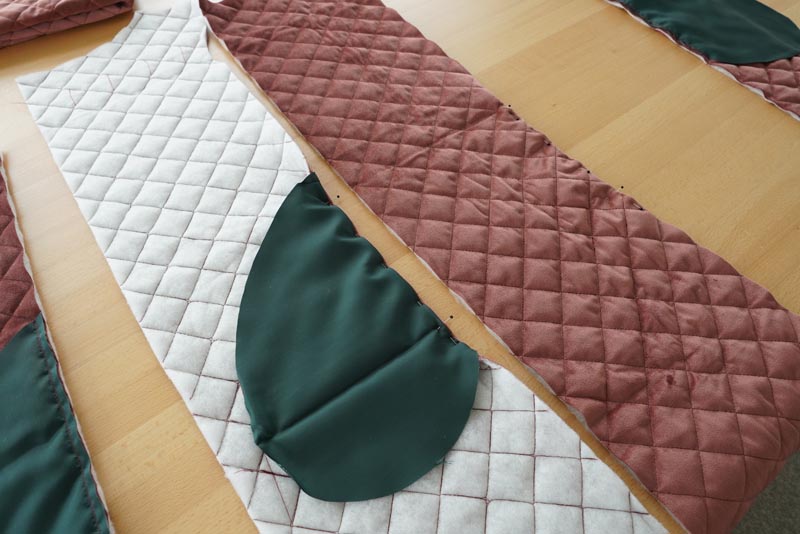
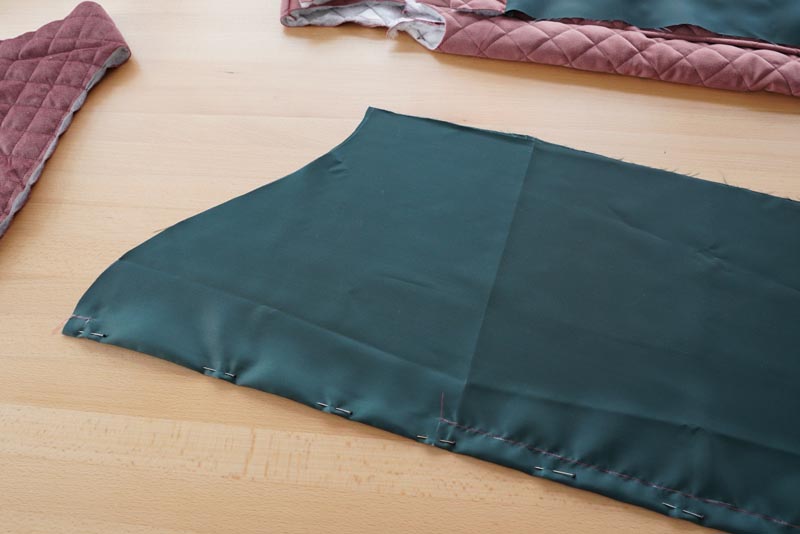
In the side parts, we leave the pocket parts "open" and graft them in the sewn region together with the seam allowance. Also approximately in a span of 4 cm from the top and bottom.


Place the side parts on the front parts, face to face. We sew the entire cast-off seam, except for the pocket flap, and we also sew the pocket pieces into the pocket pouch. This will create a nested pocket inside the cast-off seam.
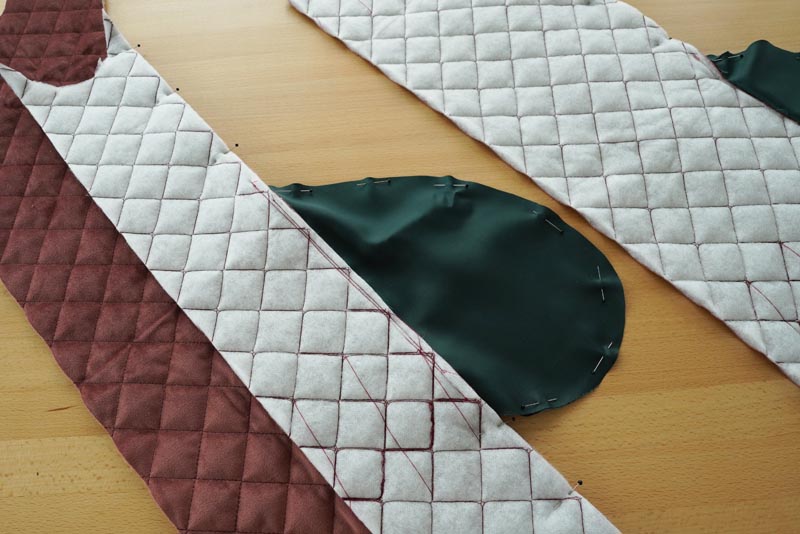

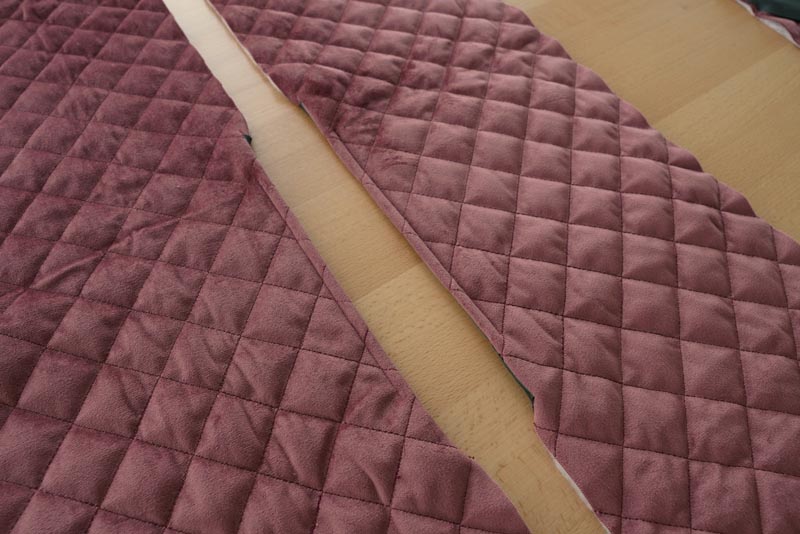
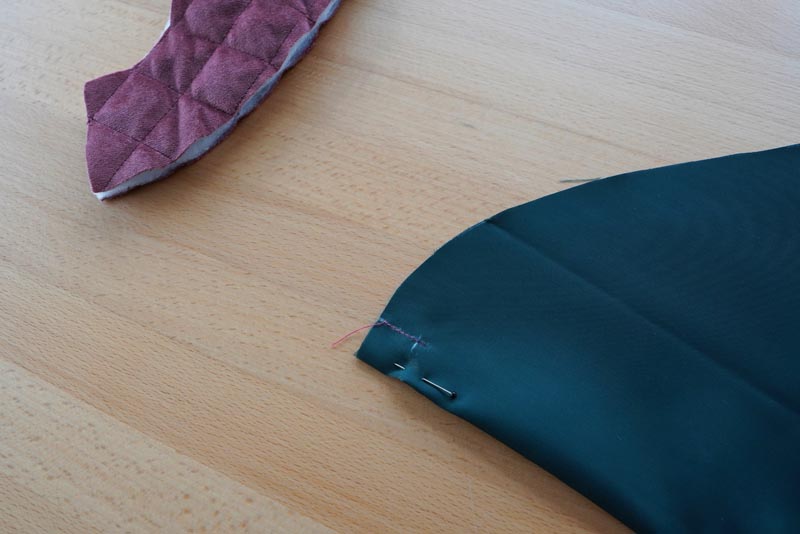
At the pocket opening, we have unsewn ones of approx. 4 cm. We will now sew these along the front part at the same time as the side part.

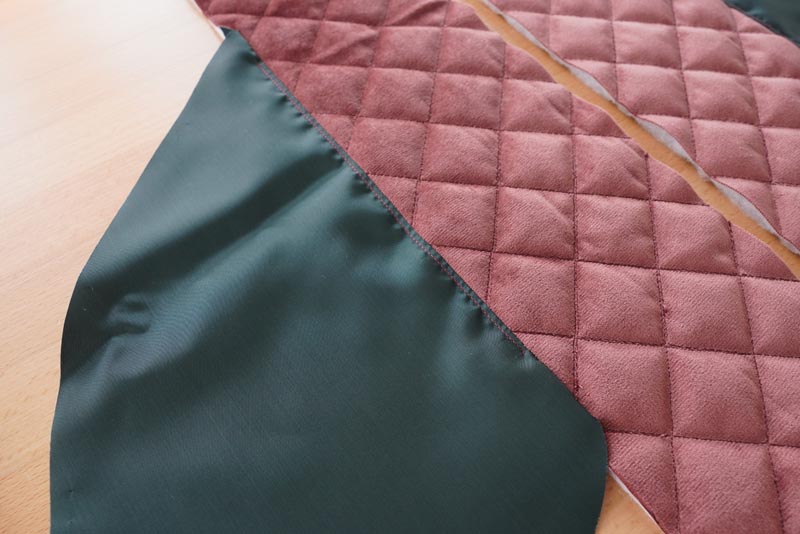
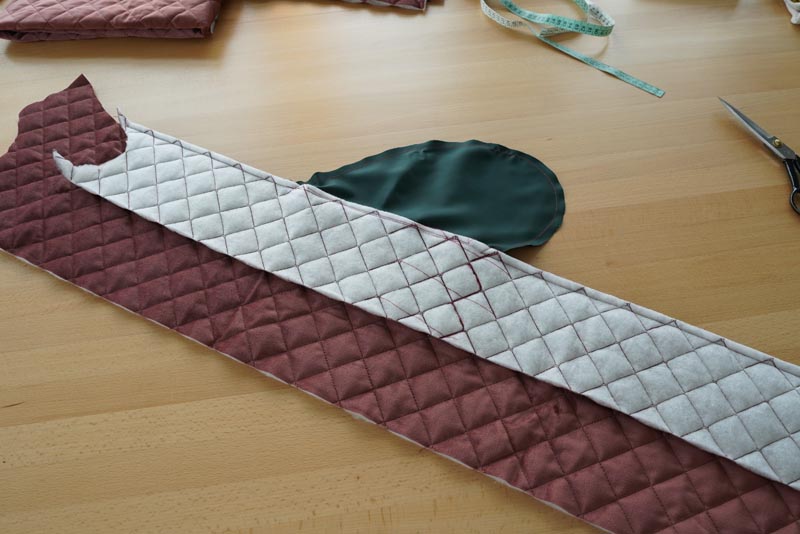
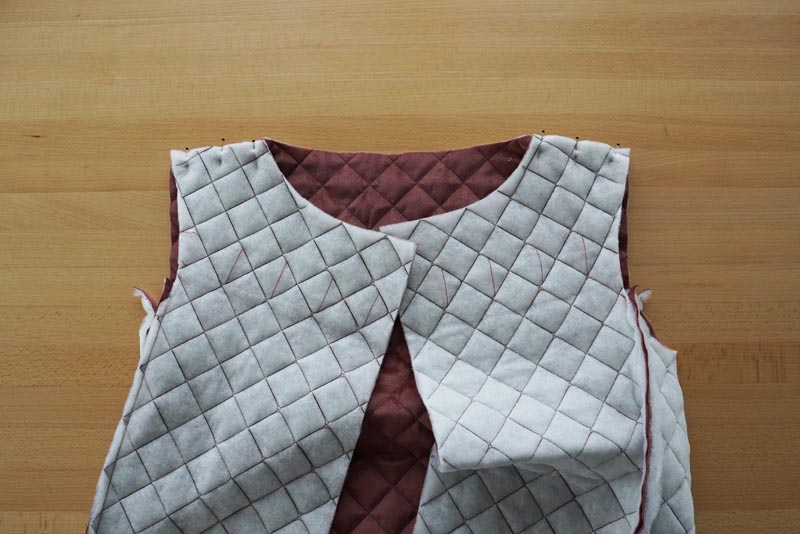
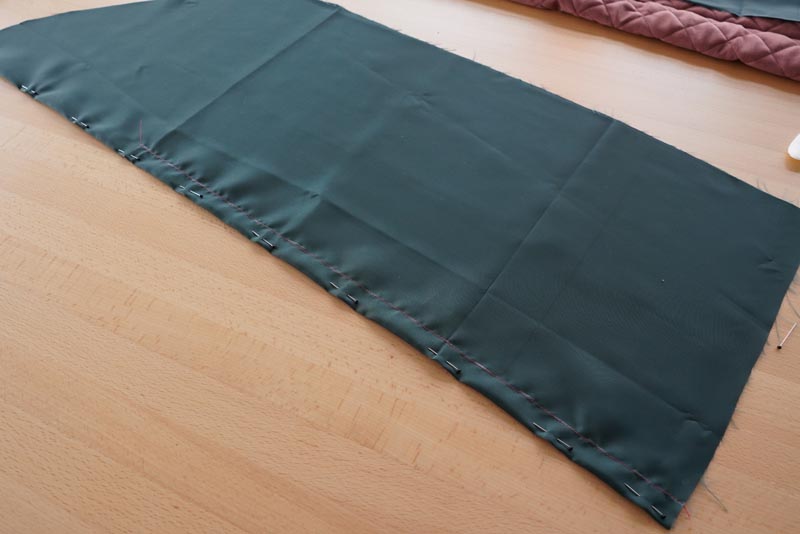
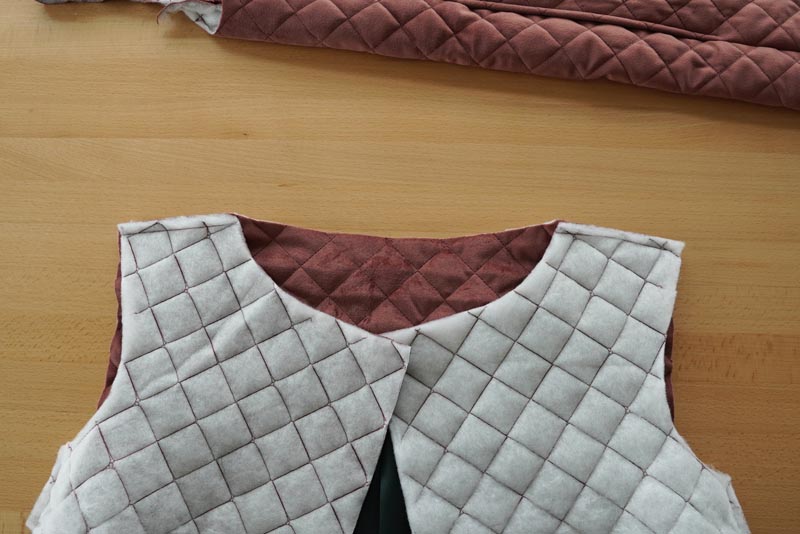
3 - Completion of the rear part and the front and side parts
We place the back part in front of us, face up. Place the sewn front and side parts over it. Pin and sew the cast-off seams.

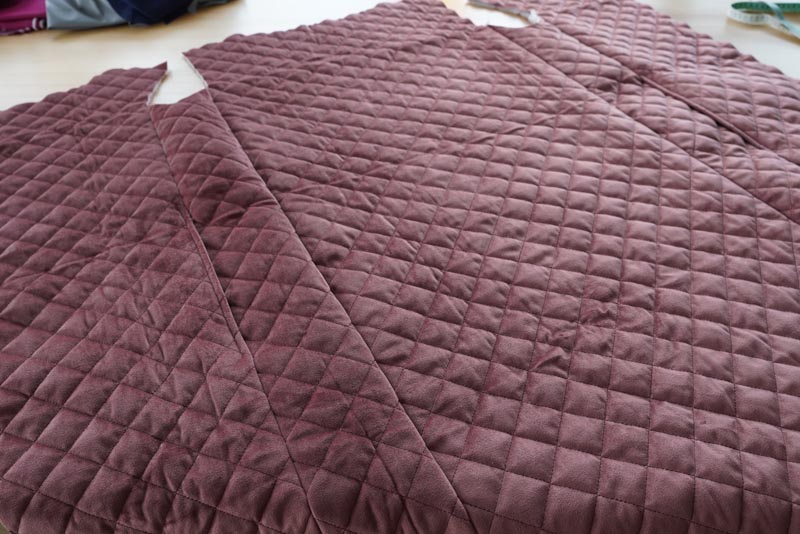
We will also pin and sew both shoulder seams now.
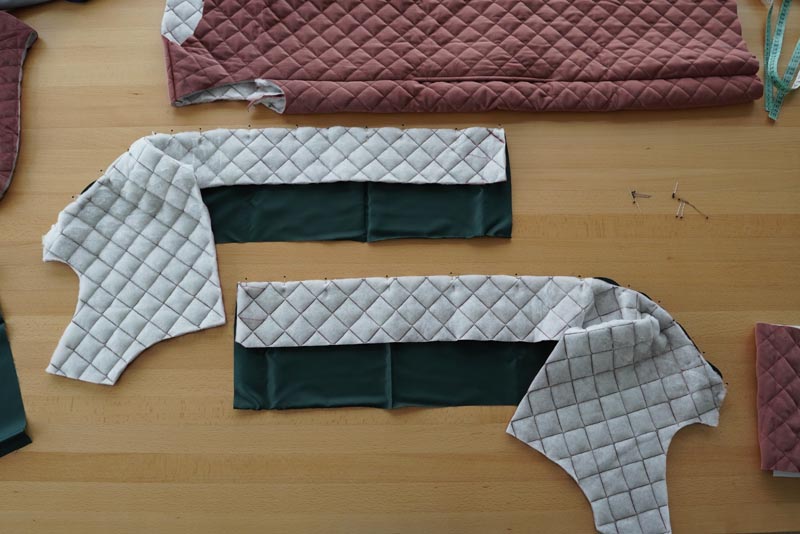
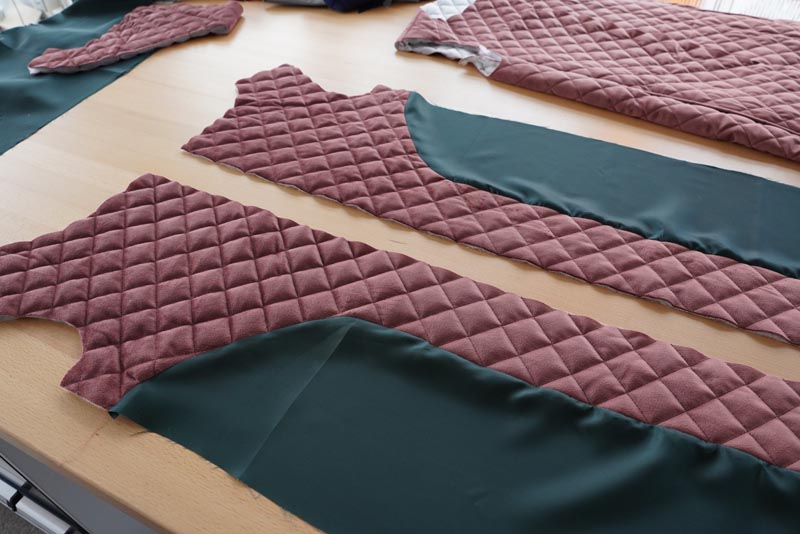
4 - Front facing and lining
We will prepare the lining front parts. Place the front pads face down over them. Pin and sew the parts face to face in the entire princess seam.
We lay out the parts and iron the lining.
5 - Back facing and lining
Fold the back lining part facing inwards. According to the paper cut, we will transfer the marks for stitching onto the piece. We sew approx. 2 cm downwards from the upper arch. In the thoracic spine, we will leave part of the back lining unsewn. Then we continue with stitching again in the lower part according to the markings.

Open the back lining part and iron it. A small counter-fold will be created in the thoracic spine for good mobility and comfort of the vest during wear.
We place the back lining face down over the front side of the back lining part and carefully pin it in the entire arc. We unfold the completed part and iron the lining.
6 - Completing of the lining part of the vest
Place both front lining parts face to face over the back lining part. Pin and sew both side seams.
We also pin and sew both shoulder seams.

This completes the entire lining part of the vest.
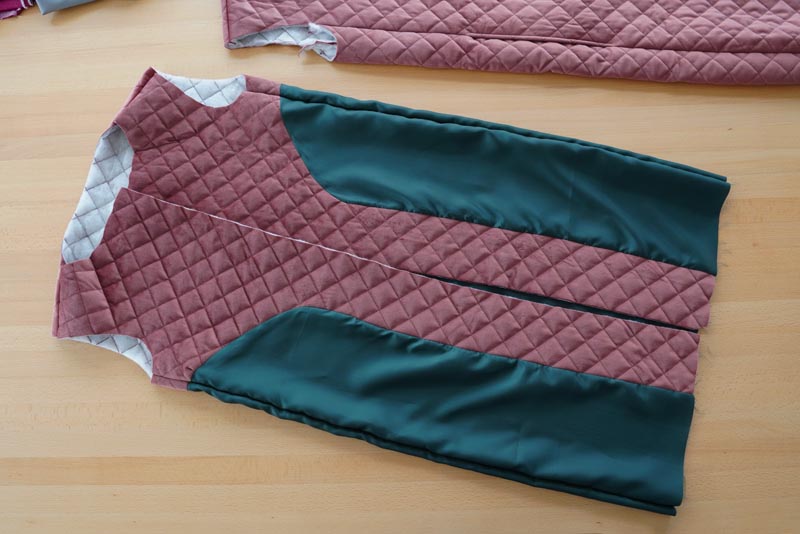
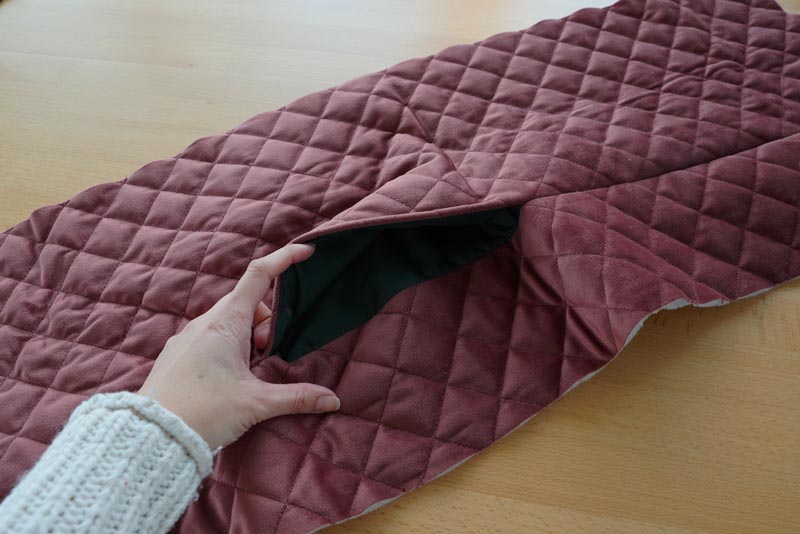
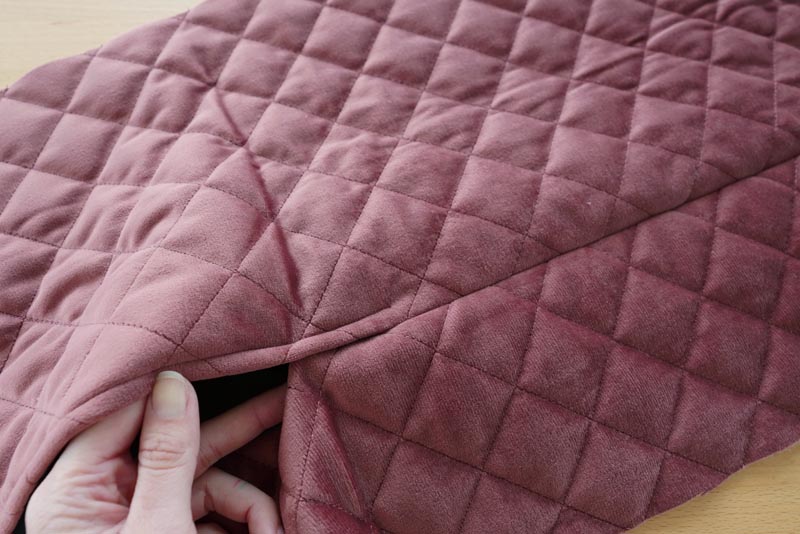
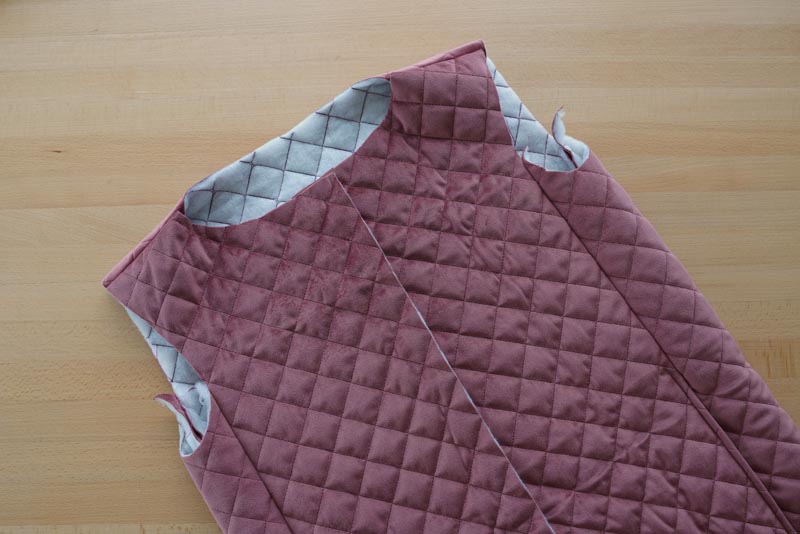
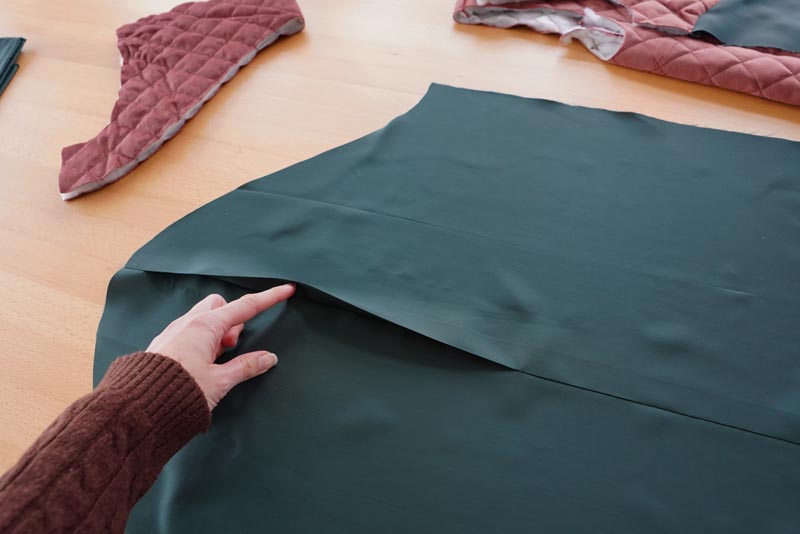
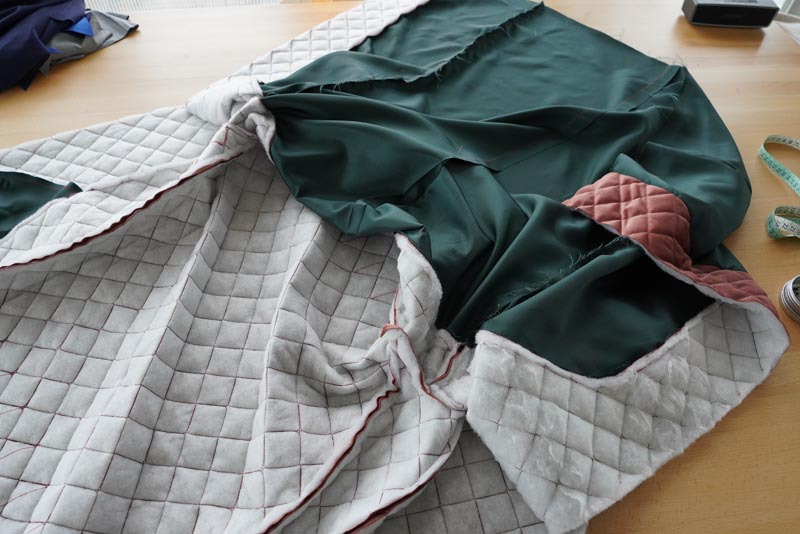
7 - Armholes
We prepare the top vest in front of us, turned inside out. Place the corresponding lining armhole over one of the armholes. Pin and sew the entire armhole.
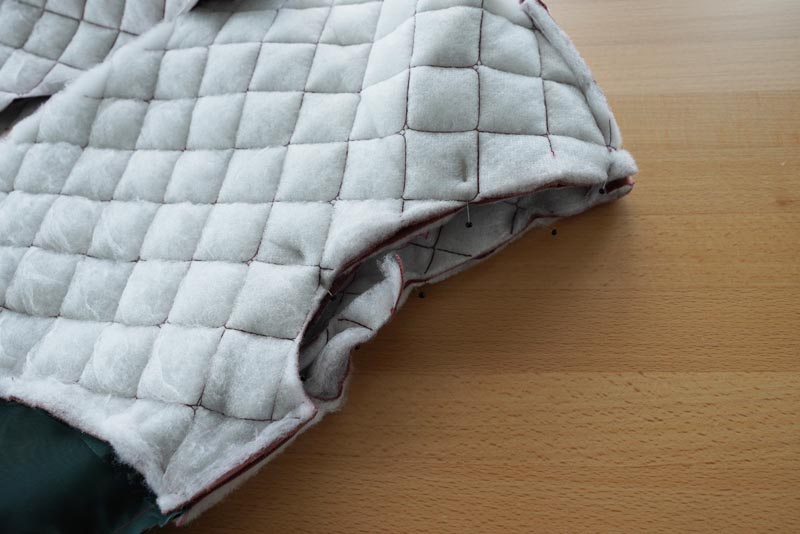

We will now place the vest face down in front of us so that the top vest is on the outside and the lining is on the inside. Both parts are back to back. We fold back the front top part so that we get to the unsewn armhole. We pin and sew it according to the picture below. It's really important to do this. If we sewed both armholes in the first step, the vest would not be able to be turned inside out.
We now have the vest turned face up in front of us, the lining is inside. facing us.

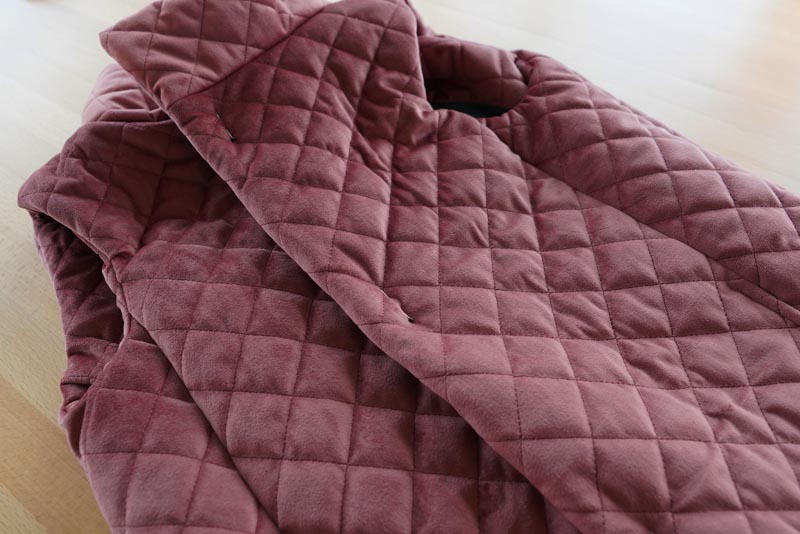
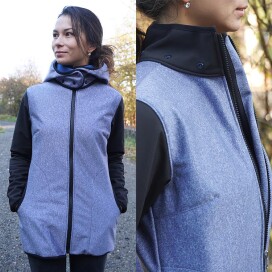
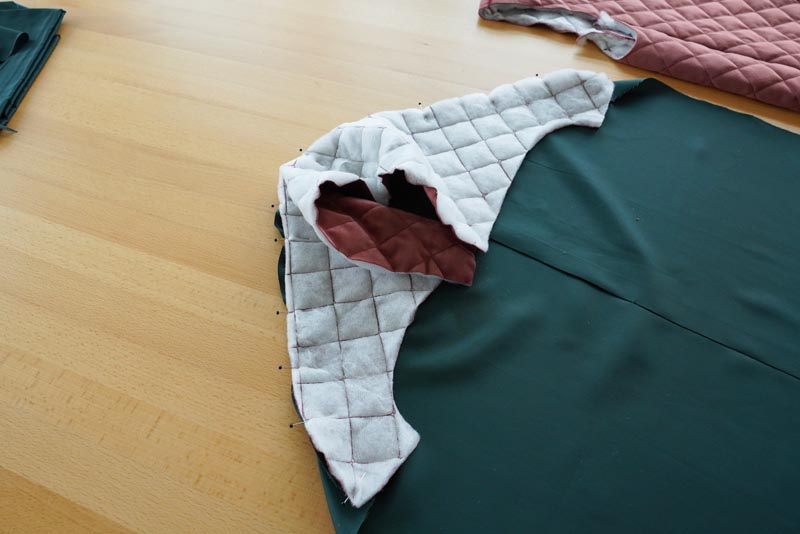
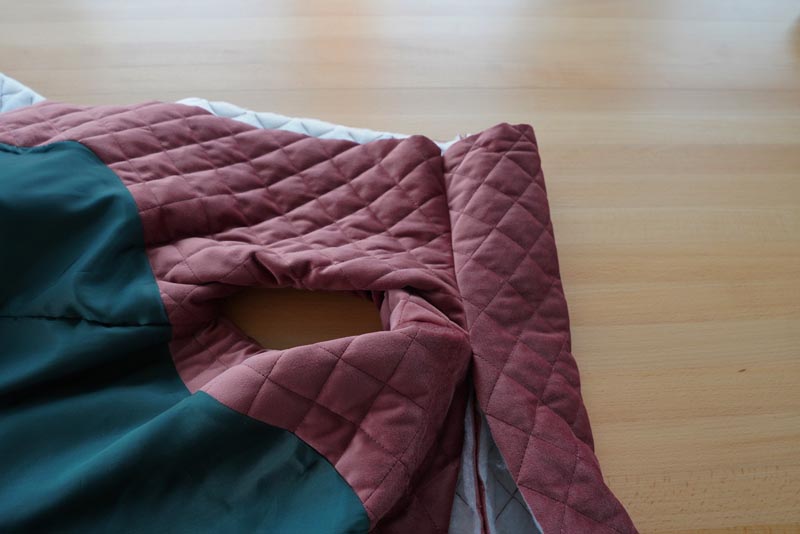
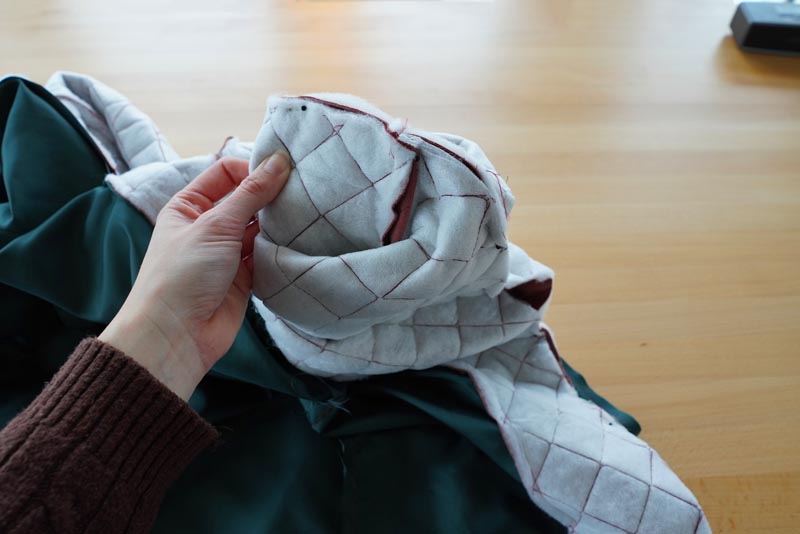
8 - Collar
Pin the neck of the top vest and sew the collar, face to face.


Roll up the collar, see picture below. From the side, we attach the collar of the lining vest to it, face to face. Pin and sew only the part from the front lining part.

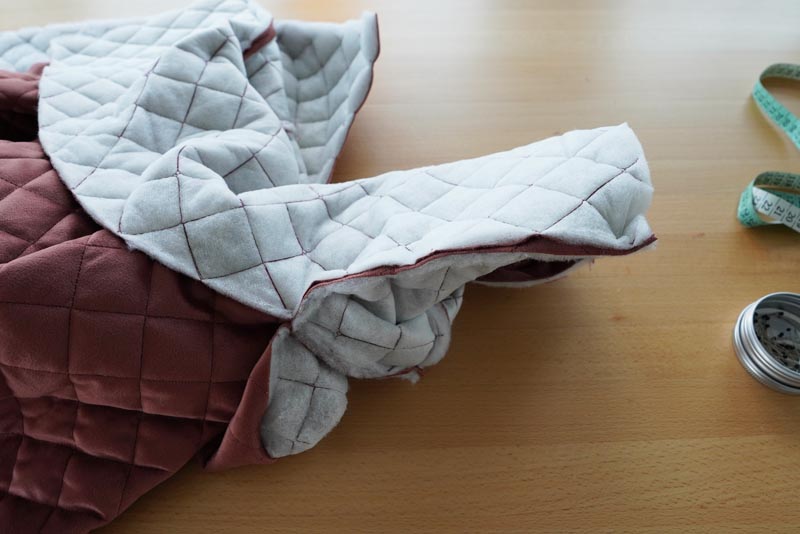
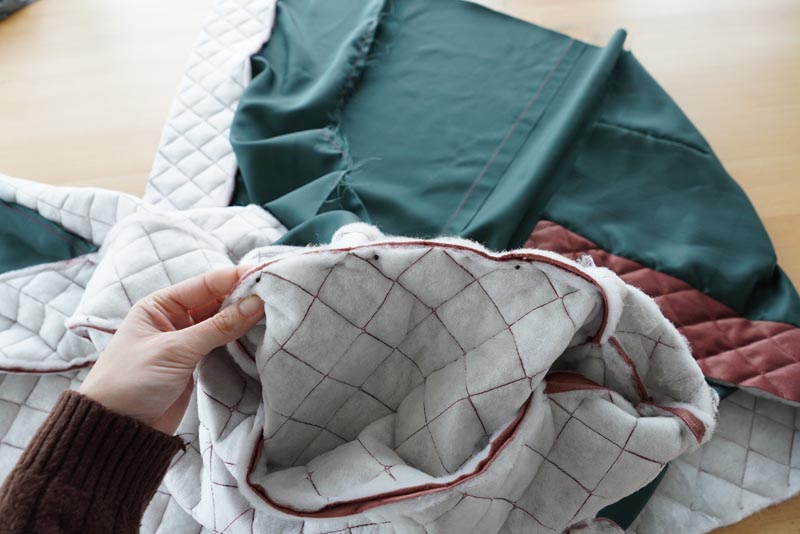
Sew the second front lining part with the collar in the same way. We will be left with an unsewn central part.

We get to it by placing the vest face down. We peel off the lining part and feel the unsewn piece of the collar. Pin it and sew it to the back lining part. This means that the collar is completely sewn and no seam is visible on the inside or outside of the vest.

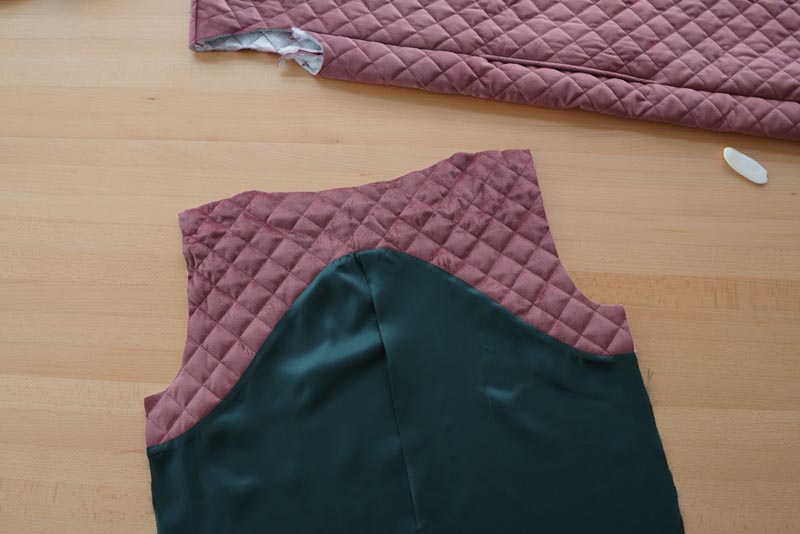
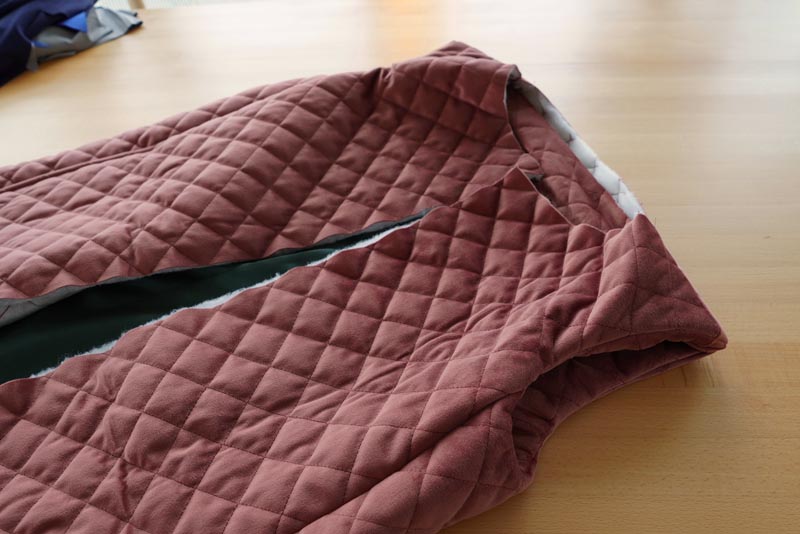
9 - Finishing the lining
Turn the vest inside out. We pin the top and lining parts in both front center edges. We pin from the center of the collar down to the bottom edge of the vest.


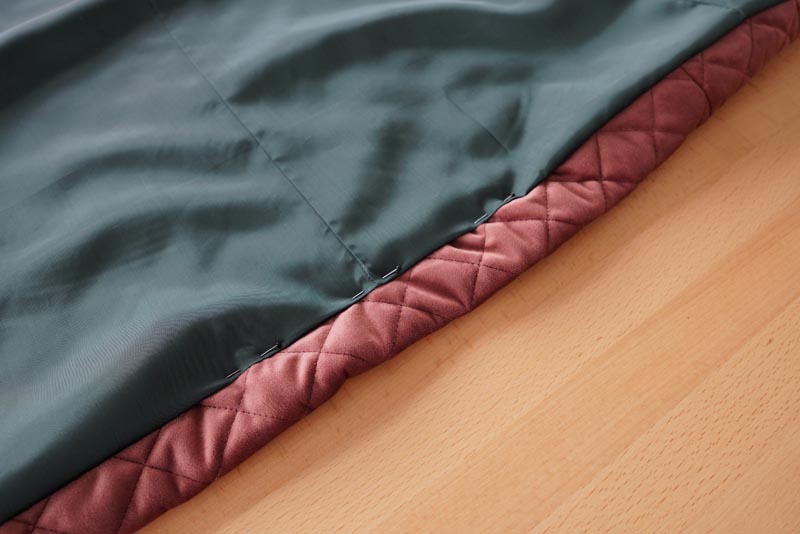
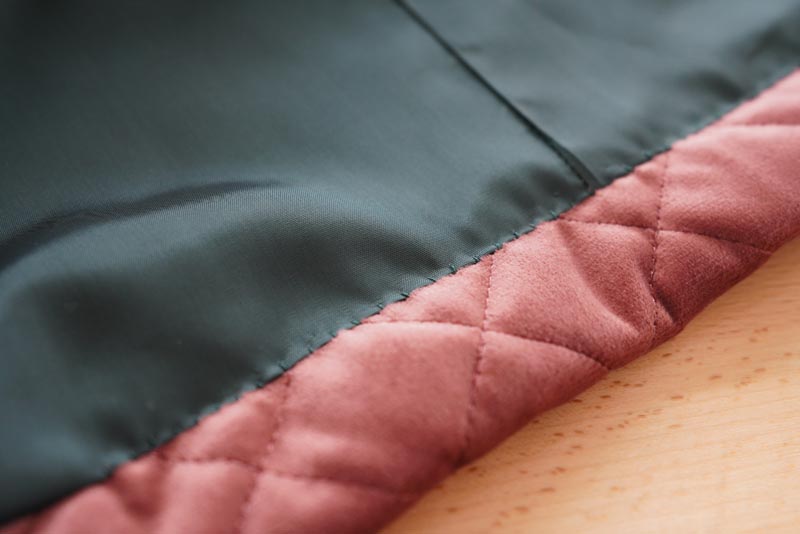
In the lower edge, we sew the lining part horizontally with the lower edge of the upper vest. With the lining, we go down smoothly in the side part to the lower edge of the top vest.
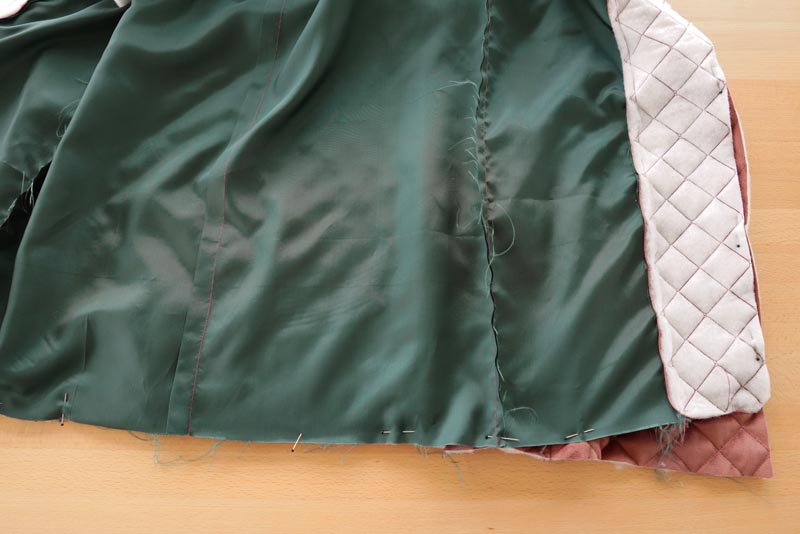
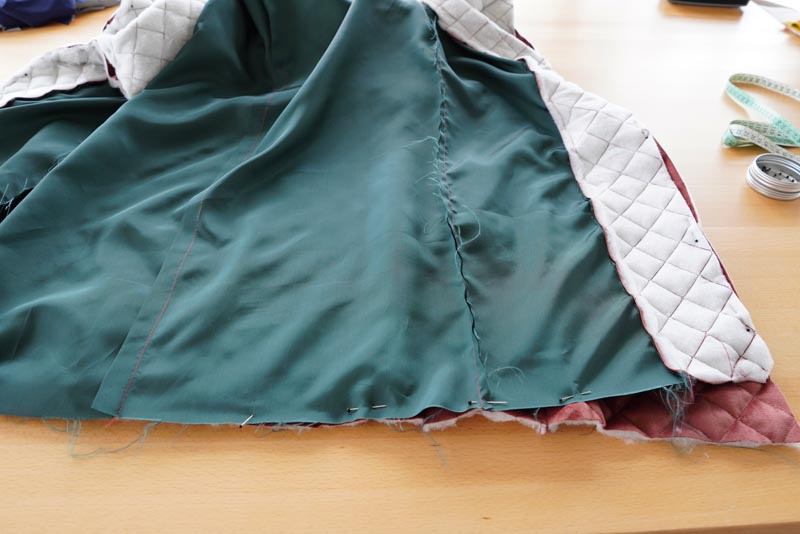
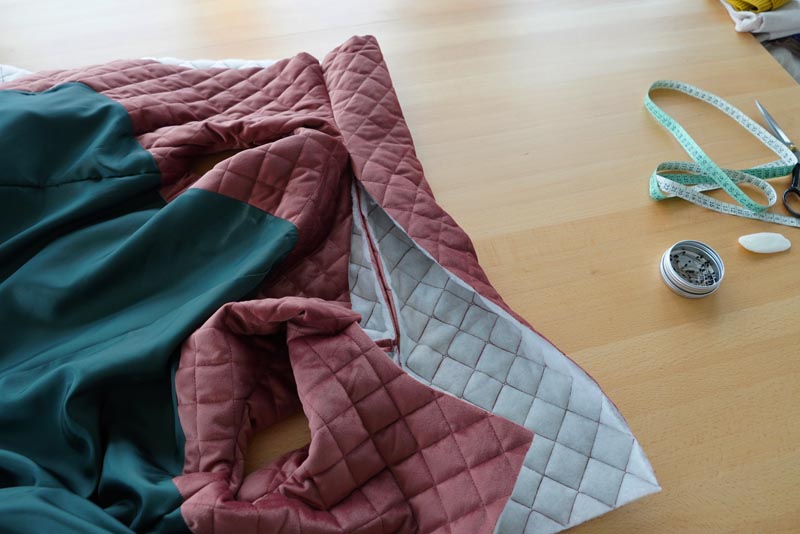
Sew both front center edges together. We will also sew the lower edge, leaving an unsewn piece in the center of the back part, which we will use to turn the vest inside out. In the lower front edges, we cut off the excess material from the top vest. We also cut the corners close to the seam.
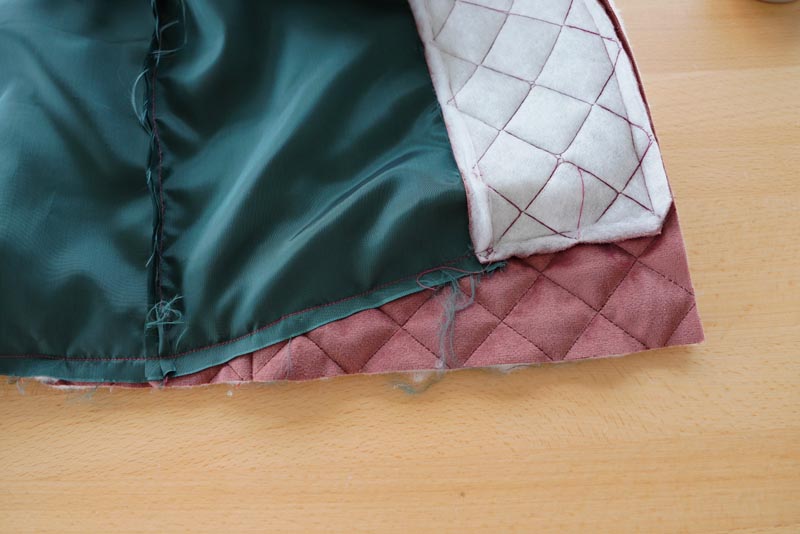


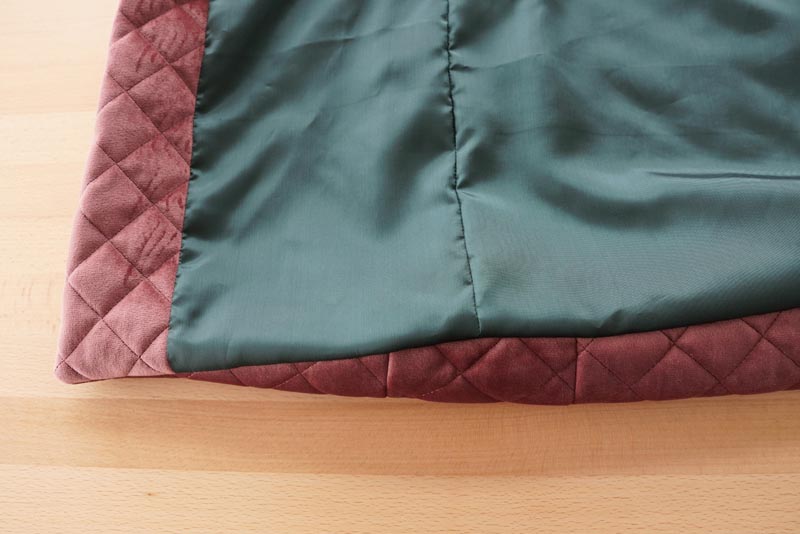
We turn the vest inside out and fasten the lower unsewn edge of the lining by hand with a small stitch to the tab of the lower hem of the upper vest.

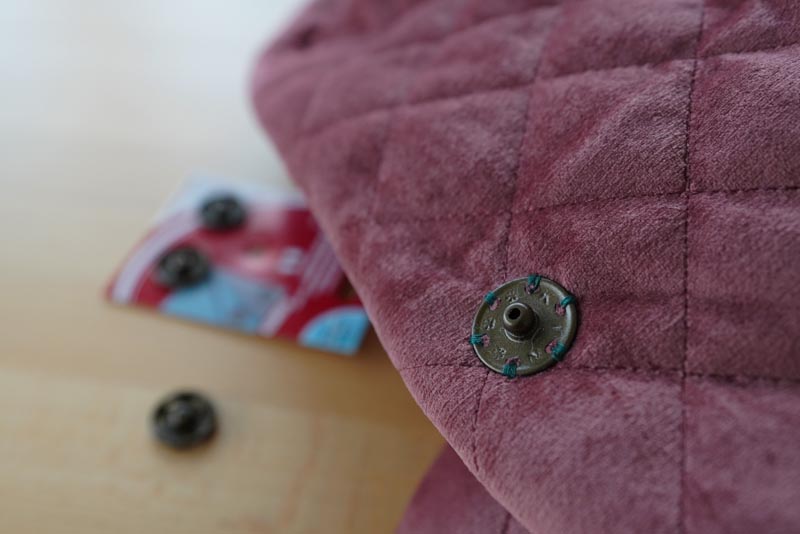
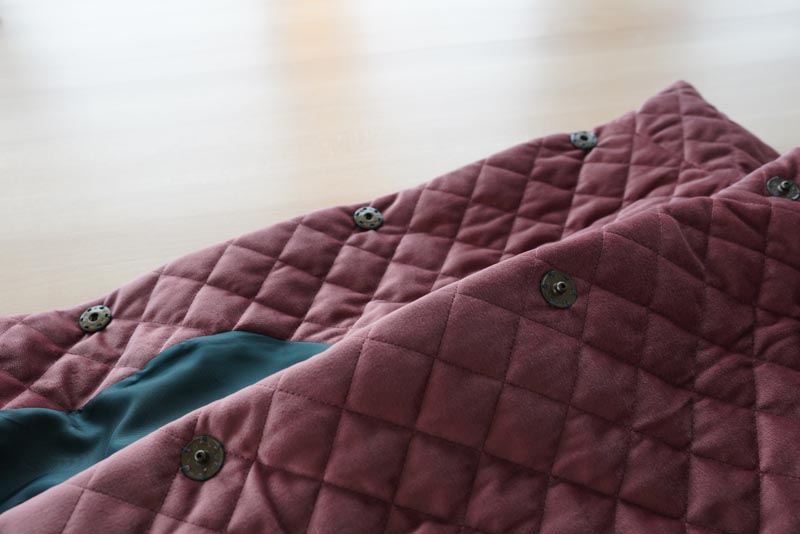
10 - Presses buttons
Now all that remains is to sew the prints. We can sew these in two rows, as marked on the paper cut, or in one row, or completely arbitrary, as it is up to you. Put on the vest and test how wide the switching of the front parts needs to be on your body. Depending on the size of the prints and your taste, sew the prints into the front parts and that's it.