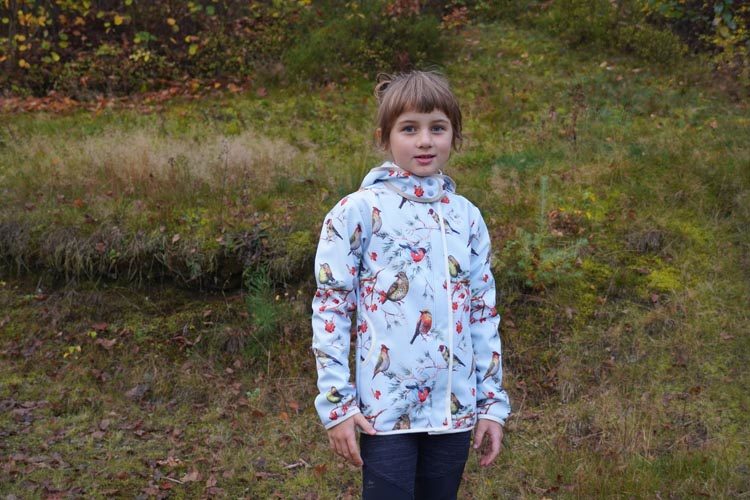
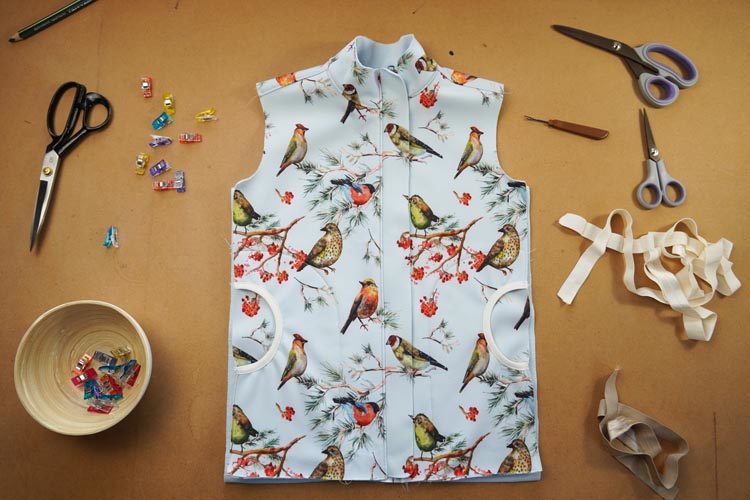
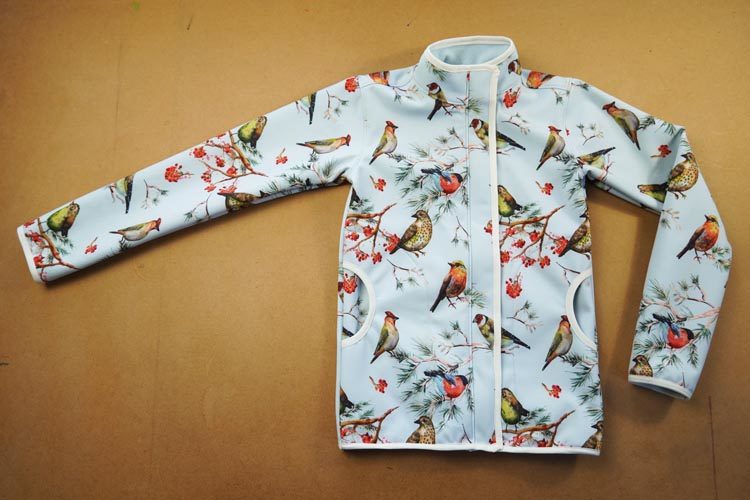
If you follow me on Facebook or Instagram, then you certainly know this pattern… It’s simple pattern for children’s jacket that you can now get in my e-shop:
Pattern – Children’s jacket BASIC.
Today I bring you a detailed instructions on how to sew this simple jacket.
Pattern is available in sizes 80 – 122 and 128 – 164, and I’ve prepared CLASSIC version and SLIM version. You can buy this pattern for children’s jacket here:
Pattern – Children’s jacket BASIC
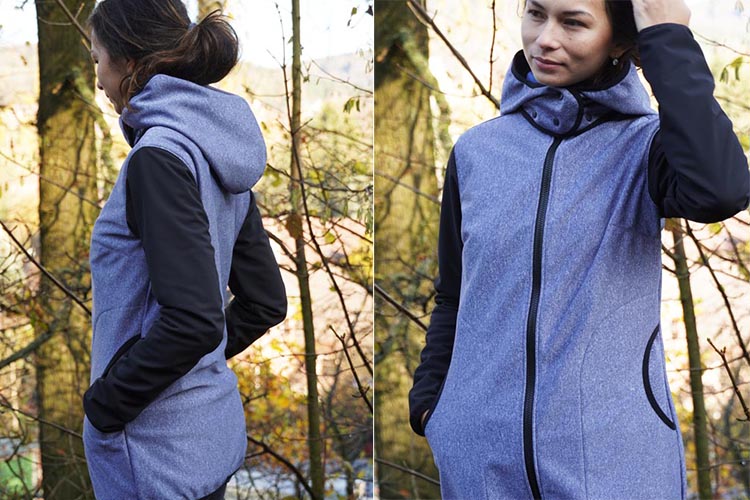
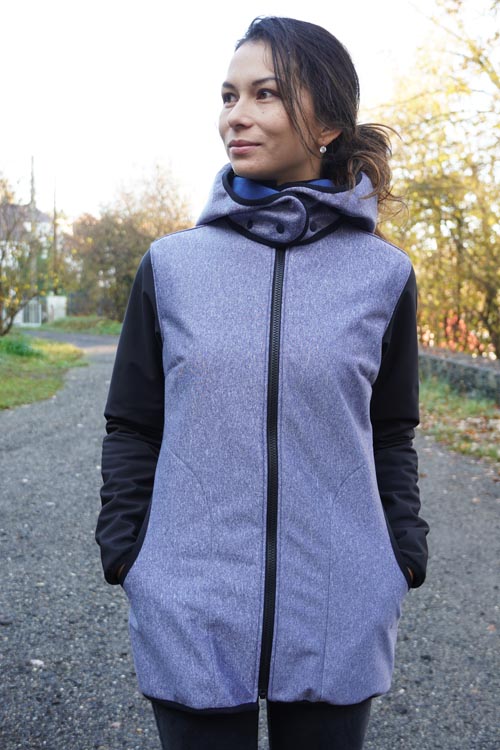
Are you looking for pattern for women’s jacket? Great! I also have this pattern in women’s version.
You can get pattern for women’s jacket here:
Pattern – Women’s jacket BASIC
Recommended material
Pattern works best with thin and medium woven fabrics (inflexible materials) such as:
- spring softshell
- micropeach
- corduroy
- cloak/jacket fabrics
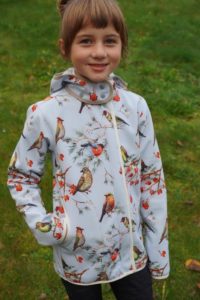
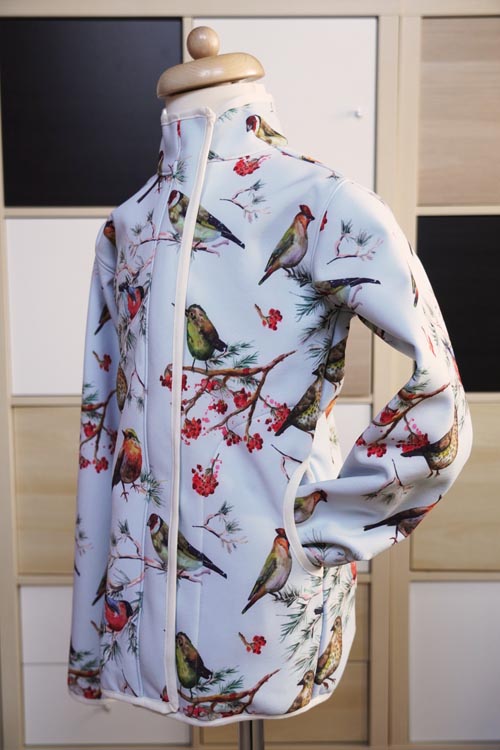
You can also use winter softshell or pre-quilted fabric (pick one without exposed wadding), but in this case the jacket will be tighter. I’ve used the winter softshell for this jacket, in addition, I made the SLIM version for Terulka, so the jacket is really tight-fitting - perfect for sport (running, cycling, etc.). If your material seems thick, consider sewing larger size (in which case you will need to shorten the sleeves a bit).
Required amount of material (140 cm wide fabric)
- Sizes 80 - 98: 85 cm
- Sizes 104 - 122: 100 cm
- Sizes 128 - 146: 130 cm
- Sizes 152 - 164: 150 cm
You will need more if you want to precisely align some complex fabric print...
Hems of the jacket are finished with elastic hemming band. I’ve used little more than 5 meters of it for my jacket (size 128)… Below you will find an overview table with recommended amounts of the band.
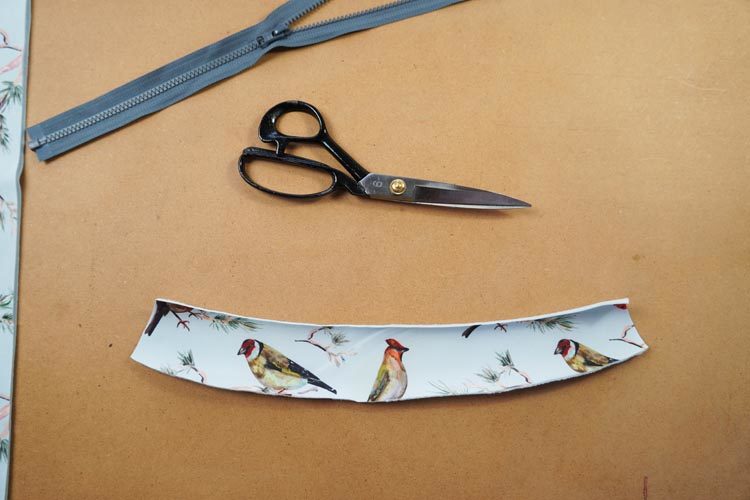
Sleeve hems: You can use hem knits for sleeves if you like them tighter. Measure your child’s wrist (or sleeve of his jacket) to determine the correct size of the hems. You will also need suitable zipper.
I recommend using simple plastic zippers for sportswear because they are lightweight. Don’t try to save money on the zipper and look for quality one. After some unpleasant experiences, I only use YKK zippers. I usually get them from: Nejlepsizipy.cz
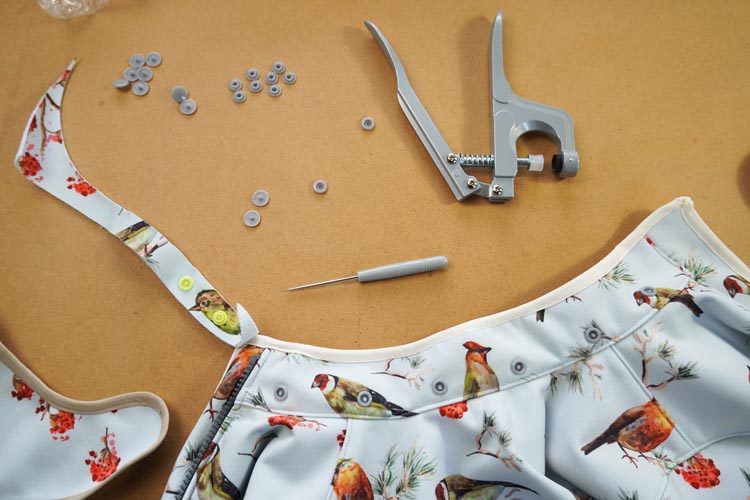
Then you will need something to make the detachable hood detachable. You can use snap fasteners – don’t try to save on those either. I had just some generic ones at home and I already know that I will have to replace them soon. Use KAM snap fasteners, for example. Hood can also be attached with Velcro patches or good old buttons.

How to sew the jacket step by step
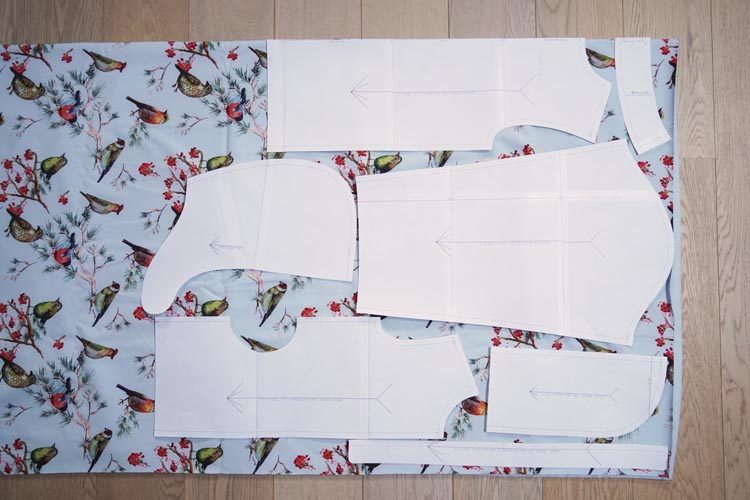
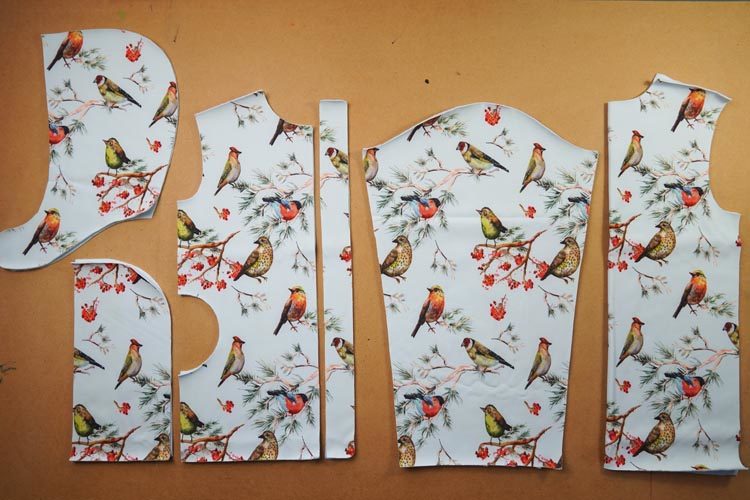
Cuts preparation
According to the paper pattern prepare:
- 1x back piece (folded fabric cut)
- 1x yoke (folded fabric cut)
- 2x sleeve piece
- 2x front piece
- 2x hood piece
- 2x pocket piece
- 2x zipper cover piece (1x upper cover, 1x bottom cover - these pieces have the same shape)
I recommend checking the pattern in the “one size view” before adding the seam allowances to the classic view pattern. The rule for adding the seam allowances is simple, but you need to pay attention when cutting the pieces... Add seam allowances in places where there will be seam or some connection of fabric layers. Don’t add seam allowances where there will be only elastic band hemming.
Sewing
Women’s version - bust darts
You can skip this step when sewing the children’s jacket and start with the next step - Pockets.
The bust darts are the first step in sewing a women's jacket.

It’s important to mark the bust darts carefully, so that they are the same on both sides of the jacket…
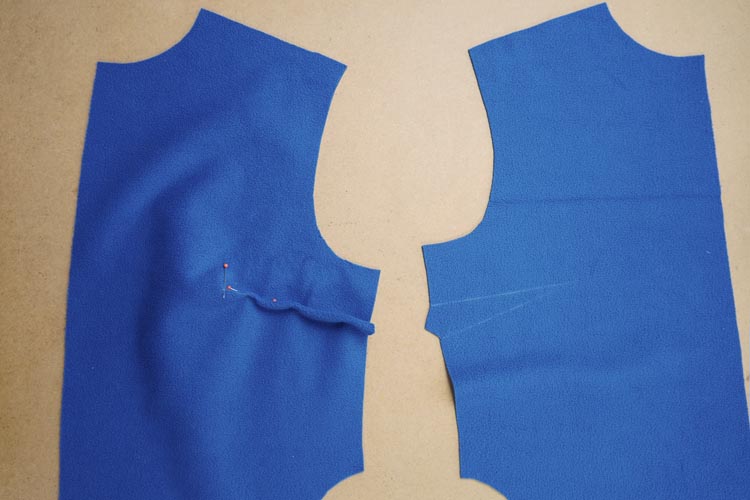
Pin and sew the bust darts. Then iron the pieces from the face side pressing the flap on the other side towards the bottom edge of the pieces.
I recommend topstitching the darts from the face side. This will flatten them, and it will help to keep them in place.
Pockets
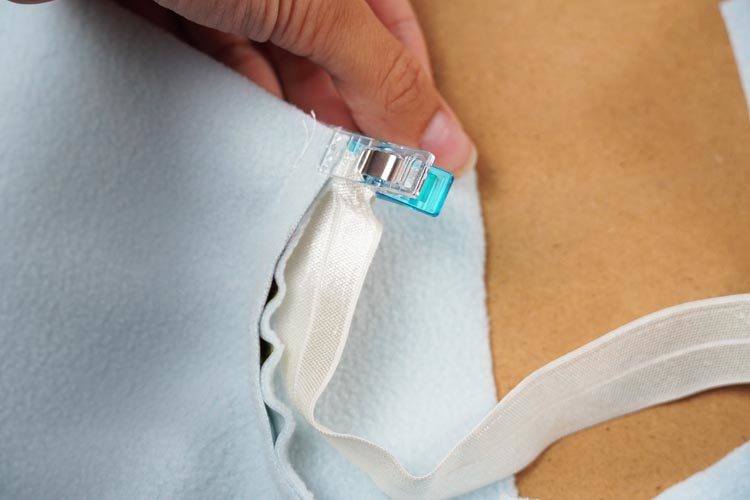
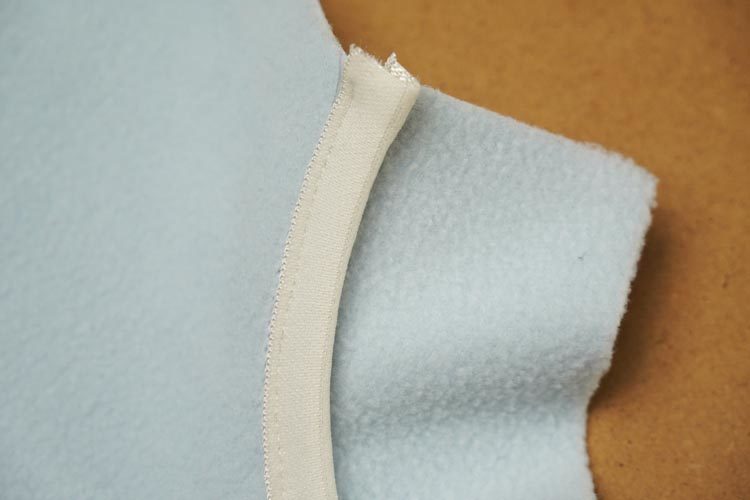
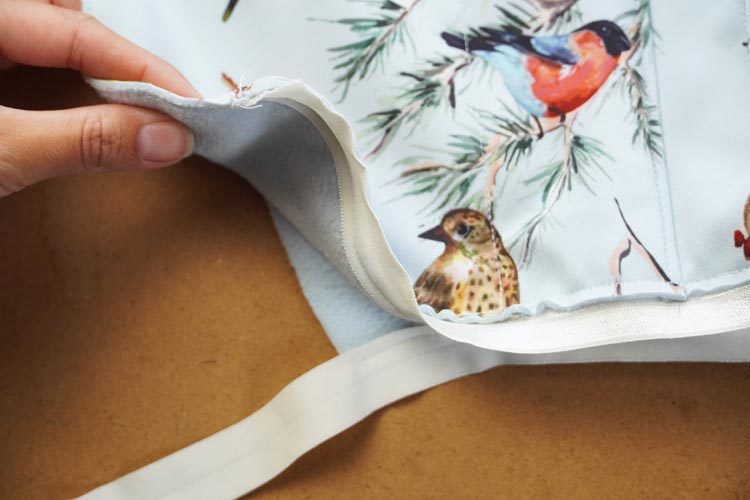
Let’s do the hems of the pocket openings on the front pieces first. I’ve seen many different styles of hemming with the elastic band. Some were great, some not so much. The best way for me is to put the elastic band under the fabric (under the reverse side of the fabric) and sew through the band and the fabric from the face side of the fabric.
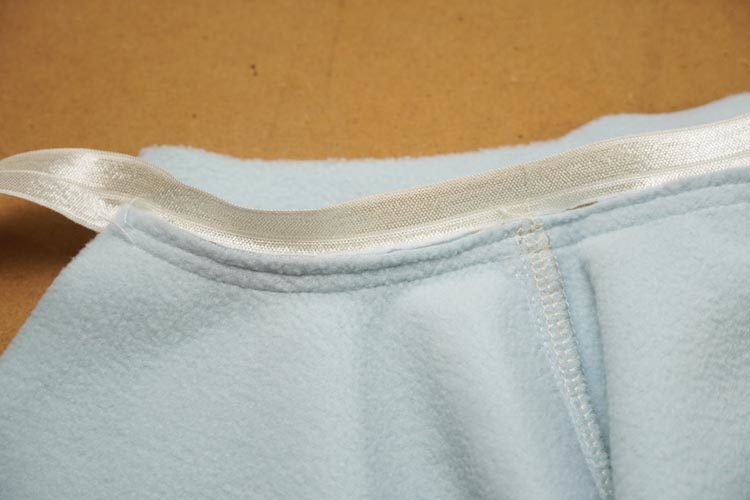
Subsequently, I fold the band over the edge of the fabric (over the face side of the fabric) and sew through all three layers. This method usually produces satisfactory results and it is easier compared to other methods where it is difficult to keep the band aligned under and above the fabric at the same time while trying to sew straight.
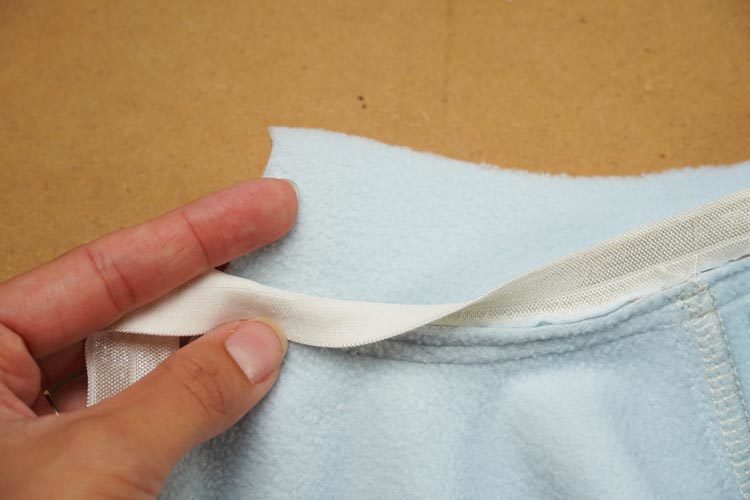
My tip:
As you may have noticed, I’m putting the shiny side of the elastic band inside and the “velvet” side outside. It’s usually done the other way around (shiny side of the band outside), but I don’t like the glossiness of the band. And I found both ways work just as well in terms of functionality. In addition, I would say that the shiny side of the band is more fragile, so when used in heavily exposed areas, it starts to look scuffed very soon. The reverse (“velvet”) side retains its original appearance longer…
Now is the time to work on the pocket piece.
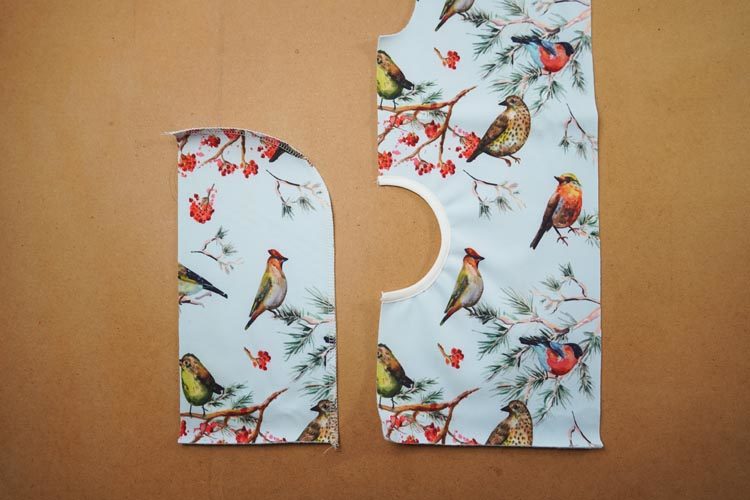
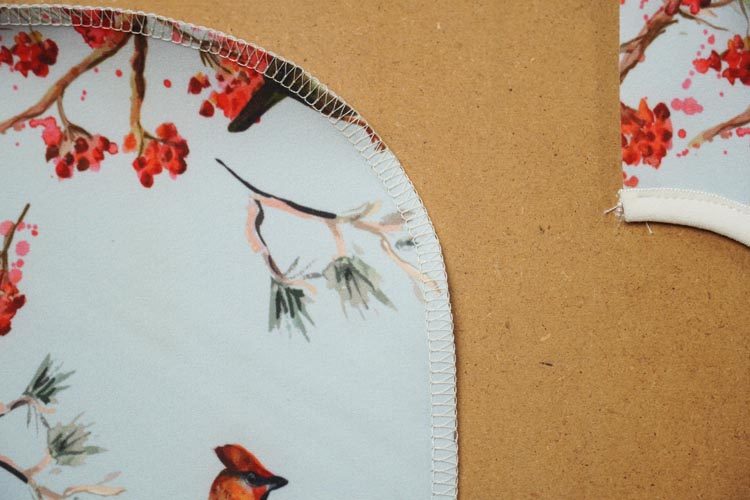
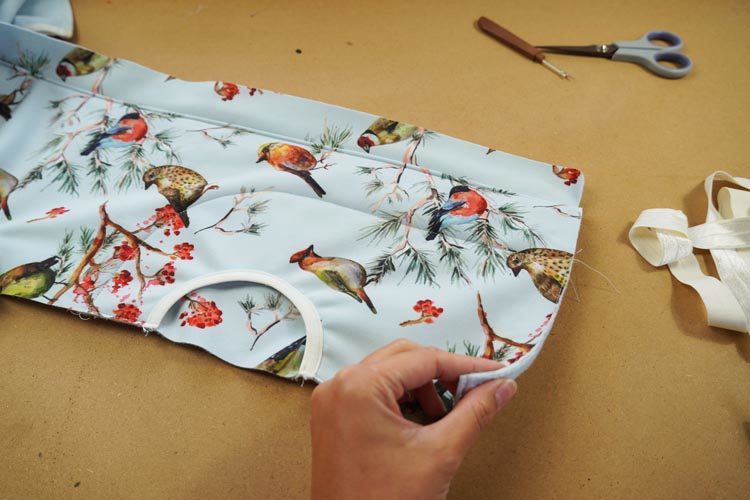
Clean its curved side (use overlock or zigzag seam). Cleaning is not absolutely necessary because the softshell won't not fray. It’s more about the looks in this case. Uncleaned seams seem unfinished to me, but it's a matter of taste…
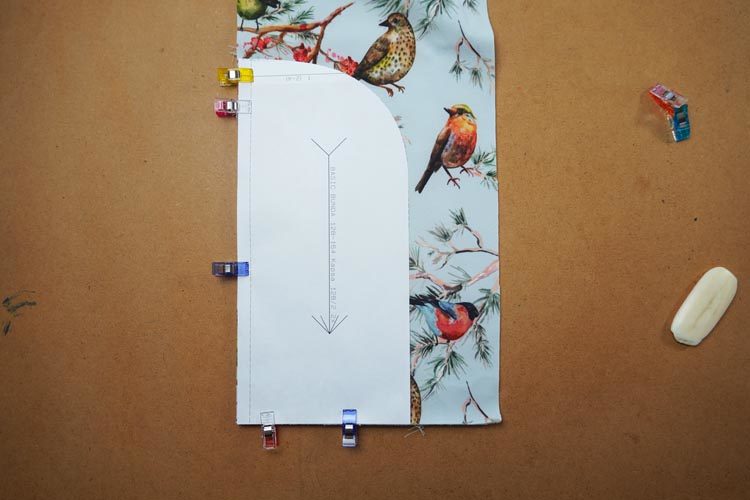
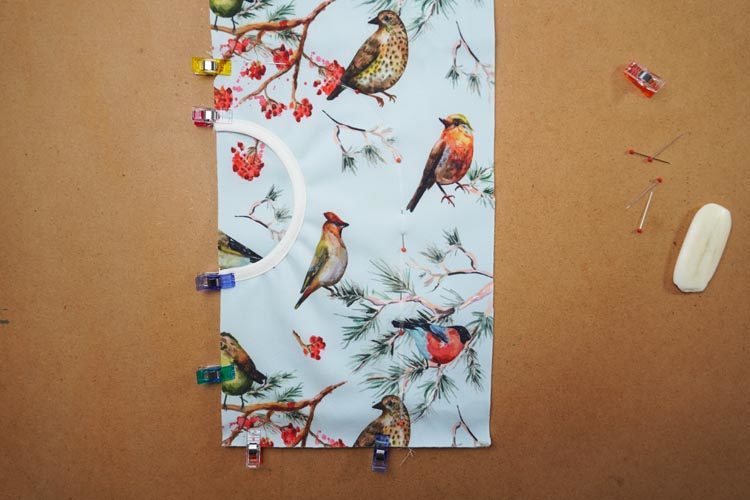
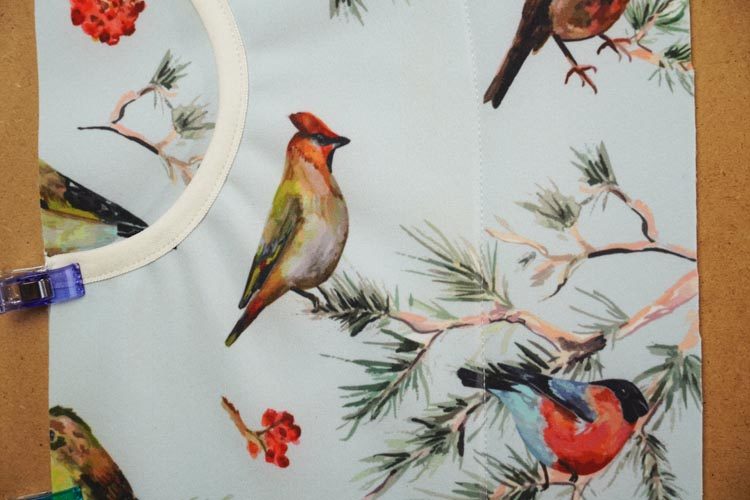
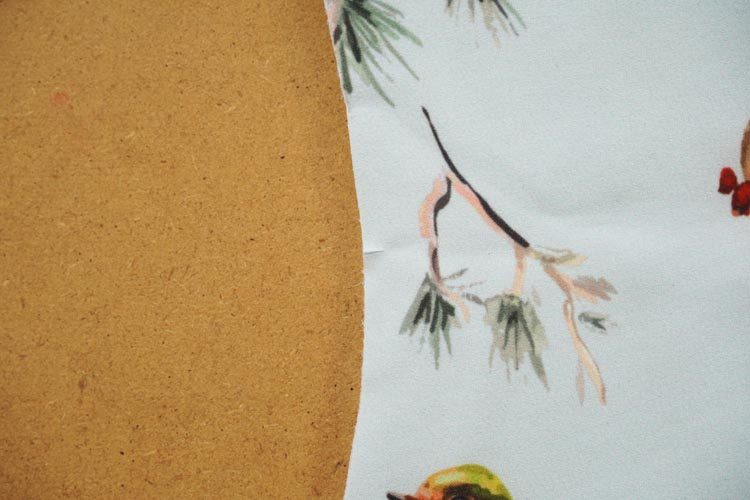
If you are using the pattern with outlined seam allowances, then cut off the allowance of the curved size (from the paper pattern). Place the pocket piece under the front piece (face sides up). Align bottom edges and side edges.
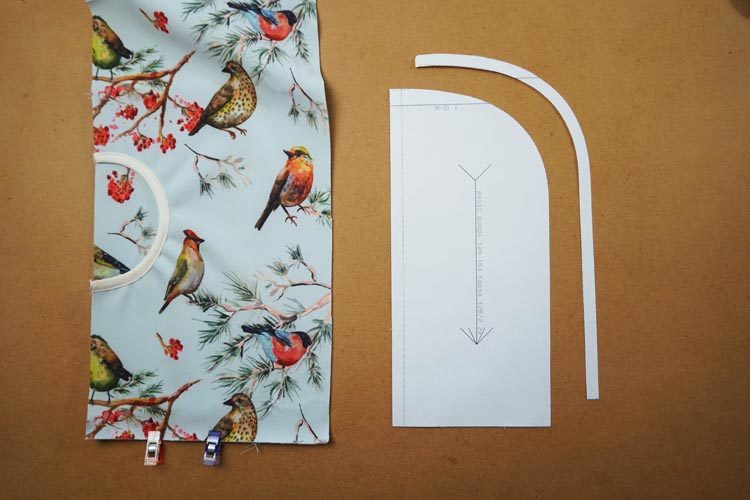
Lay the paper pocket piece over the front piece.
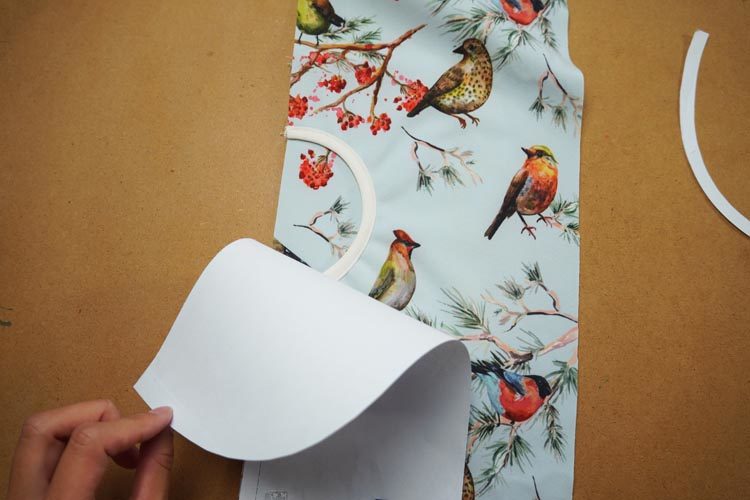
Pin the pieces together...
My tip:
When sewing softshell I do not use classic pins but clamps. That way I can avoid poking holes into the material, which then sometimes remain visible on the finished product.
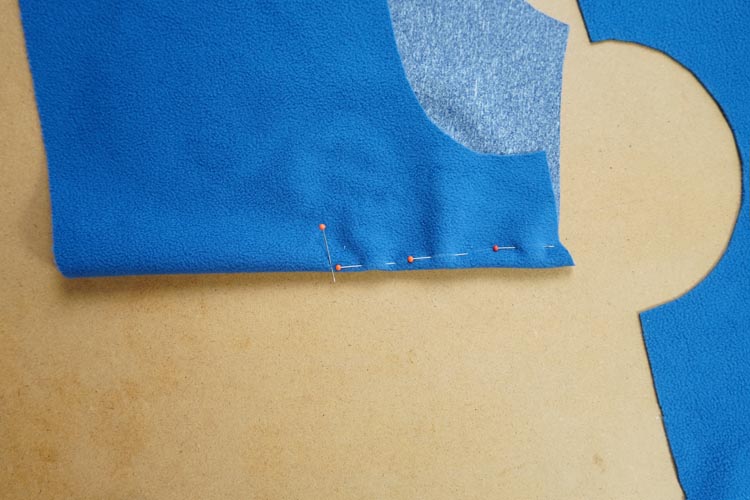
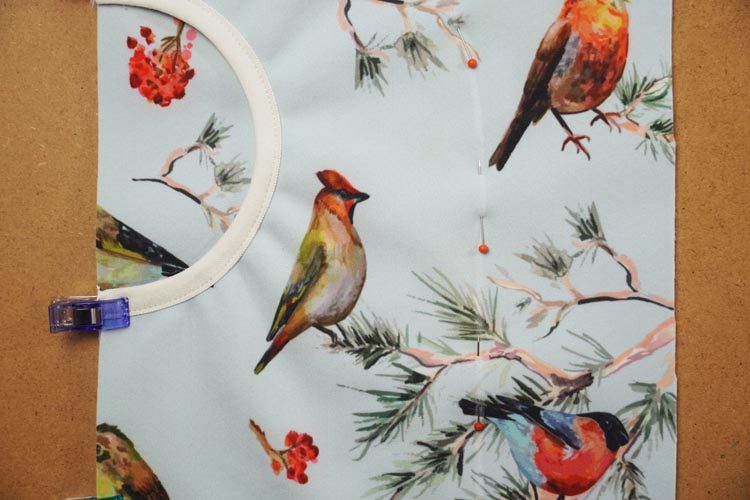
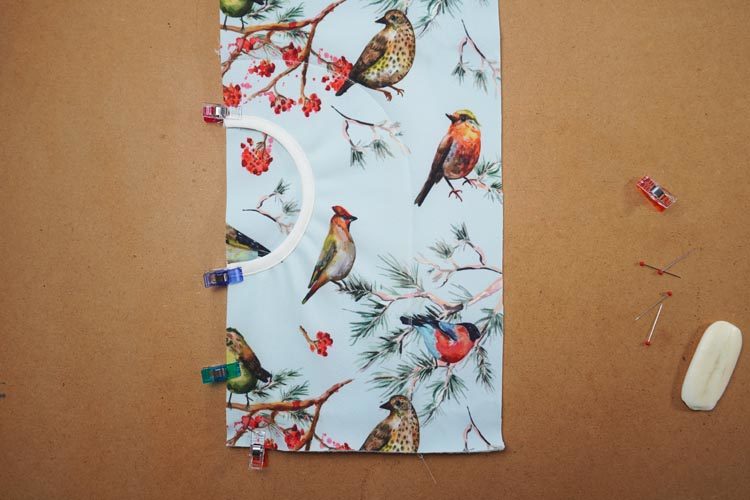
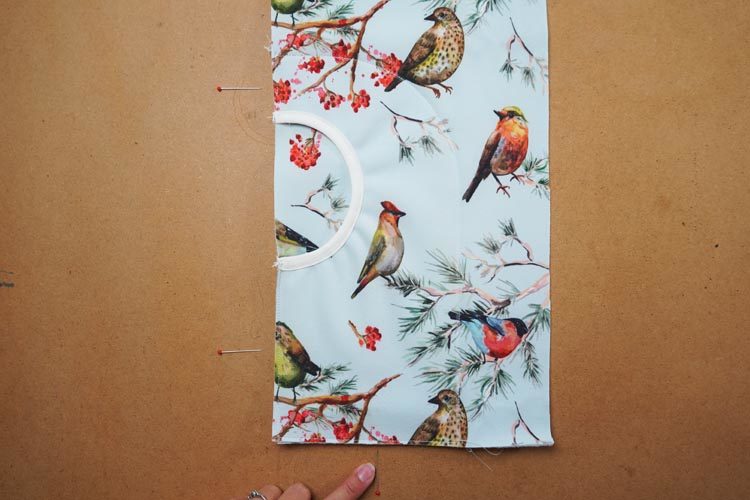
Transfer the shape of the paper pocket piece to the front piece. Ideally with the tailor’s soap.
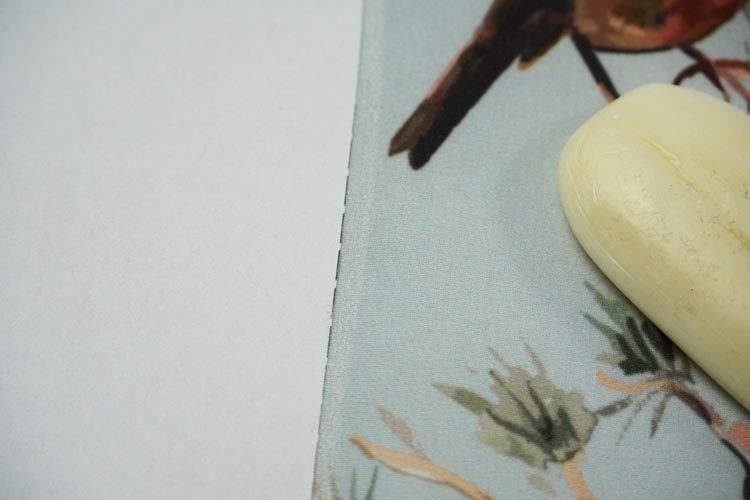
Then pin the two fabric pieces (front piece & pocket piece) exactly along the previously drawn line.
You can use classic pins here - you are pinning the seam line; therefore, any holes will be later covered by the seam.
Flip the pieces over and check that the pocket piece is well pinned.
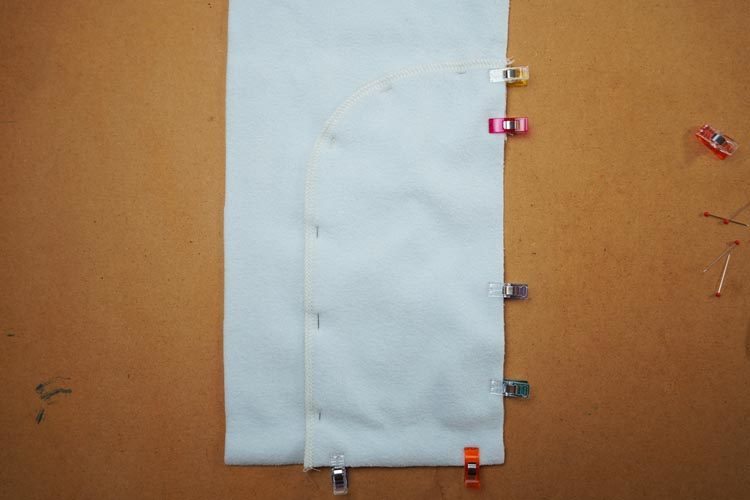
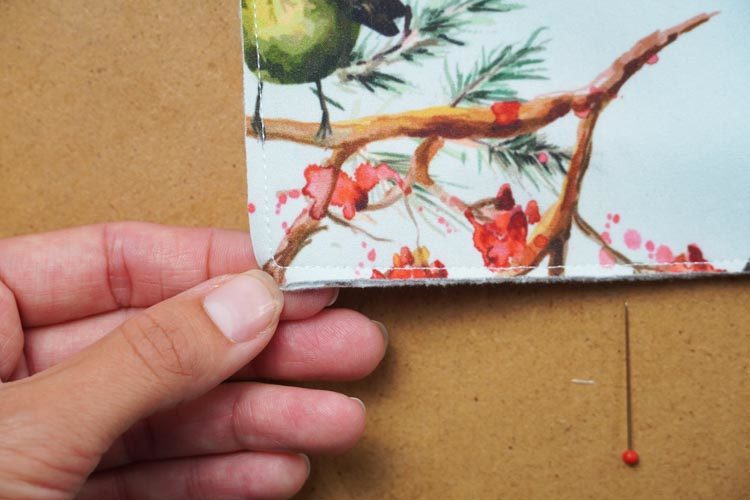
Sew the pieces together along the line on the face side of the front piece.
Connect the bottom and side edges of the pieces with the straight seam to keep them from opening up.
This produces simple pocket pouch. Prepare the other front piece in the same way. Don’t forget to iron the pieces thoroughly.
My tip:
Use a low temperature when ironing the softshell and use layer of canvas to prevent the iron from touching the fabric. Be patient. Use pressure rather than high a temperature. After ironing the seams, you can put some weights on them to let them cool in the desired shape. You can use books to do this.
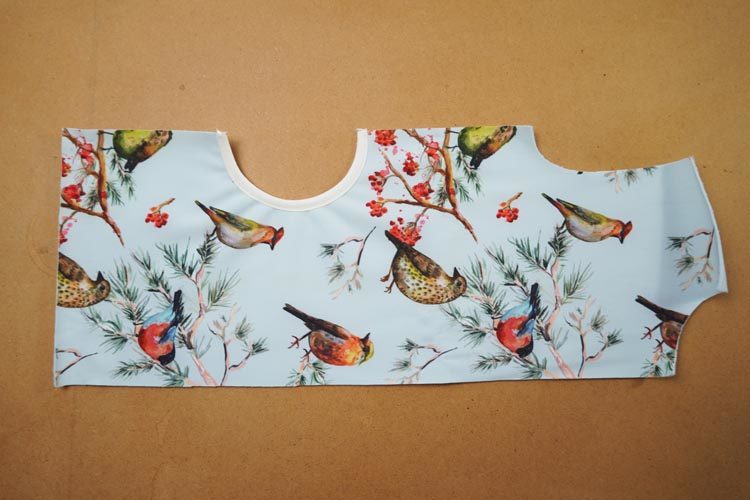
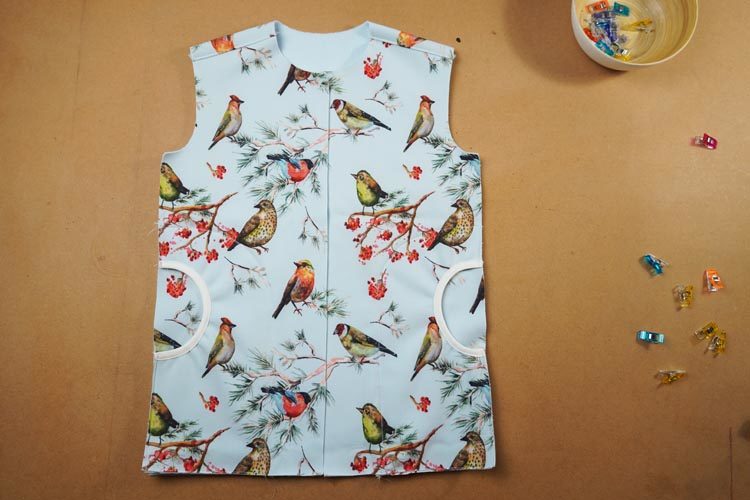
Shoulder seams
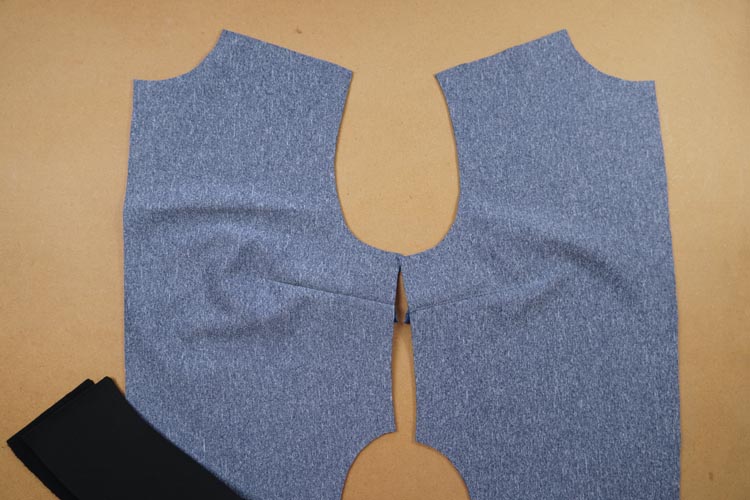
Now lay the front pieces over the back piece (face side to face side) and sew the shoulder seams. Clean the seam allowances of the shoulder seams.
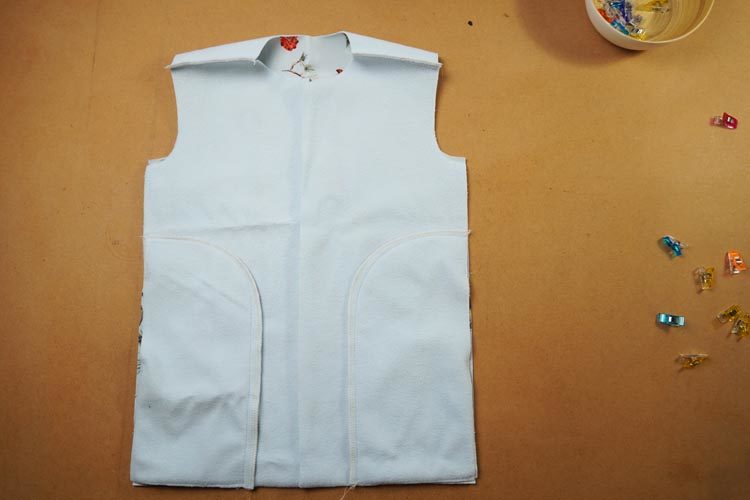
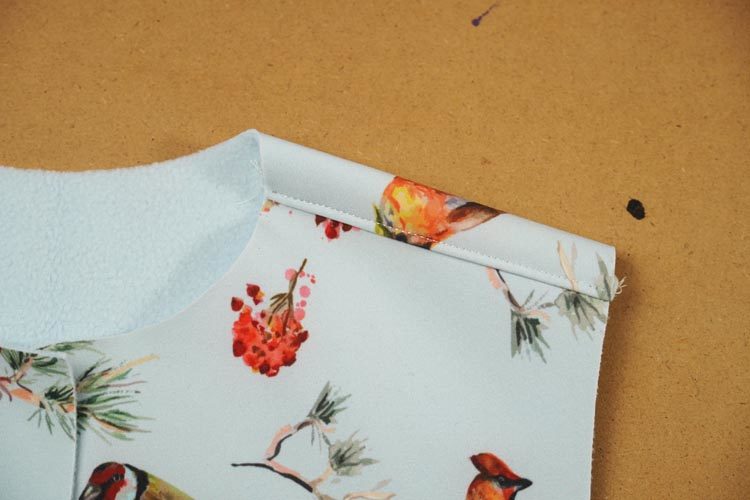
Turn the jacket “outside out” and press the seam allowances towards the back piece.
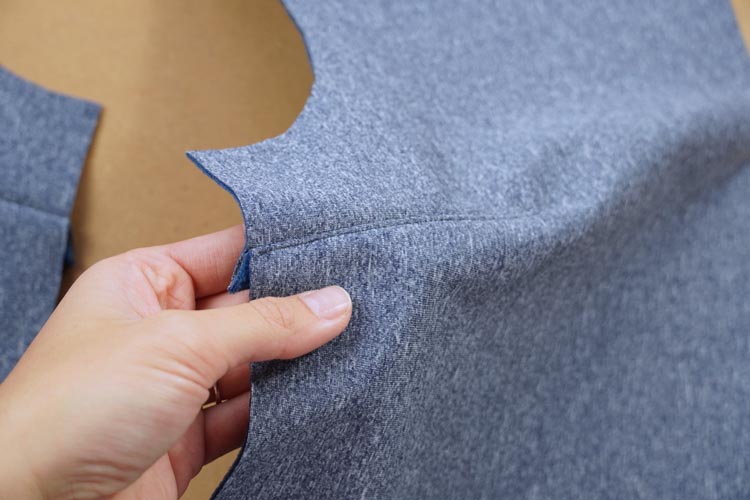
Topstitch along the shoulder seams in the back piece (to attach the seam allowances).
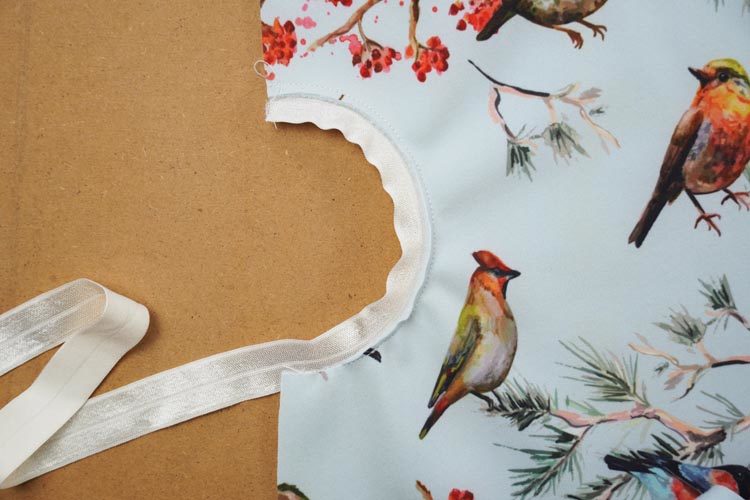
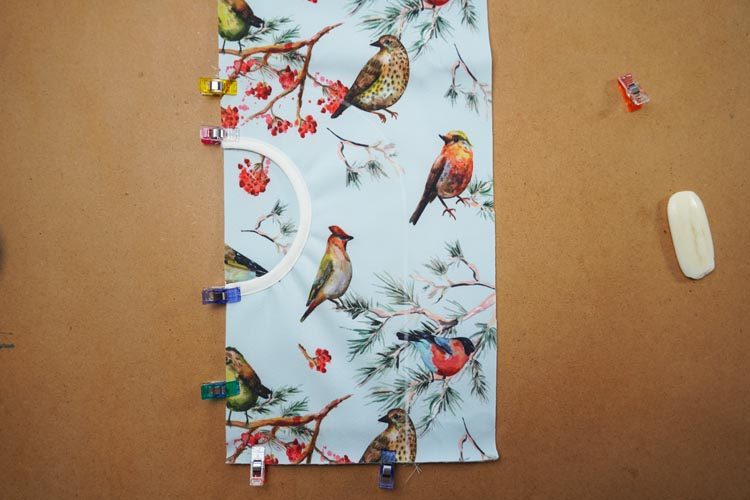
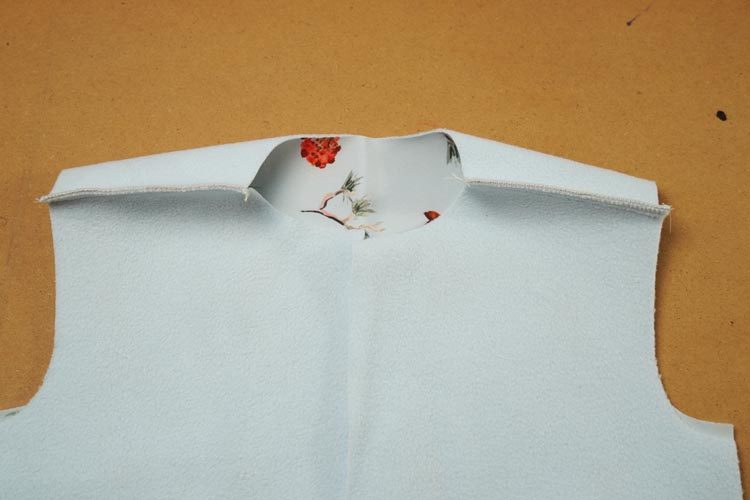
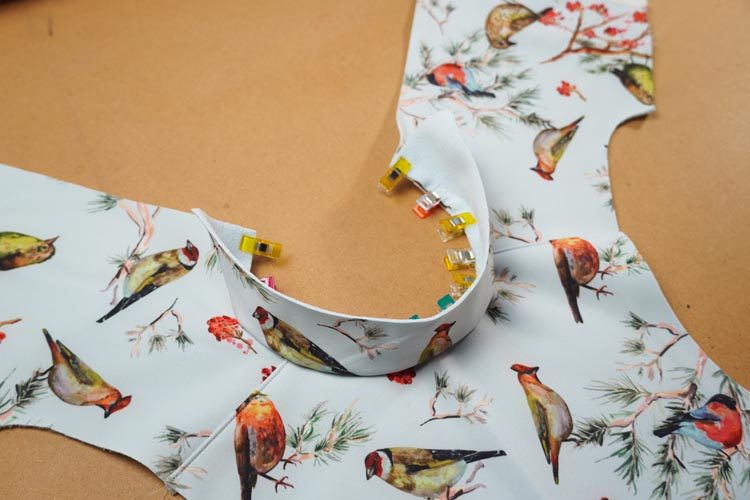
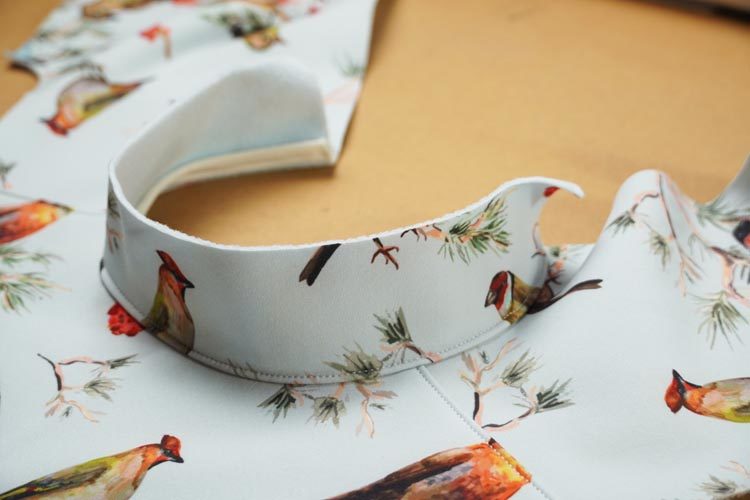
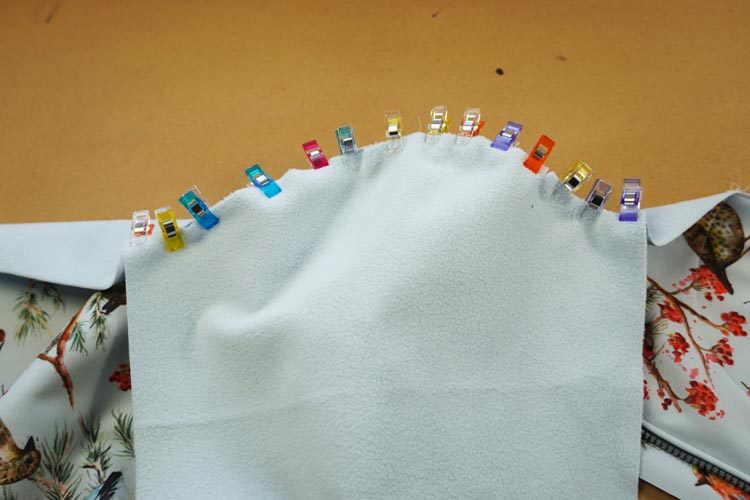
Collar
Pin the collar to the neck opening. Start at the center of the back piece and continue towards the edges of the front pieces.
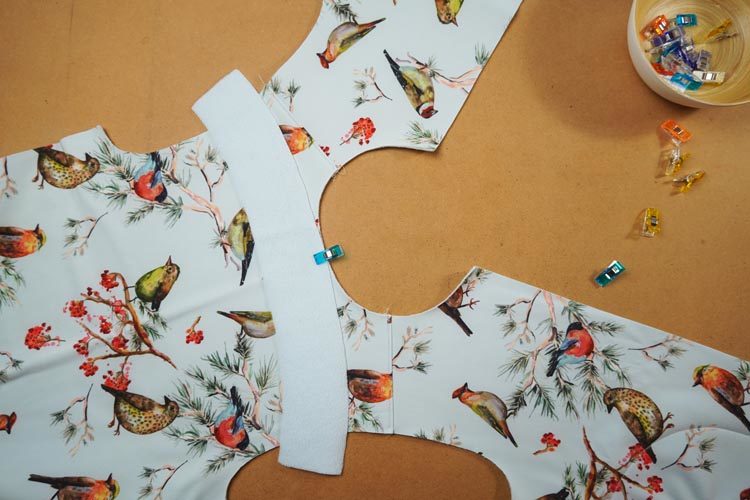
This will shape the collar nicely.
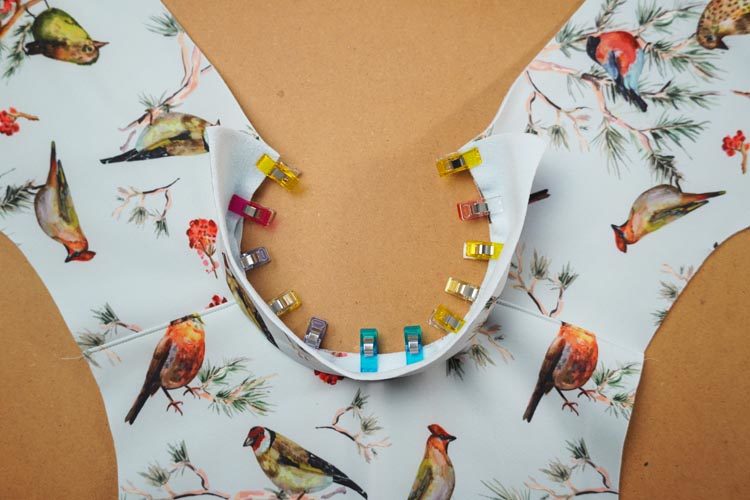
Sew the collar to the neck opening with the straight seam, don’t clean the seams.
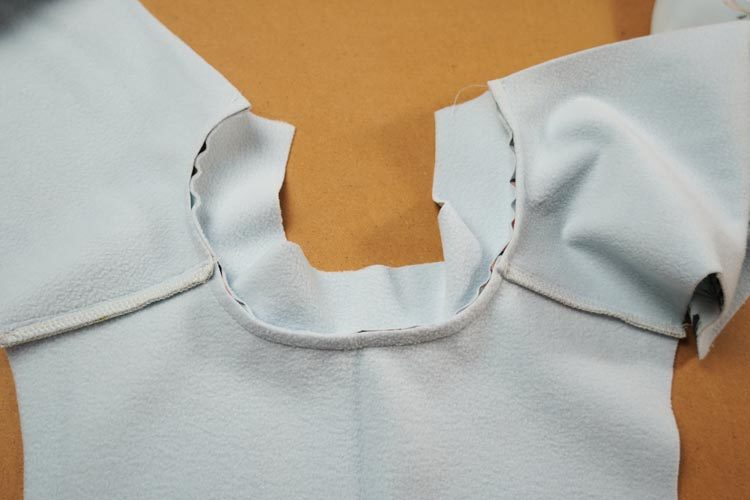
Now is the right time to try the jacket. Pin (clamp) the side seams and perform fitting test. Concentrate on the neck opening. It shouldn't be too tight. Then check the overall appearance, shape and how the jacket fits... But it should be alright - major problems should be solved when sewing a test sample (from cheaper fabric). Sewing a test sample is a common practice when using a new unknown pattern. If the neck is too tight, cut the seam allowances along the entire neck opening (perpendicular to the seam, every 0.8 cm or so).
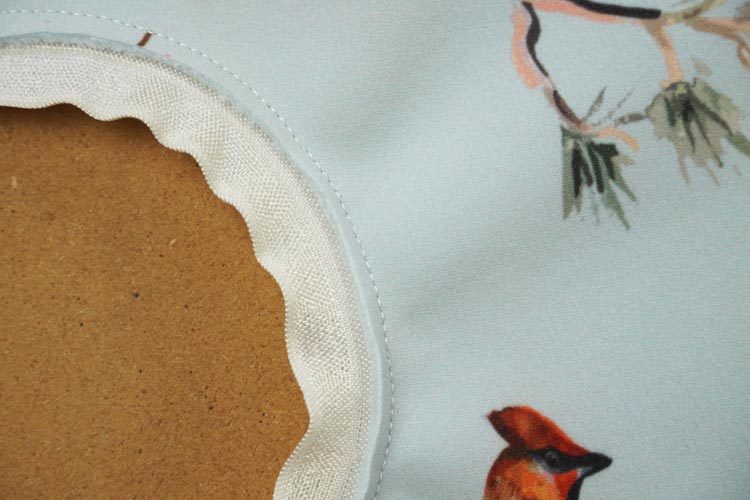
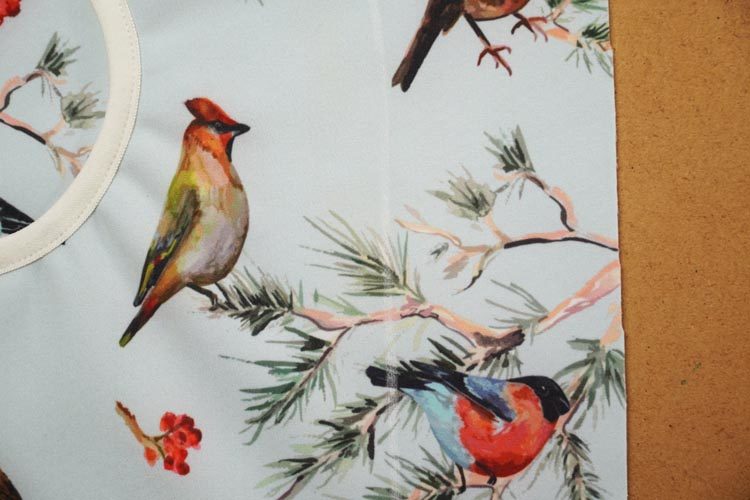
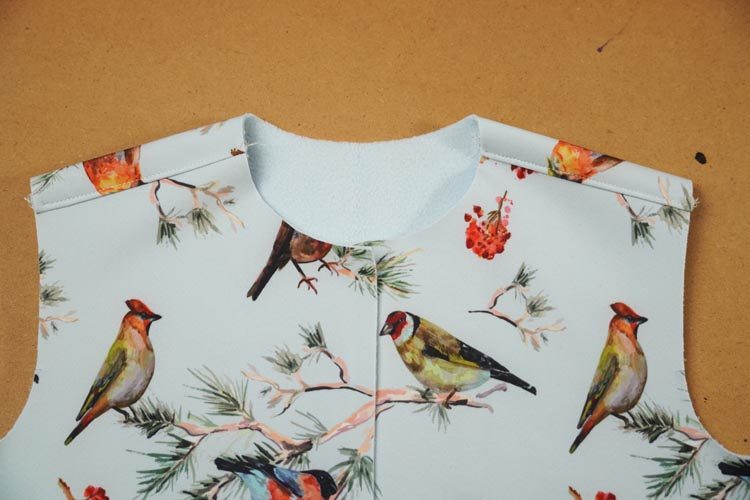
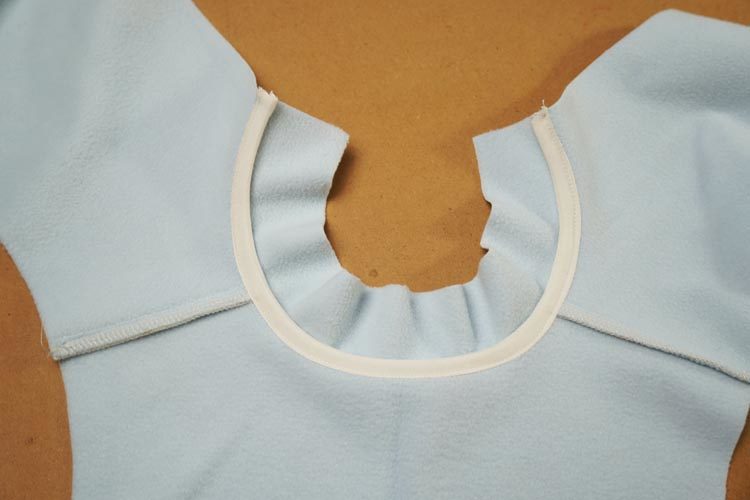
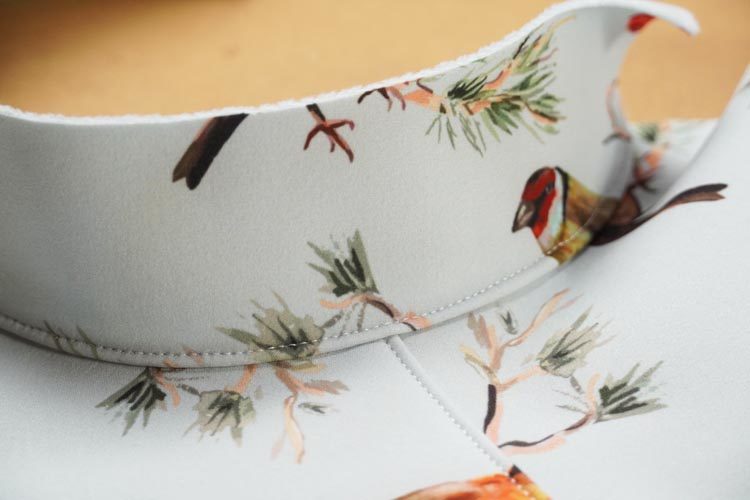
Clean the seam allowances of the neck opening. Clamp the elastic band to the collar side of the seam.
And sew it in place.
Fold the other side of the band over the seam allowances.
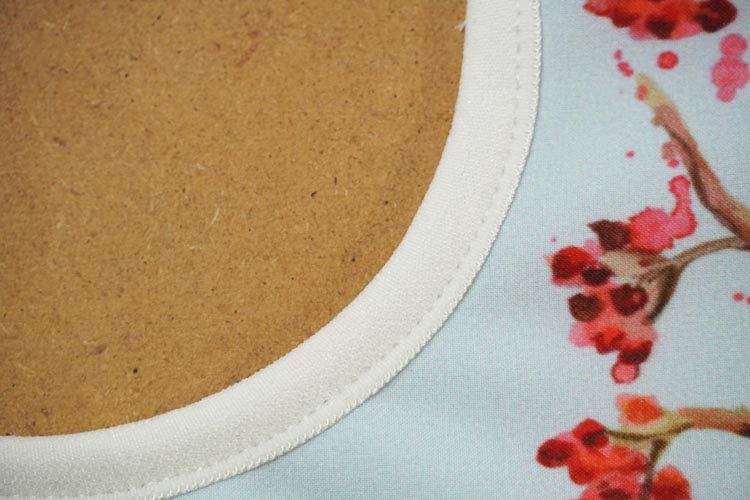
And sew this side too. Hemming lays on the collar, so you will sew through the collar too (not just through the seam allowances). This way you will topstitch the collar and hem in one step. Collar will then lie neatly in the neck opening.
This must be done very carefully. If you think you won’t be able to do this in one go, simply sew just through the seam allowances first (to make the hem). Then turn the jacket “outside out” and topstitch the collar (attach the hem bellow) in the second step. The result will be almost the same.
Zipper
At this point, you would probably usually move to the sleeves, but I like to work on the zipper first. Jacket with sleeves is a bit bulkier, there is suddenly so much fabric to handle that it’s very easy to make some mistake...
In the following lines you will learn how to sew a jacket with zipper covered from both sides (with upper cover and bottom cover). If you want to do only bottom cover, so that the zipper is visible from the face side, you can find useful info in this article:
How to sew in the zipper with bottom cover

Side with the upper cover
You will work on one of the front pieces. I was sewing for a girl, so the upper cover is on the right side of the jacket. If you are sewing the jacket for a boy, then place the cover on the left side (convention)… Also prepare the zipper and a zipper cover piece.
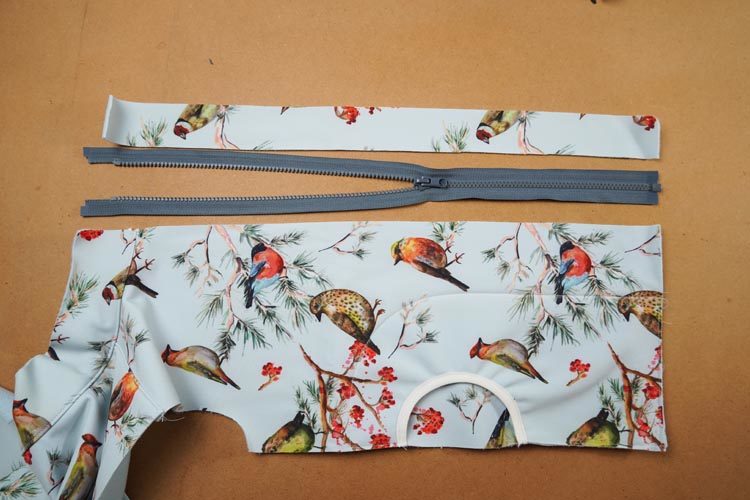
If you are using thin material or a less stable fabric, I recommend reinforcing the edges of the front pieces...
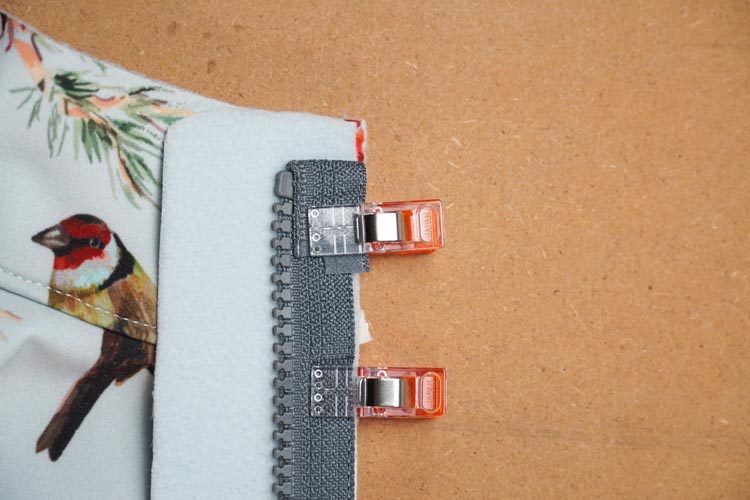
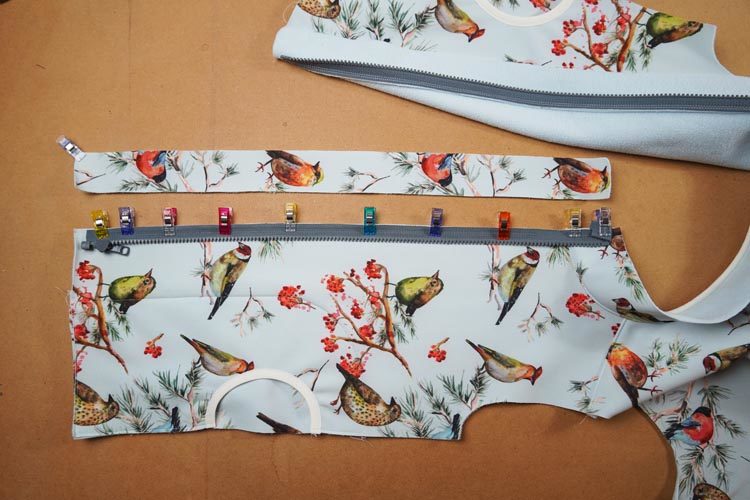
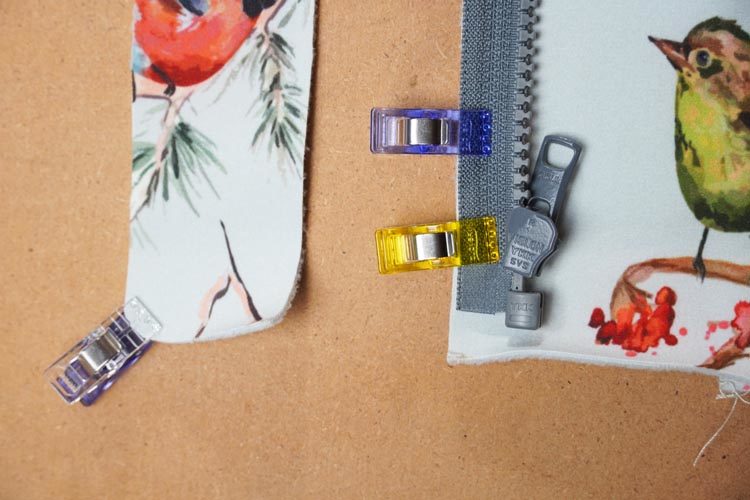
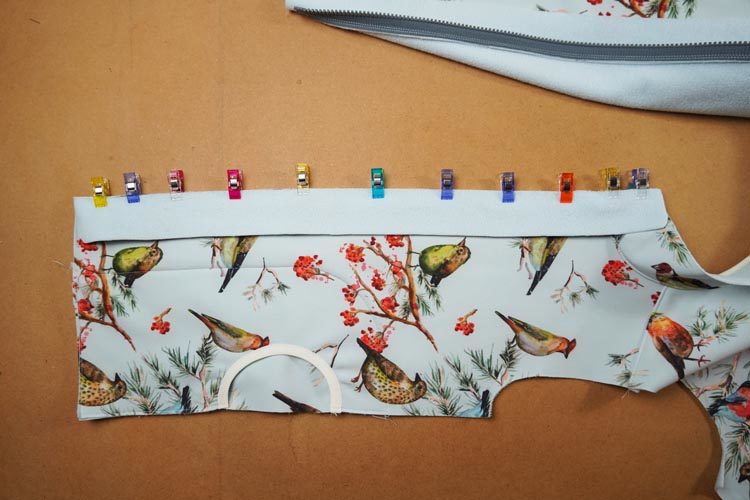
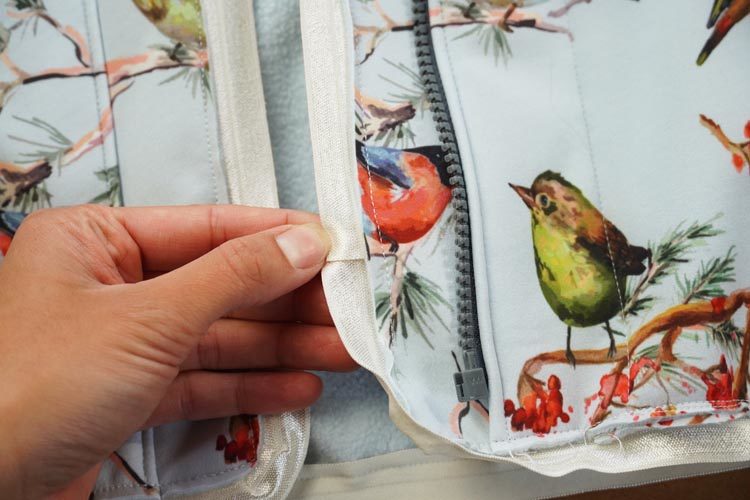
Lay the cover over the front piece (face side to face side) and pin the pieces together.
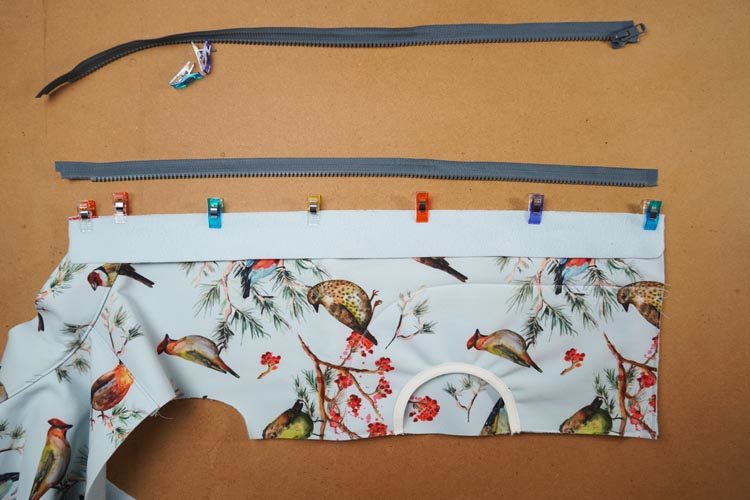
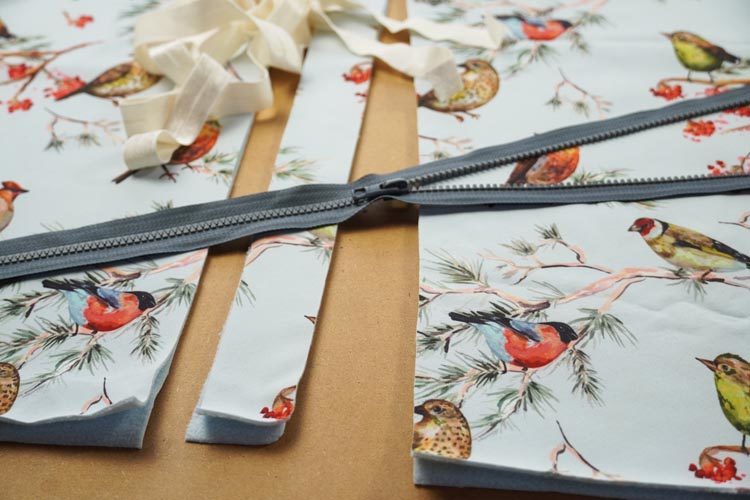
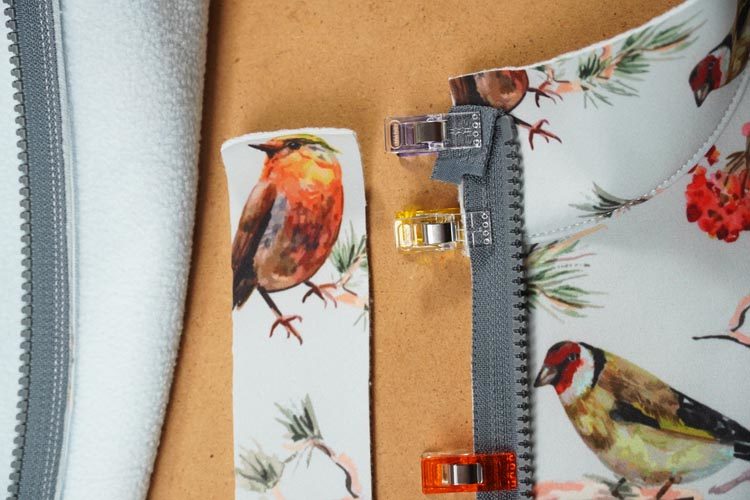
Bottom end of the zipper is 1 cm away from the cutting edge.
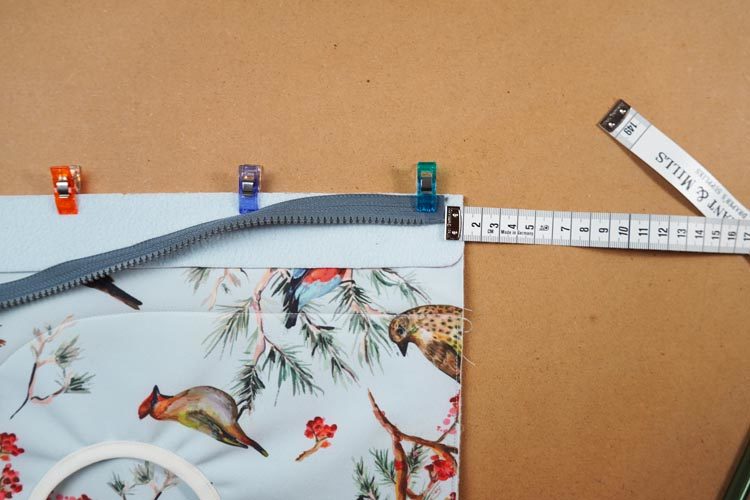
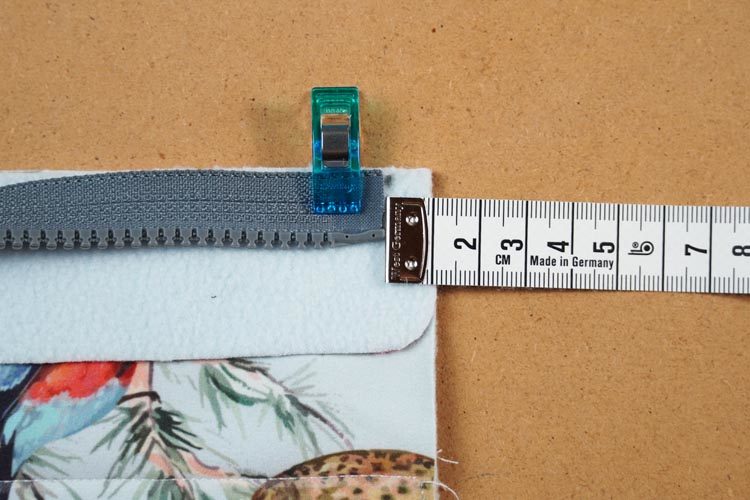
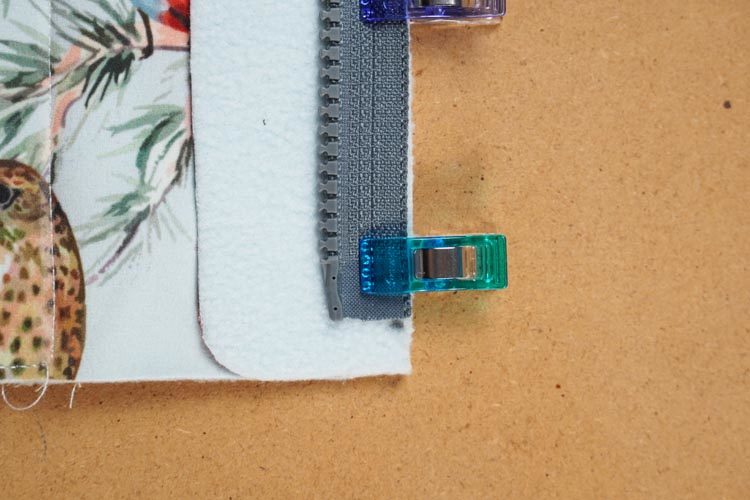
Pin the zipper up to the collar. Zipper rests on top of the reverse side of the cover.
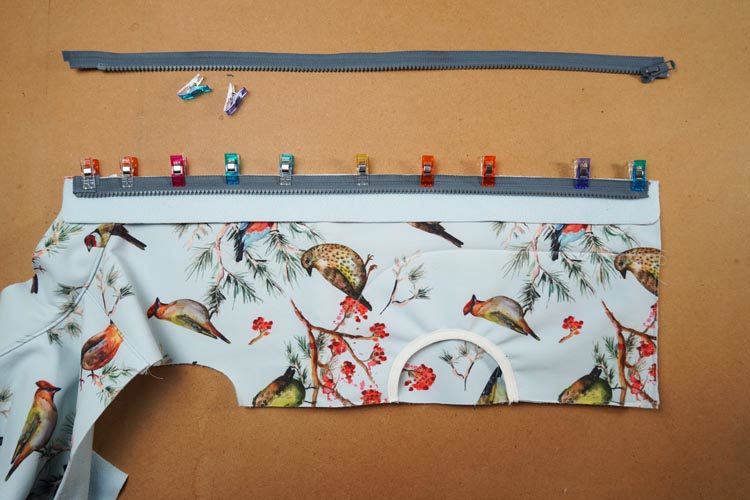
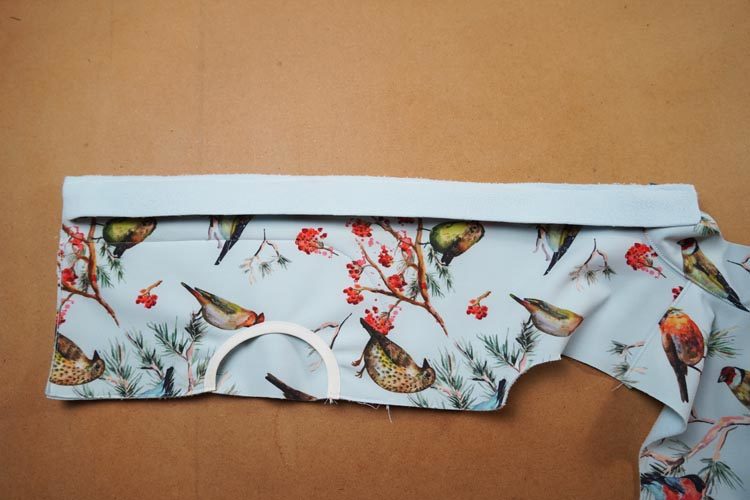
Zipper starts 1 cm below collar. Fold the rest of the zipper tape as shown below.
Sew the zipper (and its cover) to the front piece. You can break this down to two steps if you want. First sew the cover to the front piece and then sew the zipper. It is better to do it this way if you don't like to sew multiple layers at once...
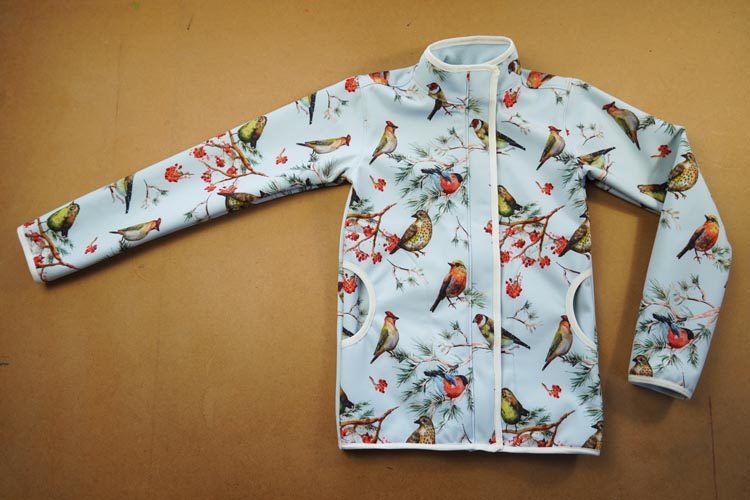
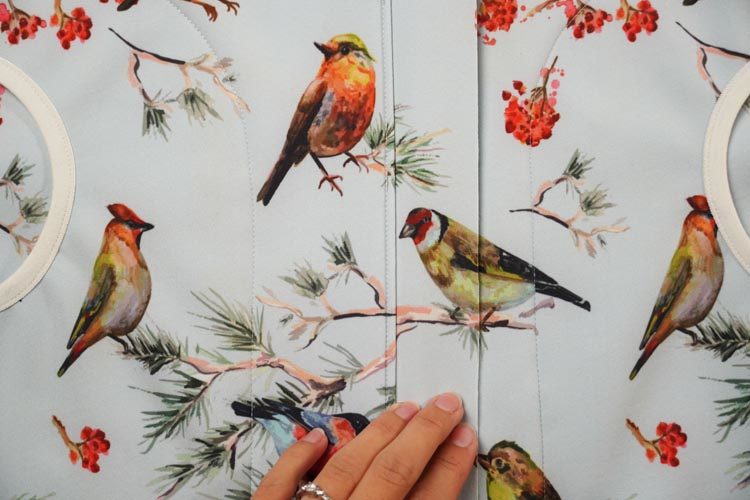
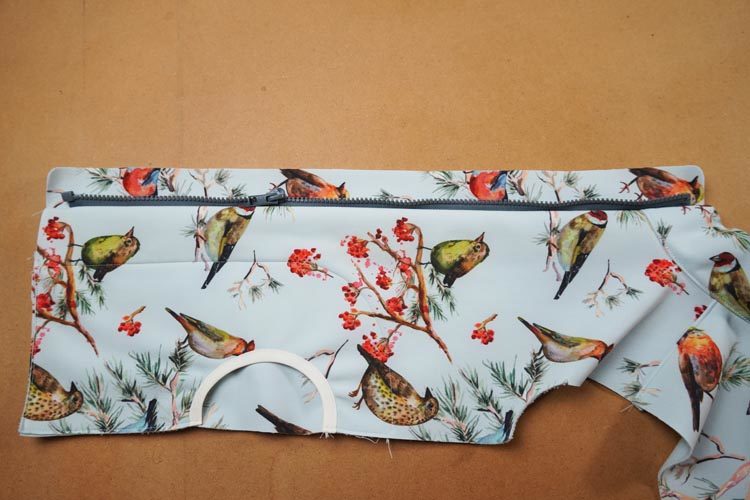
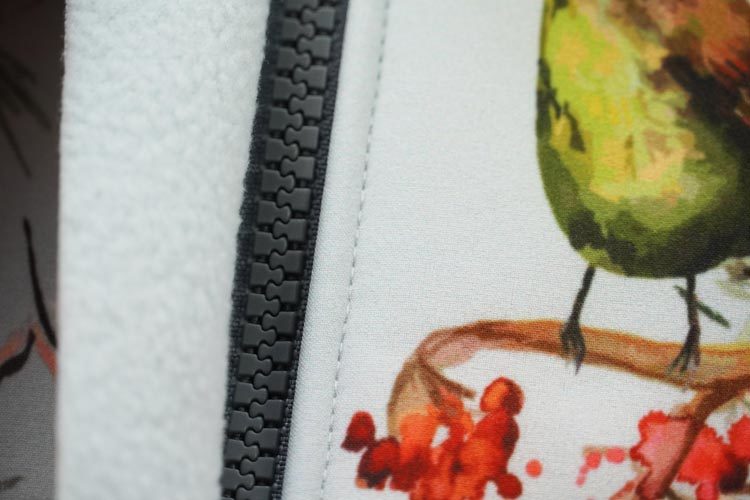
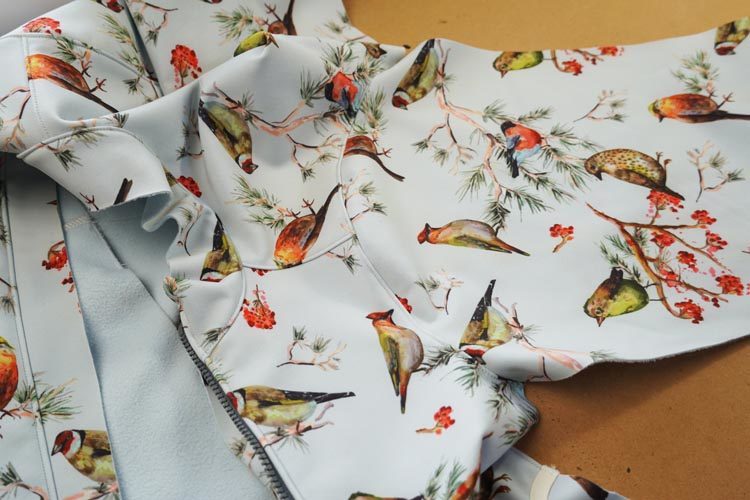
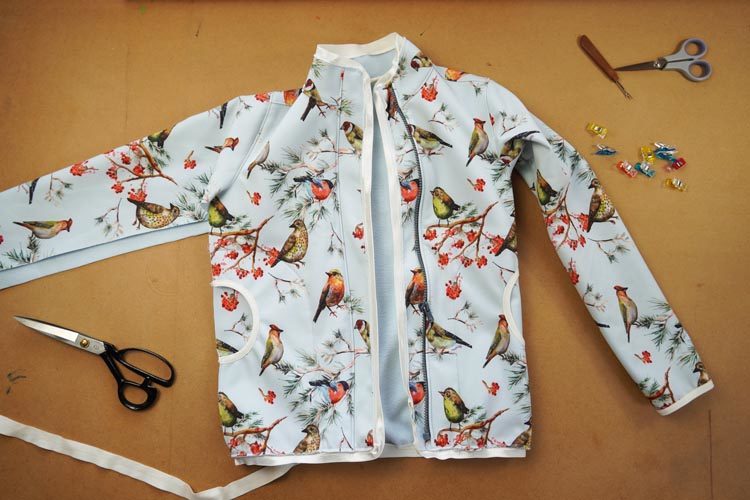
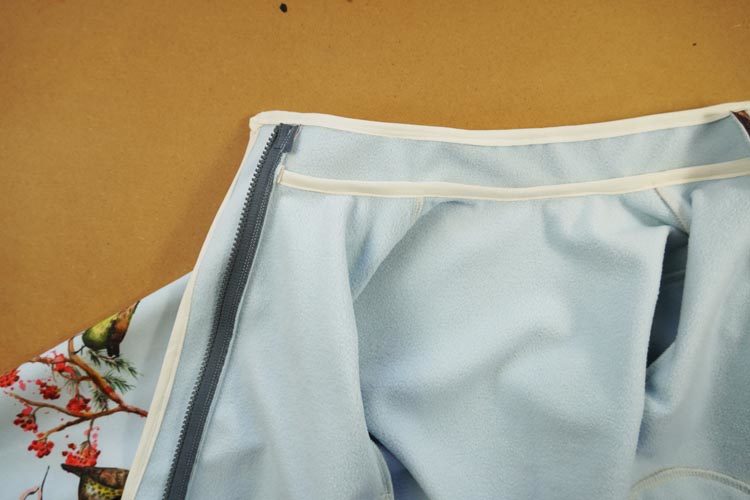
This is the result....
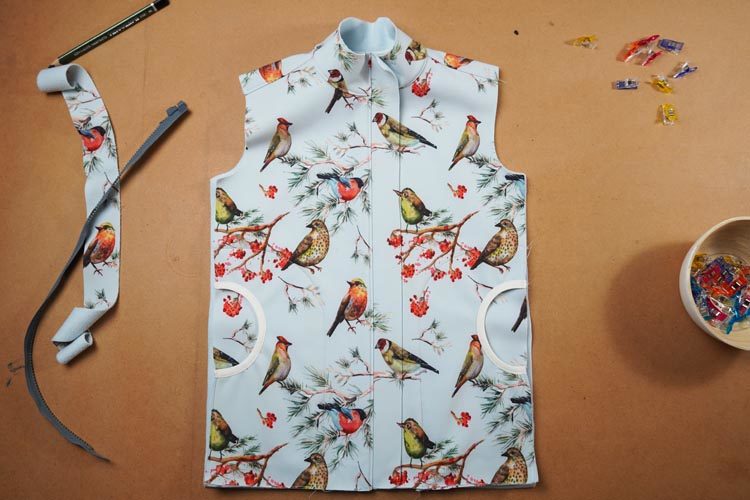
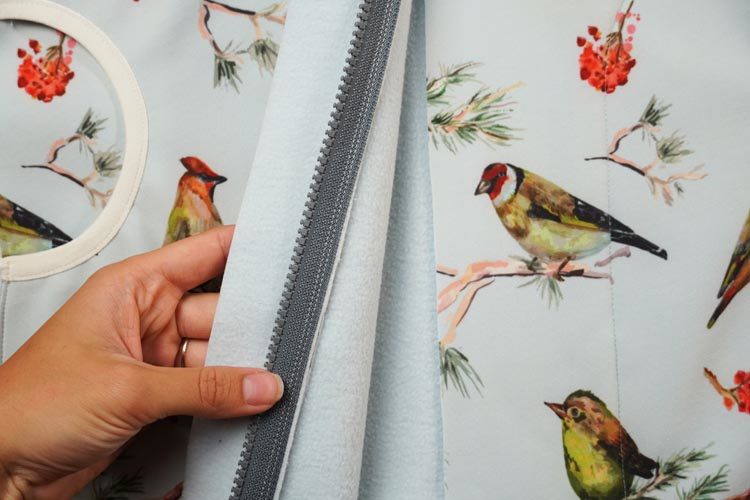
I managed to align the print neatly. Seam allowances are folded towards the front piece which is topstitched along the edge of the cover.
Sewing the other side is very similar, but you need to place the zipper first and then the cover. Zipper starts/ends 1 cm away from the cutting edges.
You can sew the zipper and its cover in one go or break it down to two steps again.
Topstitch the front piece on this side too (fold the seam allowances towards the front piece).


Sleeves
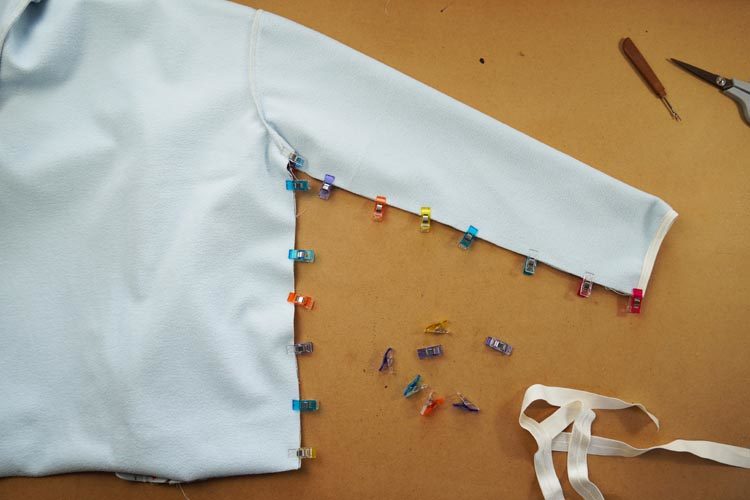
Let’s “go back” and do the sleeves. Pin the sleeves to the armholes. Sleeve pieces have marks telling you where they should connect to the shoulder seam. Start pinning from these marks. Pin along both sides of the sleeve to align it neatly.
Sew the sleeves in and clean the seam allowances.
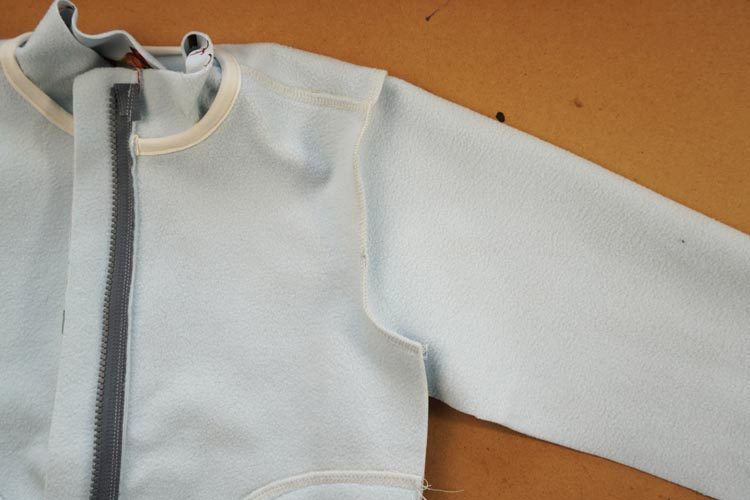
Pres the seam allowances towards the front/back pieces (away from the sleeves). Topstitch along the connecting seams (on the front/back piece side).
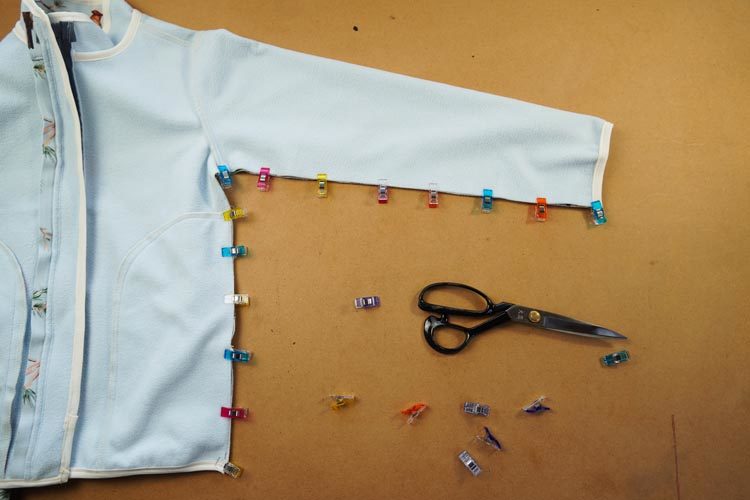
Now do the hems of the sleeves. Method is the same as with the pocket opening... Stretch the elastic band slightly when sewing. This will “close” the sleeve and the hem won’t look stretched out afterwards.
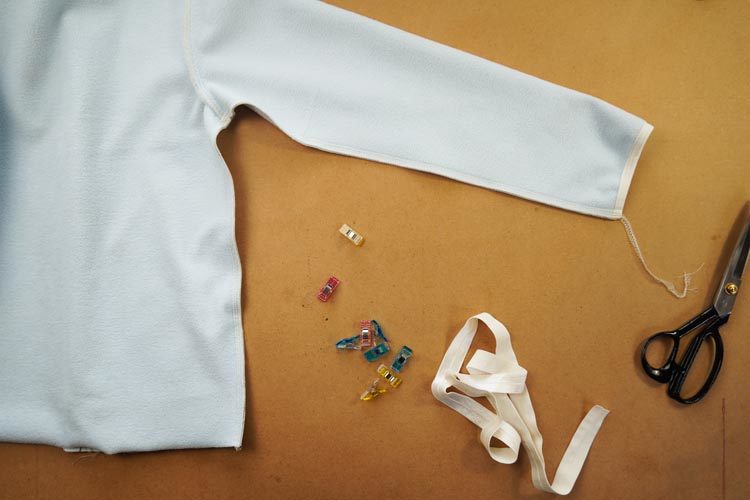
Now sew one side (side seam + sleeve seam) of the jacket in one go.
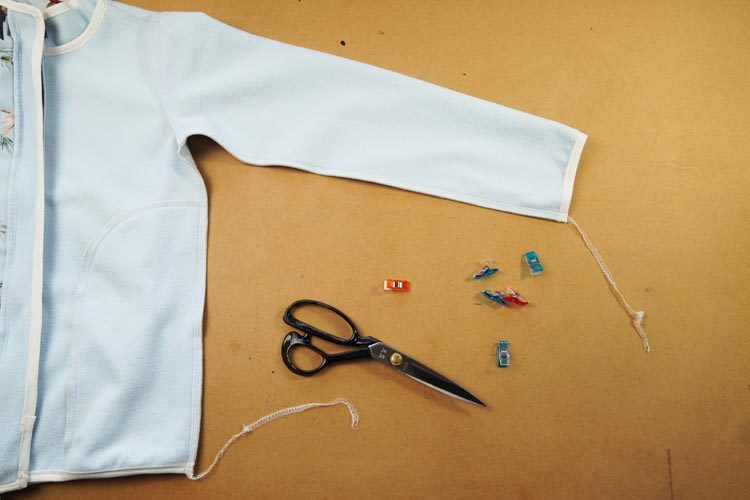
Clean the seam allowances. Leave longer thread chain near the sleeve hem (and pull it under the loops) when using the overlock.
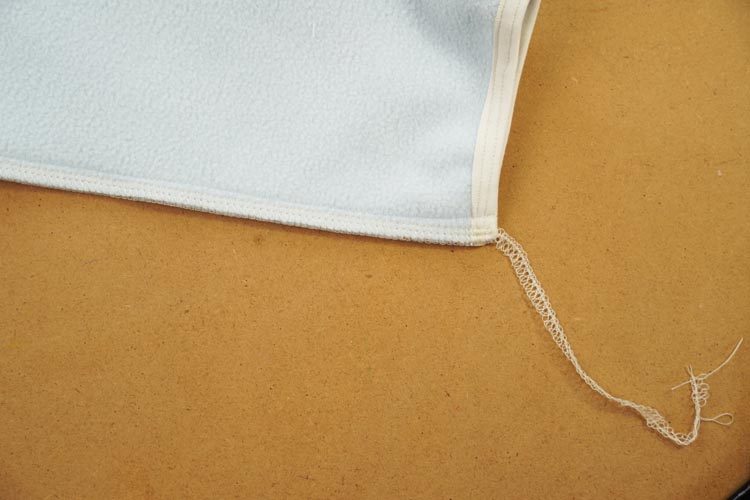
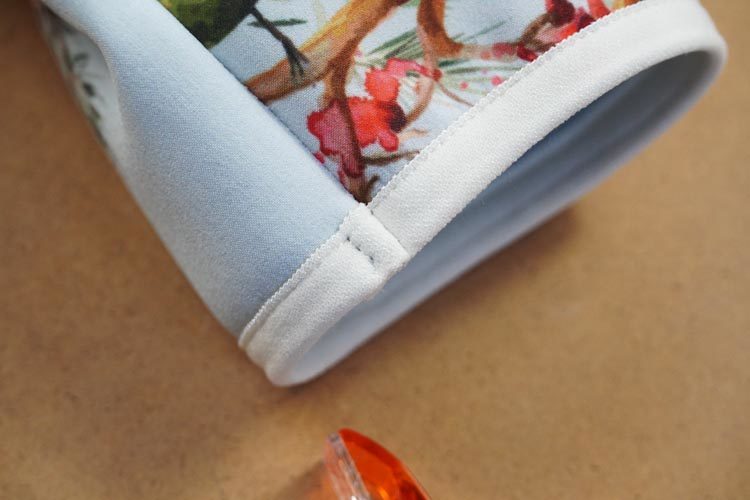
It’s important to align ends of the sleeve hem precisely.
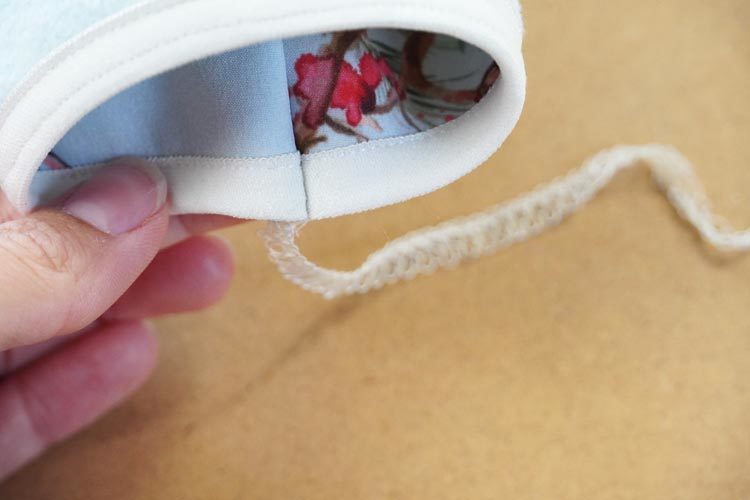
Press the seam allowances near the sleeve hem towards the back side of the sleeve and lock it in place with the short straight seam. This will flatten the seam.
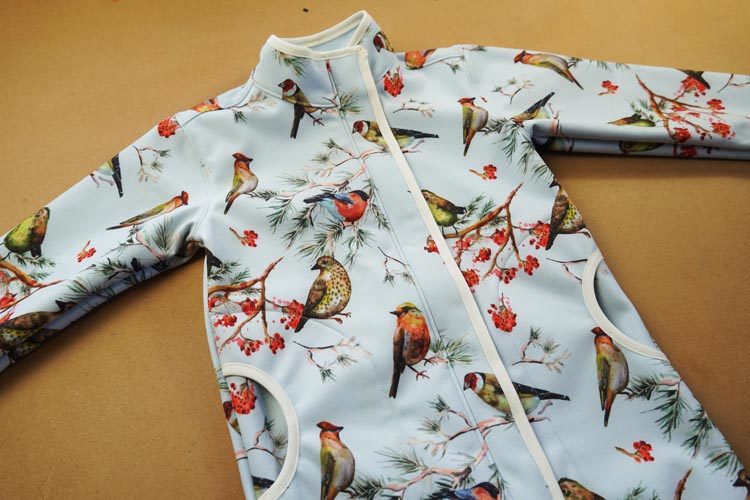
Hems
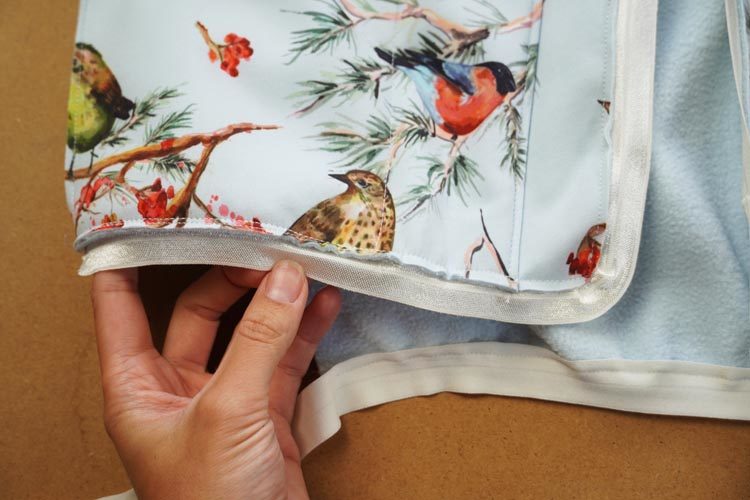
And now comes the fun part, hemming! Start at the bottom corner of the front piece. Choose the side which is not connected to the back piece yet. Do the bottom hem and the hem of the zipper cover...
...continue around the collar, down along the edge of the other zipper cover, then transition to the bottom edge of the front piece and bottom edge of the back piece. Do it with one piece of the elastic band (if it is long enough).
Loose side seam.
Connect the bands in some less exposed place if you need to use more than one piece of the elastic band. It can be somewhere on the bottom zipper cover or somewhere on the bottom edge. These are places where the connection won't be seen so much. Bottom zipper cover is the best place to do this - connection won’t be visible at all when you zip up the jacket. Definitely avoid upper cover, this is the most visible place...
I recommend stretching the band slightly when sewing the bottom hems, this will “round” and “close” the jacket nicely.
Pin the hem corners in advance, this will make the second hem seam easier to do.
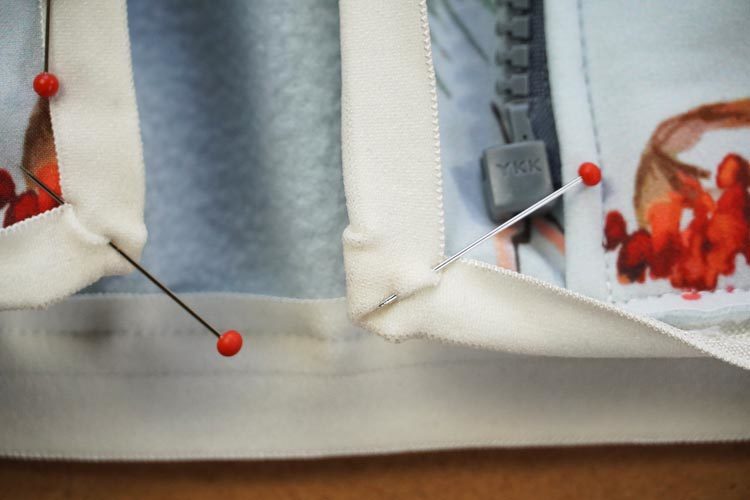
That would be the hemming.

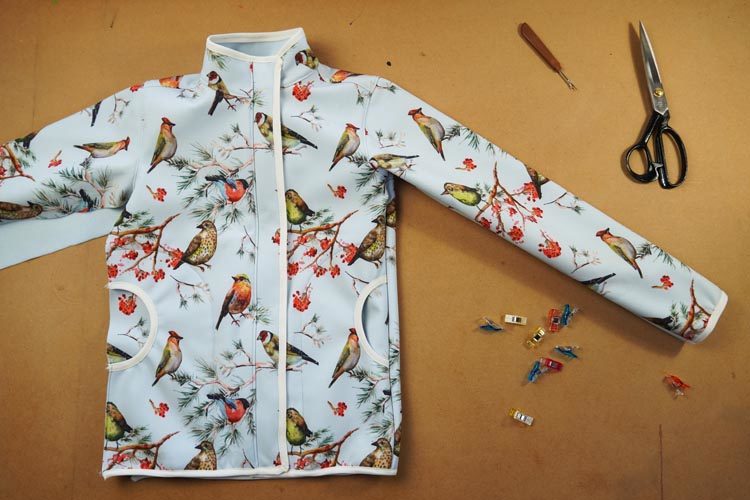
All you have to do now is sew the other side seam and the second sleeve seam and jacket itself will be finished!
Clean the seams after sewing and pull free ends of thread chain under the loops when sewing on overlock.
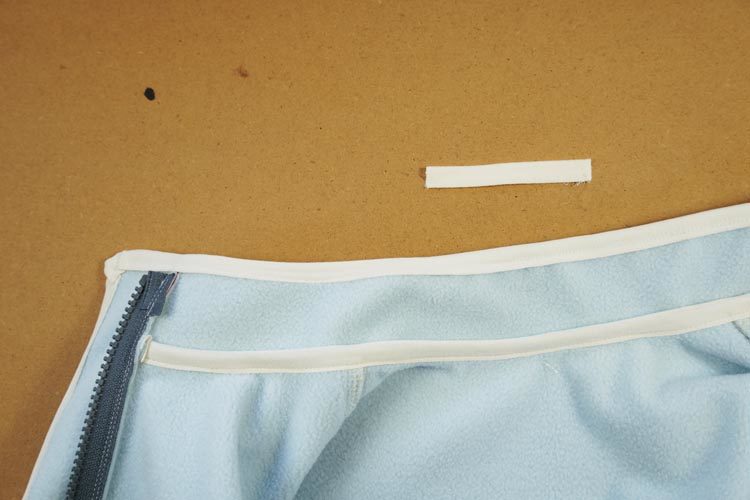
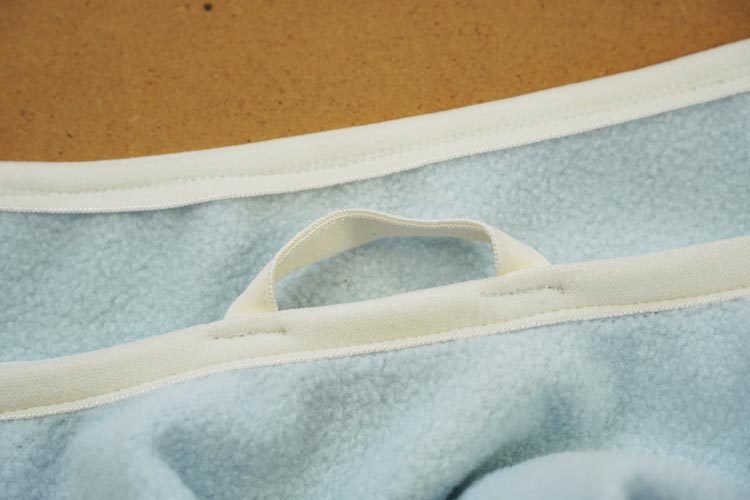
You can now sew the hanging loop if you want to. I’m always adding hanging loops later, so they are not “locked” in the neck opening seam. It would be easier and faster to place them there, but you know how it is - kids will probably tear the loop off the jacket no matter what. If it will be torn from the seam, then the seam itself will get damaged and that can be very difficult to fix. So, I’m always adding the loops at the end. Possible accidents won't affect the seams of the jacket.
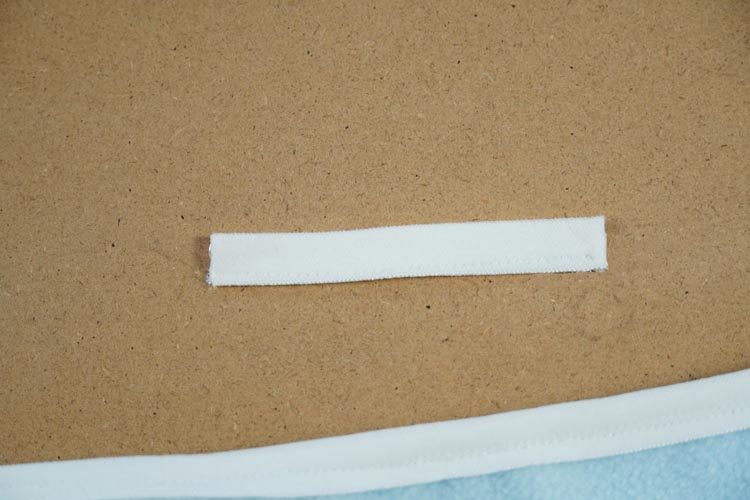
You can make the hanging loop from the rest of the elastic band (folded in half lengthwise).
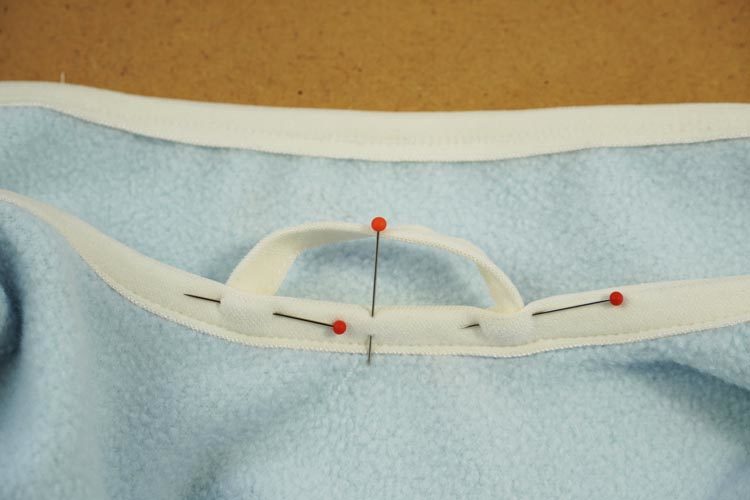
Sew in the ends of the loop about 2 cm away from the center of the back piece. Sew through the ends of the loops several times. This will make the connections more durable.
If you don't want to sew the hood, you're done - jacket itself is ready!

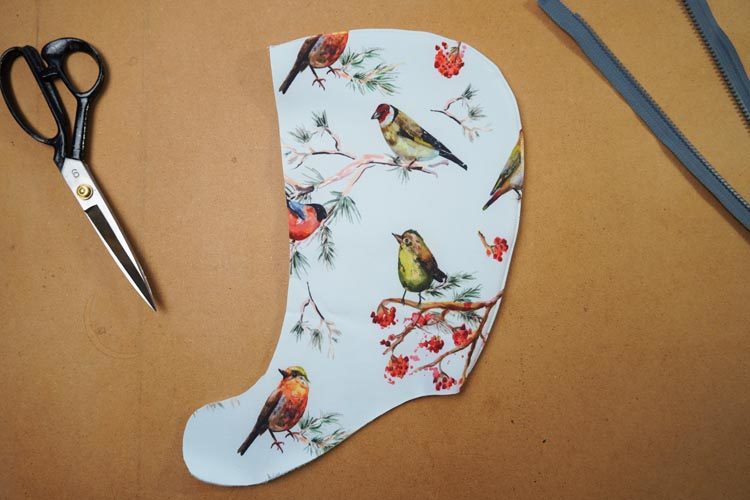
Hood
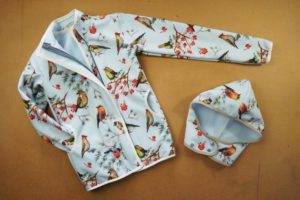
If you want to sew the hood, then here's how to do it…
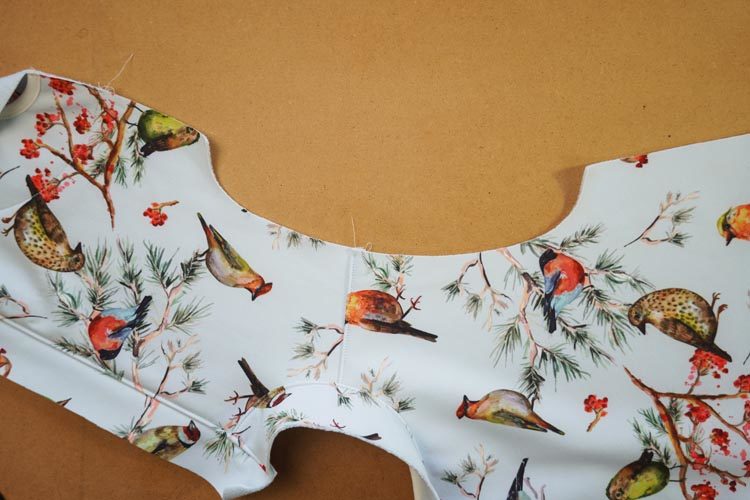
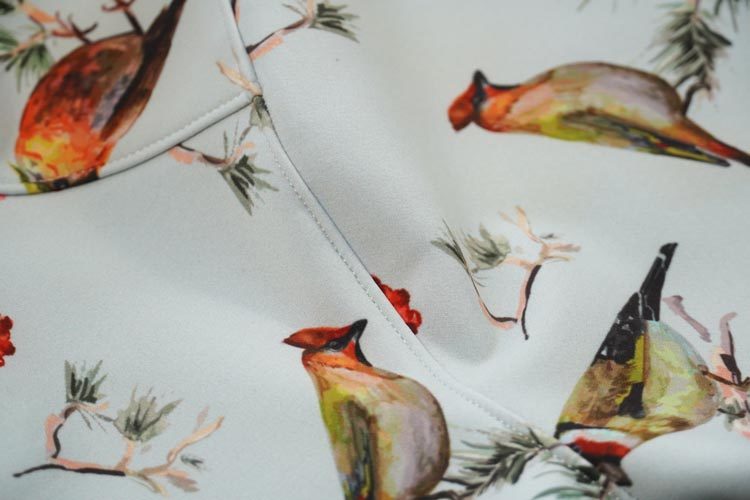
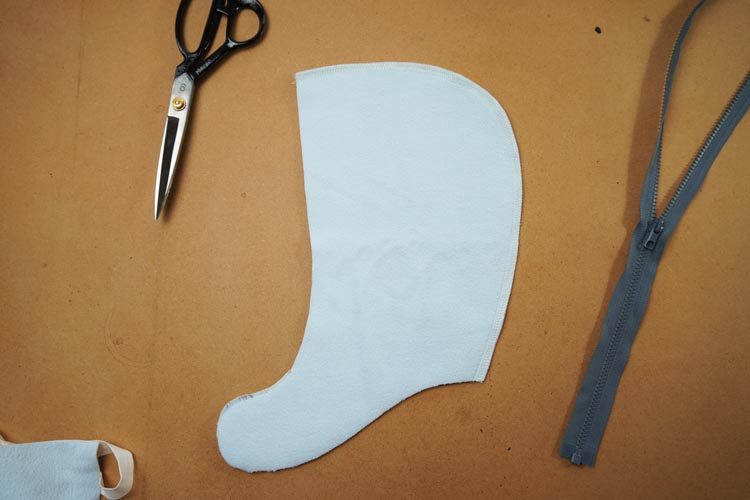
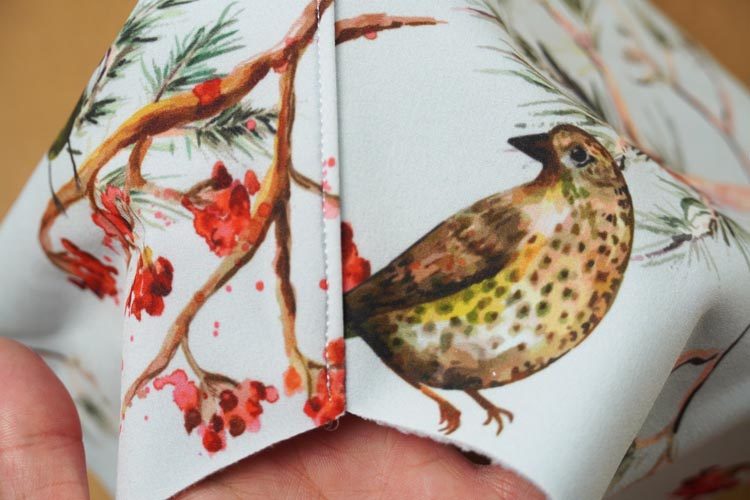
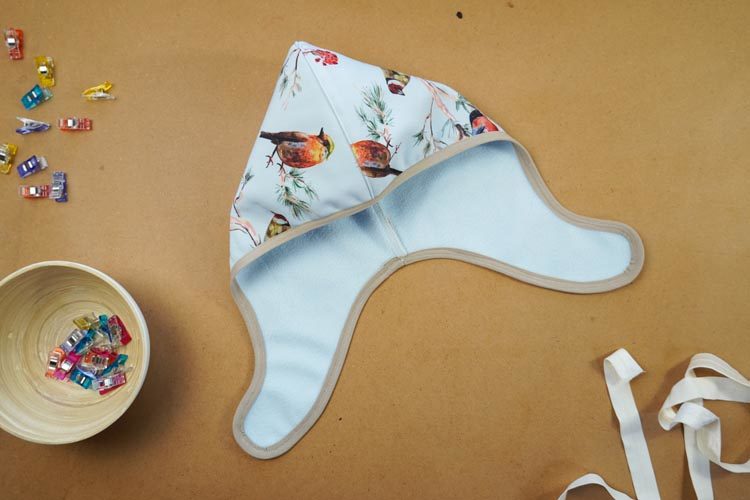
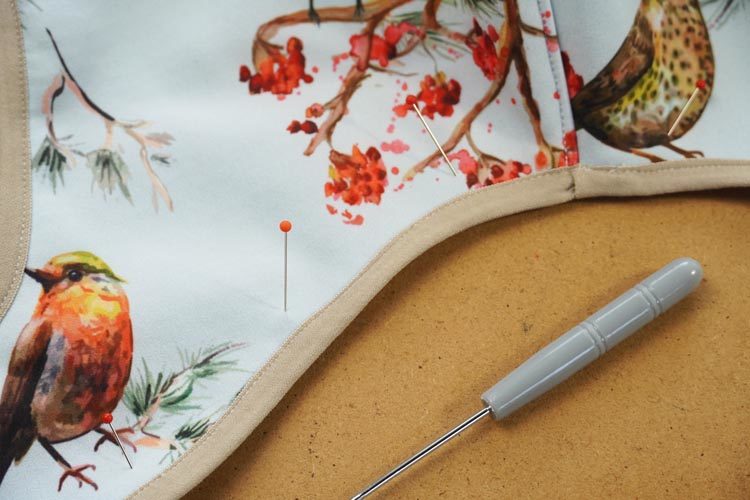
Place hood pieces on top of each other (face side to face side) and sew entire upper curve. Clean the seam afterwards.
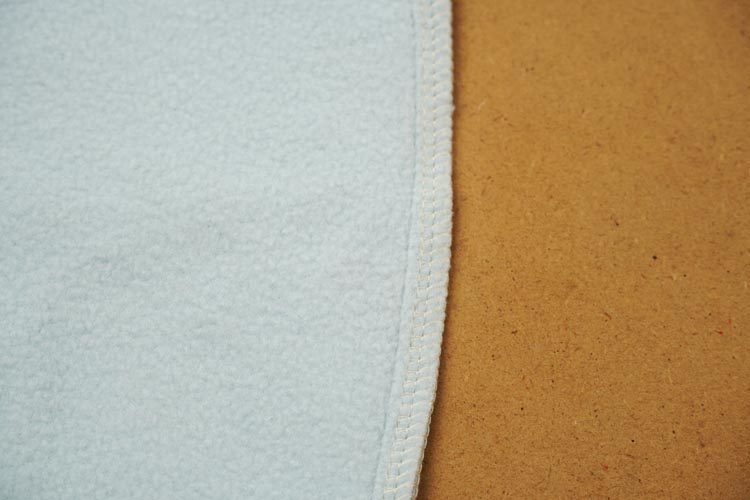
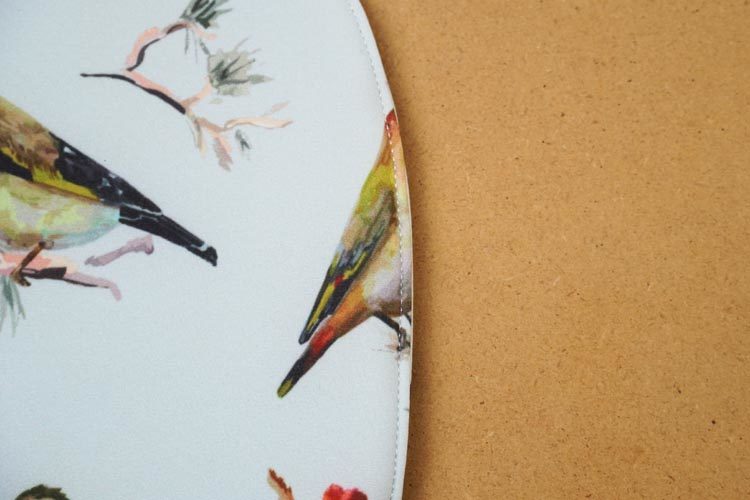
Turn the hood “outside out” ...
...And topstitch along the seam. Seam allowances are folded towards the left side of the hood.
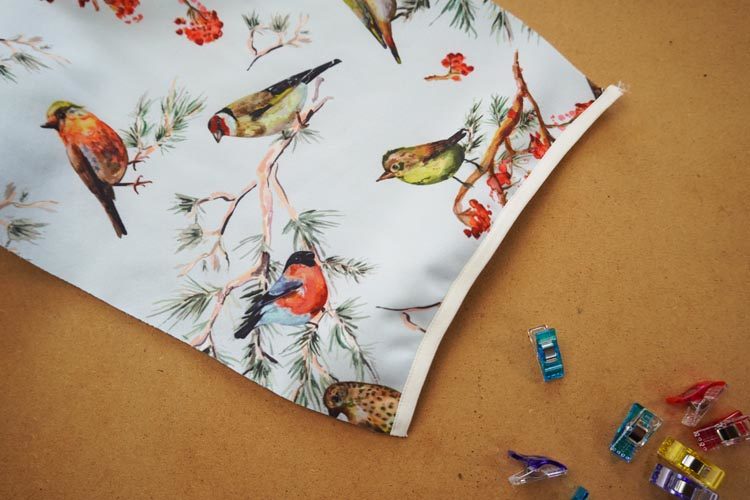
Child’s cheeks will be approximately at the point shown in the picture below. If you want, you can hem the hood with a more stretched elastic band from these points, so that the hood “closes” slightly.
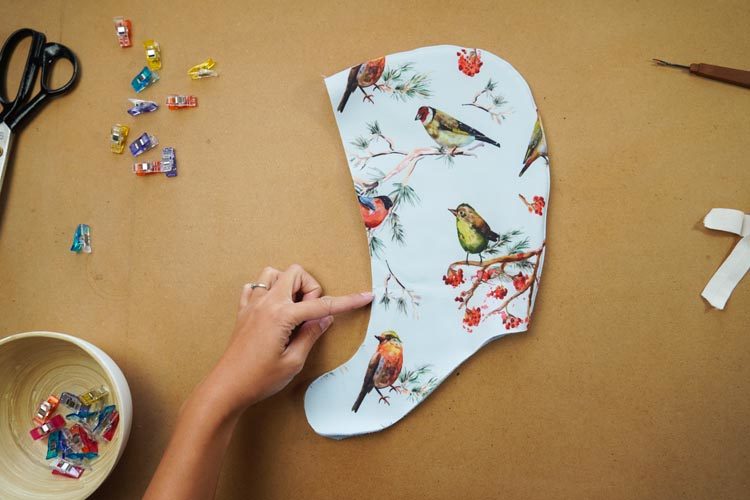
Mark this spot on both sides of the hood if you want to do this.
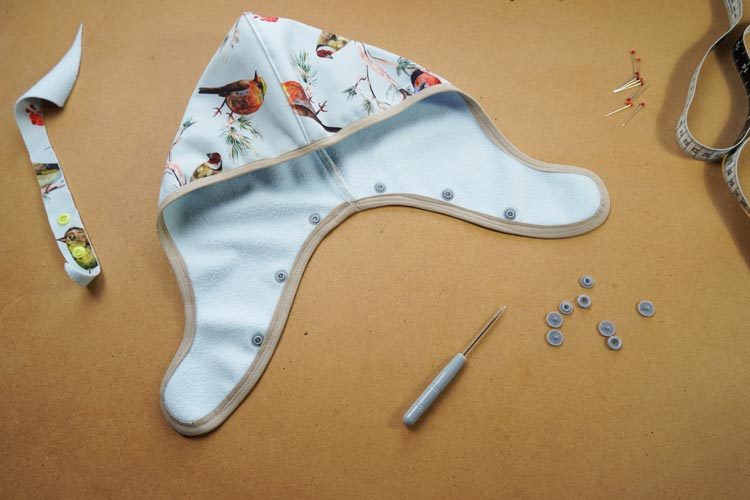
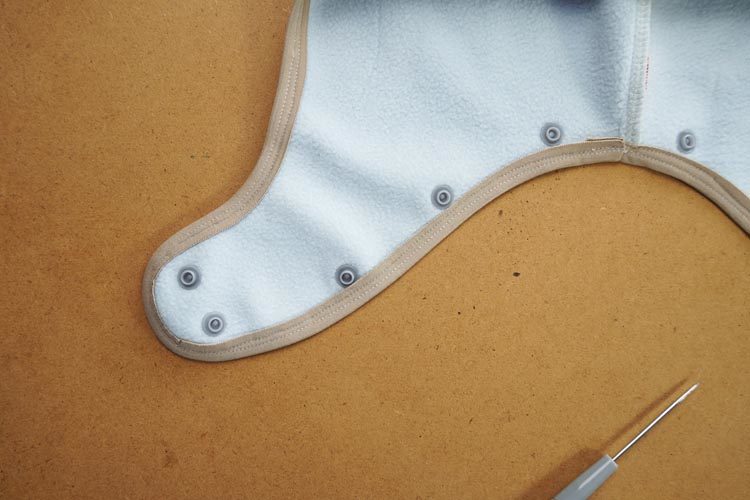
Do the hems of the hood in the same way as rest of the jacket. Start at the seam in the back part of the hood and continue around the edge. Don't forget to stretch the band more between the previously marked points if you wont to “close” the hood a bit.
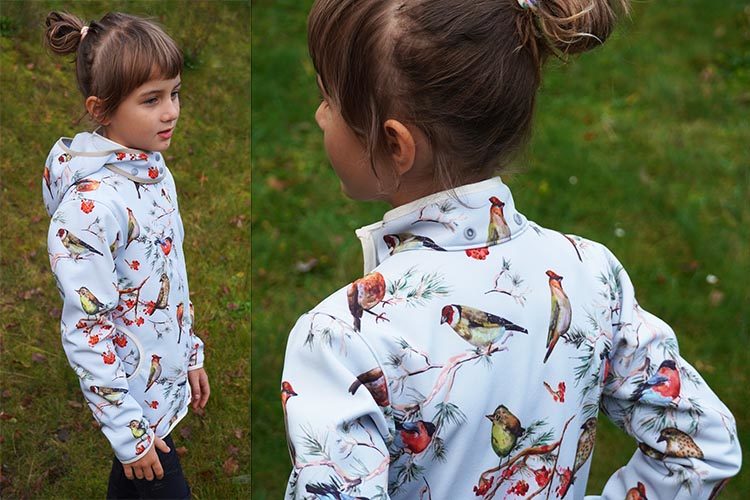
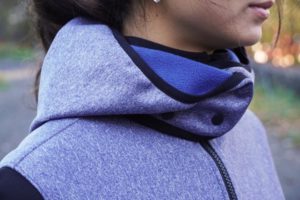
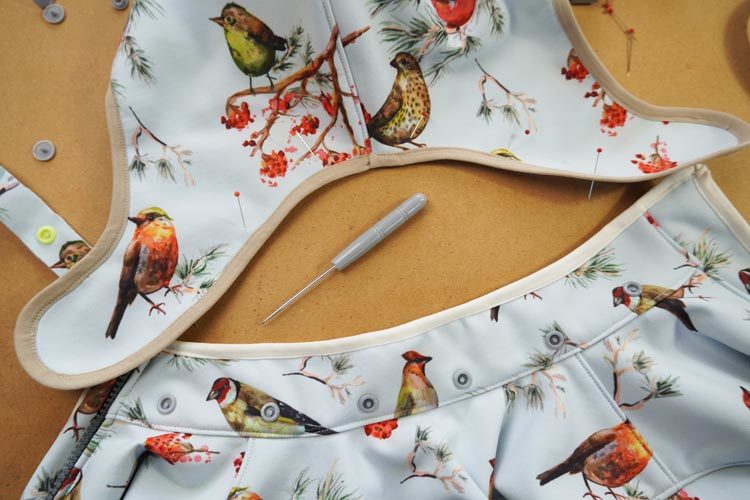
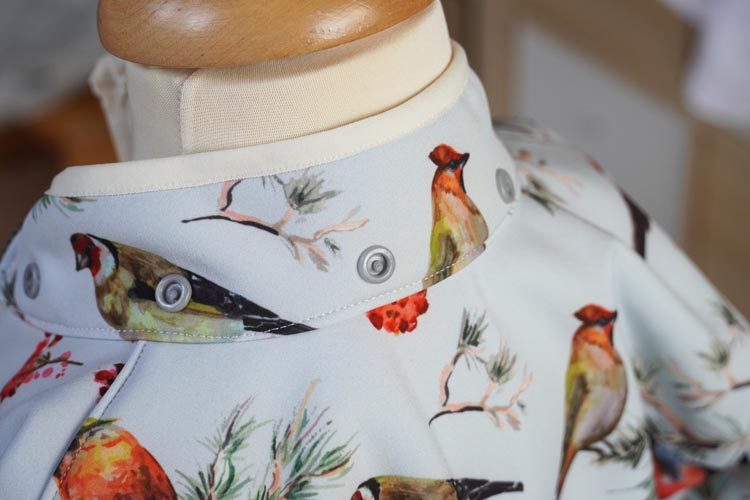
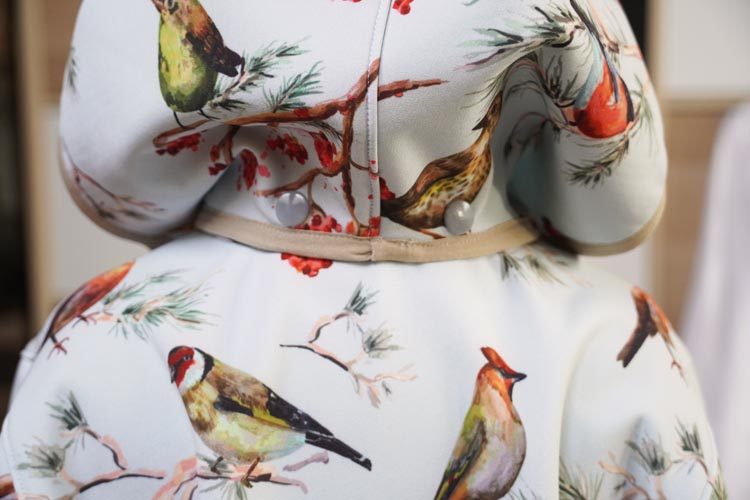
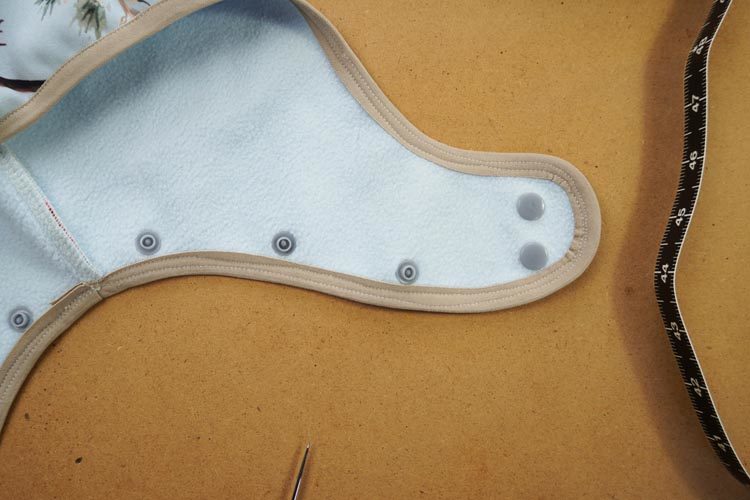
Now is the time to add snap fasteners / buttons / Velcro patches to the collar. Use what you will, but the important thing is that the hood should connect to the collar in its bottom part - about 1 cm above the neck opening seam. Don’t position the connection in the top part of the collar, the hood would deform the collar. Space the snap fasteners / buttons / Velcro evenly. I’ve used six snap fasteners placed about 5.5 cm away from each other (size 128 SLIM). However, your ideal placement may be different (it depends on the size of the material - buttons, etc. - and size of the jacket).
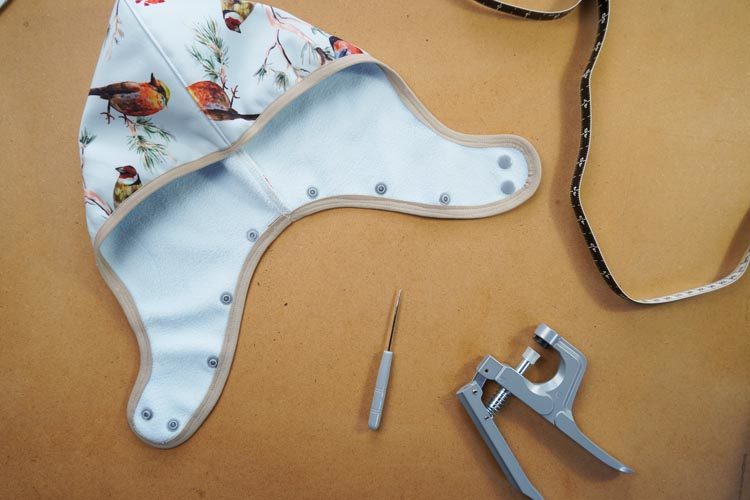
If you want to use snap fasteners, I recommend testing them on a piece of scrap fabric first. Find out if you can attach them at all and whether they work with the fabric (check that the fabric does not tear etc.). Only then attach them to the jacket.

Prepare the hood next (attach snap fasteners / make buttonholes / sew the Velcro patches). I recommend testing the hood first - mark the correct spots for snaps with the pins when trying it on together with the jacket. Then adjust the snap fastener placement if necessary. The hood has a different shape than the collar and the layout of the snap fasteners may be a bit different. In my case, there are 5.5 cm wide spaces on the collar but 5.8 cm wide spaces on the hood.
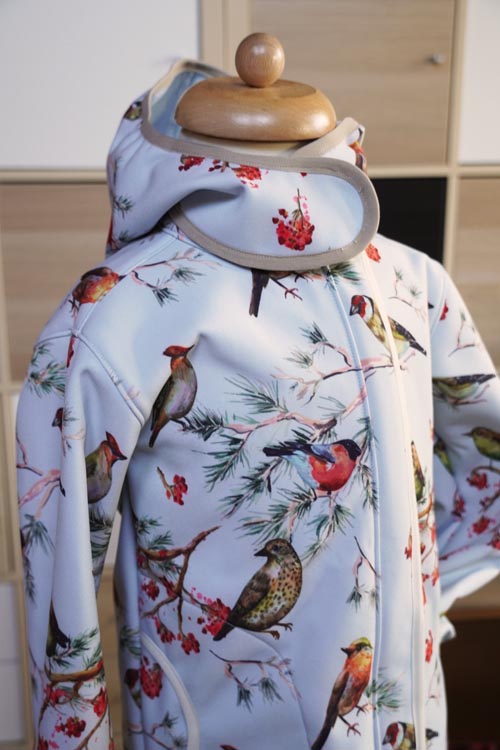
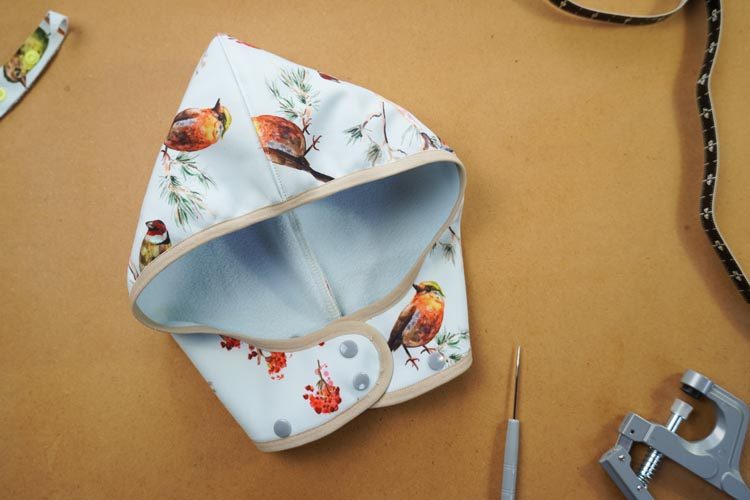
Try the jacket on one more time (and promise your kid that it really is for the last time :) ), attach the hood to the jacket and put it on.
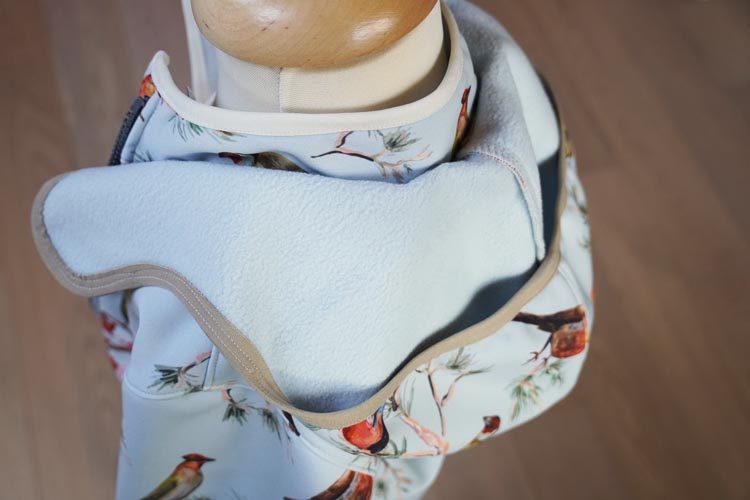
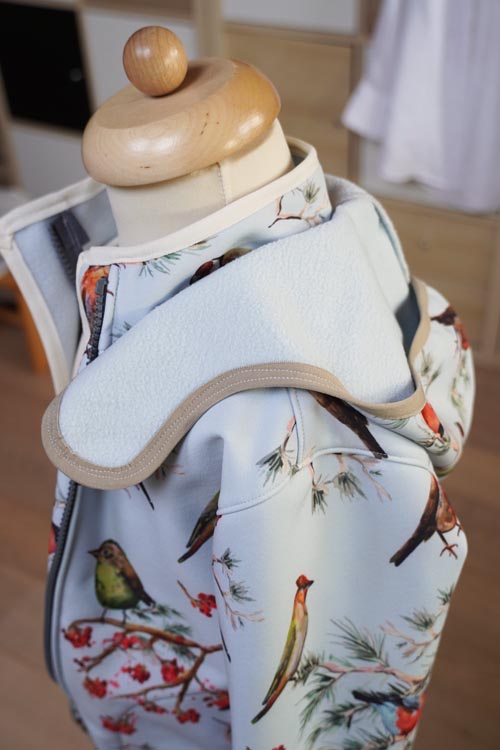
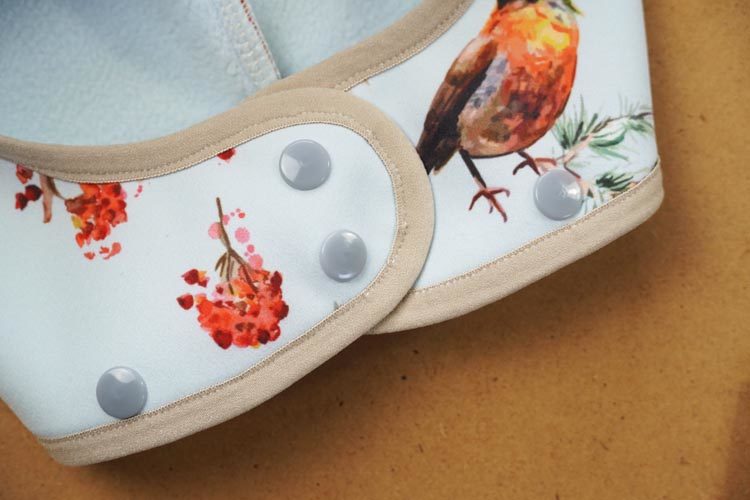
Fold the rounded edges of the hood around the child’s neck and use pins to indicate the overlap and placement of the snap fasteners.

Add the snaps to the appropriate places so that the hood can be closed around the neck in case of bad weather.
And that’s it! You won! This pattern is quite easy to sew, and it can be done in no time. But you can have a lot of fun with a simple pattern like this and really make it yours.
You can get the pattern for children’s jacket here:
Pattern – Children’s jacket BASIC
Have a nice day!
Peťa