


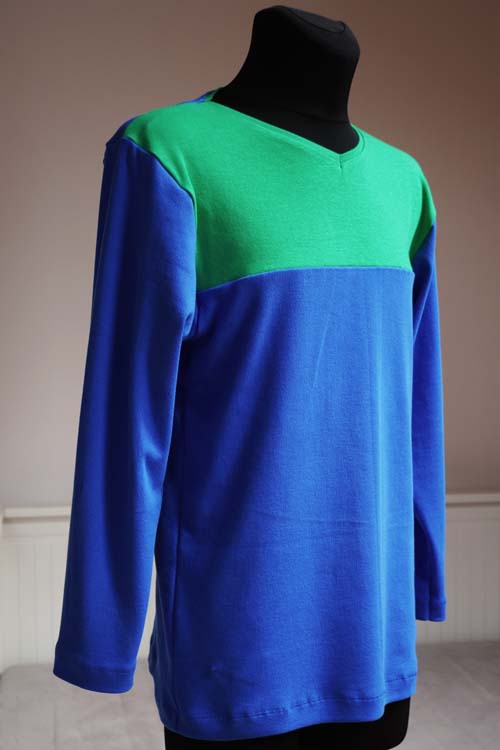
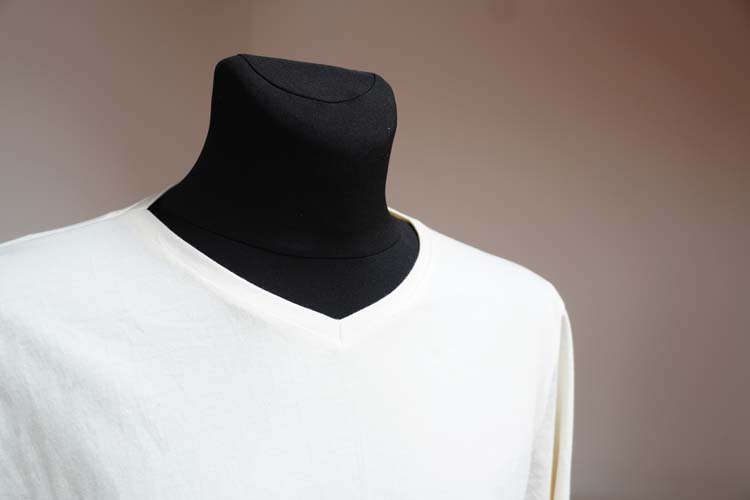
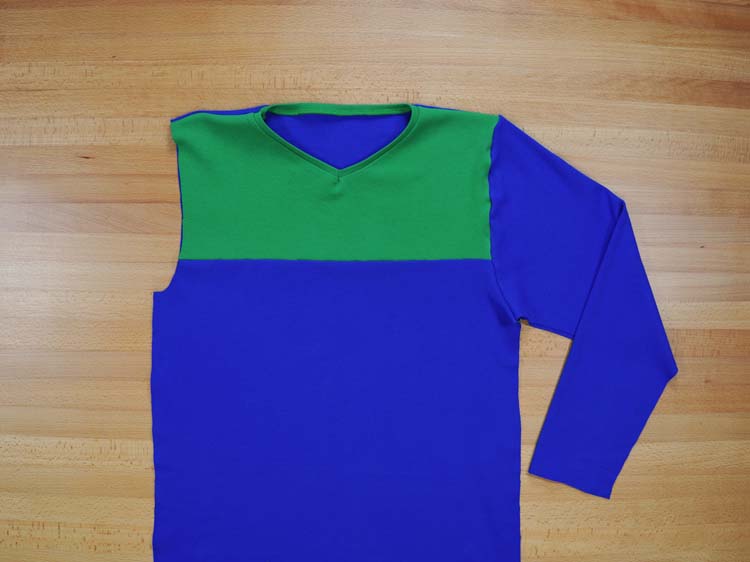
Today's sewing instructions are dedicated to the men's sweatshirt WEEKEND. You can get the pattern for this sweatshirt here: Pattern - Men’s sweatshirt WEEKEND. This pattern is quite simple. The sweatshirt has classic long sleeves, V-neck, and a yoke in the front. The yoke is optional - you can sew the sweatshirt with a classic simple front piece. This sweatshirt pattern is available in sizes 44–66.
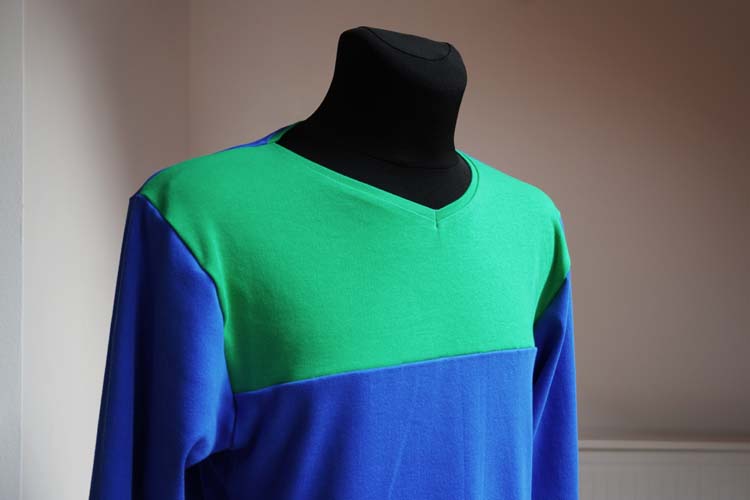
The pattern
This pattern is suitable for beginners and intermediate sewers.
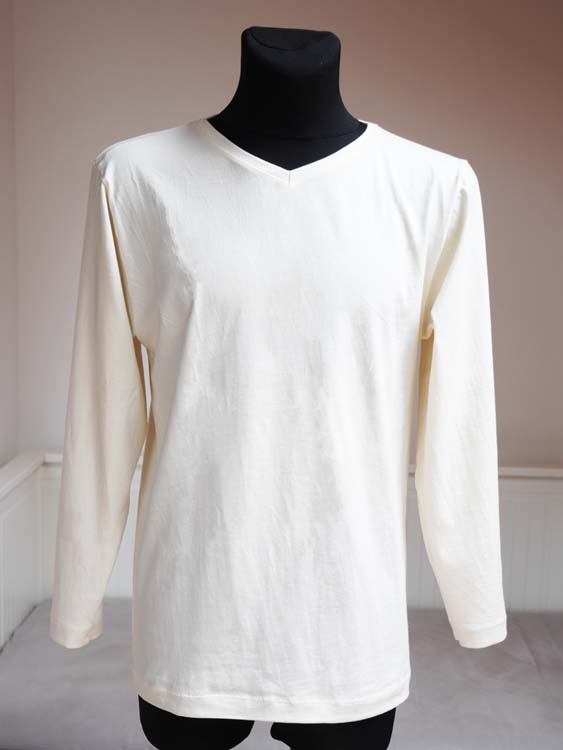
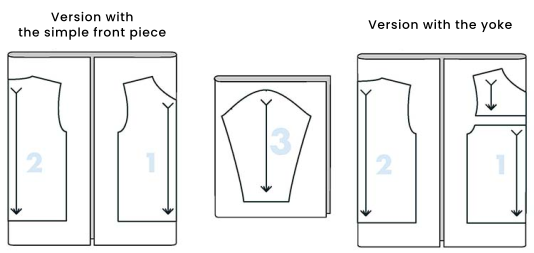
You can sew this sweatshirt with a classic (unsegmented) front piece
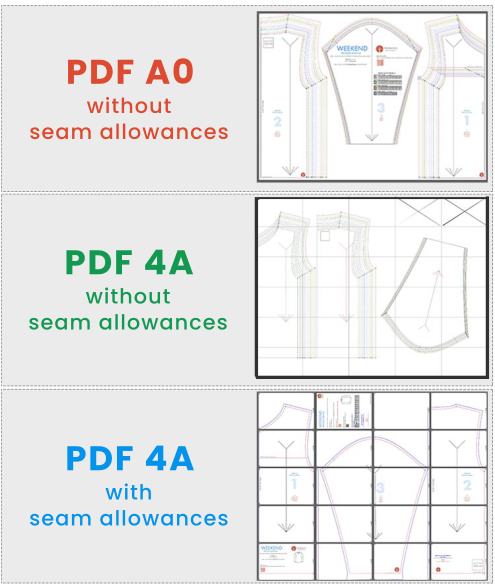
There are three versions of this pattern and you will get all of them:
- PDF A0
- PDF A4 - All sizes in one picture, no seam allowances
- PDF A4 - Individual sizes view with seam allowances outlined
Recommended material
This pattern is designed for knits of medium thickness – elastic materials. Use uncombed laid-in knit with elastane, thick double knit, etc.
The required amount of material
(for 140 cm / 55" wide fabric)
- Sizes 44–54: 1.7 m / 67"
- Sizes 56–66: 2 m / 79"
My tip: I used my overlock machine, but you can easily sew this sweatshirt on a regular sewing machine, just follow a few simple rules outlined in this article:
Sewing instructions
Note: As I said, I sewed on the overlock, so I didn't have to clean the cutting edges. If you are sewing on an ordinary household sewing machine, then it is necessary to clean each seam (or cutting edges of all seam allowances). You can do this, for example, with a simple zig-zag stitch. I decided to write this information right at the beginning so that I don't have to repeat it throughout this tutorial. :)
1. Pattern layout
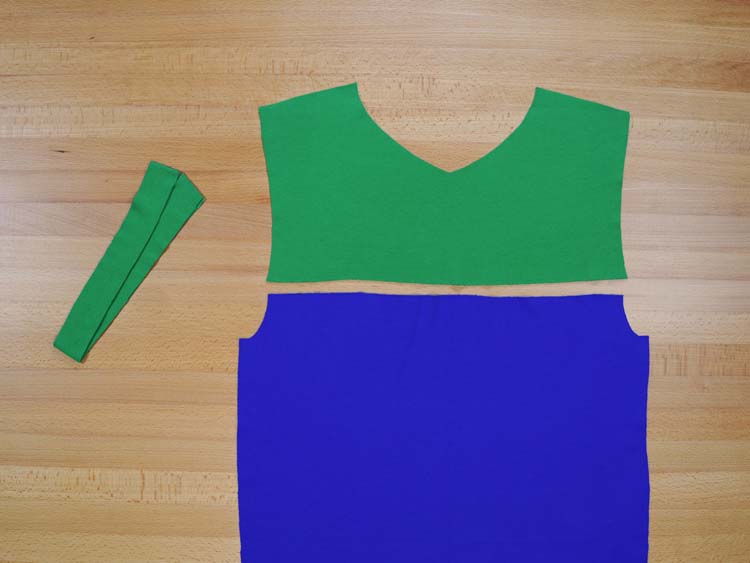
Position & prepare the pieces:
- 1x front piece (cut on fold)
- 1x back piece (cut on fold)
- 2x sleeve piece
If you have decided to sew the version with a yoke, then cut the paper front piece according to the dividing line. Then position both parts separately, but still on the fold.
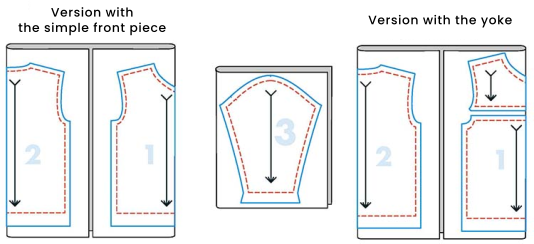
If you use a pattern with outlined seam allowances (PDF A4, individual sizes view), then you can just cut the pieces. When using the “classic” pattern without seam allowances (A4/A0, all sizes view), it is necessary to add seam allowances.
Make them all 1 cm / 0.4" wide, except for the bottom hem of the sweatshirt and the hems of the sleeves - these should be 3 cm / 1.18" wide.
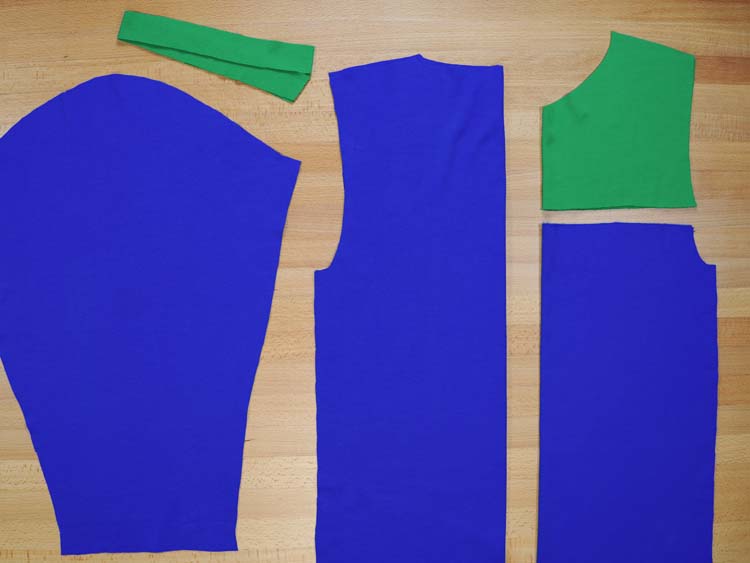
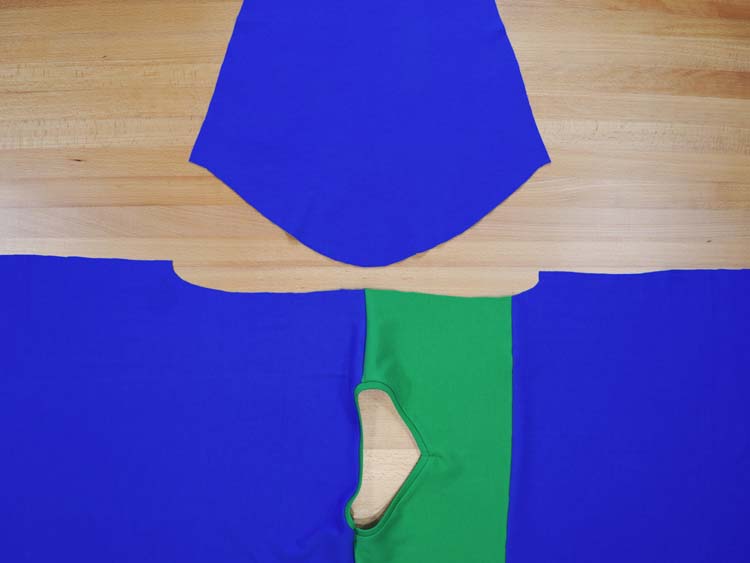
The result should be similar to the photo below.
I also prepared a knit strip (4 cm / 1 5/8" wide) that will form the neckline hem.
2. Yoke
Note: In this tutorial, I will show you how to sew a version with the yoke. If you decided to sew a simple version of the men's sweatshirt with a one-part front piece, then simply skip this step.
Take the front piece and the yoke.
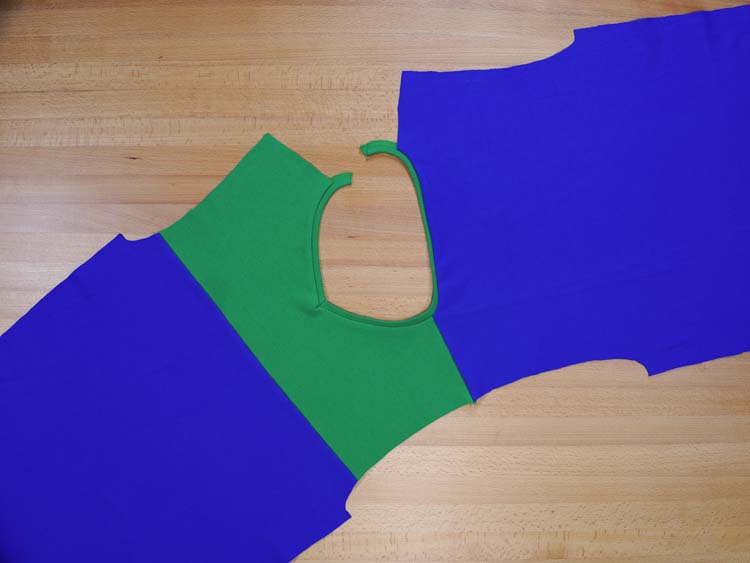
Lay the yoke over the front piece (face side to face side). Pin and sew the connecting seam.
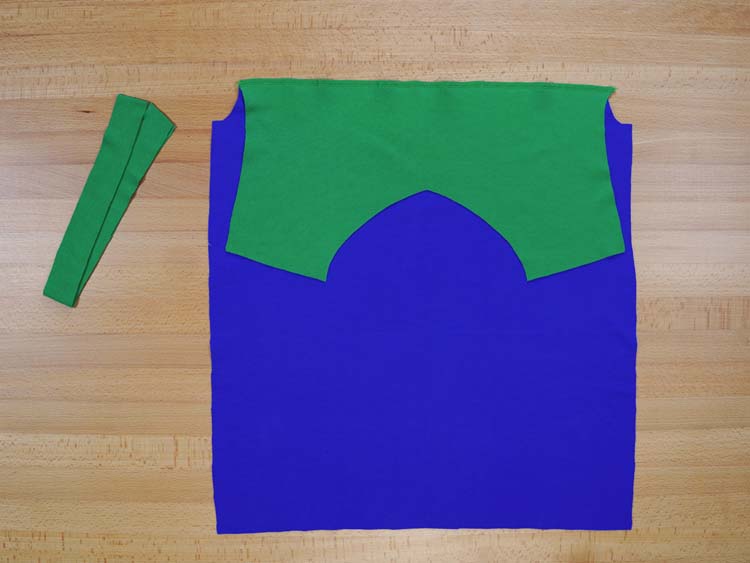
Unfold the pieces and iron the seam thoroughly. The front of the sweatshirt is now ready for the next step.
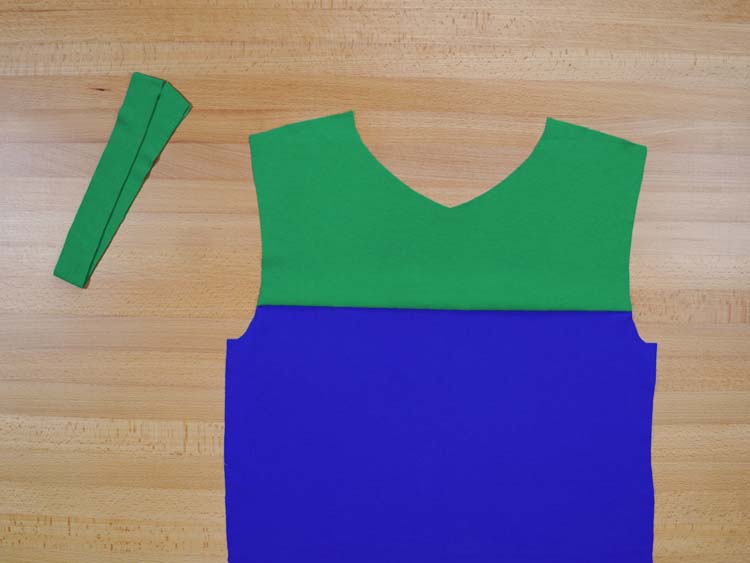
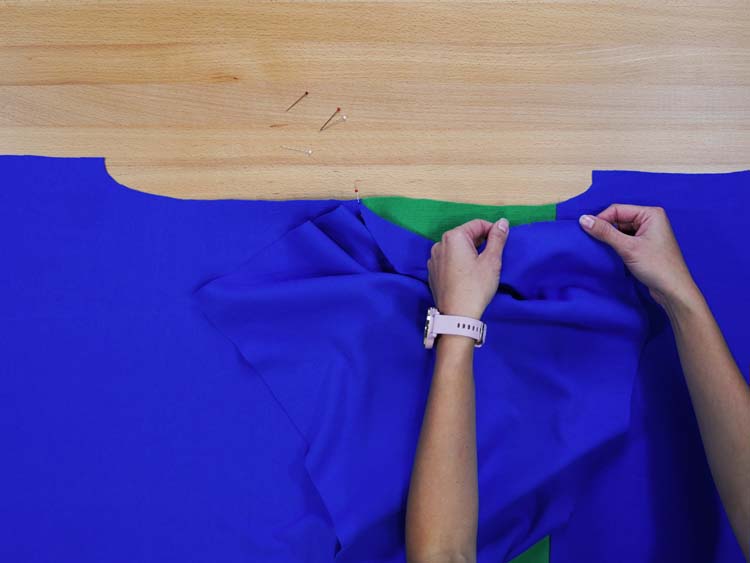
3. First shoulder seam
Lay the front piece over the back piece (face side to face side). Pin and sew one of the shoulder seams.
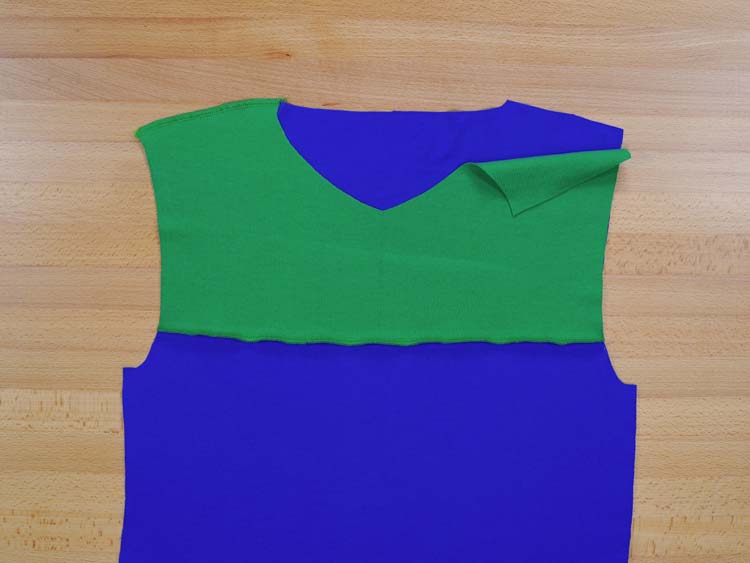
4. V-neck
Cut a seam allowance at the bottom of the “V”. The cut should be about 0.7 cm / 1/4" long.
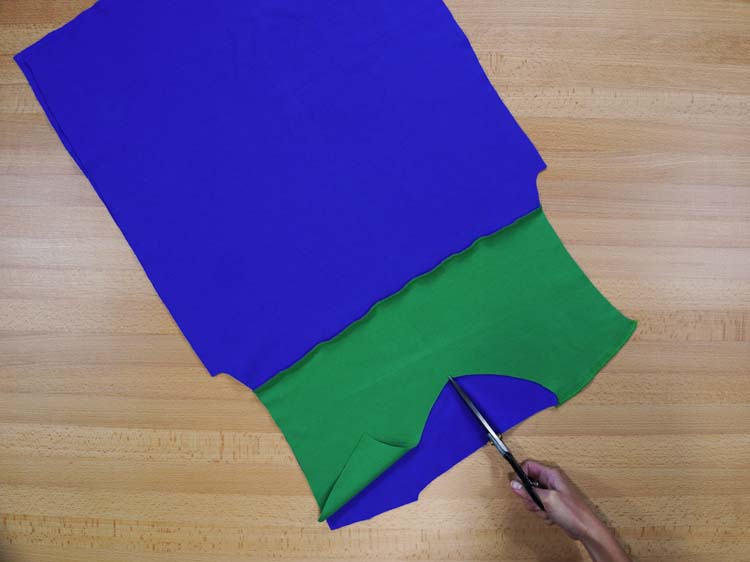
There will be more space at the bottom of the neckline, making it much easier to sew the hem.
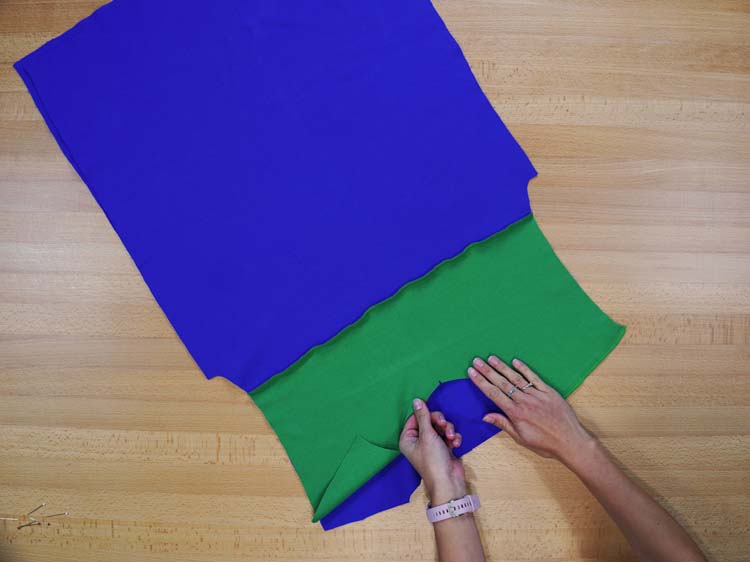
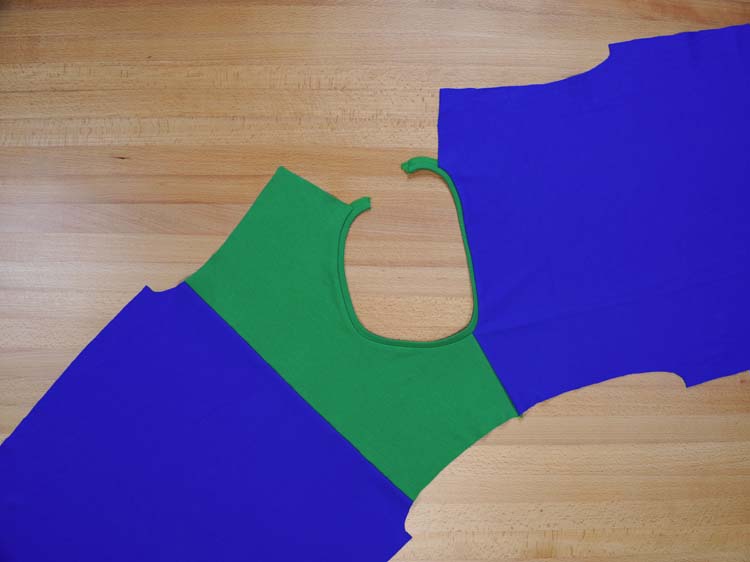
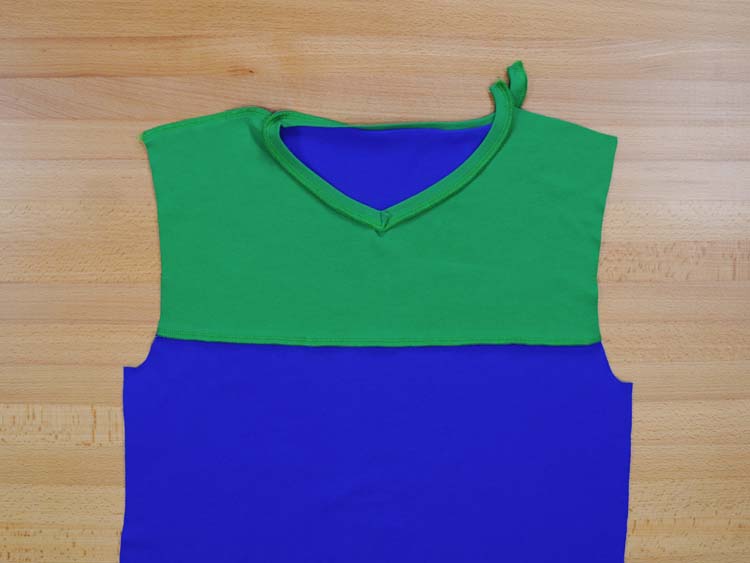
Fold the knit strip in half (lengthwise) and use it to hem the entire neckline.
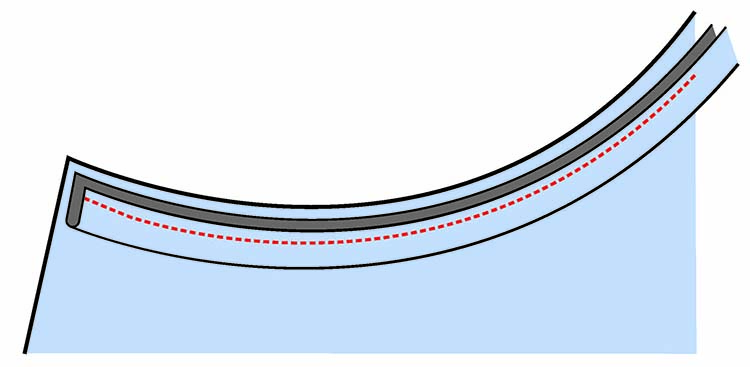
This is what the hem looks like from the reverse side:
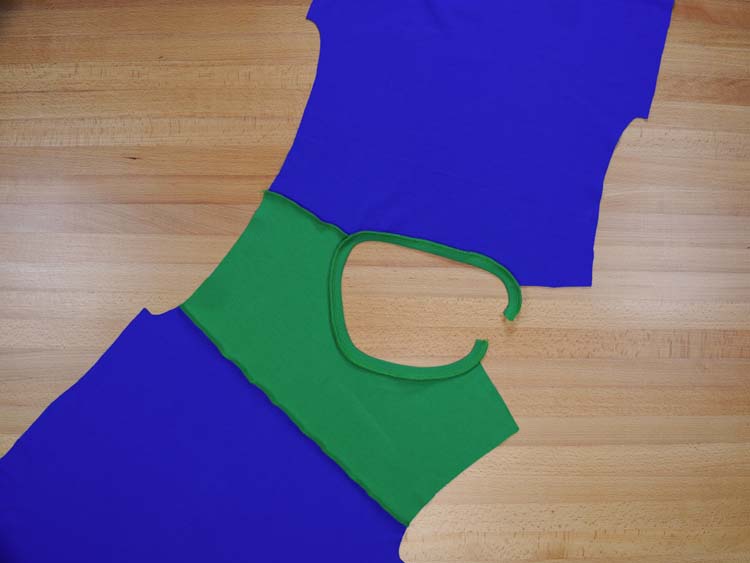
This is the face side after ironing:
(As you can see, the sharp "V" is gone...)
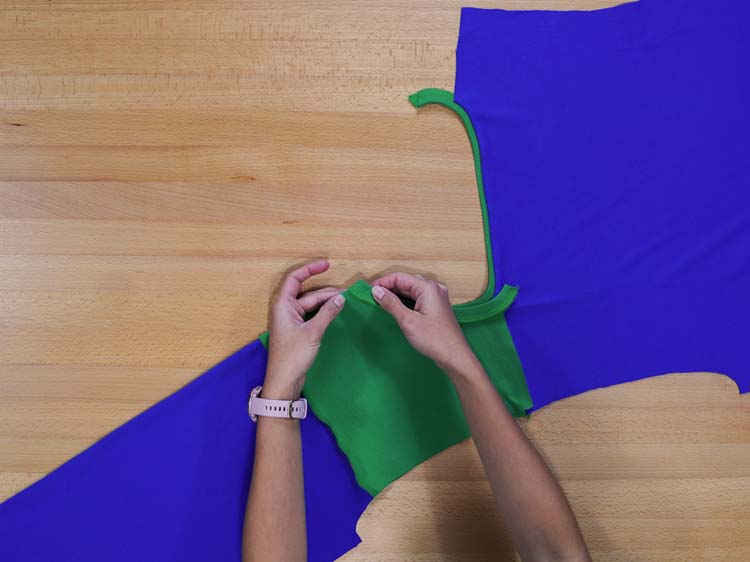
Now you need to shape the V-neck. Fold the front part in half - try to do it so that the fold lies exactly at the centerline of the piece (align both parts of the yoke seam and bottom corners of the front piece).
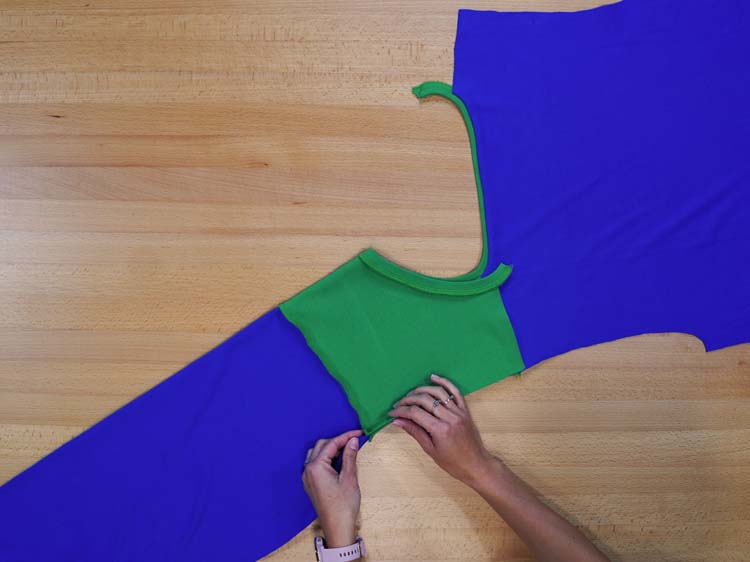
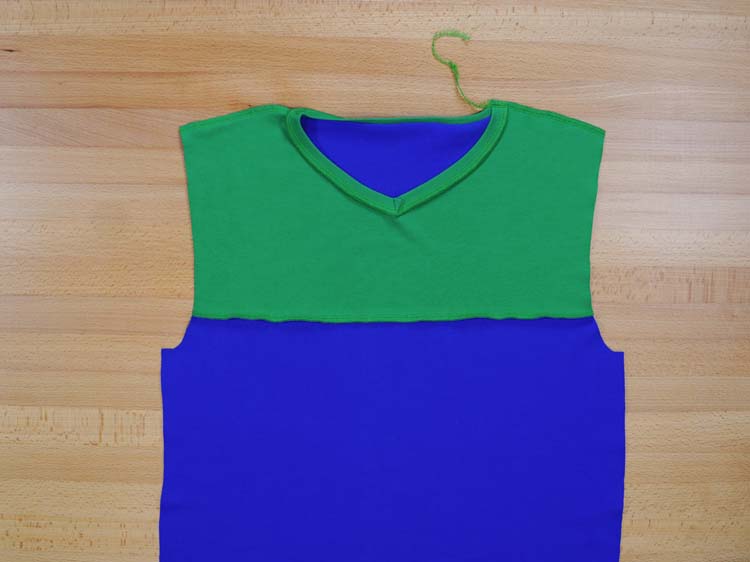
Sew a short seam (by hand, if you want to) that will prevent the parts of the hem closest to the bottom of the “V” from unfolding. It’s a bit hard to see, but you will get a small triangle at the bottom of the neckline - one side of this triangle is the seam, the second is the centerline fold and the third is the upper edge of the hem.
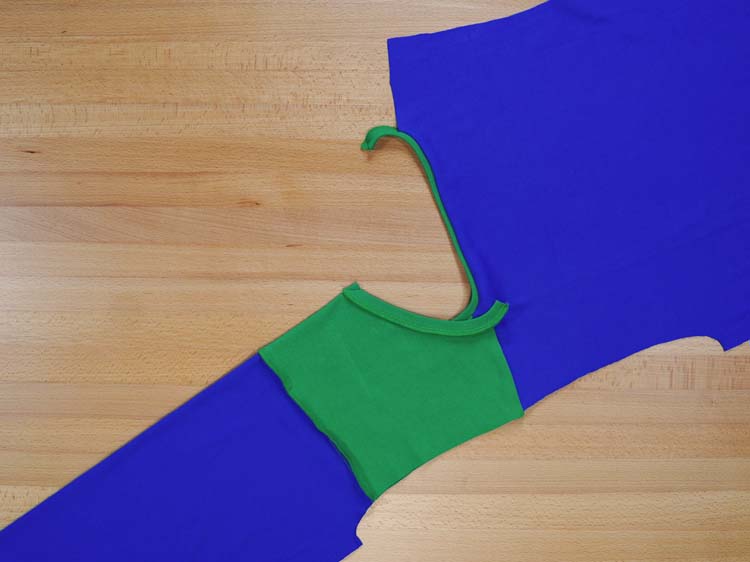

After unfolding the front part, the neckline should remain nice and sharp:
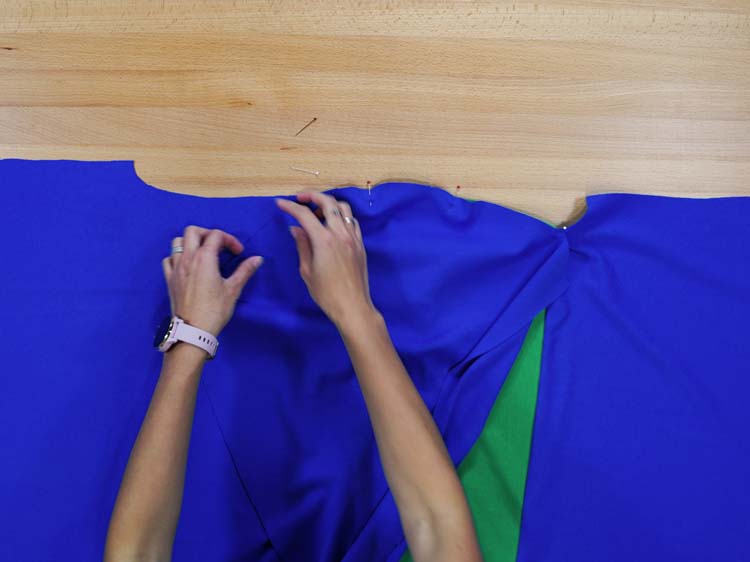
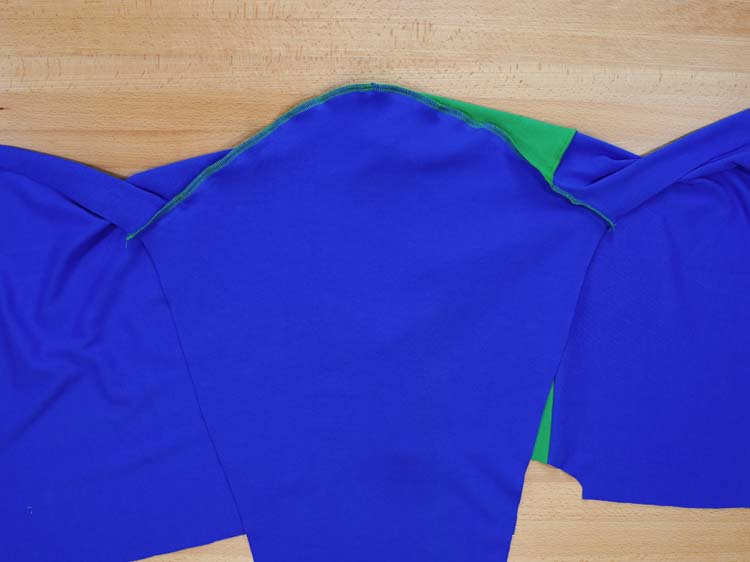
5. Second shoulder seam
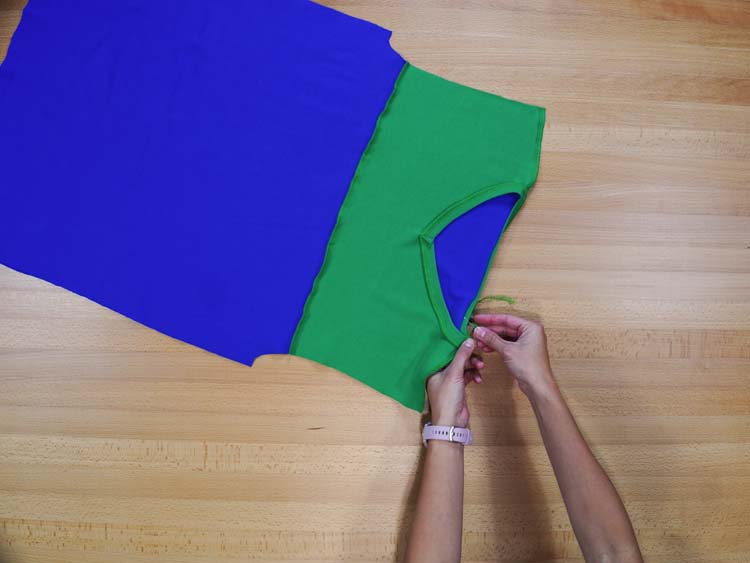
Fold the sweatshirt so that you can finish the second shoulder seam. Pin and sew the second shoulder seam.
Pull free ends of thread chain under the loops when using an overlock.
6. Sleeves
Sew the sleeve pieces to the torso.
Pin the shoulder head to the open armscye (face side to face side). Start at the top of the sleeve - mark on top of the sleeve head should be aligned with the shoulder seam. The second mark on the sleeve head goes to the yoke seam. Sew the sleeve to the torso.

Sew the other sleeve in the same way.
Sleeve hems
Clean the bottom cutting edge of the sleeve and fold the last 3 centimeters of the sleeve to the reverse side.
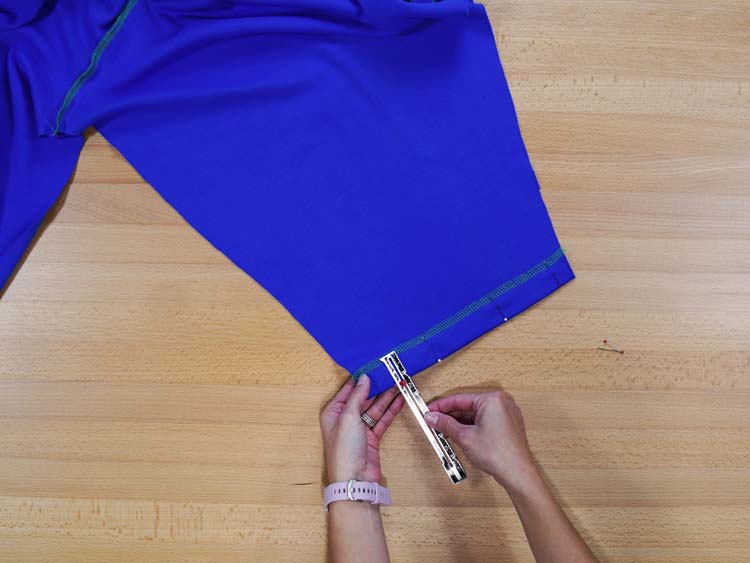

Before you topstitch the sleeve, test your elastic stitch on some scrap fabric. If the stitch is elastic, then the fabric should not crease.
Topstitch the sleeve (sew from the face side) approx. 2.5 cm / 1" from the fold to finish the bottom hem of the sleeve.
Sew the hem of the other sleeve in the same way.
7. Side seams & Sleeve seams
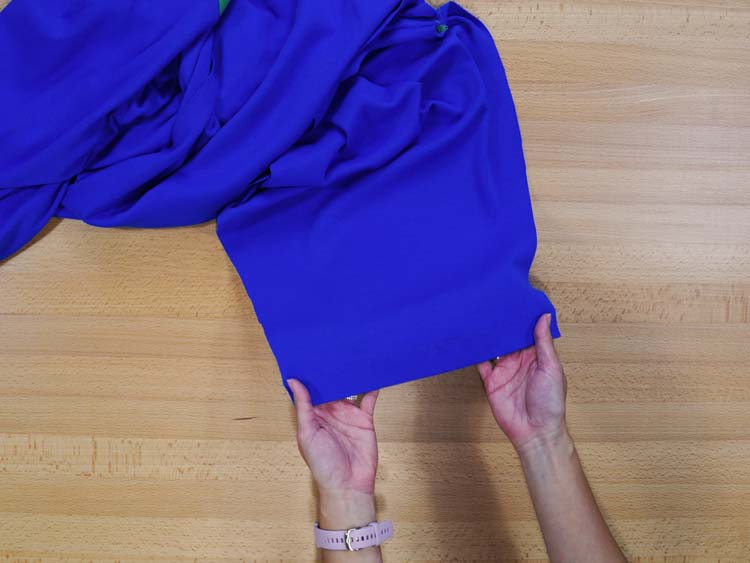
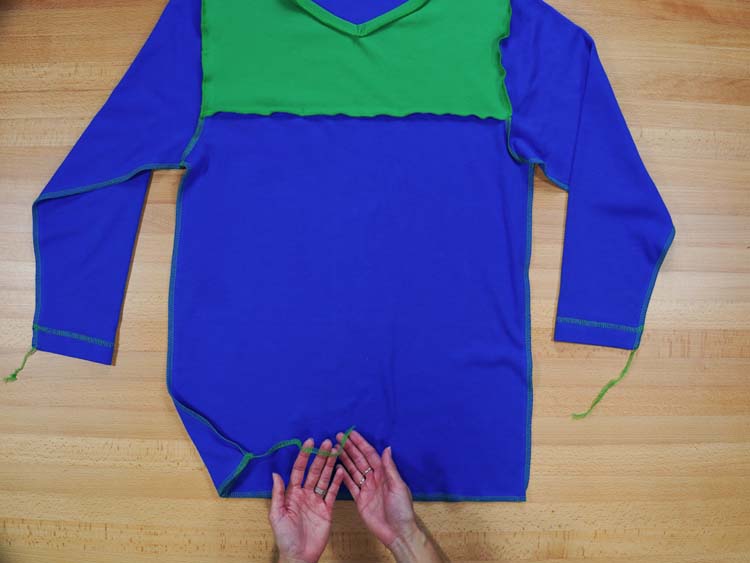
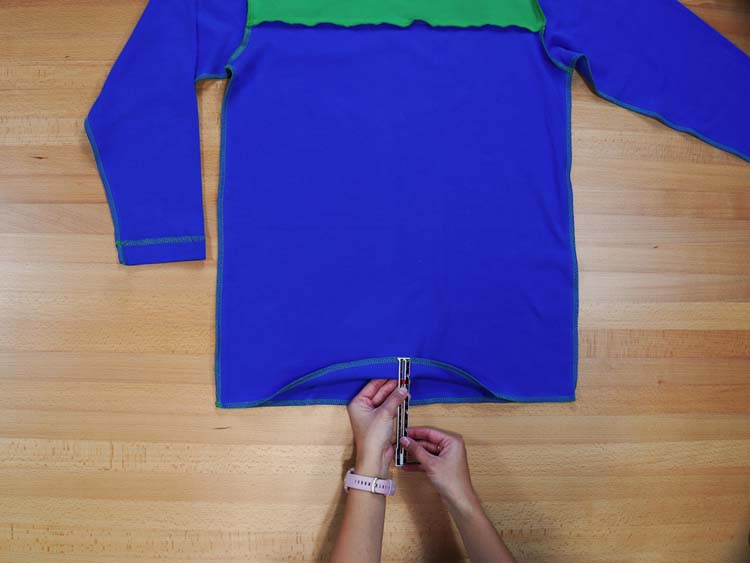
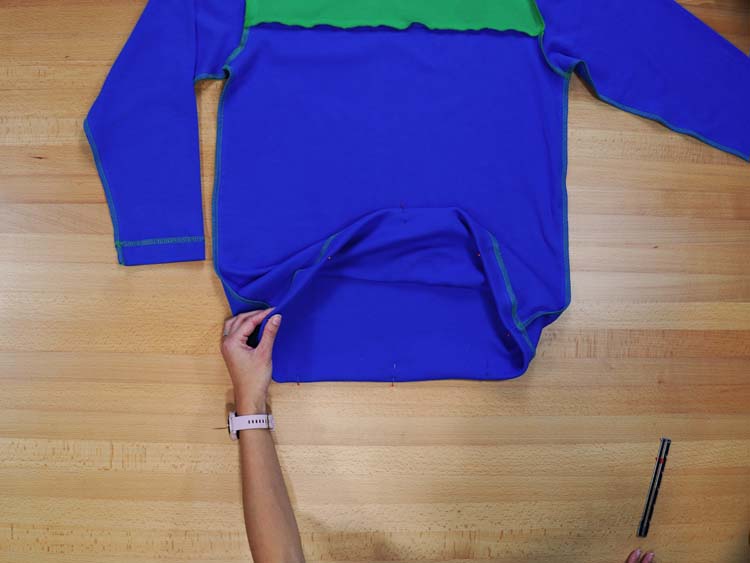
Turn the sweatshirt inside out and pin shoulder seams & side seams on both sides. Make sure the bottom edges, armpit areas, and sleeve edges are nicely aligned.
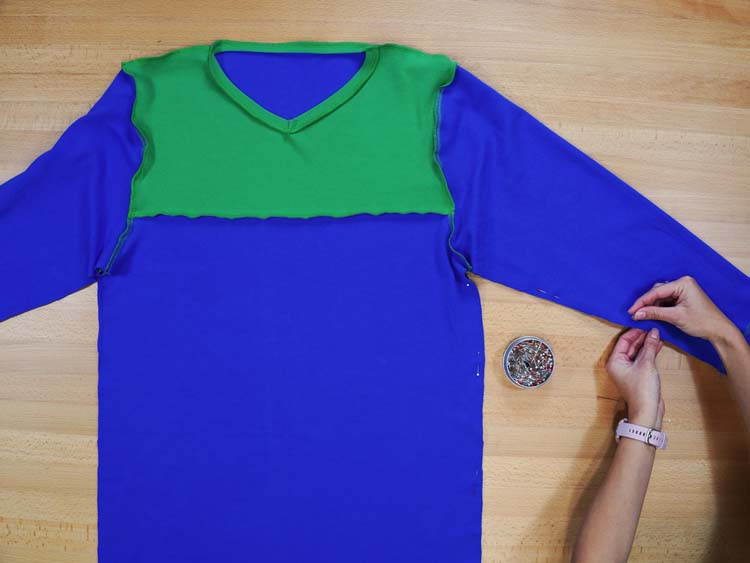
Sew the sleeve seam and side seam in one go (do this on both sides of the sweatshirt). Leave longer thread chains near the sleeve hems (and pull them under the loops) when using the overlock. You can also clean the bottom edge of the sweatshirt. Here also pull the thread chains under the loops.
8. Bottom hem
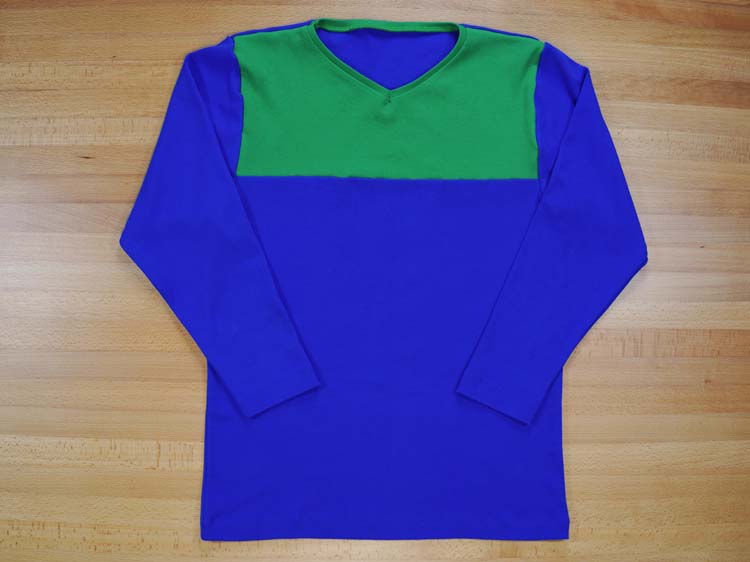
Fold the bottom edge of the sweatshirt 3 cm / 1.18" to the reverse side. Topstitch along the entire bottom edge of the sweatshirt to finish the bottom hem.
That’s it - your sweatshirt is ready!
Pattern - Men’s sweatshirt WEEKEND
You can get this pattern and many other patterns in my online store.
Don't forget to share your joy with others!
Did you like today's instructions and pattern? If so, share it with your friends and tell me about it in the comments section below. I will be thankful for any feedback! ♥
Did you know that there are FREE PATTERNS available on my blog?