


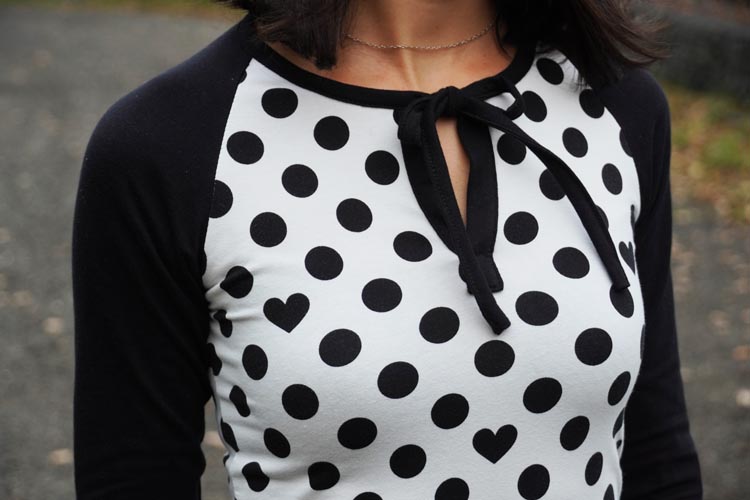
In this article, we will look at how to sew a tie-up neckline. You can also use a large part of this instructional article when sewing button (or snap fastener) placket...
I added the pattern for the T-shirt featured in this article to my online store. You can get it here:
Pattern - Women's close-fitting T-shirt STRAP UP with tie-up neckline

How to sew a tie-up neckline
This procedure is the same for any T-shirt and almost any neckline shape - boat neck / round neck / V-neck / square neck or plunging neckline…
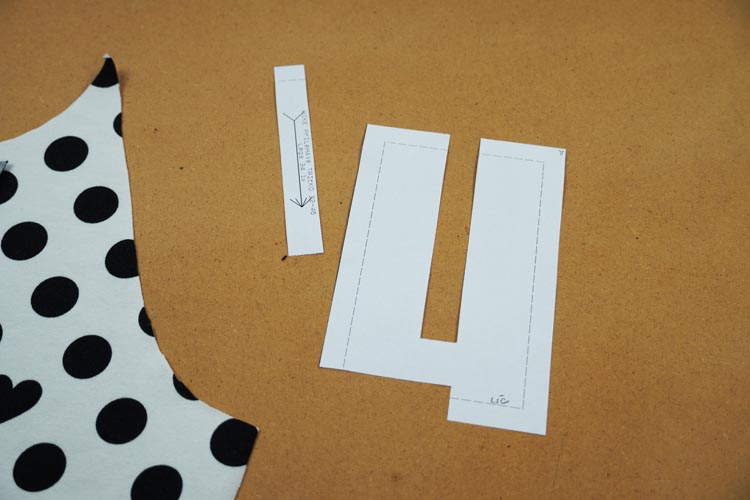
You will need a front piece and a placket piece. I will show you the procedure on a placket piece cut from one piece of the fabric. Length of my placket pieces is “length of the placket + 2.5 cm” and its width is 5 times the width of the placket. You also need to add seam allowances. The pattern for women's T-shirt STRAP UP already includes a placket piece, so you won't have to design it yourself.
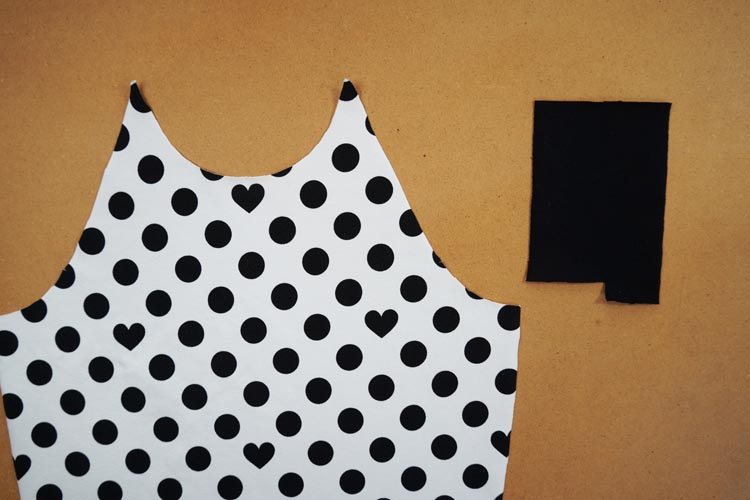
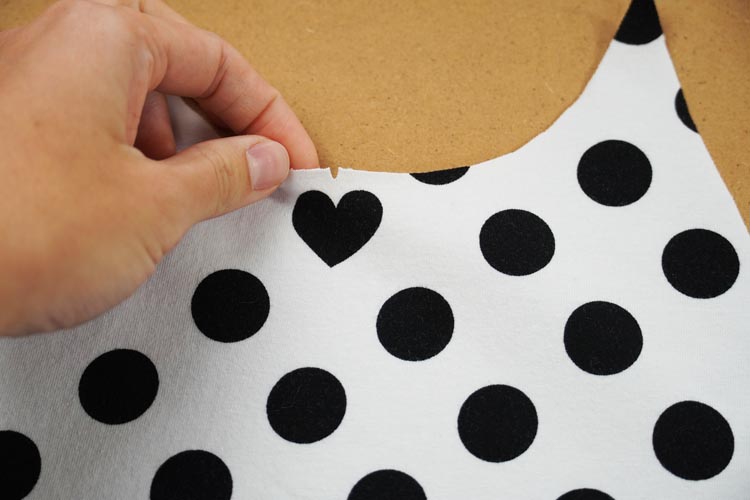
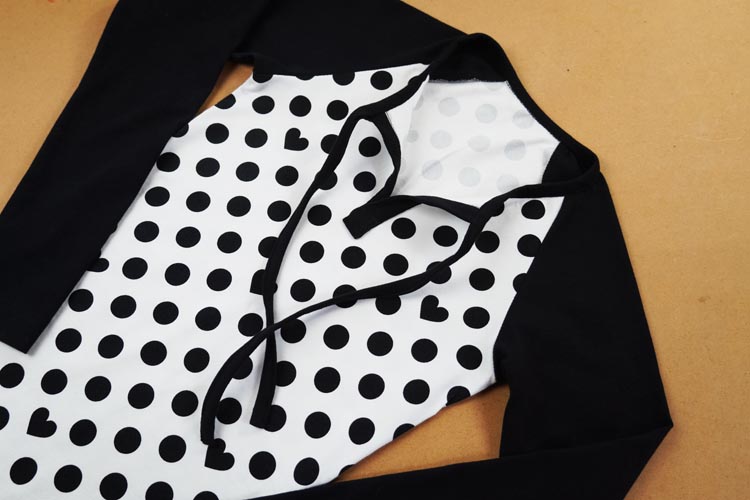
On the front piece, mark the intersection of the centerline and neckline with a small notch and a little below you can mark other points through which the centerline passes - these marks will help you sew the placket straight. My fabric has a print, thanks to which I know exactly where the centerline passes. If you don’t have a fabric with such a useful print, mark the first 10 centimeters of the centerline (starting at the neckline) with chalk or soap.
Next, fold the placket piece in half and mark its center with a small notch.

Don’t forget to reinforce the placket piece - I used very thin one-sided fusible interfacing.
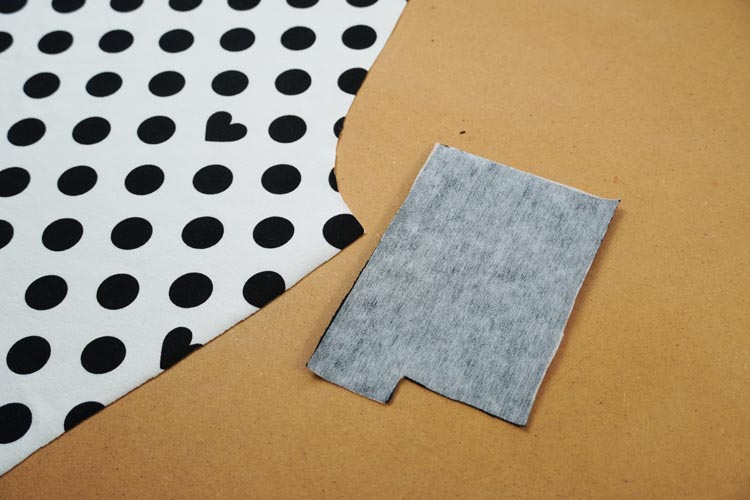
Cut out the middle part of the placket from the paper pattern along the lines.
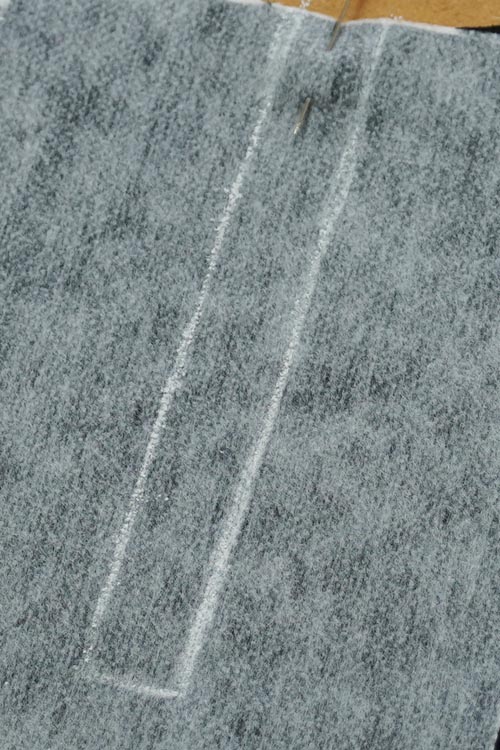
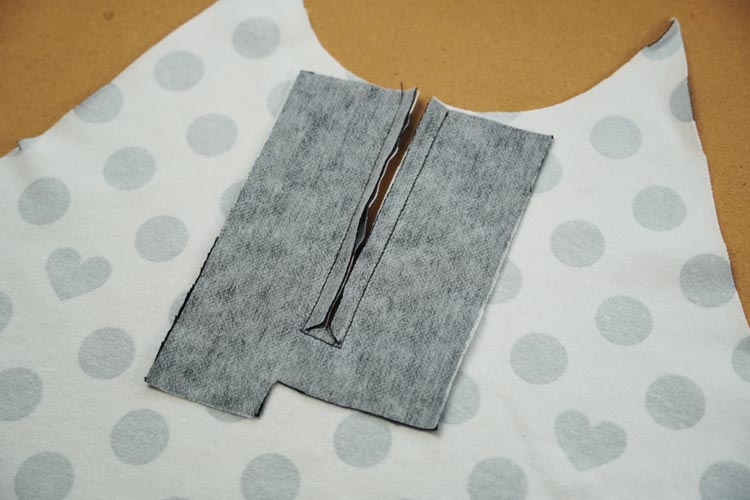
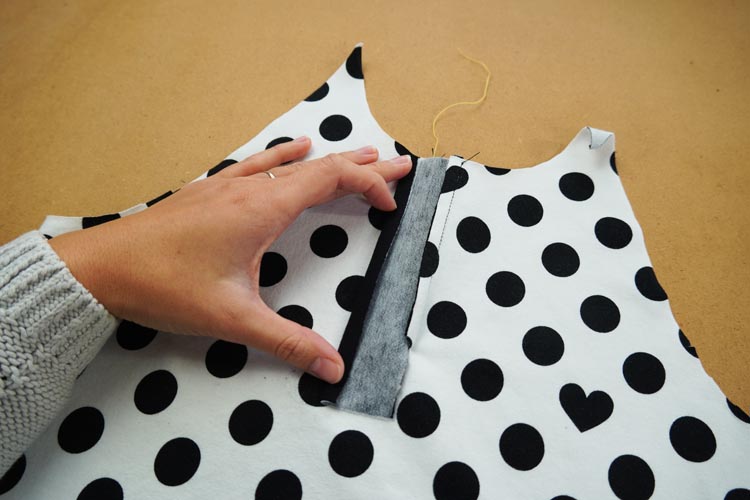
Put this middle part on the reverse side of the placket piece and transfer its outline to the placket piece (with chalk or soap). Put the placket piece on the front piece so that the face side of the placket faces the reverse side of the front piece. In other words - both pieces are laid with their reverse sides facing up. Sew along the line that you previously marked on the placket piece (use a classic straight stitch).
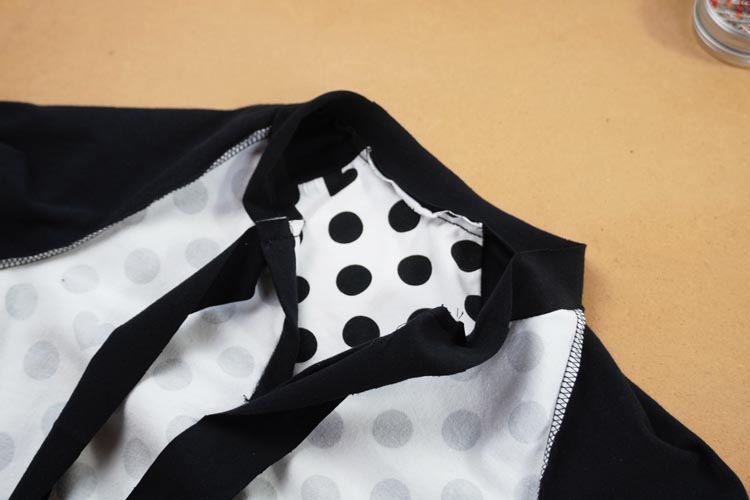
Now cut down from the neckline. Stop approximately 1 cm from the bottom part of the seam and then make two smaller cuts towards corners of the seam (be careful not to cut the seam itself).
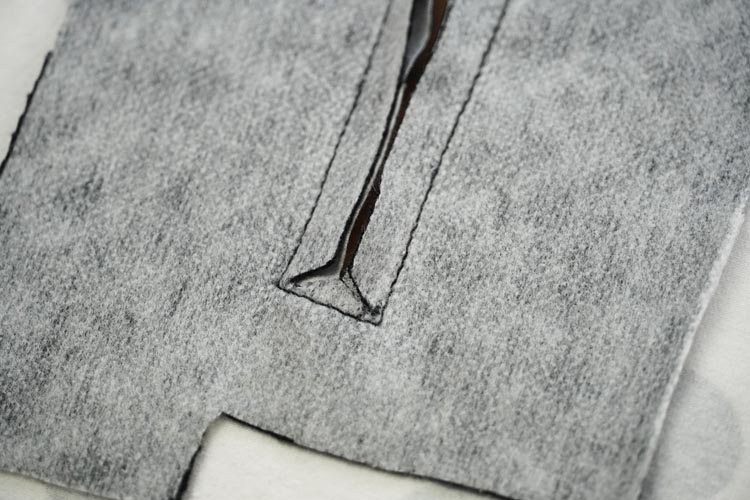
This is what you want to create - a triangle above the bottom part of the seam. The top of your triangle should lie about 1 cm above the seam.
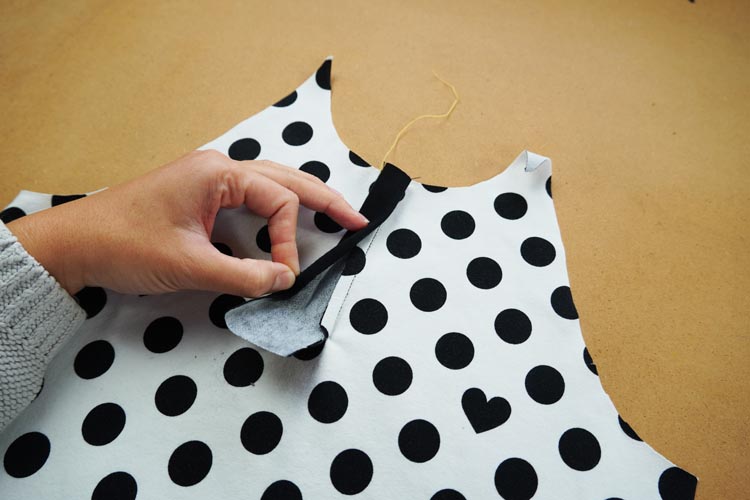
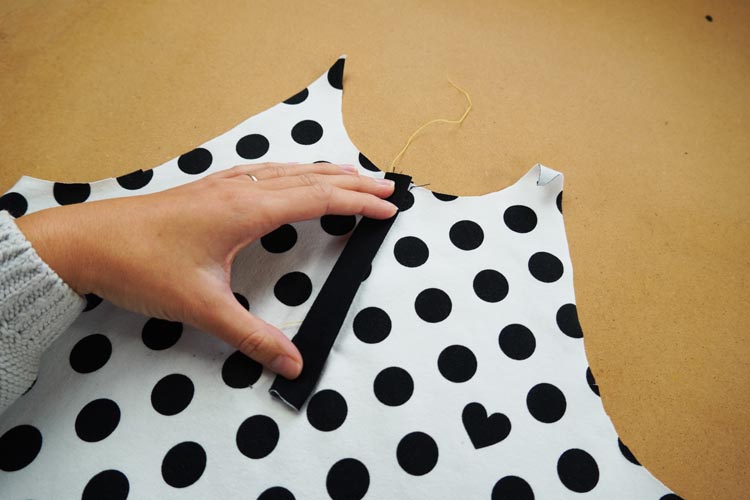
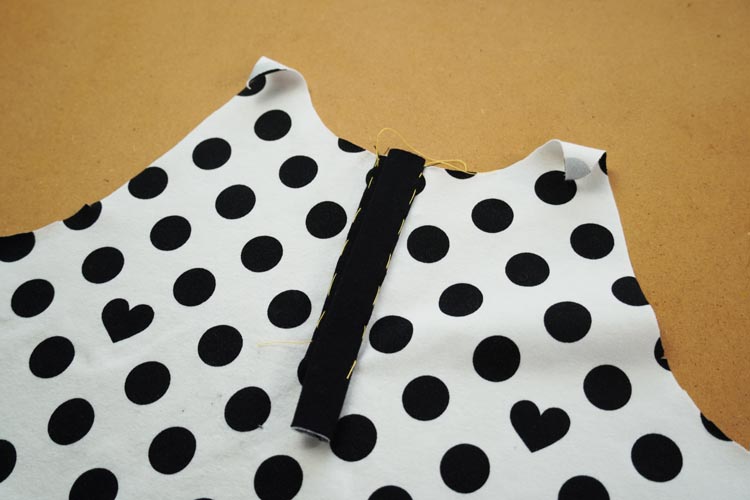
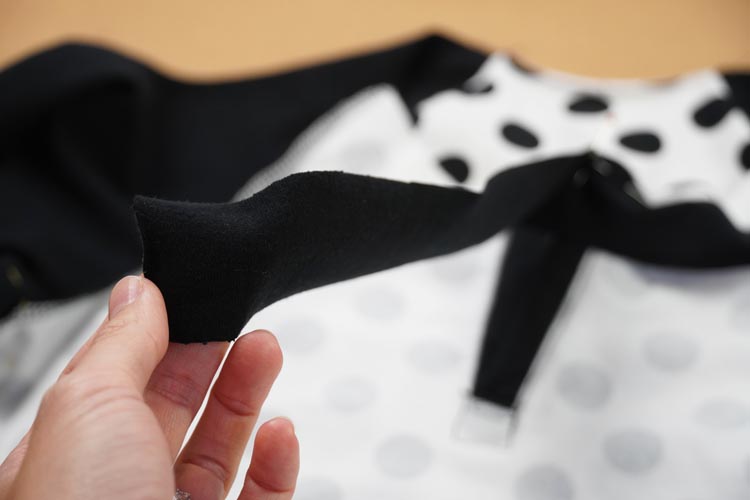
Now turn the front piece face side up and pull the placket piece through the opening to the face side of the T-shirt.
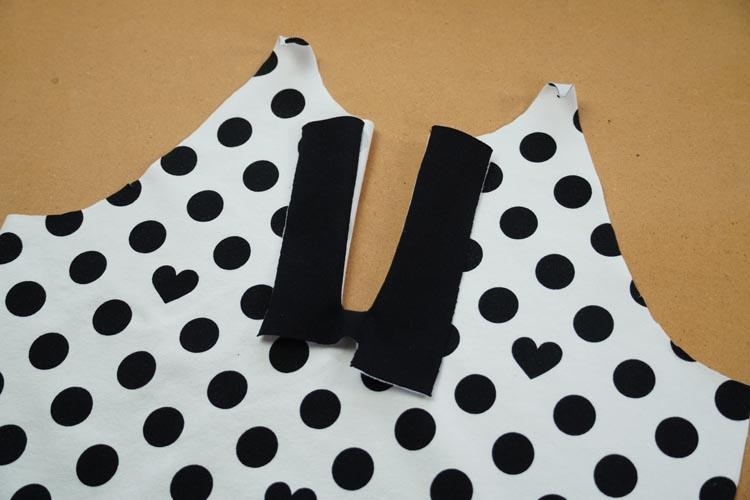
Let's first work on the right side of the placket (on the side that will be on the right when you put the T-shirt on).
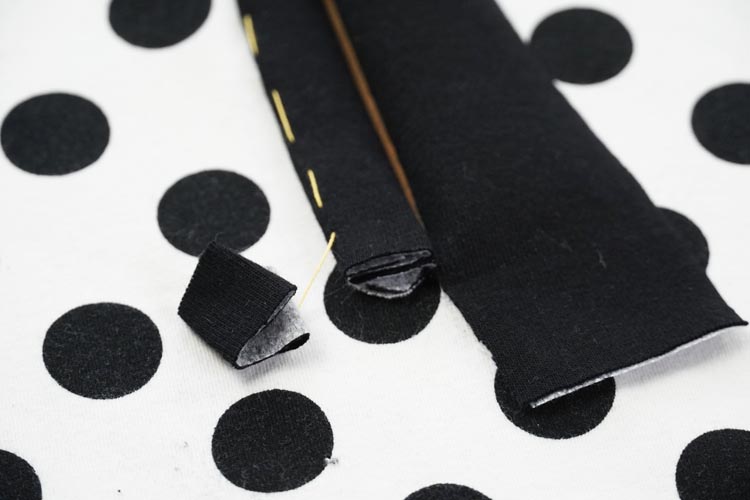
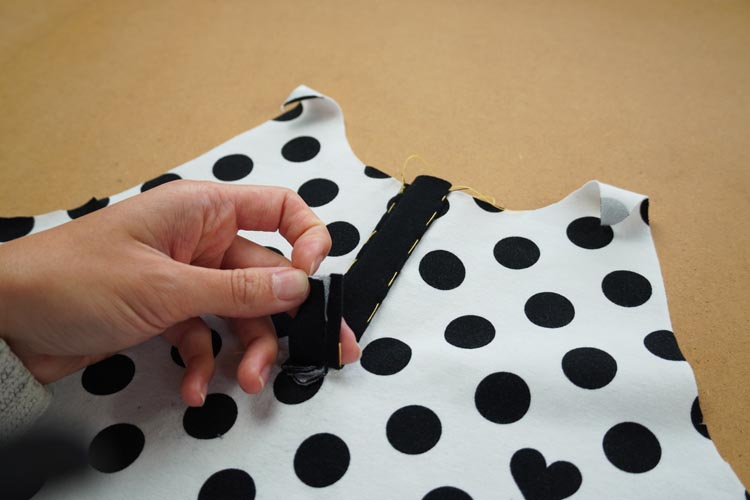
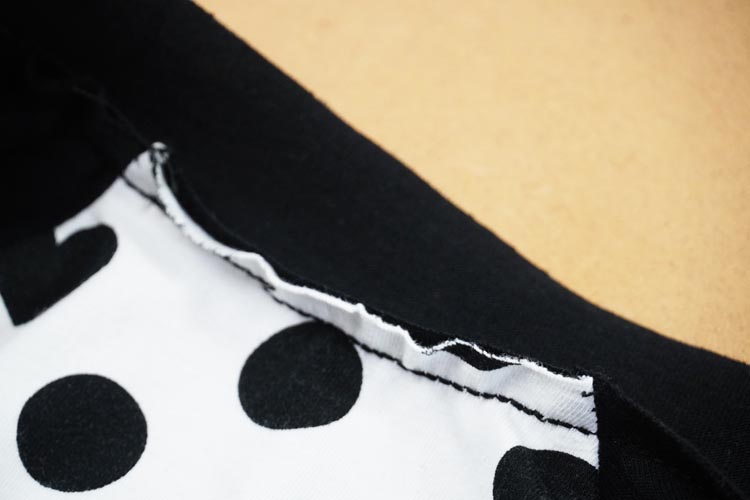
Fold longer cutting edge of the placket 0.7 - 1 cm to the reverse side.

And then again to create a little roll (it’s similar to a double-fold hem). Keep the seam allowances of the front piece pointed towards the center of the T-shirt...
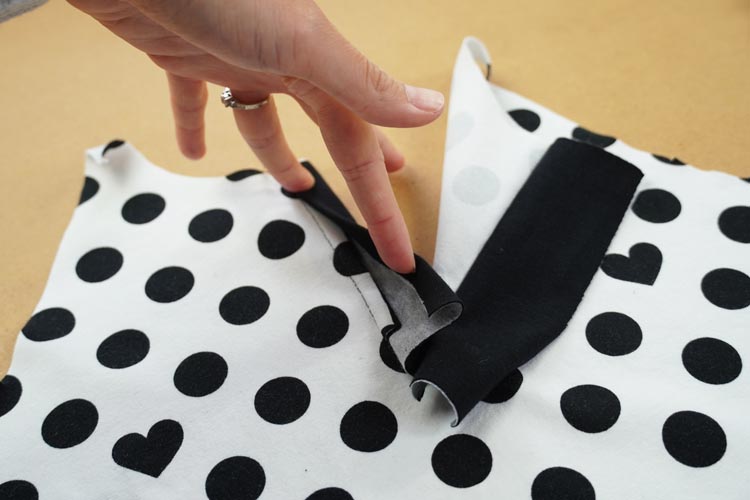
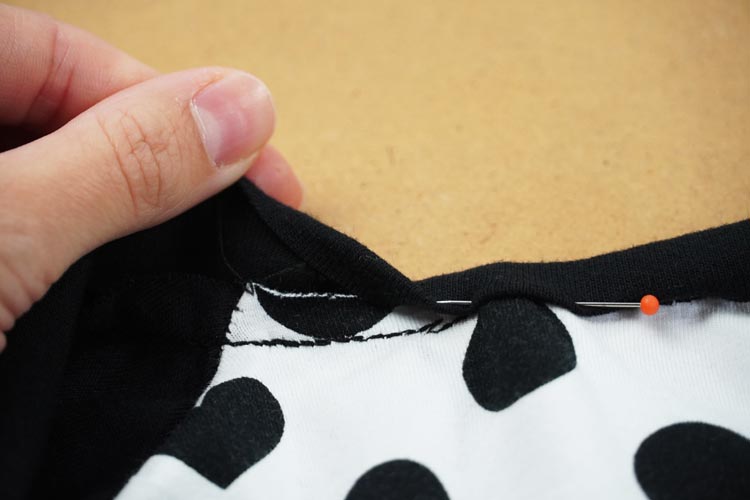
Now baste this rolled up part of the placket.

You won't need the bottom part of the placket on the right side (below the end of the V-neck cut) and you can cut it off.
But only cut the rolled part of the placket - you will still need the rest of it.
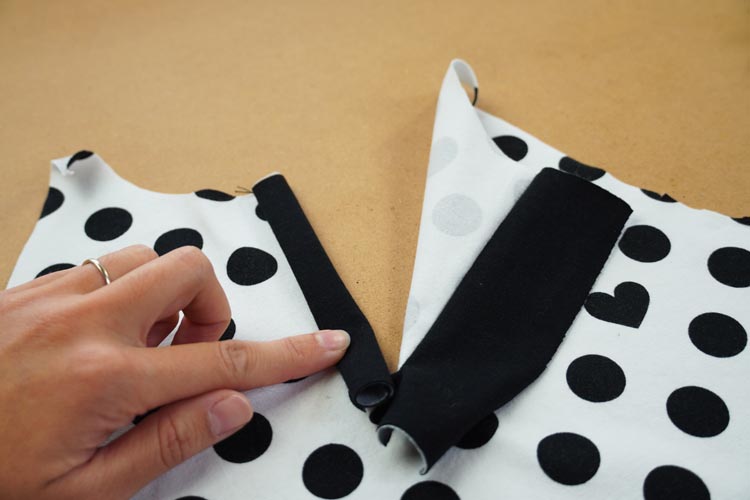
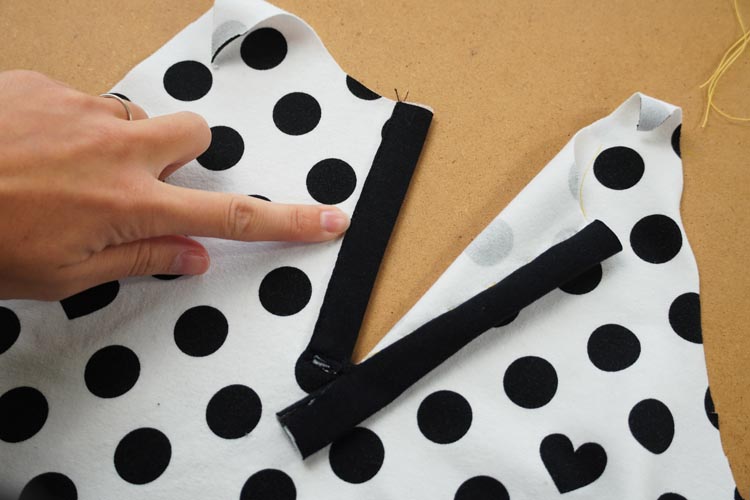
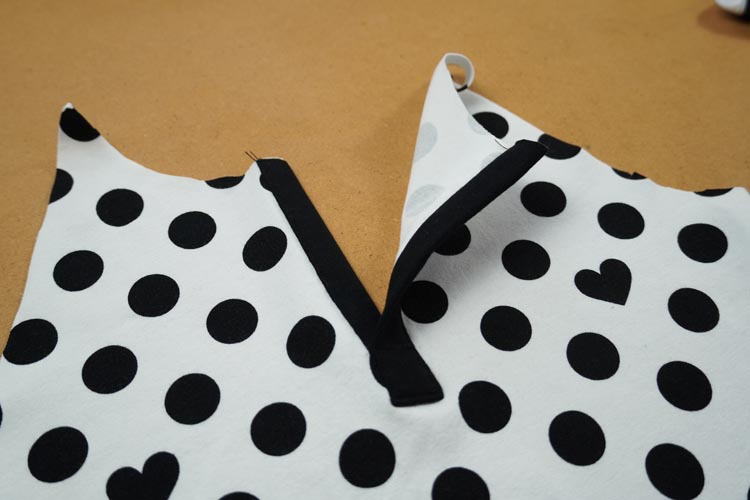
Now prepare the left part of the placket. The procedure is the same - first, fold its cutting edge 0.7 - 1 cm to the reverse side...
...and then fold the whole part in half, so that the seam allowance of the front part and the cutting edge of the placket are hidden inside.
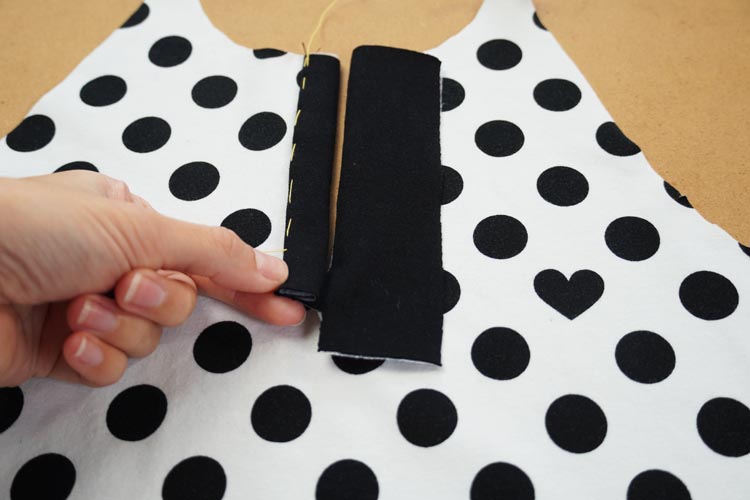
Baste the left side of the placket.
For now, leave the longer bottom part of the placket (which is not connected to anything) as is.
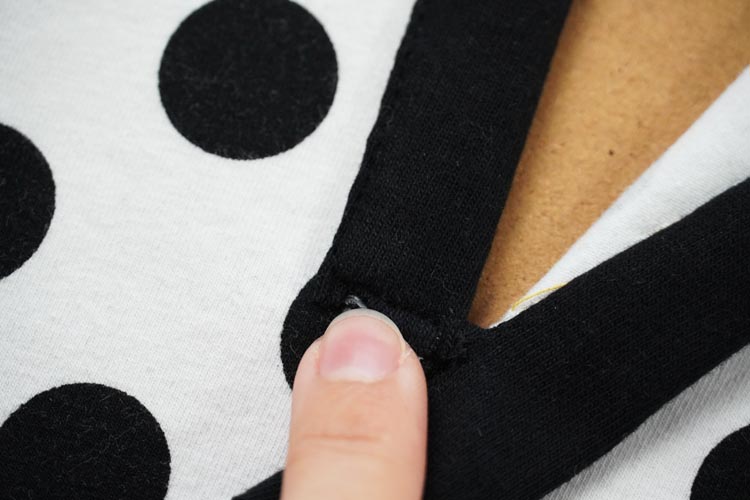
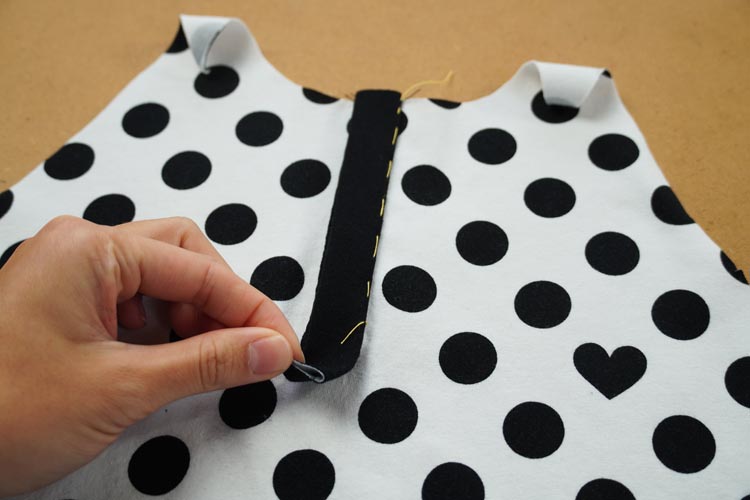
Now sew just next to the edge of the right part of the placket.
Also, sew its bottom edge - sew through that triangle that I mentioned earlier.
Before sewing the left side, fold the bottom part of the placket under itself...
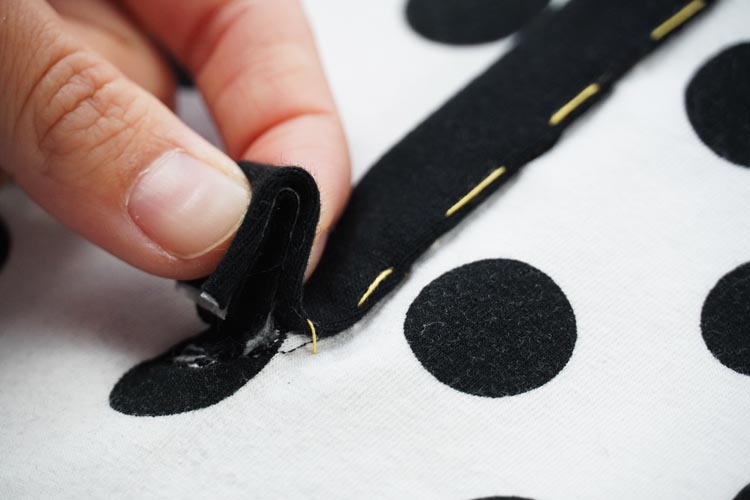
...to hide its cutting edge.

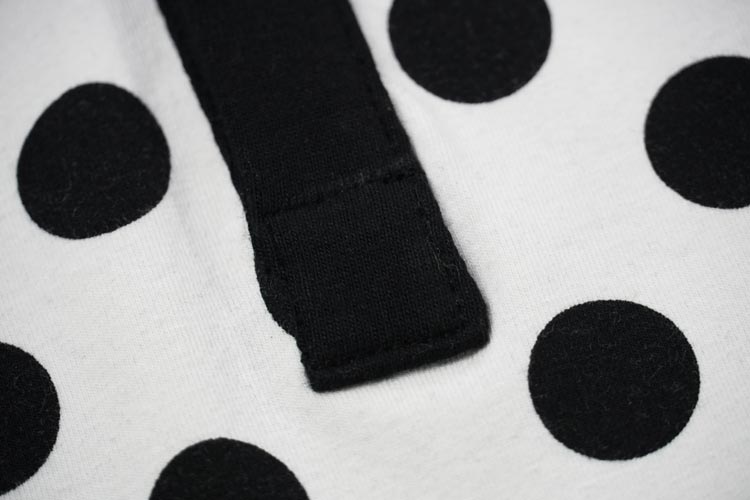
Baste the bottom edge of the placket in this position. Draw a horizontal line about 3 - 5 mm above the bottom seam of the right part of the placket.
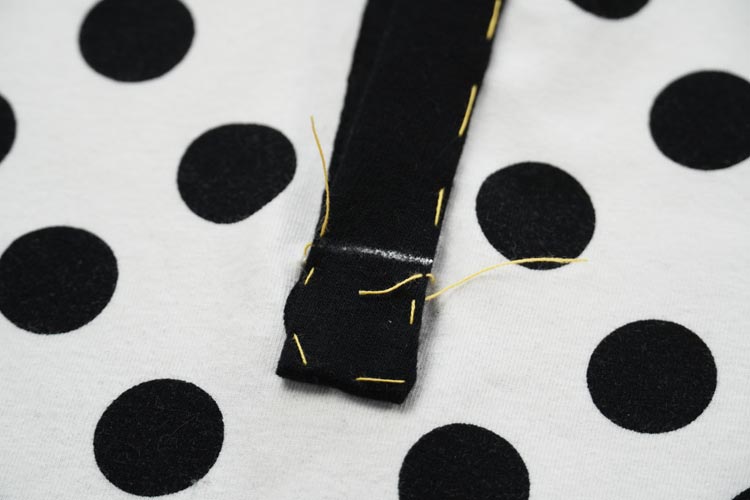
Sewing along this line will hide the bottom seam on the right part of the placket.

Sew the left side of the placket - first sew right next to its edge towards the bottom edge, then along the bottom edge, then turn 90 degrees and go up along the right side. When you get to your line, turn 90 degrees again and continue along your line towards the left side of the placket - the bottom part of the seam forms a little rectangle.
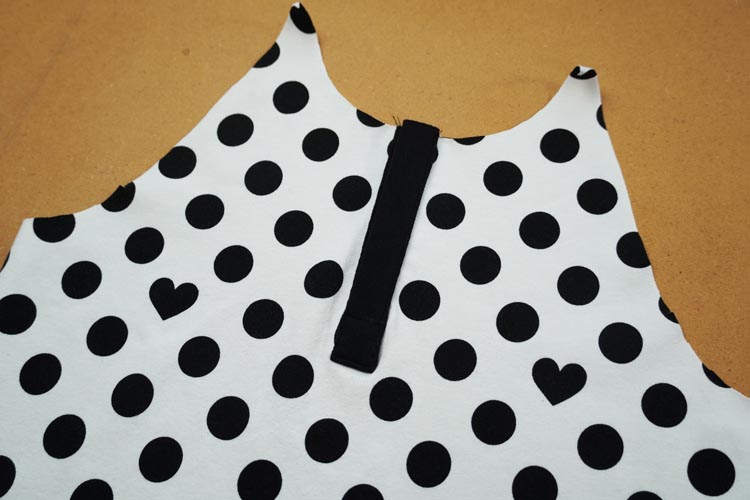
And that’s it! Our (button) placket is finished. Now you can finish the neckline with a classic hem or continue sewing a tie-up neckline like me. You can also finish the placket by attaching snap fasteners or sewing buttons & buttonholes…
The procedure for sewing the neckline hem is very simple. Turn the T-shirt inside out and face its front piece.
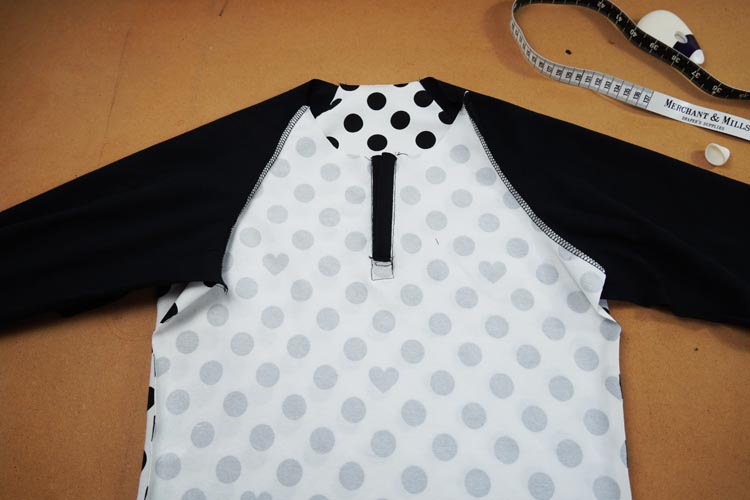
Measure the circumference of the neck opening with a tailor's tape laid on its side. Measure along the cutting edges and include both sides of the placket. I measured 47 centimeters.

Add about 60 cm to the result (30 cm for each end of the fastening ribbon) and prepare a knit strip of this length (107 cm in my case). Your strip should be 4 cm wide and elastic in its length.
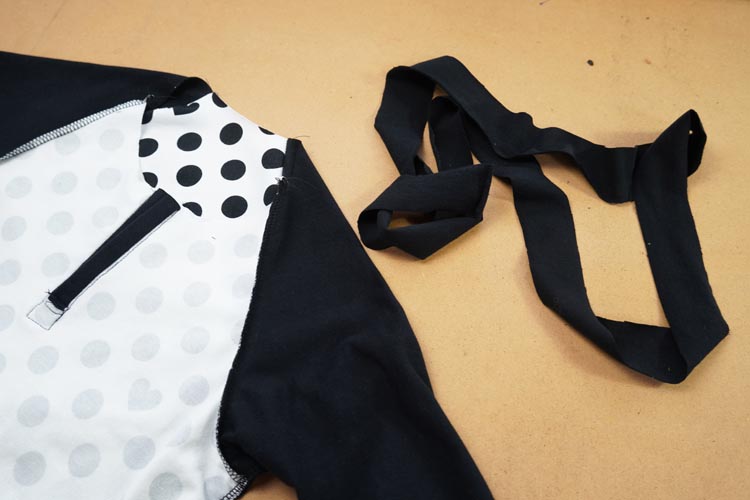
Mark the points where the strip ceases to be a hem and changes into a fastening ribbon (30 cm from its ends).

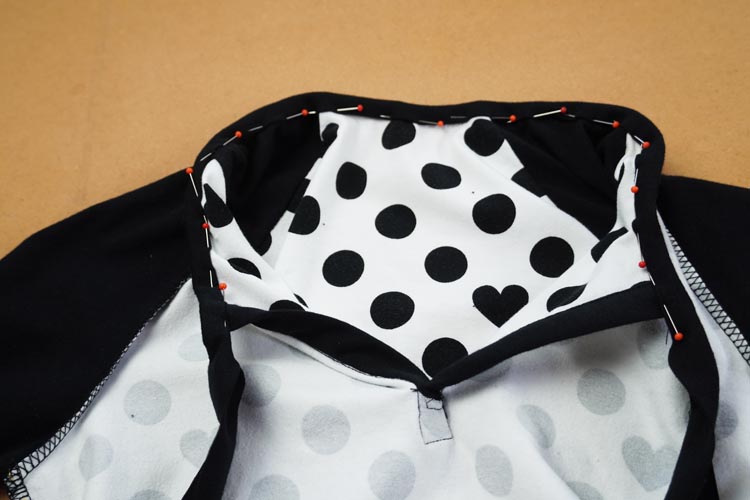
Use the part of the strip that is between these two points to sew the hem of the neckline leaving the ends of the strip dangle freely. Pin the face side of the strip to the reverse side of the neck opening.

You will have 30 cm long fastening ribbons on both sides of the neckline.
The hem is sewn in the same way as when using bias tape. First, sew the strip (along its edge) to the T-shirt. Use some kind of elastic stitch - I used a three-step straight stitch, for example.
Now double fold the strip over the cutting edge of the neckline.
Do this along the entire “hem part” of the strip...

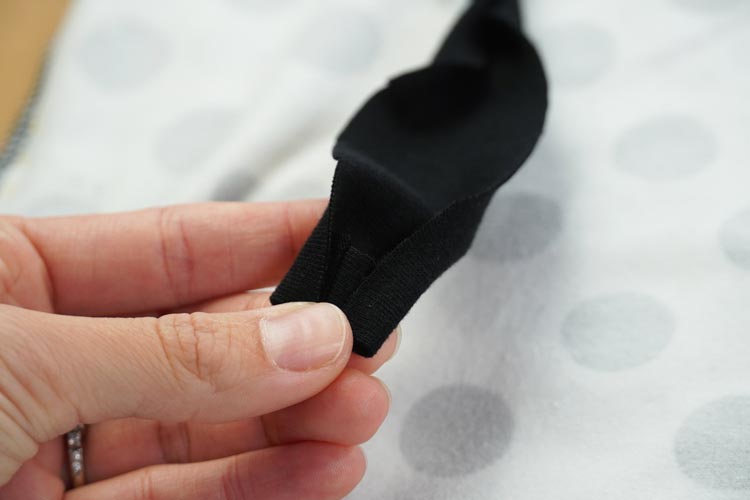
...and then extend these folds to the “fastening parts” of the strip. Before you reach the ends, fold the last 1.5 cm of the strips to the reverse side.
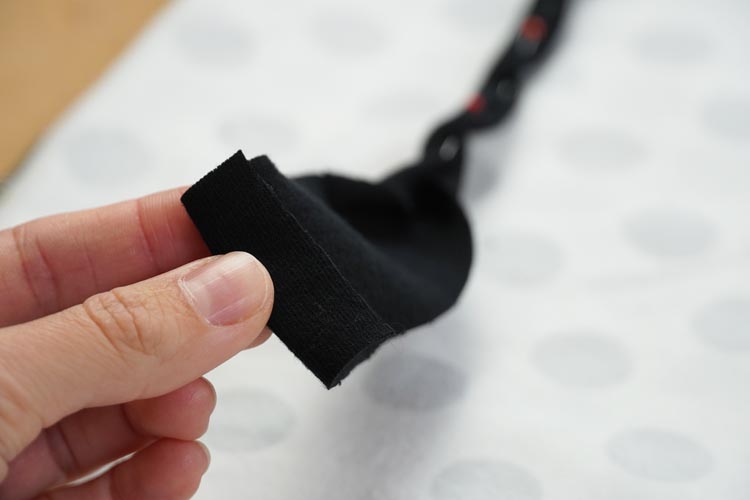
All cutting edges should be hidden inside the strip.
Fastening and hem are now ready to be sewn.
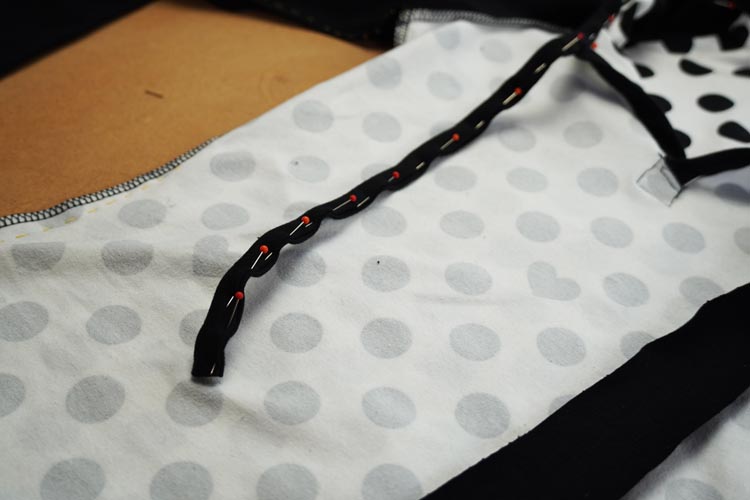
Sew along the edge of the strip and complete the fastening and the hem of the T-shirt in one go.

And that’s it! Now just tie a little bow and your T-shirt is finished! :)

You can get the pattern for this T-shirt (including the placket piece) in my online store:
Women's close-fitting T-shirt STRAP UP with a tie-up neckline (sizes 32 – 46)
If you find this article useful, you can support me by buying some nice pattern from my store. Don’t forget to share your comments, feedback, or suggestions for sewing topics that interest you.
Thank you very much for your support. Have a nice day, Petra