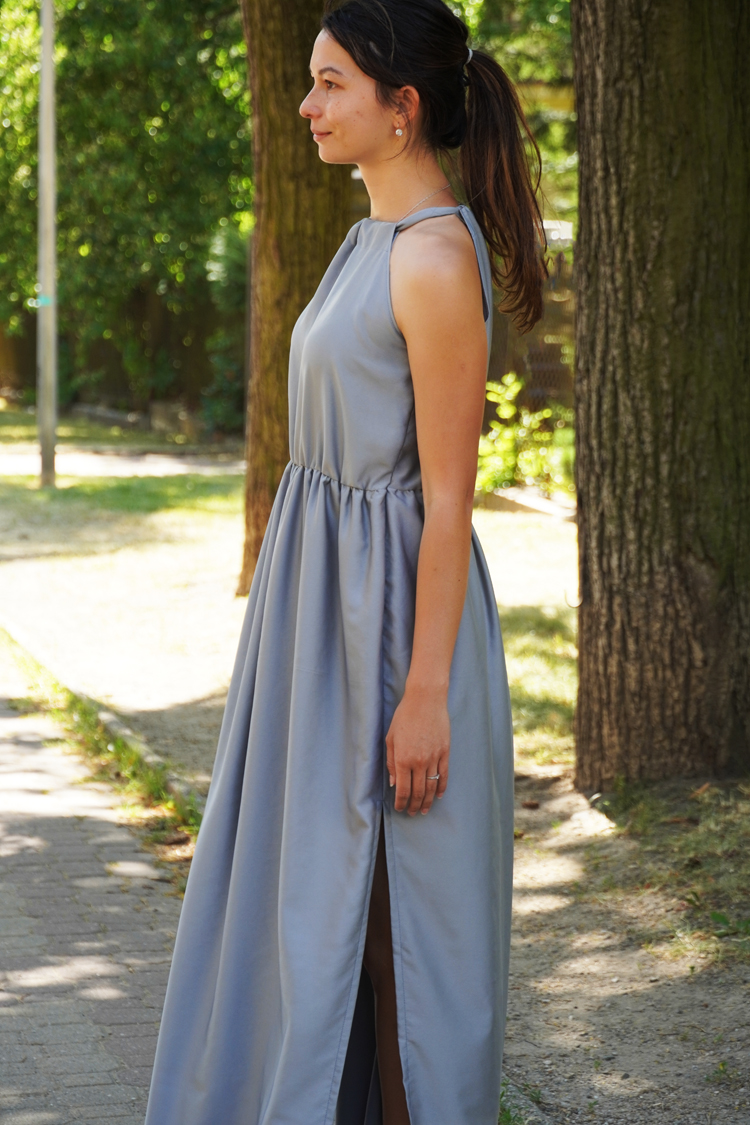
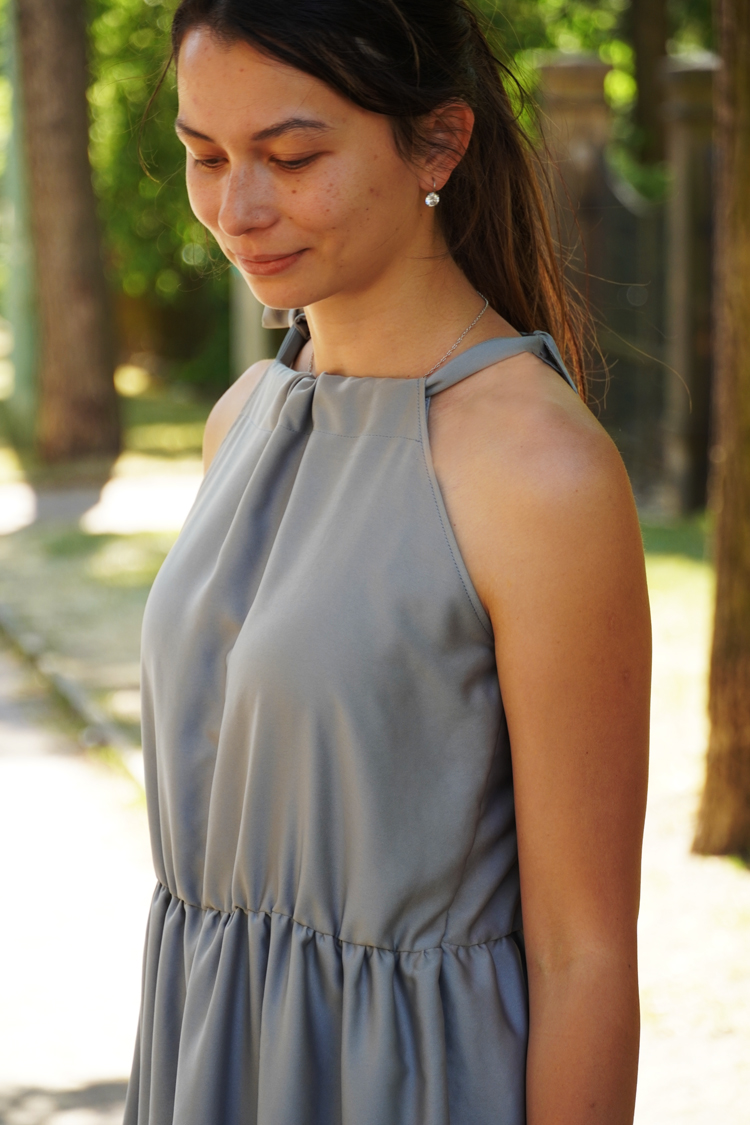
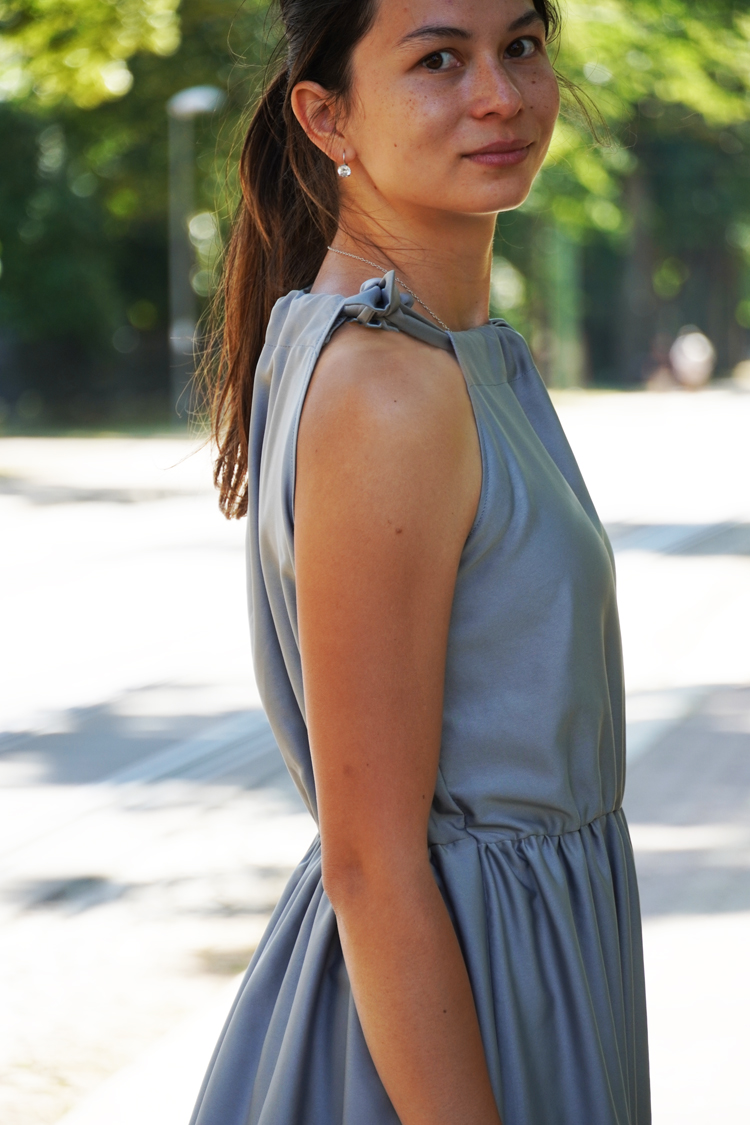
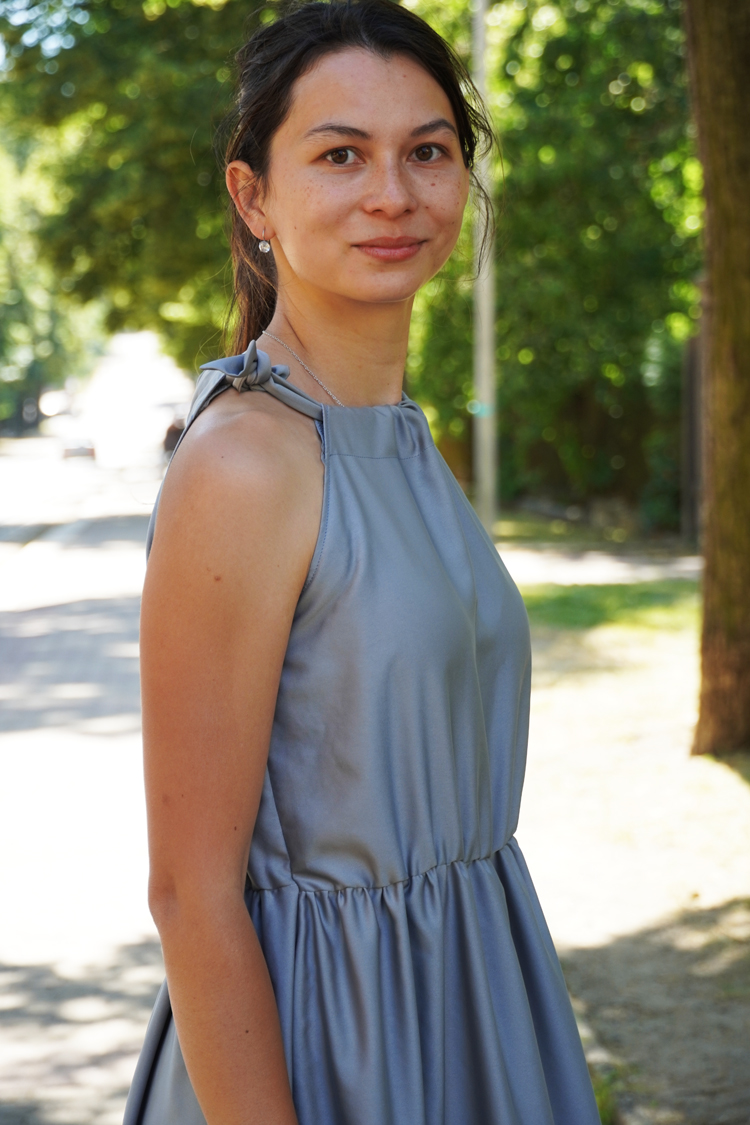
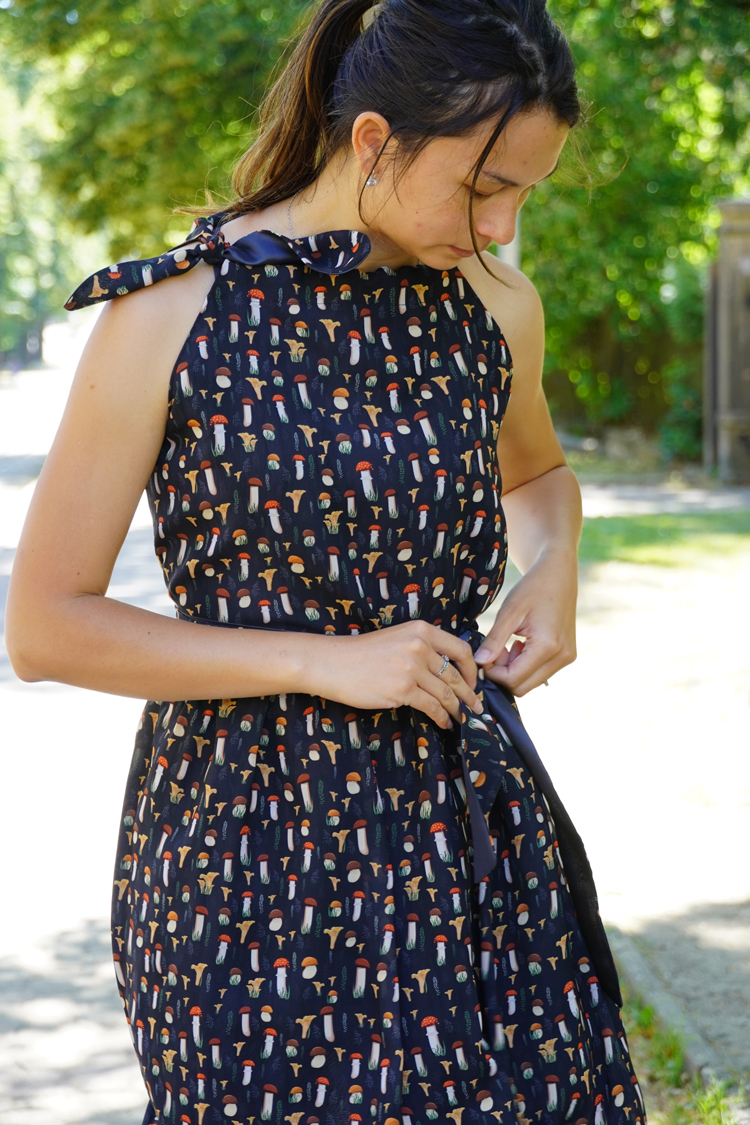
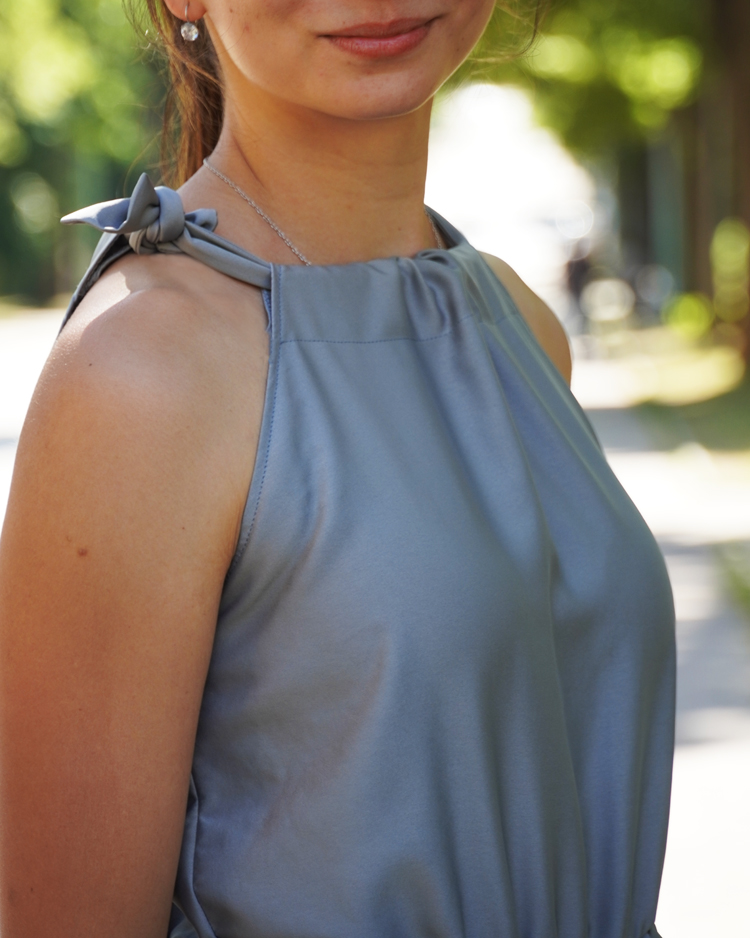
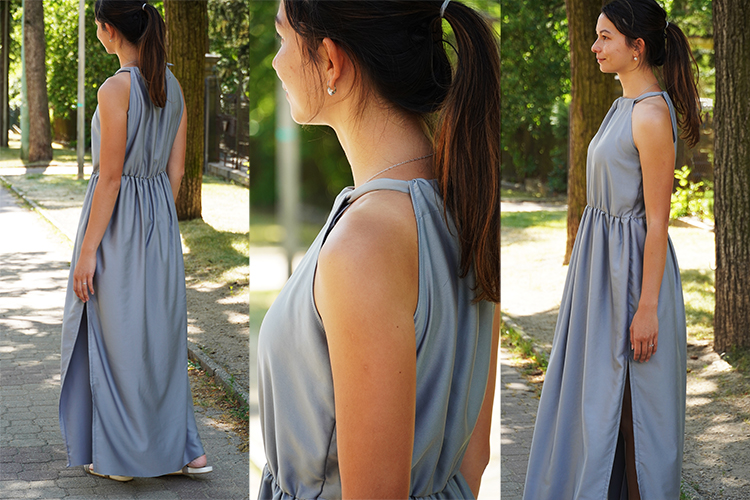
If you follow me on Instagram, then you probably know about this type of dress… In any case, I have for you today a new pattern and article with sewing instructions. This time it’s all about women's long summer dress. This pattern is very versatile, you can use it to create different dresses for different occasions just by changing the material. You can sew a festive dress using micro satin (my case) and wear it for your friend's wedding or some formal garden party. If you use linen, then you will have an extremely comfortable dress for hot days... And if you use light chiffon, then you can turn into a fairy!
If you want to sew this dress with lining, you can explore the second article with sewing instructions that we have prepared for you:
The pattern
The pattern for women's dress BREEZE is now available in our online store:
After buying this pattern you may find that it contains suspiciously few individual pieces. That's because you can cut your skirt exactly to your liking. I will take you through the whole sewing process in today's article.
Recommended material
As I said, there are several suitable types of fabric for this dress. It is important to use lighter woven fabric so that the skirt is not very heavy due to its volume. I used micro satin from Dumlatek.cz store for a more festive shark-gray dress.
You can also use:
The required amount of material
The required amount of material depends on pattern size and on how much frilly skirt you want. The skirt of the gray dress in the pictures, although it may not seem like it, is sewn from the full width of fabric.
The heavier the material you have, the less the pleated skirt you ought to sew so that it is not heavy and does not look cumbersome. Conversely, with chiffon and other airy materials, you can make the skirt really wide.
My fabric was 140 cm / 55" wide, so I used 70 cm / 28" wide front and back skirt pieces, the length of the skirt is 100 cm / 40". The length of the skirt depends on the length of your legs. Measure the length from your waist to the ankles so you won’t stumble over your skirt.
In my case, 50 cm / 20" of fabric of full width (140 cm / 55") was enough for bodice (size 34). In total, I’ve used 1.5 m / 60" of 140 cm / 55" wide fabric. But that was really close, the recommended amount of material (for 140 cm / 55" wide fabric) is:
- Sizes 32–48: 1.8 m / 70"
- Sizes 50–60: 2.8 m / 110"
Sewing instructions
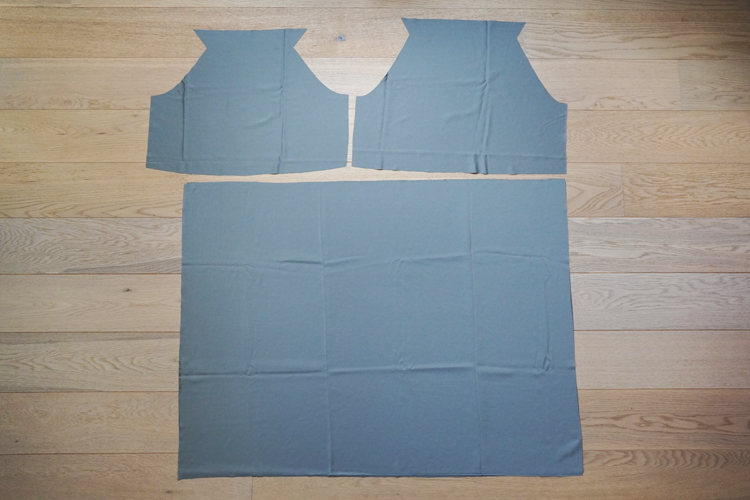
Pattern layout
Prepare:
- 1x front bodice piece (cut on fold)
- 1x back bodice piece (cut on fold)
- 2x skirt piece
- In my case, two rectangles of 70×103 cm / 28"×40.5".
- Length - 100 cm / 40" plus 3 cm / 1,18" for the bottom hem and the seam allowances
- The width of the skirt must be at least: hips circumference + 20 cm / 7.9".
- You will also need a strip of fabric (or wide satin ribbon) to make the fastening ribbon. Your ribbon should be at least 75 cm / 30" long. However, the ideal length is 90–110 cm / 36"–44" (depending on your size). Its width should be about 4 cm / 1.6". If you want to sew your own ribbon, like me, then you will need 152 cm (75×2 + 2) long and 6 cm (4 + 2) wide fabric strip for 75 cm long and 4 cm wide ribbon. You can also make the ribbon from two strips - 77 cm (75 + 2) long and 6 cm wide (4 + 2).
Seam allowances:
- Back and front bodice pieces need to have large (4–5 cm / 1 5/8"–2") seam allowances in the neck opening area, we will then fold those seam allowances to create a tunnel for fastening ribbon.
- I recommend having about 2 cm / 3/4" wide hem allowance on the bottom of the skirt, we will be double-folding it to the inside of the skirt.
- Side seams of the skirt and bodice should have ca. 1.5 cm / 5/8" wide seam allowances but regular (1 cm / 0.4" wide) seam allowances are fine too.
- Leave regular (1 cm / 0.4" wide) wide seam allowances everywhere else.
Possible variation:
Because the fabric had a very nice and solid edge, I decided to use it and thus position the pieces along the weft (perpendicular to the grain - warp). This allowed me to use the edge for the bottom hem of the skirt and as the edge of the seam allowance of the bodice (for the tunnel of the fastening ribbon). Therefore, I did not add 2 cm (for the bottom hem of the skirt) to the length of the skirt pieces and positioned the bodice pieces so that the edge of the seam allowance of the tunnel for the fastening ribbon was the original edge of the fabric - so later I didn't have to clean those pieces.
Sewing
Prepare both bodice pieces.
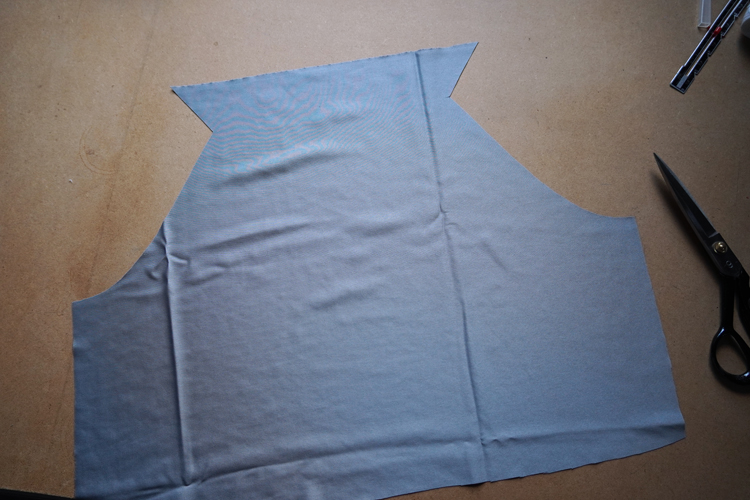
Make a little notch (about 0.5 cm / 0.2" deep) at the edge of the future tunnel for the fastening ribbon. Clean all edges of the bodice pieces except the waistline edge. If you have decided to use a solid edge of the fabric, like me, and you have a fabric that will not fray, then you do not need to clean the “tunnel” edge.
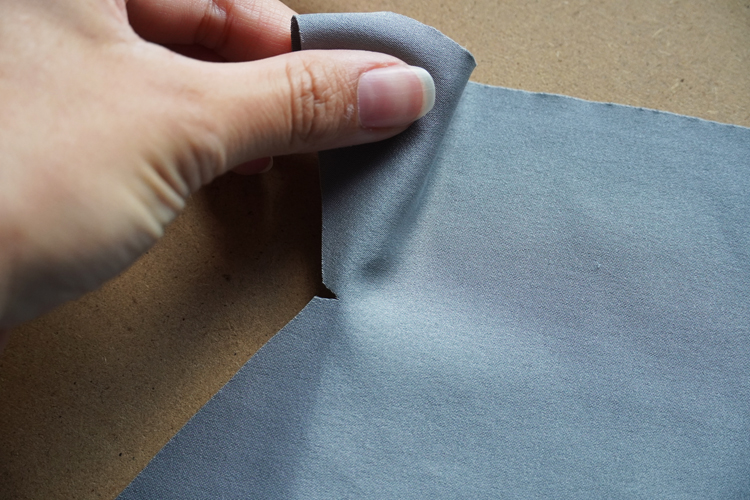
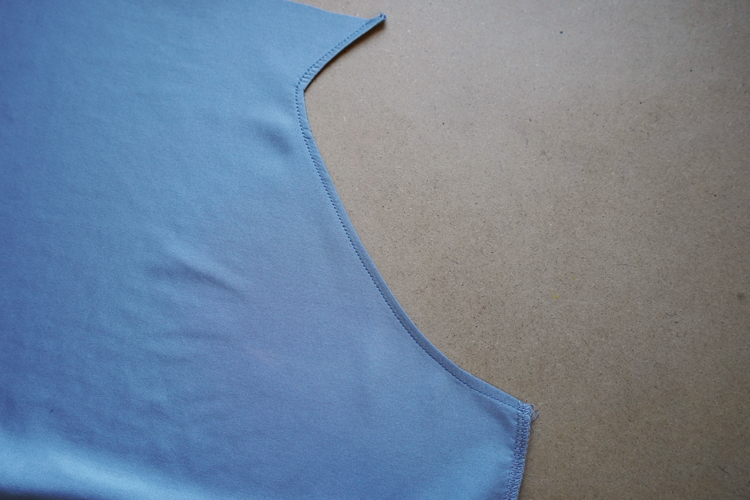
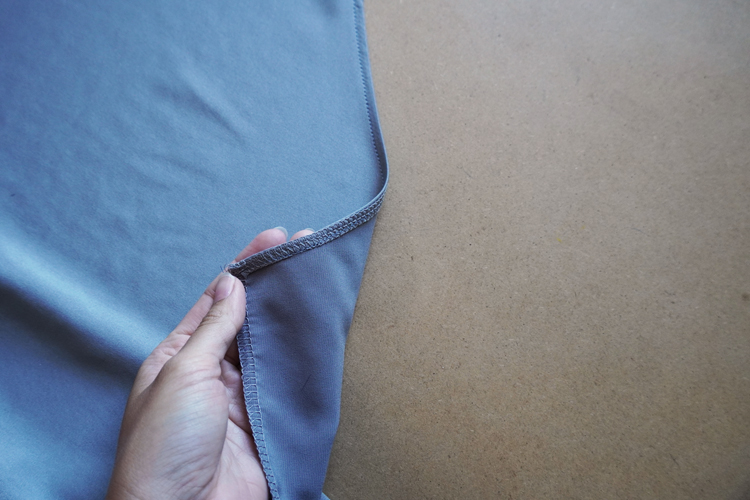
Now fold 1 cm / 0.4" of the edges of the armholes to the reverse side and topstitch them.
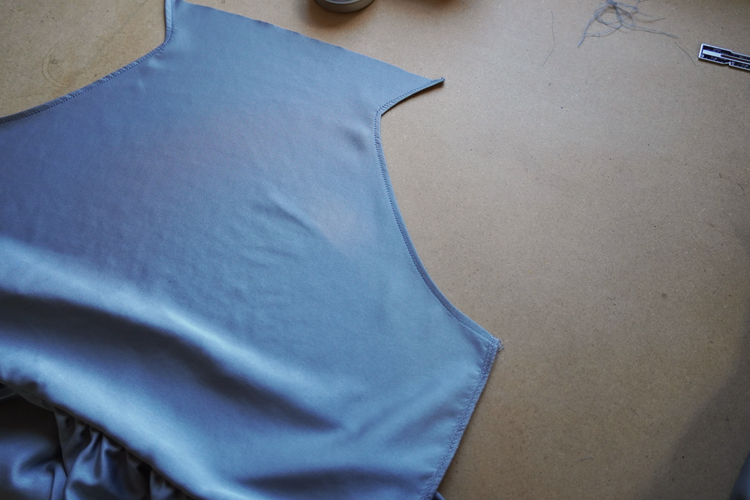
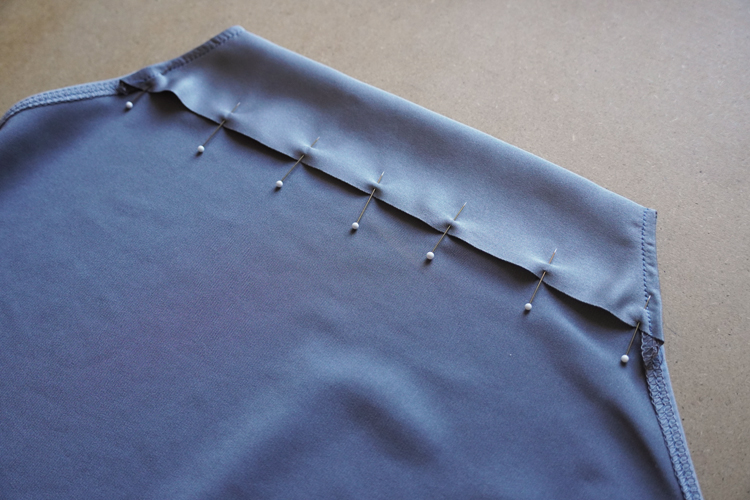
Fold and pin the tunnel.
Sew 3,5 cm - 4,5 cm (1.4"–1.8") from the fold (make the tunnel as wide as possible).
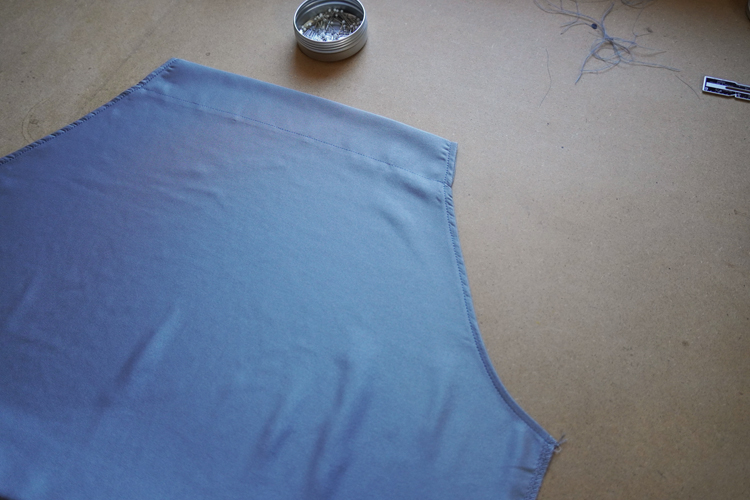
Iron both bodice pieces but avoid the upper edge of the tunnel - you want it to stay soft and natural (no sharp fold).
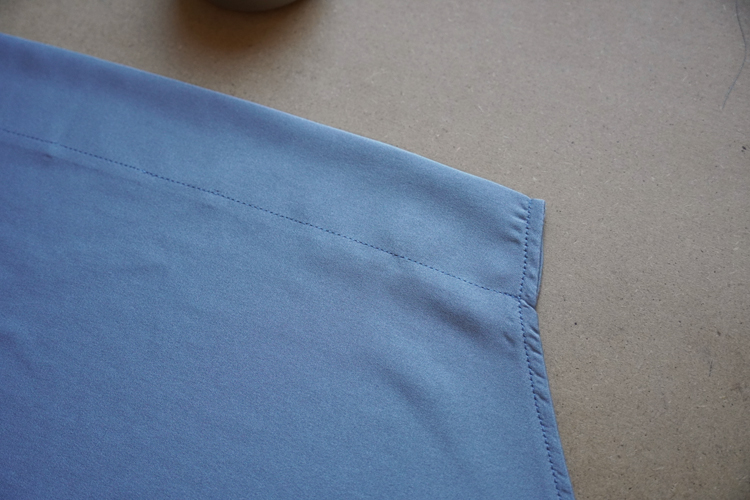
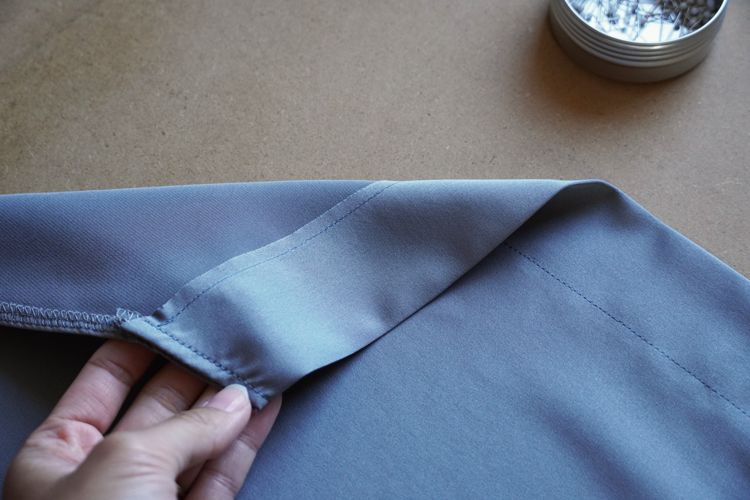
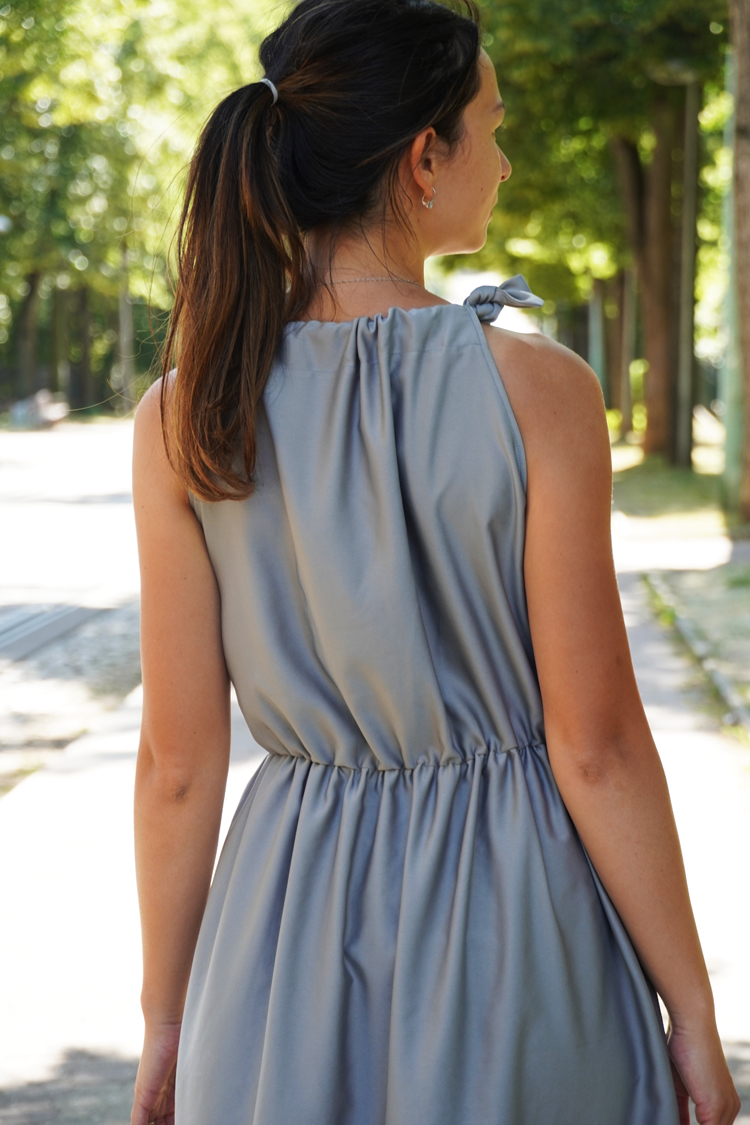
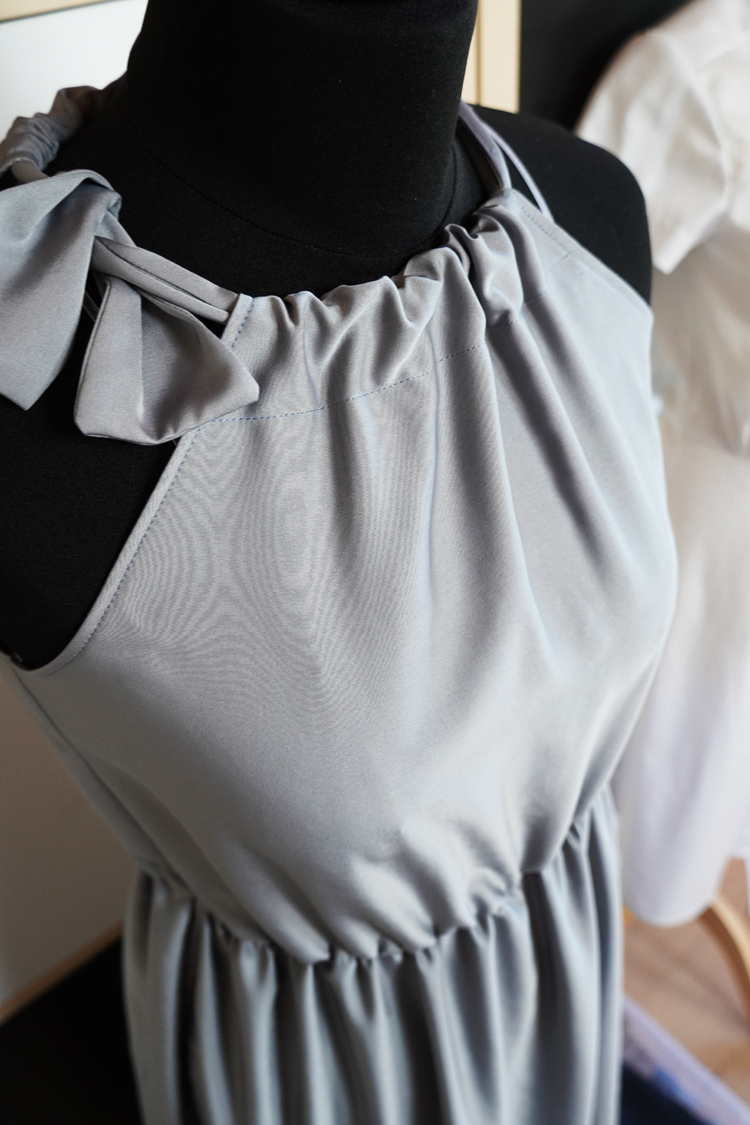
The neck (tunnel) part of the finished dress should look like this:
Draped skirt
Let’s do the skirt now. First you need to clean the side edges of the skirt pieces.
I described in detail how to drape the skirt in the first article about this pattern. Go to the "Skirt" chapter of this article and take a look... I feel that there is no need to describe everything in detail again, so here you will find only photos of that process...
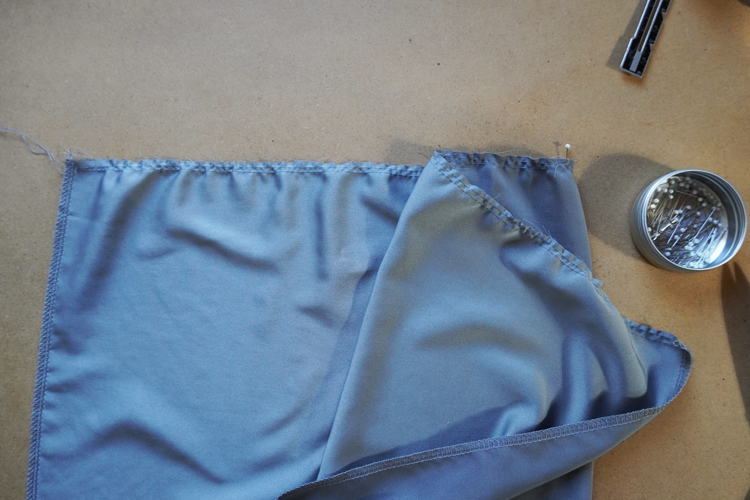
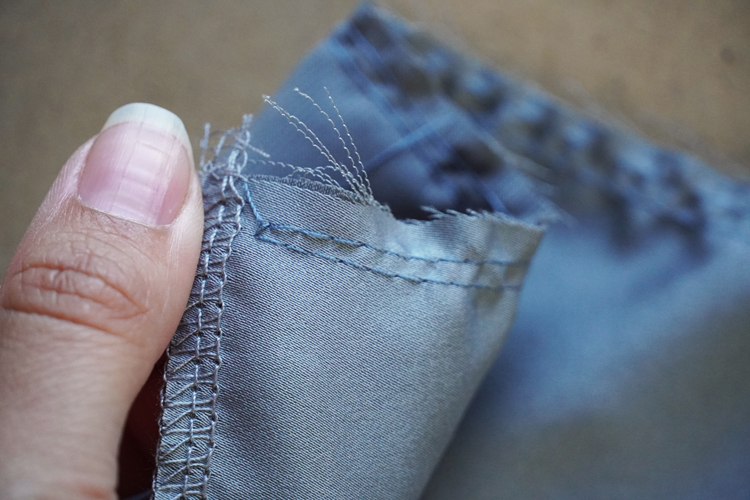
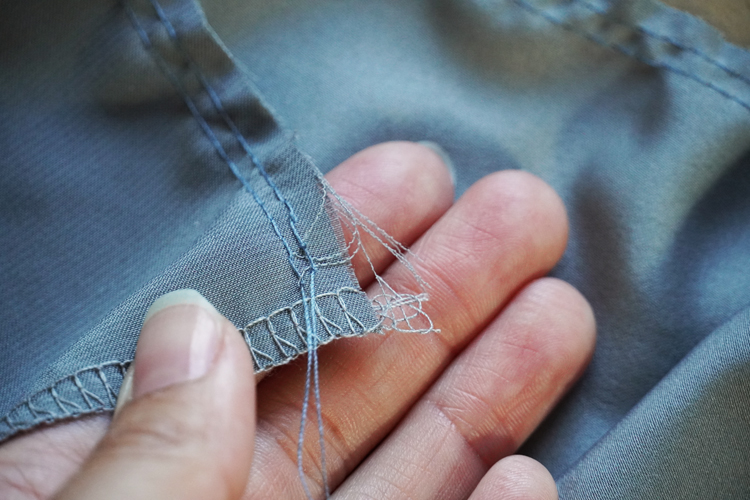
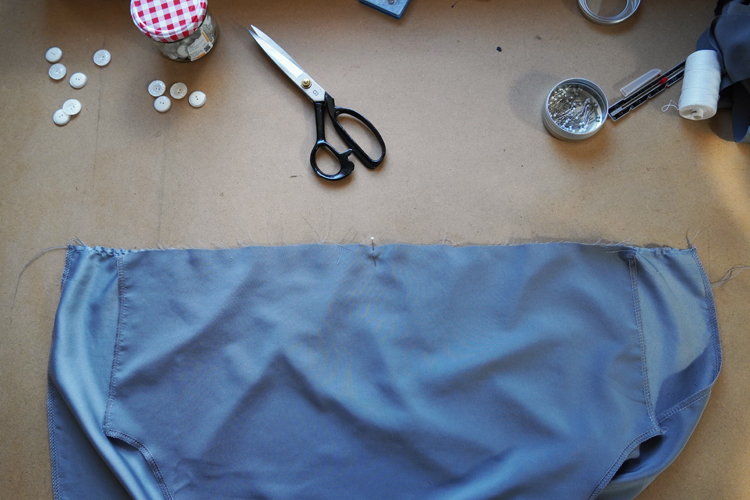
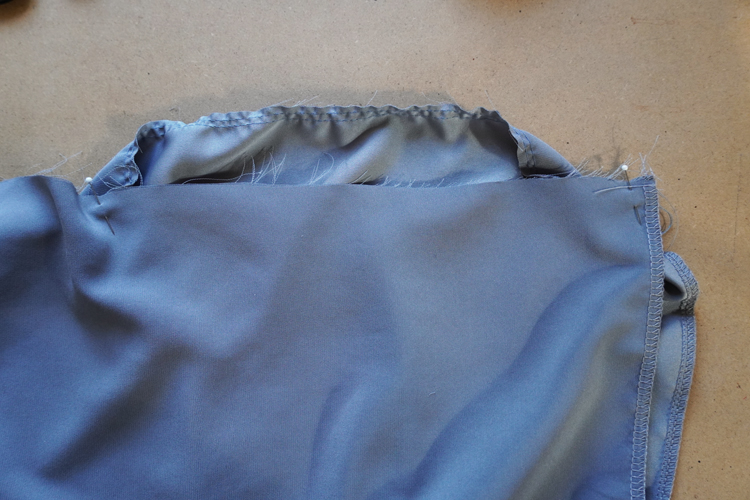
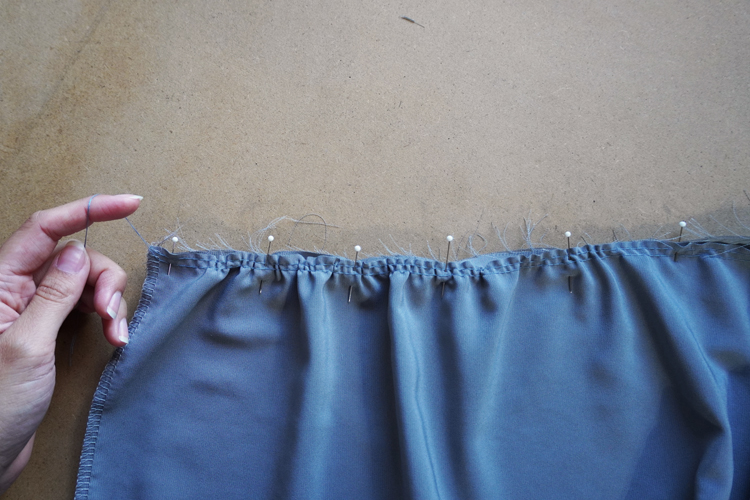
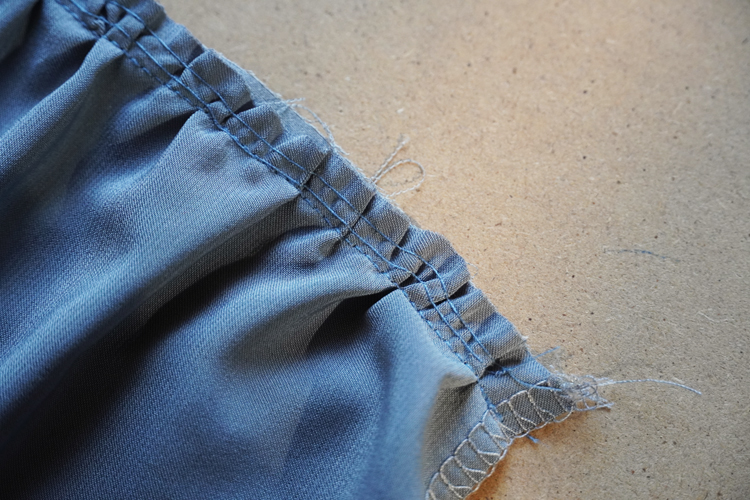
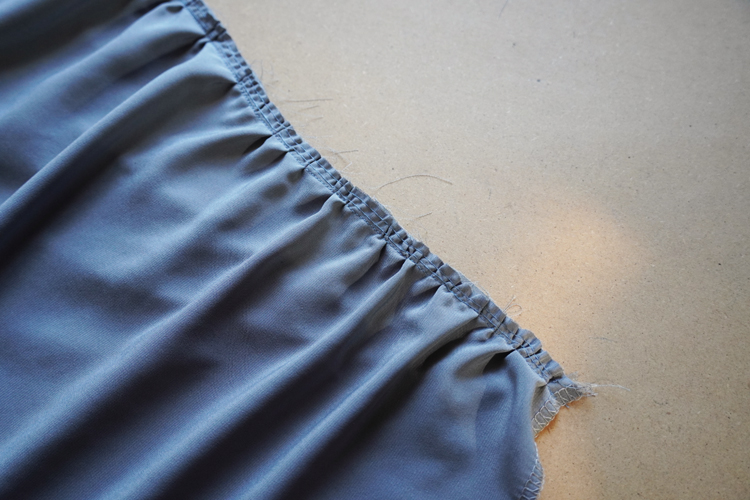
The front piece of the skirt is now draped and connected to the front piece of the bodice. The back pieces are in the same state.
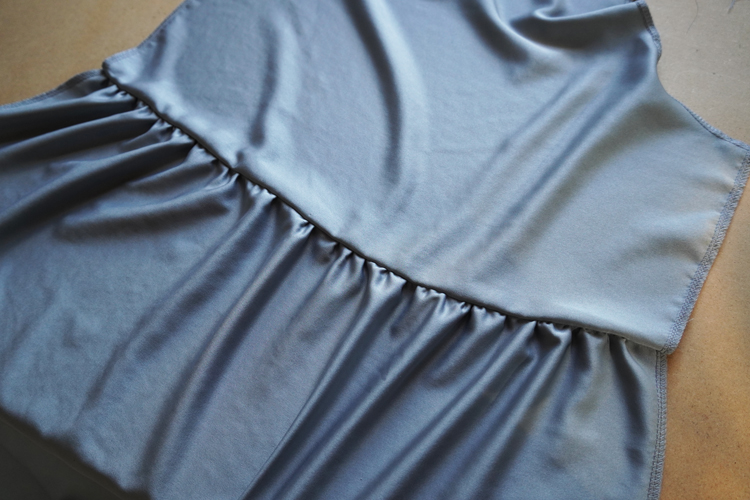
Elastic draped waistline
As you can see in the photo below, the bodice is slightly draped too.
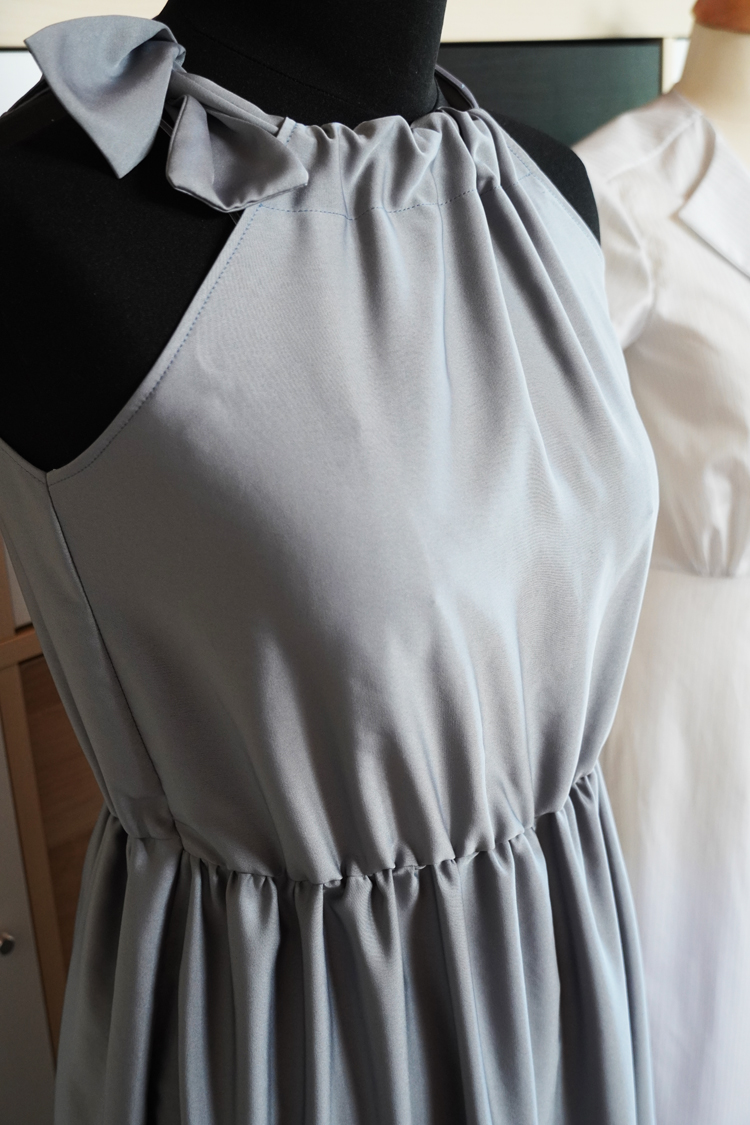
You will need a 1 cm / 0.4" wide elastic band to drape the bodice like this. Determine the correct length of the band by winding it around yourself. Stretch it a bit so that it’s neither loose nor too tight. Take this length add 2 cm / 3/4" and cut the band. Next, cut your piece of the band in half.
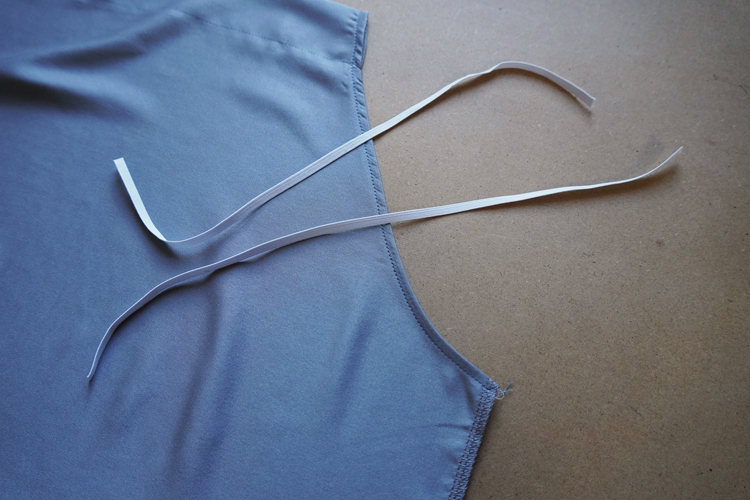
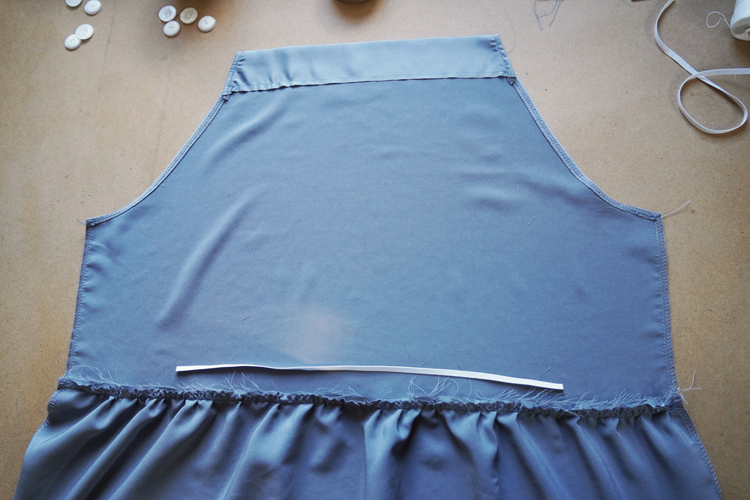
Now you are going to sew it to the waistline. First attach the ends of the band to the side seams.
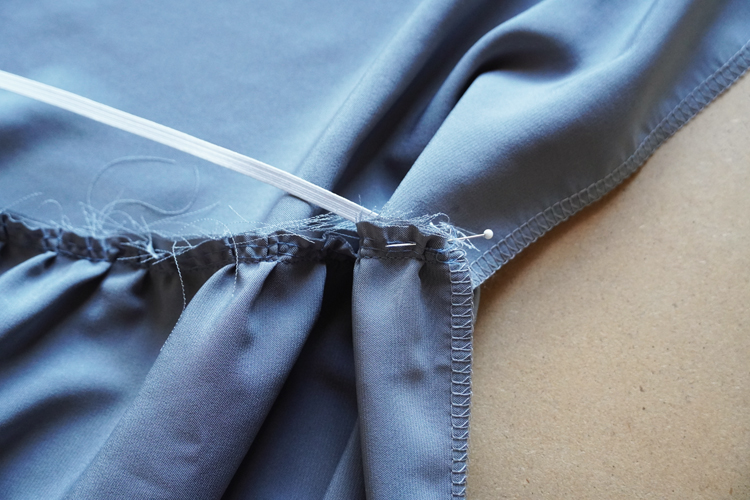
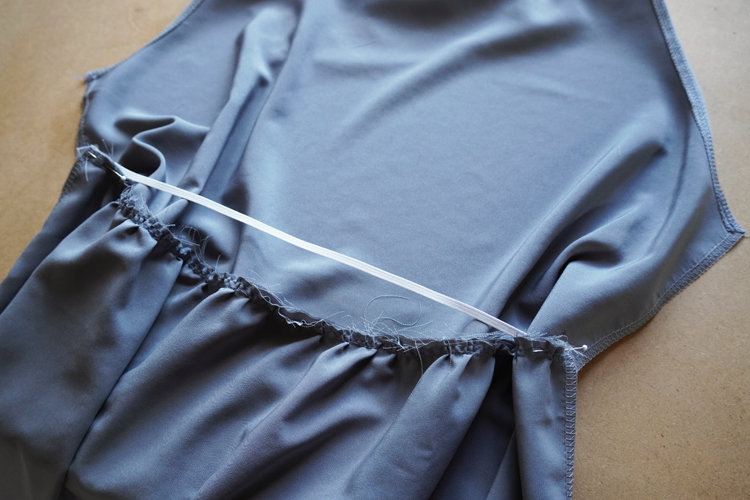
Then find the center of the band and pin it to the center of the dress waistline - this will help you to sew evenly.
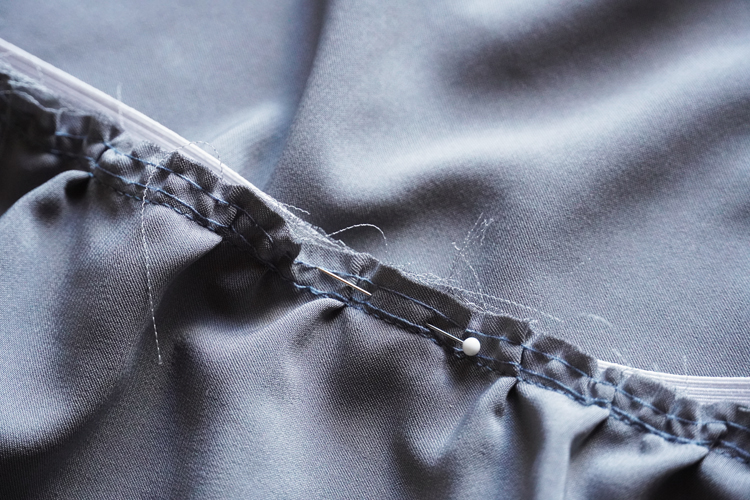
Now sew the elastic band to the waistline. You can use a regular sewing machine, but you need to choose a really elastic stitch. The ideal choice is a 3-step zigzag. However, the best option is to sew the band in on the overlock - you will clean the edges of the bodice and skirt at the same time… Do not forget to stretch the band a little to sew it to the waistline evenly.
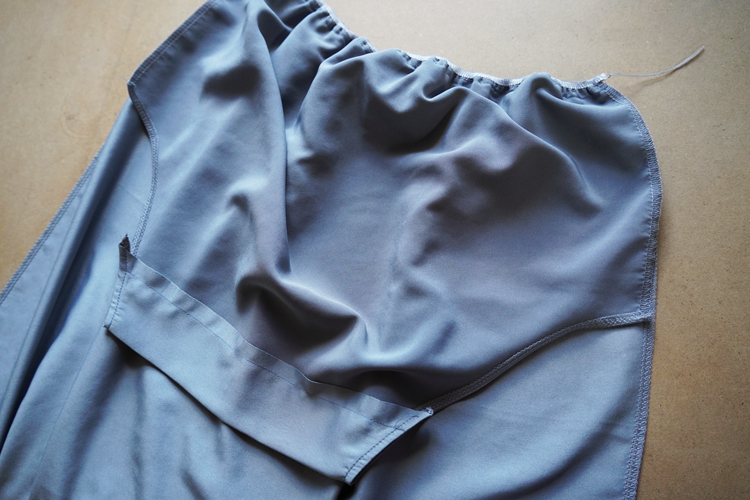
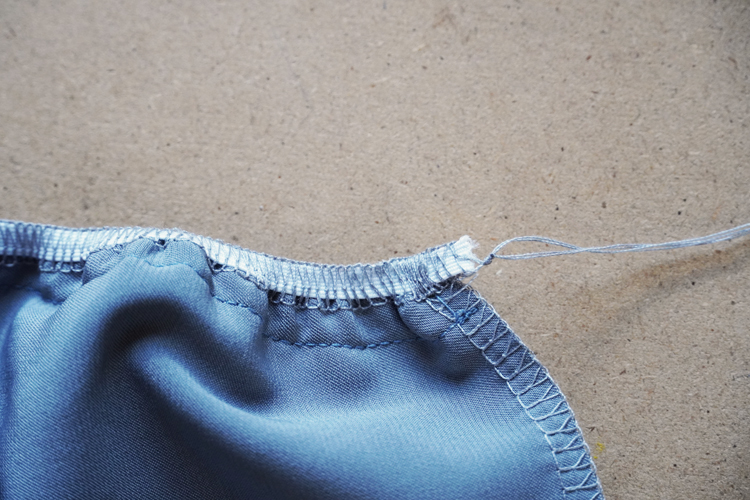
Pull both free ends of thread chain under the loops when sewing on overlock. Sew the elastic band to both back and front pieces in the same way.
Side seams
Lay the back pieces over the front pieces (face side to face side) and pin both side seams. Pin only about 40 cm / 16" of the skirt from the waist down. The rest of the skirt side seams will remain loose. This will create the slits so that you can walk comfortably in such a long dress. I recommend temporarily stitching the side seams and trying the dress on. Concentrate on the waist area and slits (that you can easily lengthen or shorten now).
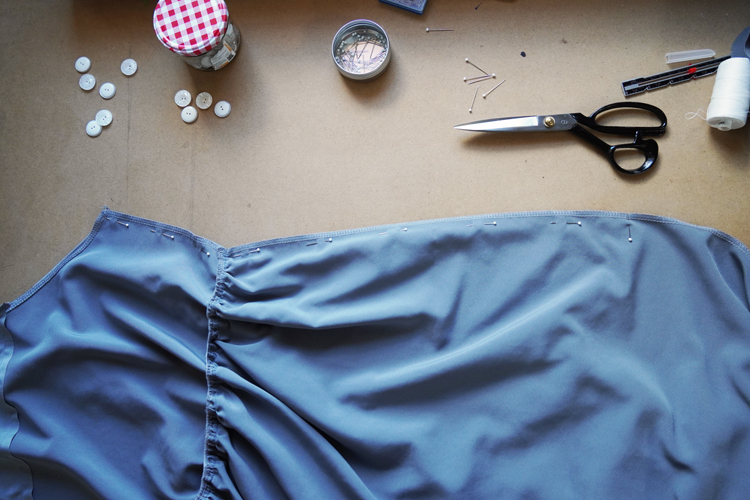
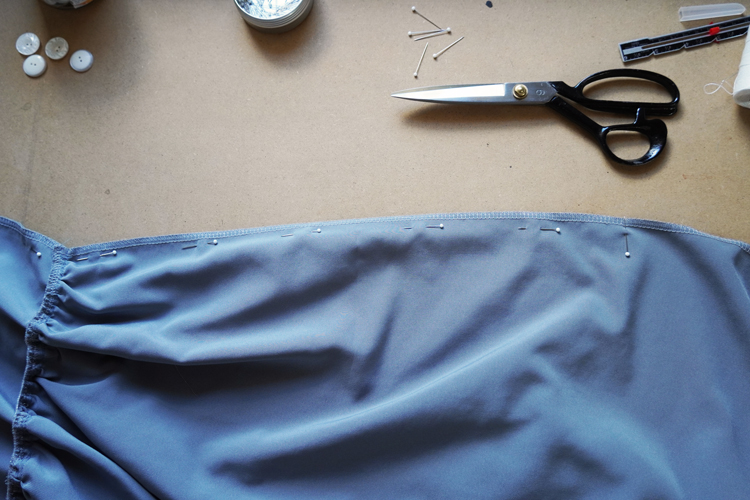
If the dress fits you, sew the side seams (and press the seam allowances open). Fold the loose parts of the skirt side seams (slits) towards the reverse side of the pieces and topstitch them to finish the slits.
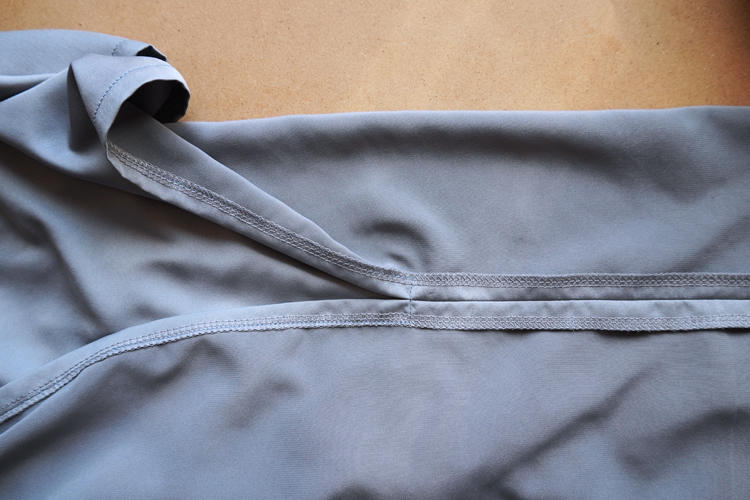
Also, topstitch the top parts of the slits perpendicular to the side seam, this will stabilize the slits and reinforce them against tearing.
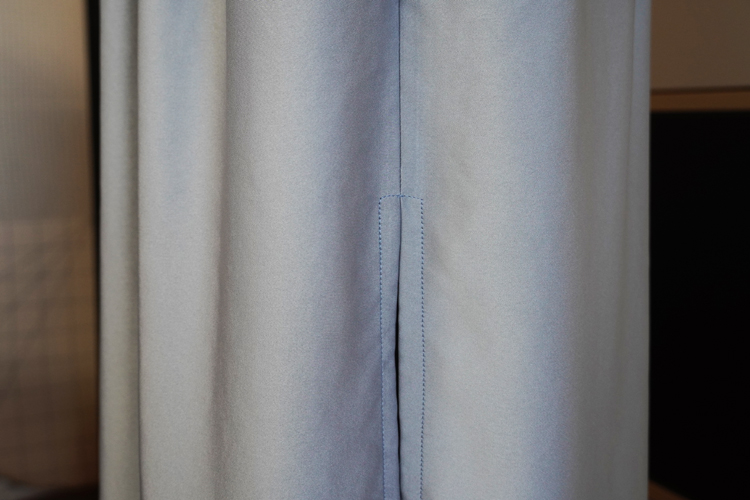
Now you need to clean the bottom hem of the skirt. If you used the original edge of the fabric, then you can skip this step. However, if you need to clean the hem, then fold the bottom edge twice to the reverse side of the dress and sew through it with a straight stitch.
Fastening ribbon
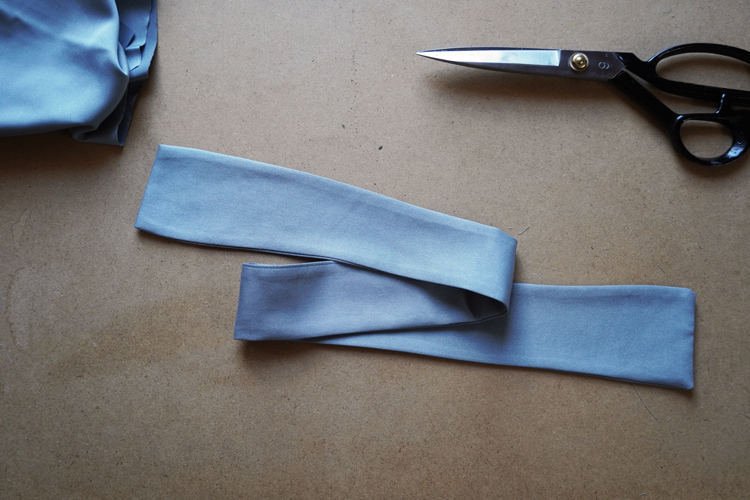
Now you just need to sew (or buy) the fastening ribbon. You can also use a twisted cotton cord as a fastening ribbon for the summer/sailor-style :) model of the dress.
But if you want the ribbon to be made of the same fabric as the dress, then you have no choice but to sew it yourself.
My ribbon is made from a strip of fabric that is about 150 cm / 60" long and 8 cm / 3 1/8" wide. I cut my ribbon (after folding it in half) so that the middle part is a bit less than that - about 6 cm / 2 3/4" wide. Fold the ribbon in half (face side in).
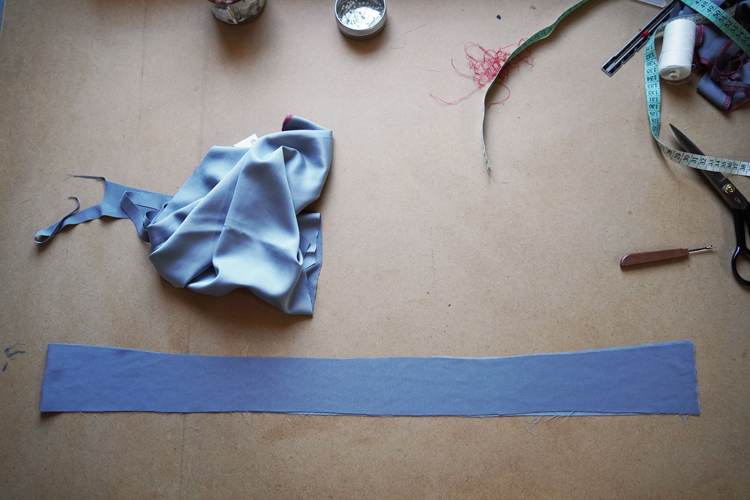
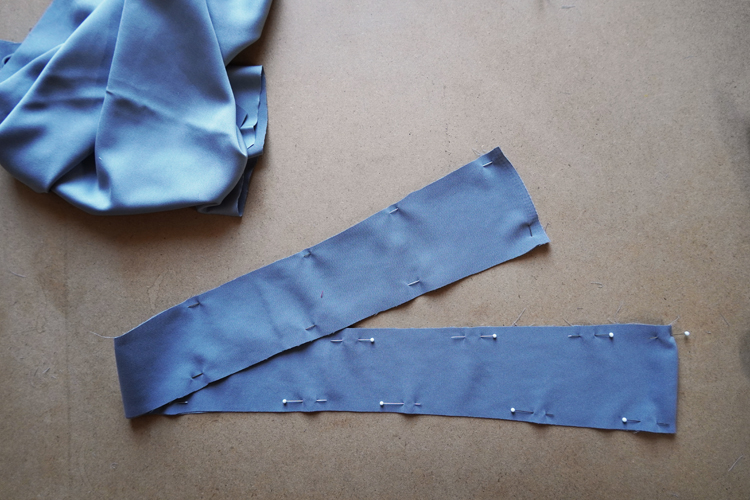
Sew the ribbon around the edges but leave out a few centimeters somewhere in the middle.
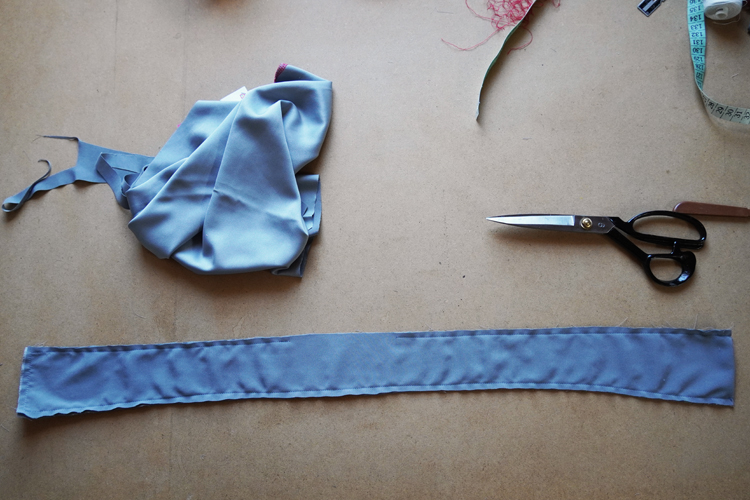
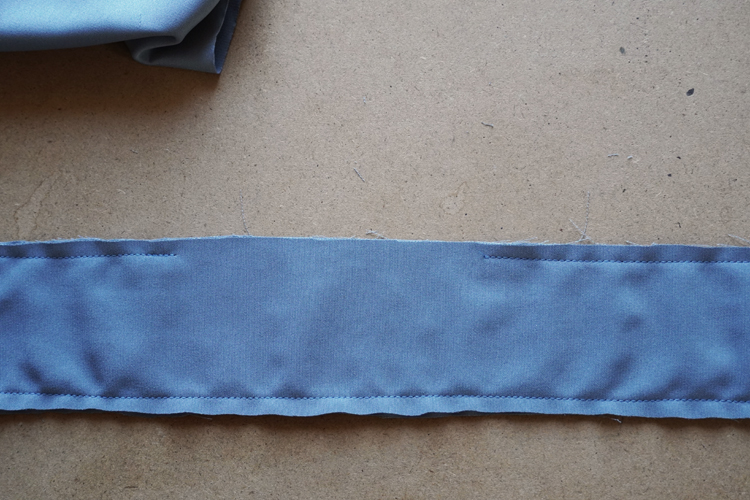
Turn the ribbon “outside out” through this hole and then close it.
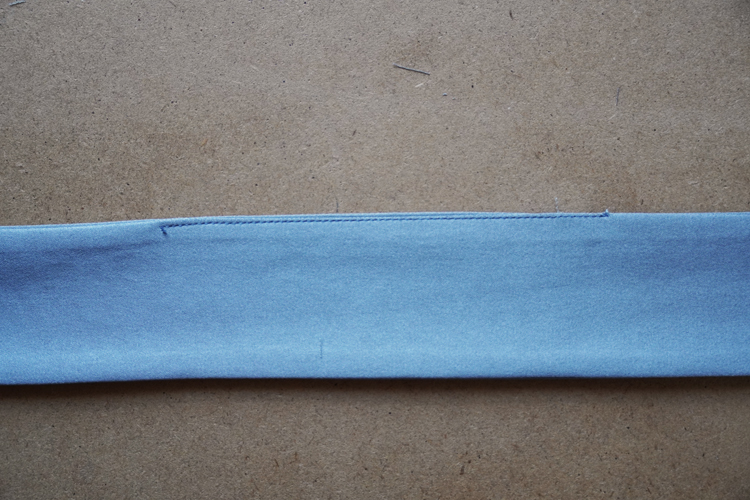
Now you just need to iron the fastening ribbon and thread it through the tunnel.
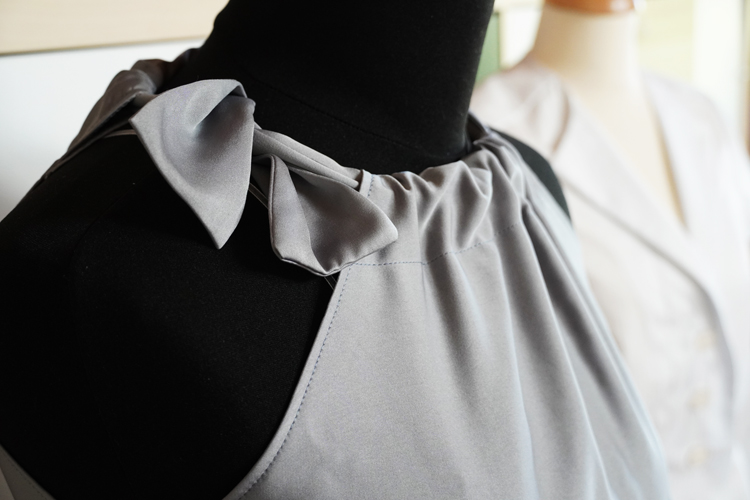
Your dress is ready! This pattern is really simple, and the results are awesome. I think this pattern definitely deserves attention. If you choose the right fabric, you can wear the dress BREEZE even for your friend's wedding, for example.
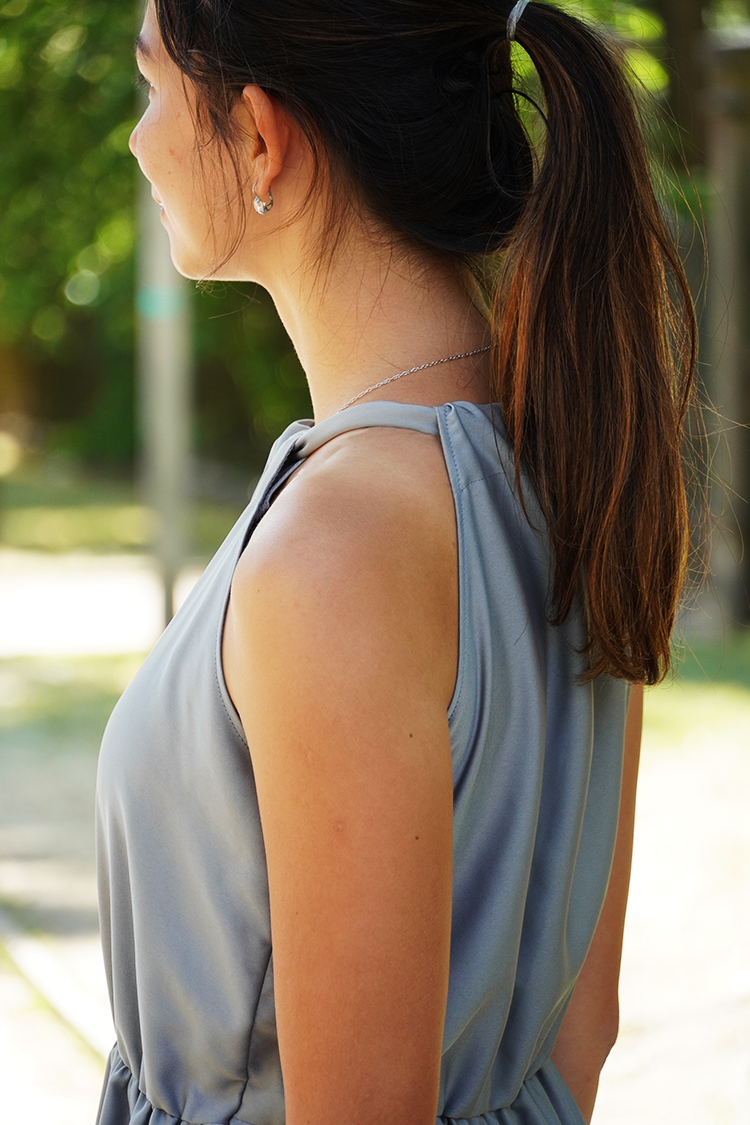
If you like the pattern and today's article, share it with your friends and leave a comment below. I'd like to read your feedback.
Have a nice day, Peťa
You can get the pattern for this dress here:
