


The pattern is in sizes ranging from newborn to male - in children's, ladies' and men's sizes. Below, you will also find a step-by-step tutorial on step-by-step caps and a new video tutorial to see that sewing is simple and suitable for complete beginners and that the hat can be handled in just 5 minutes.

How to sew a cap step by step (in just 5 minutes)You can find the video tutorial under the photo tutorial at the end of the article.
Editing preparation
Depending on the material we choose a suitable cap size. I'm going to show you today how to work with a cut that does not have seam allowances.
We fold the fabric so that it stretches over the width (our hat). Facing in.
We cut the cut on the cloth and carefully pinch it. We'll start pinching just at the fold of the cloth. Gradually, we pin the entire cut.
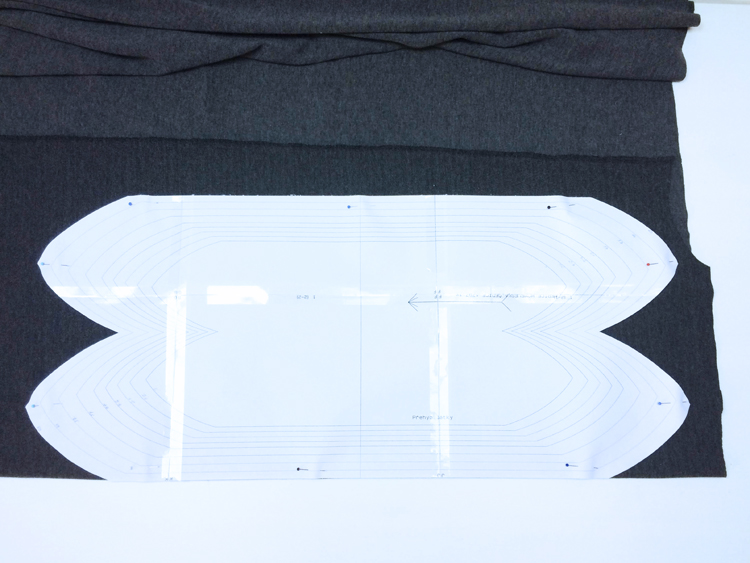
Mark the cut to the fabric.
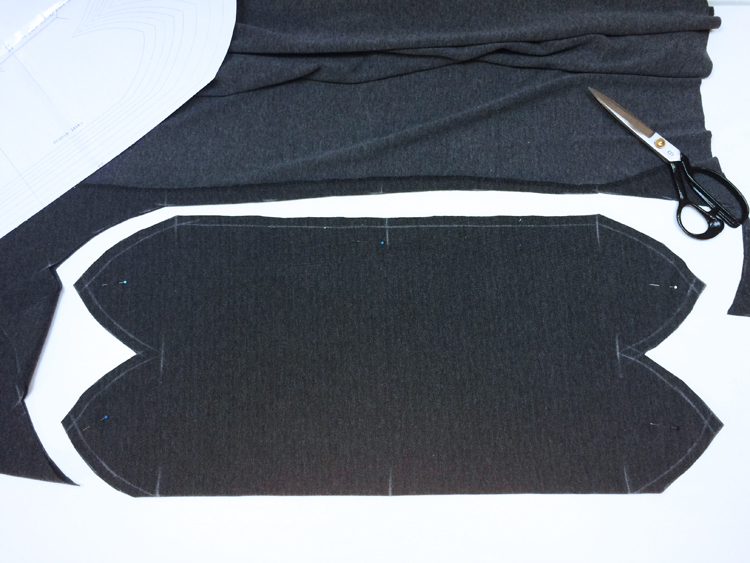
Along the redrawn lines, we mark seam additions. I recommend choosing a single 1 cm stitch size to keep you seamless. We mark the seam allowances along all lines (we do not add anything to the folding of the fabric anymore - technically not possible, but I prefer to write it here, though there are pure beginners among us, so it is something of a fool ... ?)

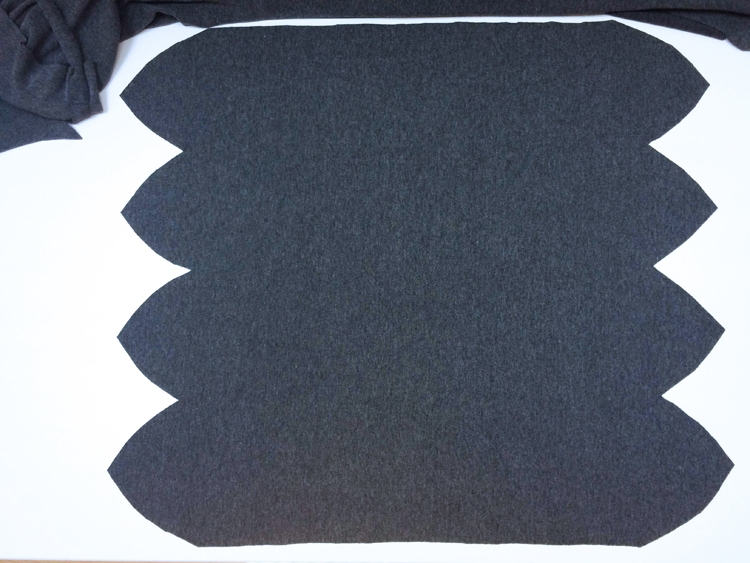
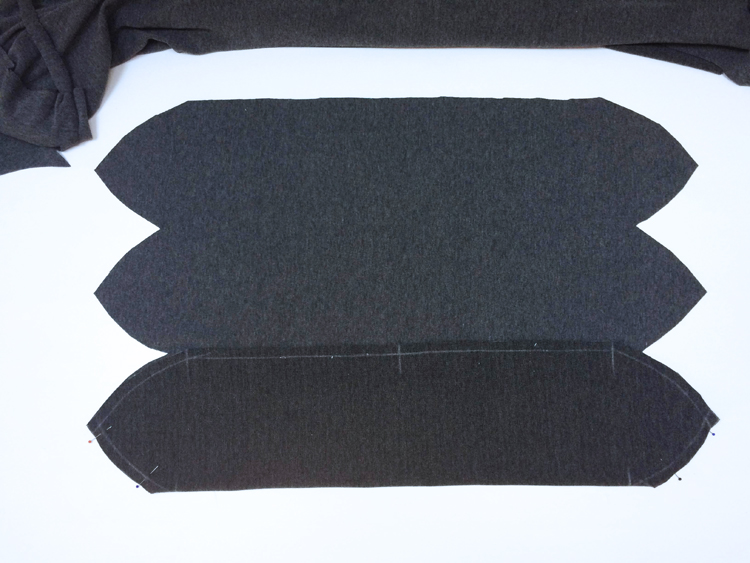
Now you can cut off the fabric.
Sewing procedure
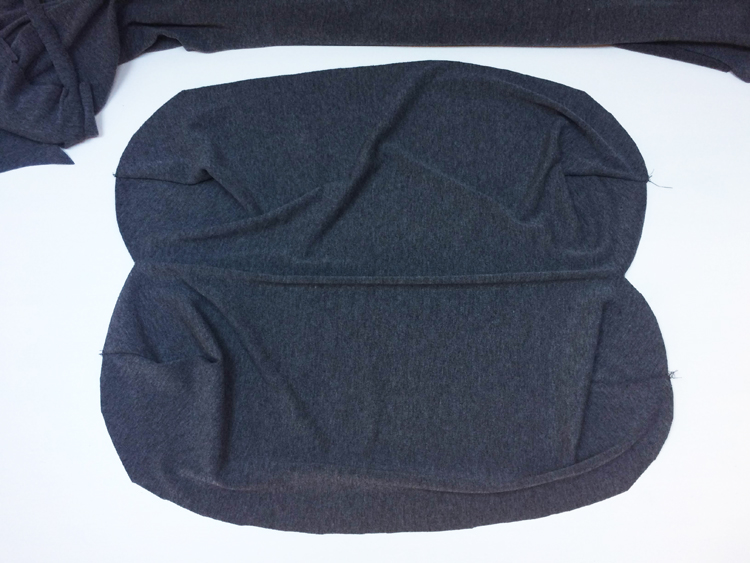
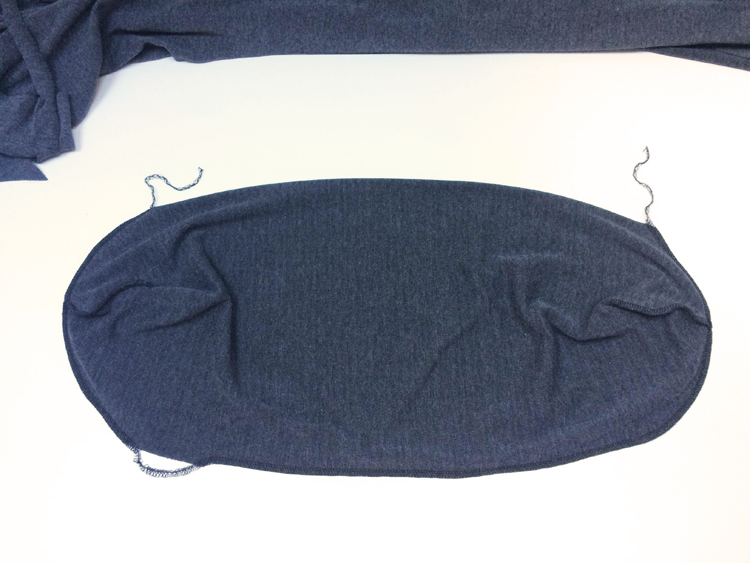
We spread the whole piece face to face.
Fold the bottom of the cap with both of the left edges and place it toward the center of the piece (face to cheek).
We pin the outer sides of the tabs (caps).
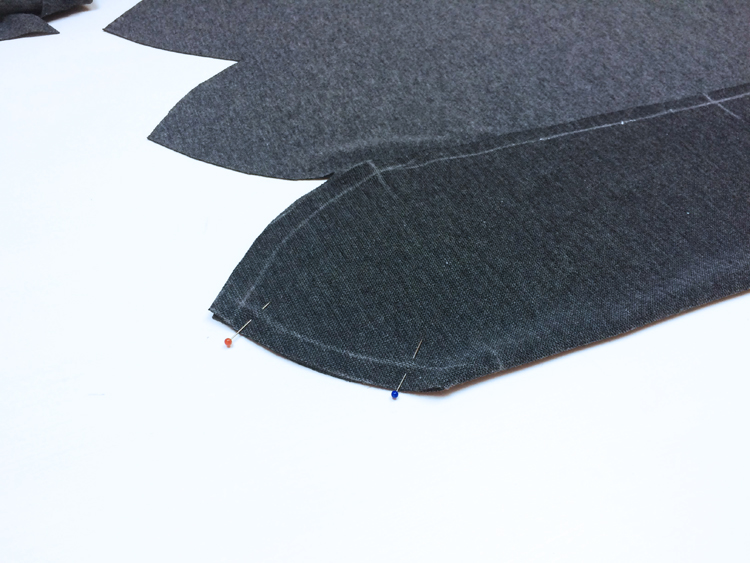
We also fold the top of the work back toward the center part
Here, too, only the outer parts of the spikes are pinned.
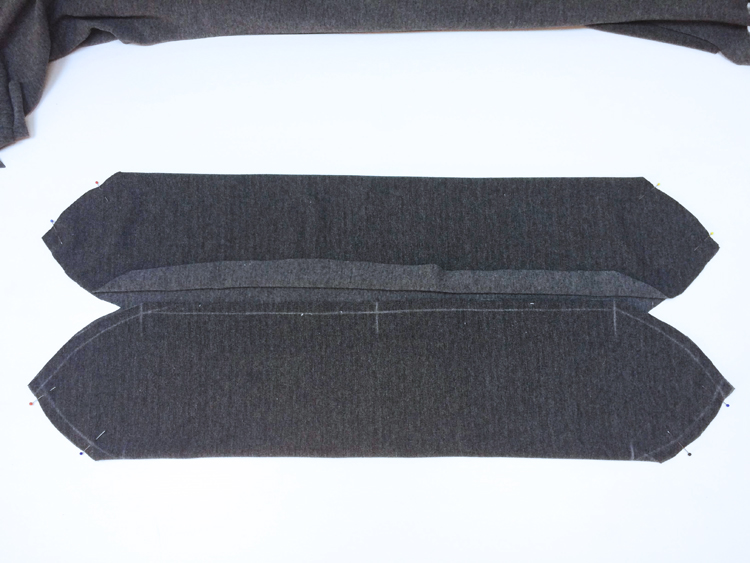
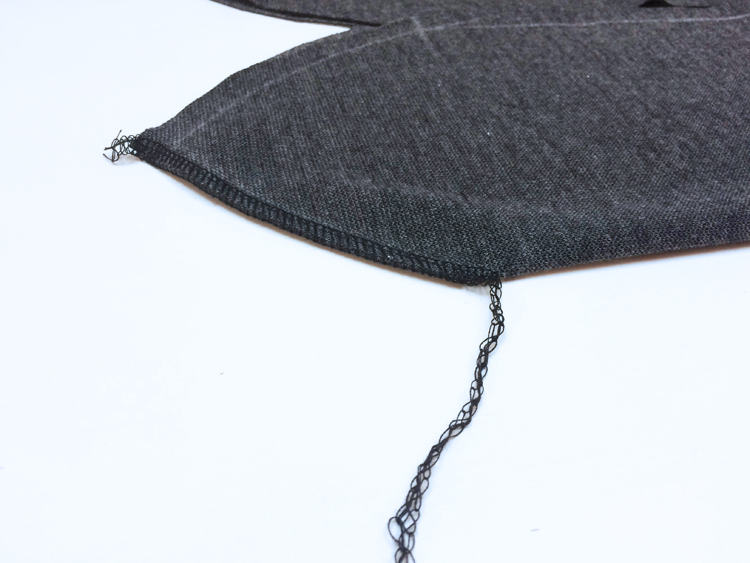
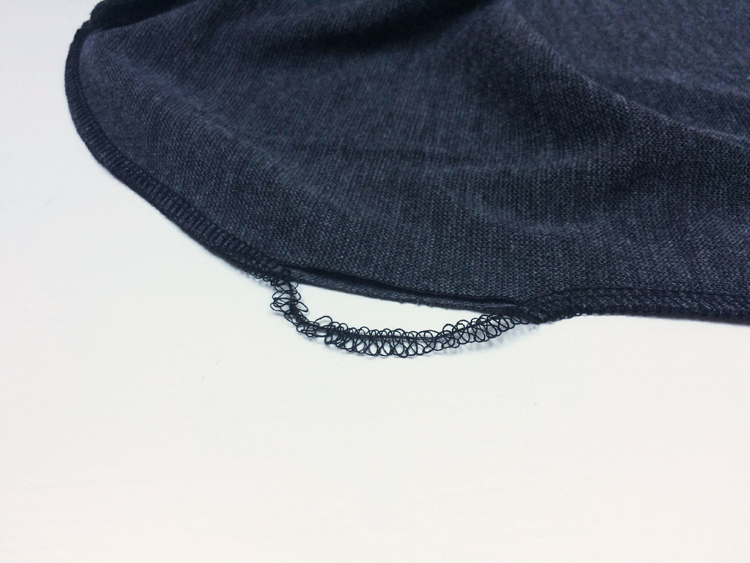
Now we sew the pinned parts.
If we are sewing on an overlock, then we will leave longer chains on the folds of the cloth and then pull them under the loops.
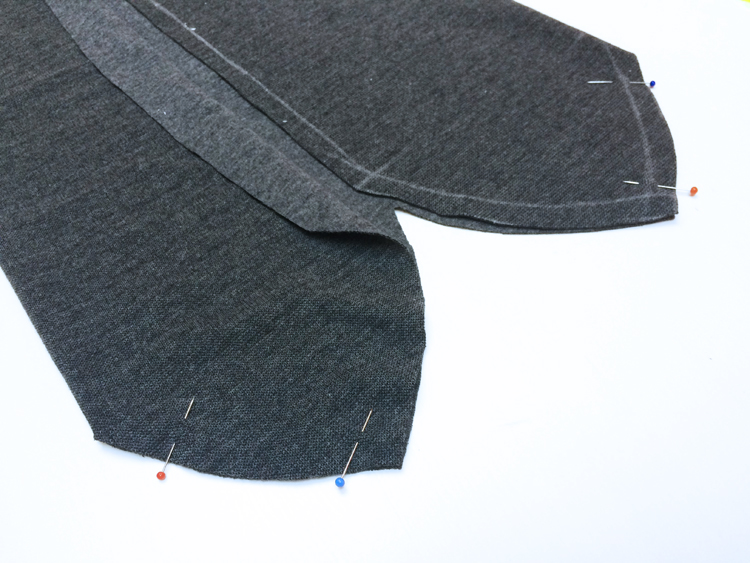
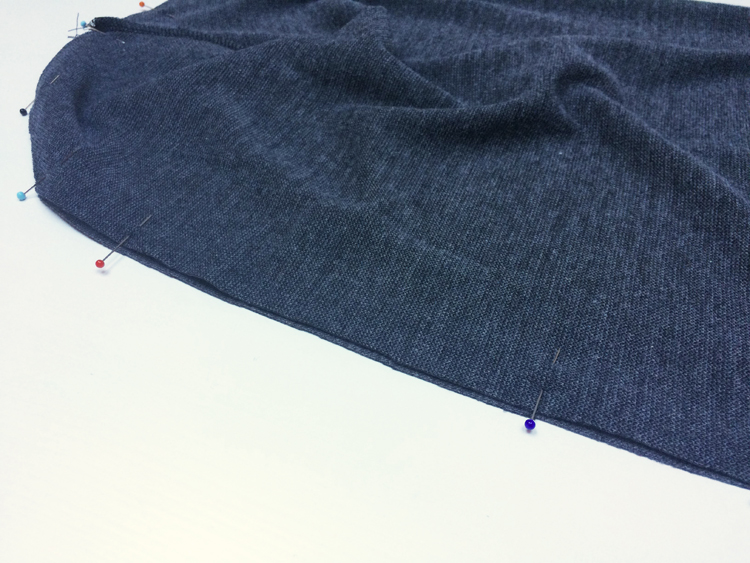
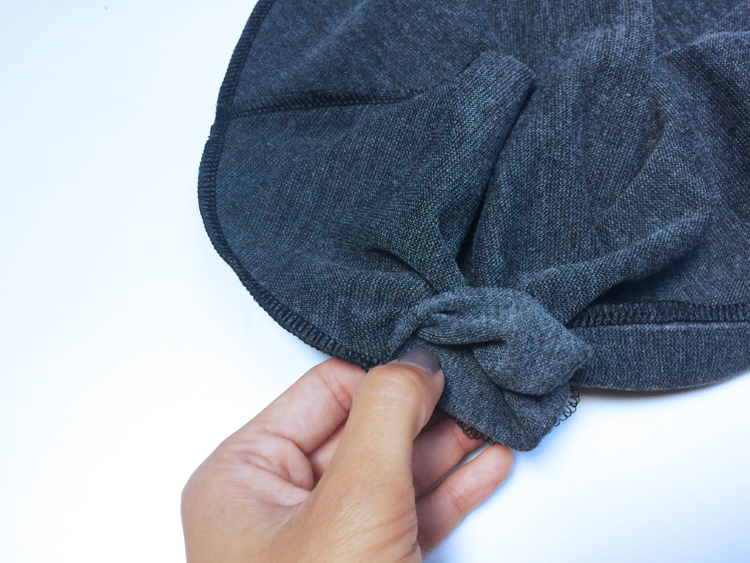
We will spread the piece with front facing toward us.
Now we fold it in two halfs, face on face. We pin the whole length and the rounding of the top of the cap in one step.
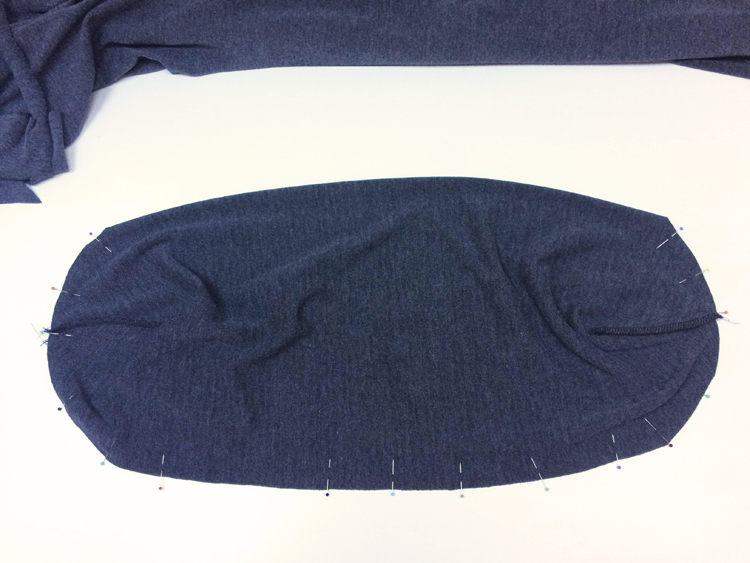
On one side, a piece of the top of the cap, in the place where the piece is straight (not rounded), leaves a 5 cm long place that we will not sew.
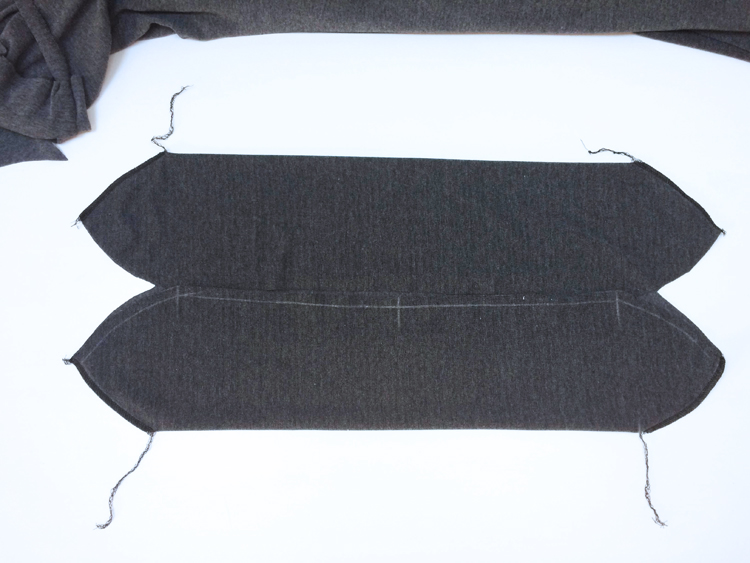
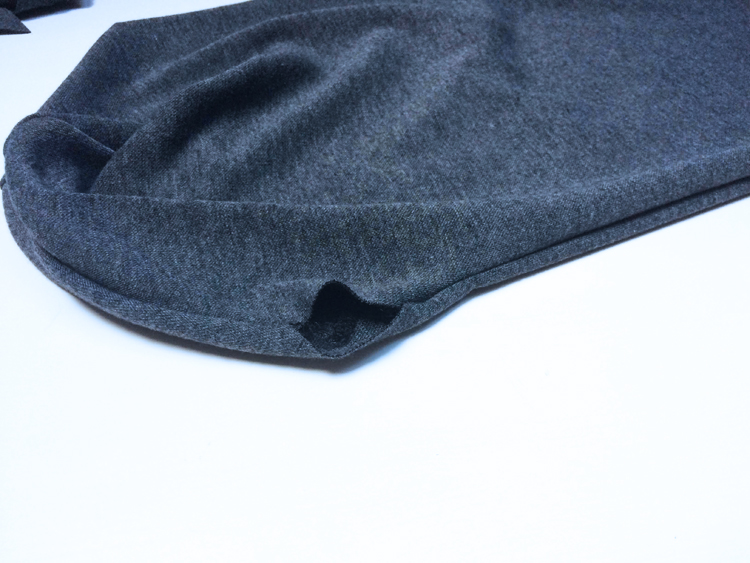
We sew the whole piece around the entire circumference, leaving only five centimeters left unattached, with a hole.
With this hole, we now turn the entire cap to the front.
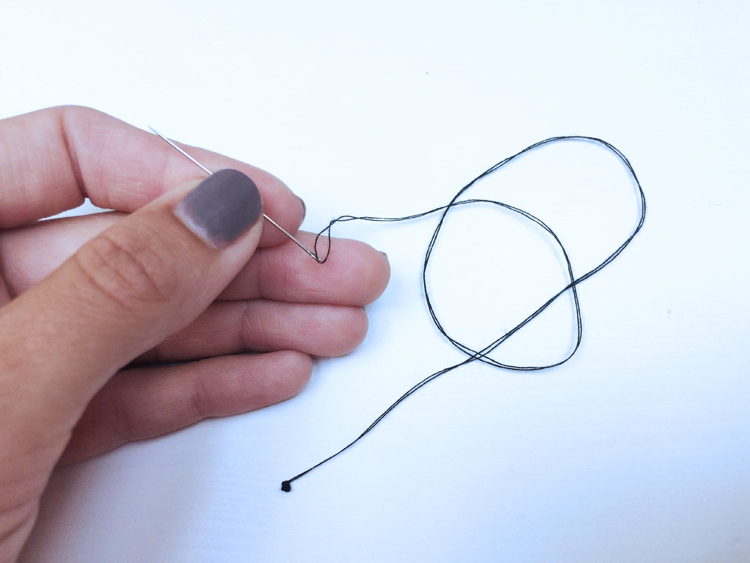
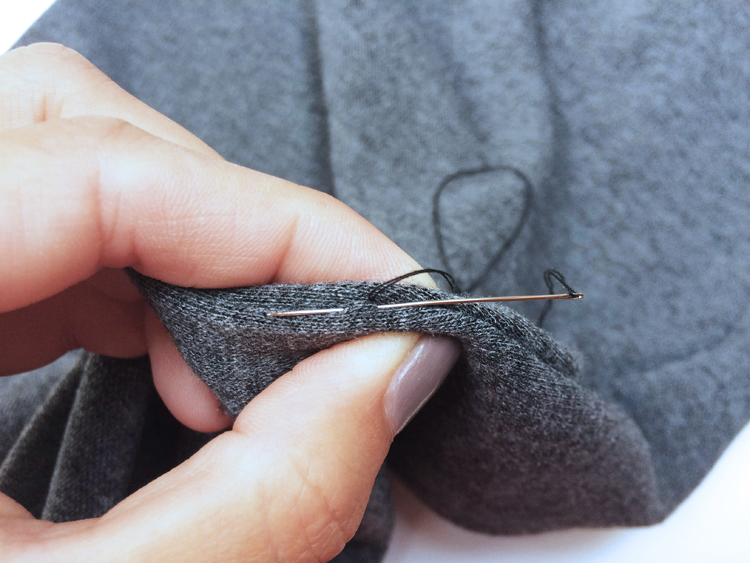
We sew the open part manually with a mattress stitch
I recommend sewing with a double thread so that the aperture does not break off with frequent dressing.
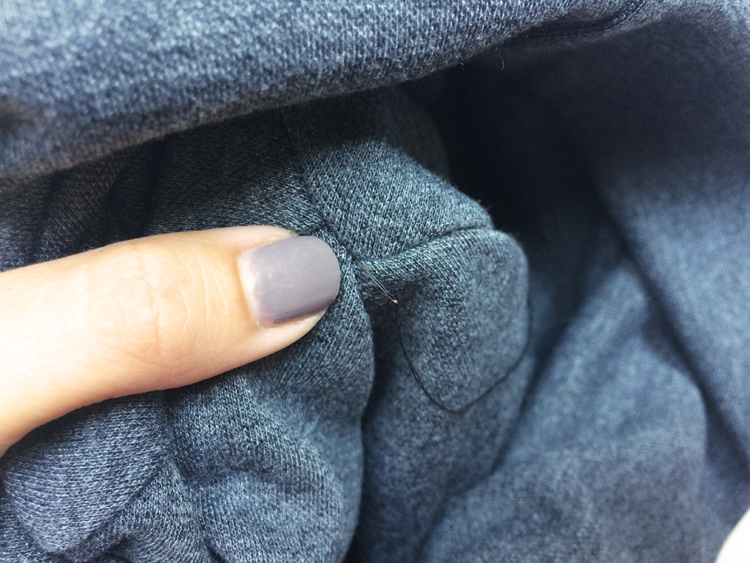
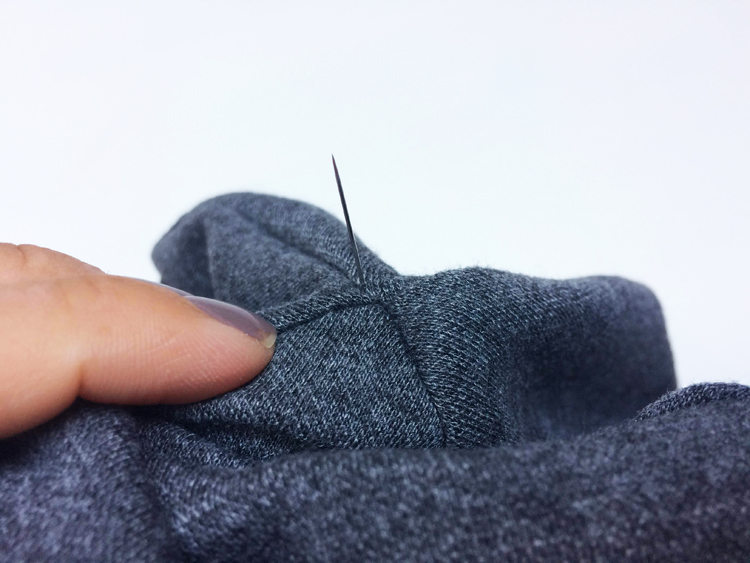
Finally, we put the cap into the final shape and the top of the cap is on the back and in the face of the hat.
We sew this top together to keep the cap in shape.
Finally, we iron the cap and we're done!
And here is the video tutorial mentioned above.