


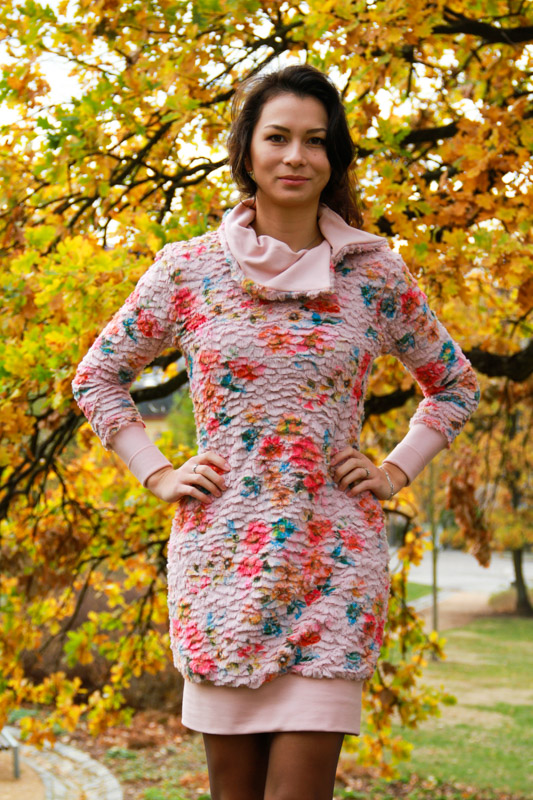
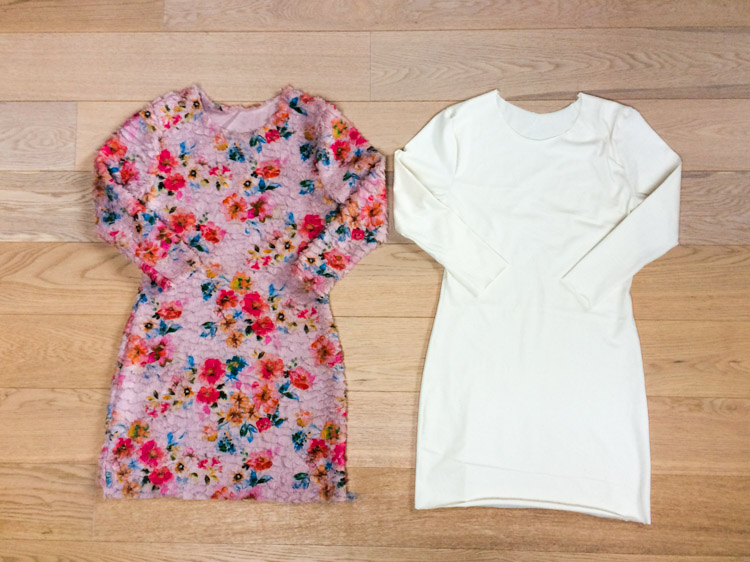
I've had this design in my head since last fall, but I have not had time to do it all the year. For today I have prepared a cut for women's winter dress (or autumn) and detailed photos of the sewing instructions. You can also wear the classic version of this dress and I will introduce you (with instructions) on Wednesday (November 7, 2018) again here on the blog. Today we look at the lining variant. According to the selected materials you can wear sporty women's sweatshirts but also elegant winter clothes.
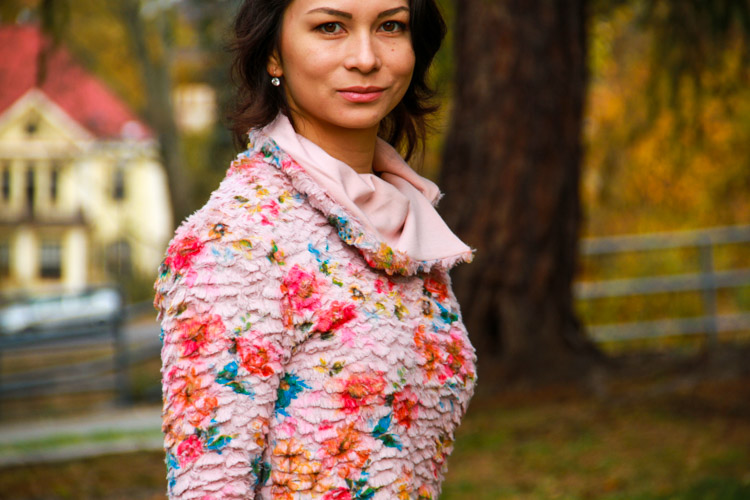
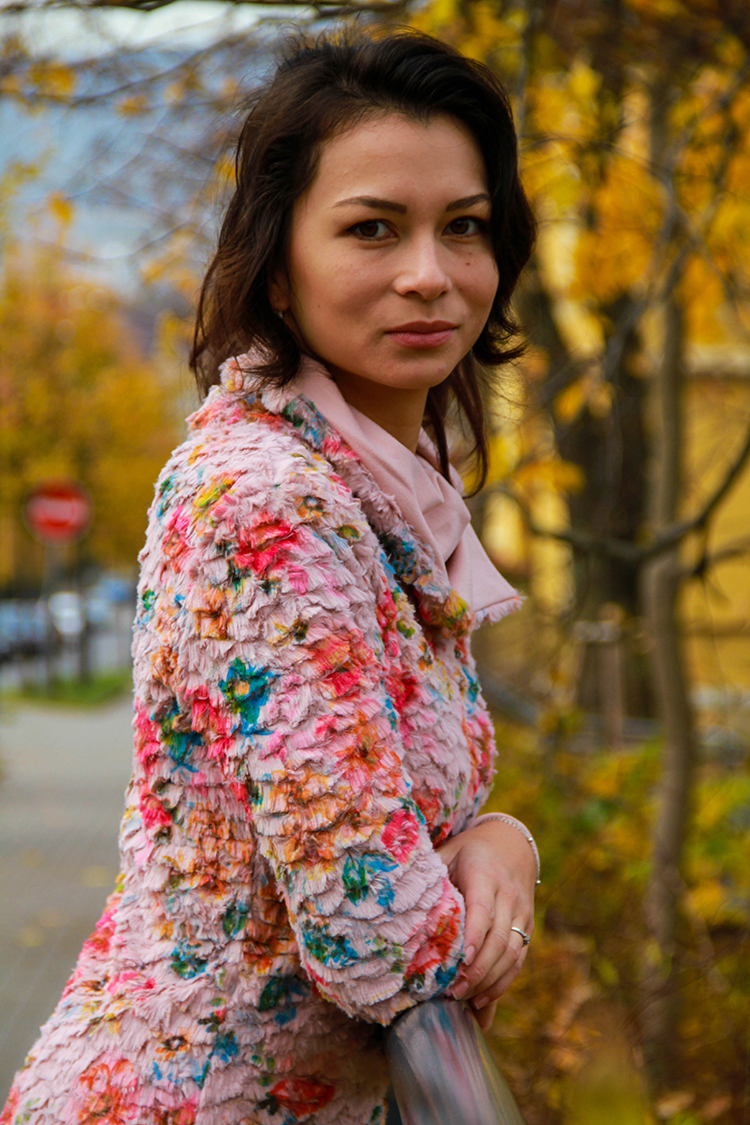
Sewing pattern women's winter sweatshirts/dresses
Recommended material:
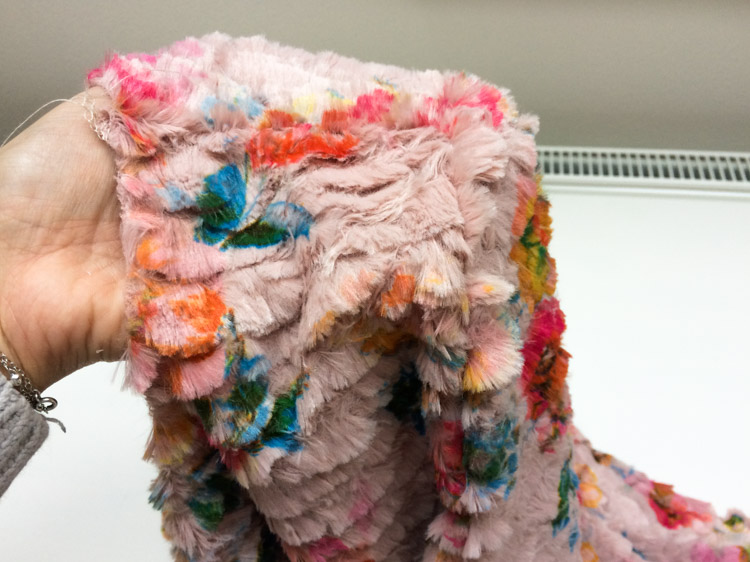
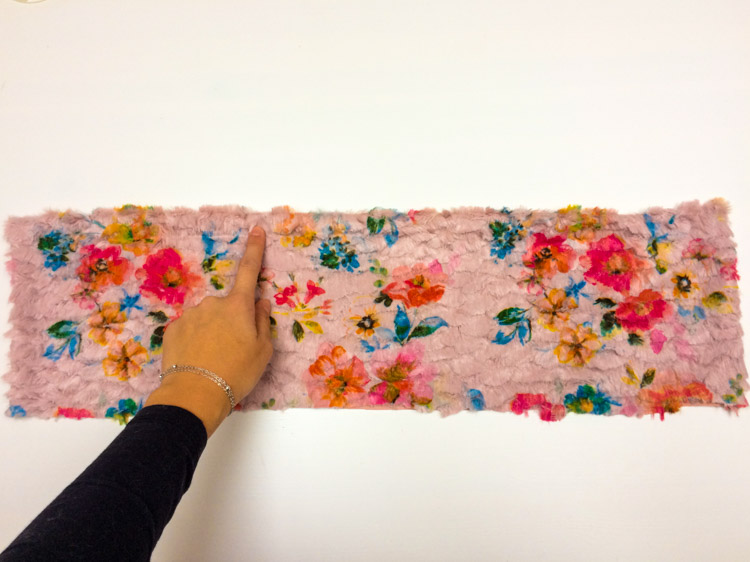
Beautiful artificial fur I received from the store www.dumlatek.cz and you can buy it on their website.
Artificial fur with floral motif
The cut for the dress is designed for medium-strength elastic fabrics. You can use these substances, for example:
- elastic fleece
- suede knit (Nicky Velor)
- sweater
- elastic tracksuit (watch out for calf sweat, some not elastic)
- tracksuit monochromatic, melir and mellow
- tracksuit pattern¨
- flexible artificial fur (it is good to check if the substance is flexible or not, sometimes you will not know from the label or composition)
- use would also be a warmkeeper (alpenfleece)
The lining is also needed for the dress. You can use an elastic liner or a thin single-piece knit. Wrinkle on whether you want to "warm" the dress (use a knit) or just add a comfortable side to your dress that will touch your body (use the lining).
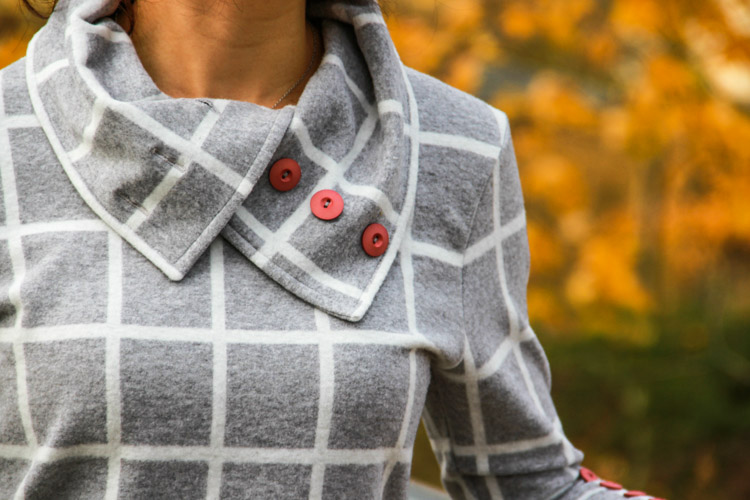
You can use the collar, but you do not have to put buttons. 4 pieces of 20 mm buttons are suitable for the collar. On your sleeve, you can use smaller buttons (not functional) for the decoration of yours. On the sleeves, you will need a total of 8 knobs of approximately 15 mm.
The collar can be ironed by a weaker one-sided iron-plated braided reinforcement. If you're lining the dress up and the top cloth is more tricky, you can also put on the shoulder straps for your shoulder pads.
The collar and pockets are also lined with a weaker one-sided iron-plated braid reinforcement. If you're lining the dress up and the top cloth is more tricky, you can also put on the shoulder straps for your shoulder pads. I did not use my shoulder pads, because the fur is rather heavy, so I do not push my shoulders and I did not want the dress to be too formal, rather the opposite.
Recommendation
I stitched the dress partly on the overlock and partly on the classic machine. If you do not have overlock, you can easy handle the sewing on a classic sewing machine, just follow a few simple rules:
Sewing Flexible Fabrics on a Simple Machine - 4 Steps to Achieve Excellent Results
Sewing instructions step by step
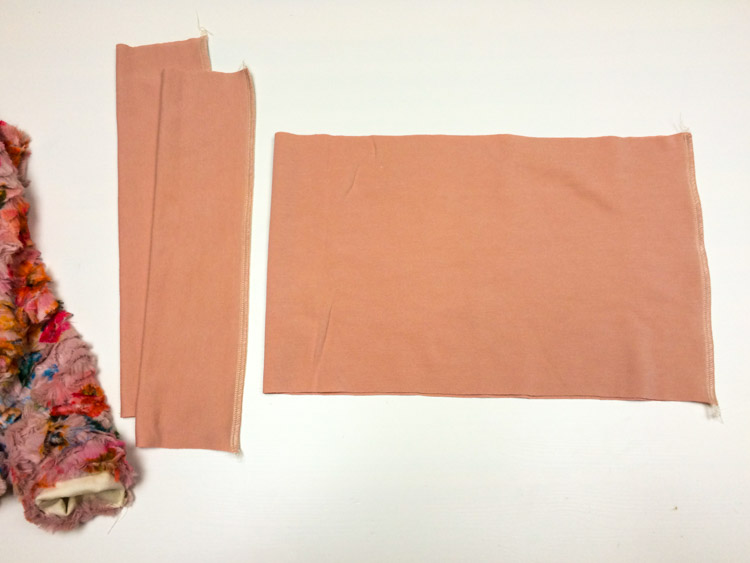
Editing preparation
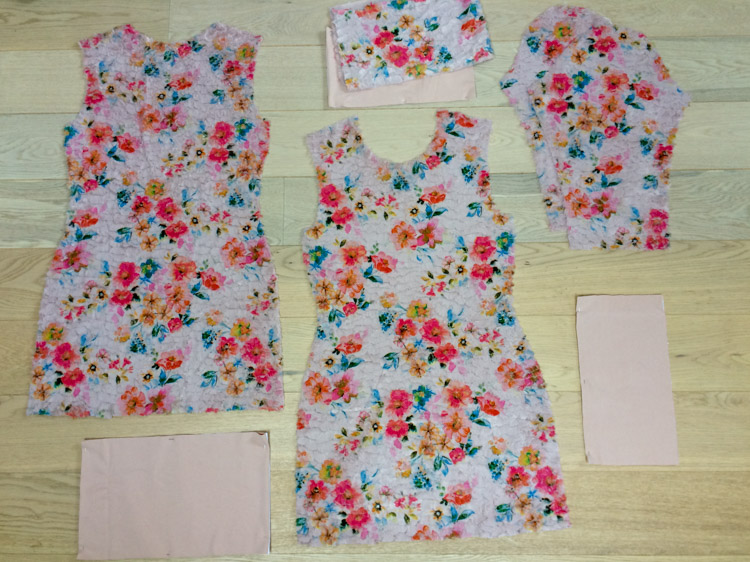
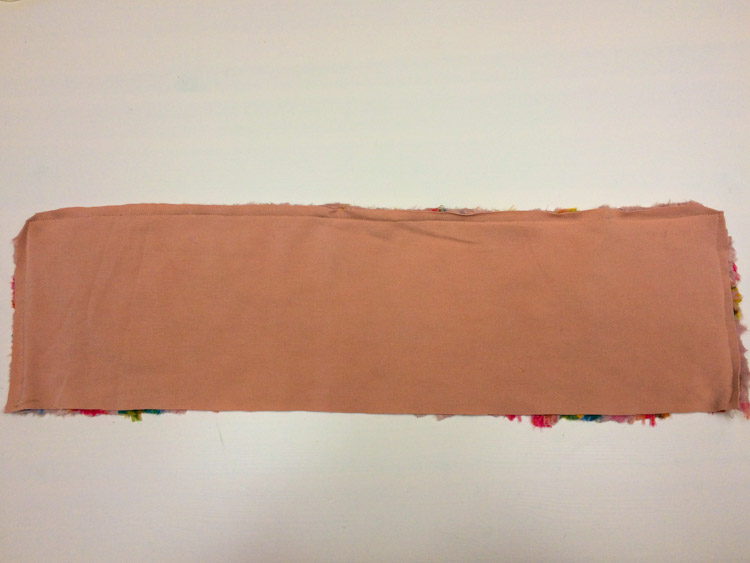
According to the paper cut, we prepare from the main top fabric:
- 1x front panel to fold (fabric fold)
- 1x back cover for reloading
- 2x sleeve (in the lining version I recommend to remove the sleeves from the top fabric at the bottom - at the hem - by 1 cm wider on each side so that the sleeves and the lining around our forearms do not push)
on the pocket variant
- 1x lower collar
- 2x pocket part with a bend
(My tip: I like to cut the pocket bags 4x whole, instead of 2x with length and 2x whole. The pocket piece cuts the shape of the penetration to the front part and then cuts it through both the front and the pocket.)
Additive:
- 2x sleeve cuff
- 1x lower hem for reload
- 1x top collar
- on the pocket variant
- 2x pocket part whole
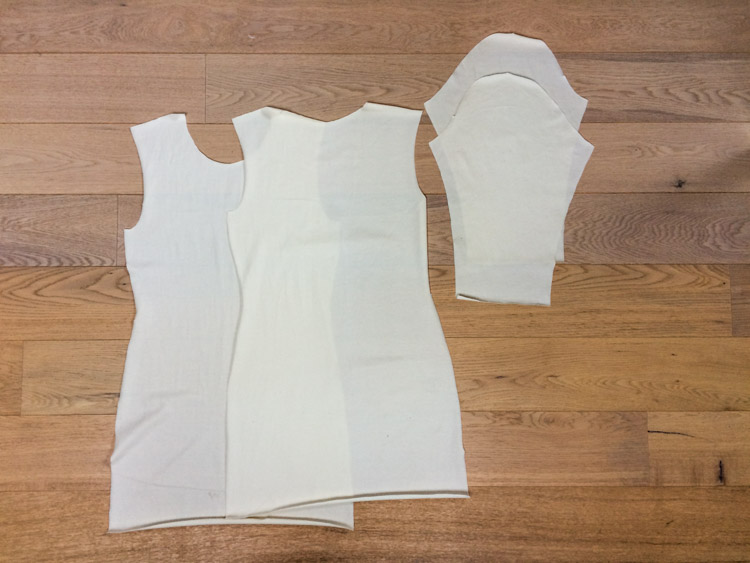
In the case of lining with lining, we prepare:
1x front part to be relocated
1x back cover for reloading
2x sleeve
Sewing procedure
Hull and sleeves
If you are sewing pockets with your dress (I did not sew them in this dress to avoid unnecessarily damaging the beautiful fabric structure) and you are not sure how to do it, follow these instructions:
How to sew a pocket in the side seam
First we sew the front and rear nylon into the shoulder seams, seam extras. Open sleeves need to be sleeved. I recommend to loosen the sleeves. You can make a classic straightening using two parallel long stitch stitches (see the instructions on how to make a lady's shirt) or you can also use the double-stitched leg to pull the sleeve. The difference between the length of the sleeve and the perimeter of the sleeve is relatively small for this cut, so some substances may not be needed. If you loosen your sleeve, remember that it is only poured around the sleeve and never down, around your armpits.
We will stitch the weft sleeve and put it on.
This looks like a sleeve that has been loose - it can be seen that the sleeve around the shoulder is nicely shaped.
And this looks like a sleeve from the front side. Always at the sleeves, I recommend checking what they look like right after you stitch them. Later, if you have any adjustments, you have to have any other seams you have sewn after sewing the sleeves.
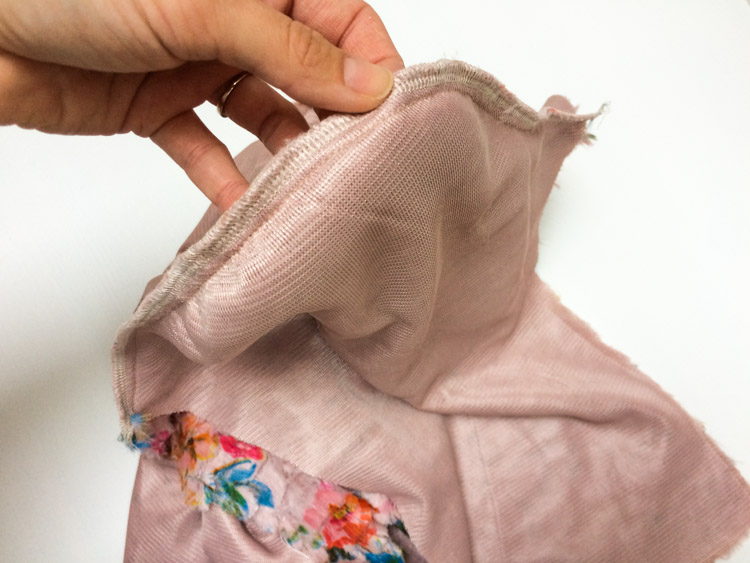
After wearing the sleeves we sew in one step the side and sleeve seams (following). In the same way, we make lining dresses.
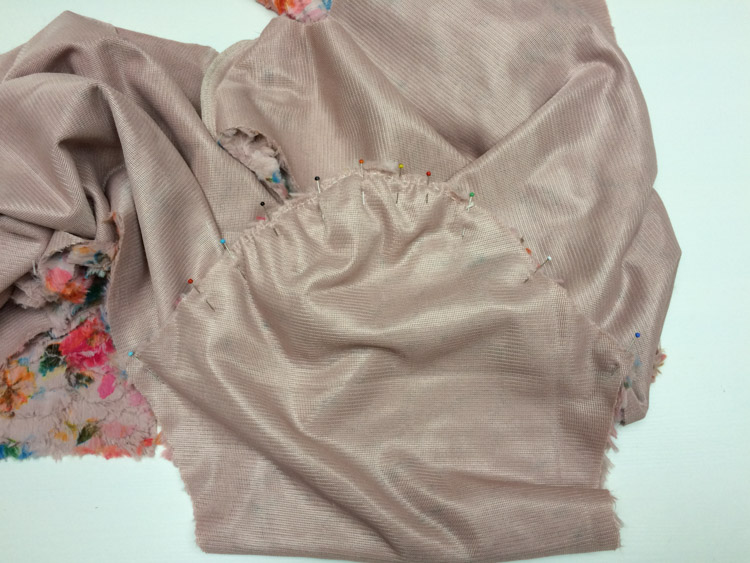
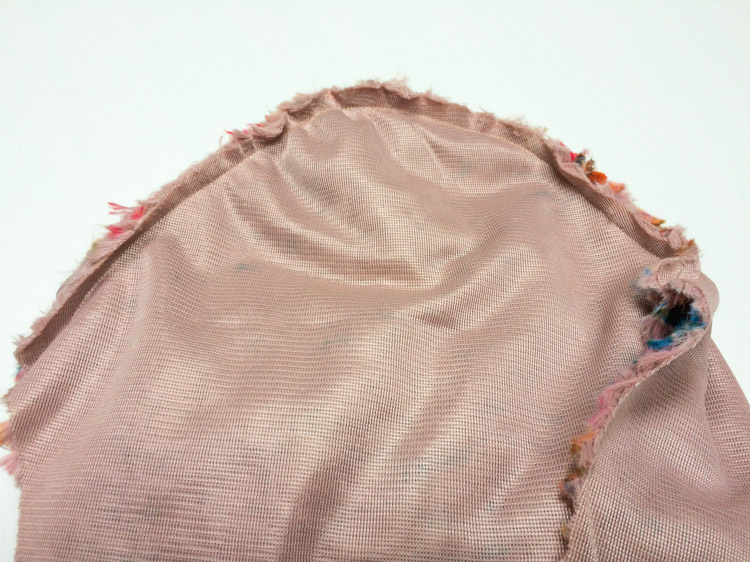
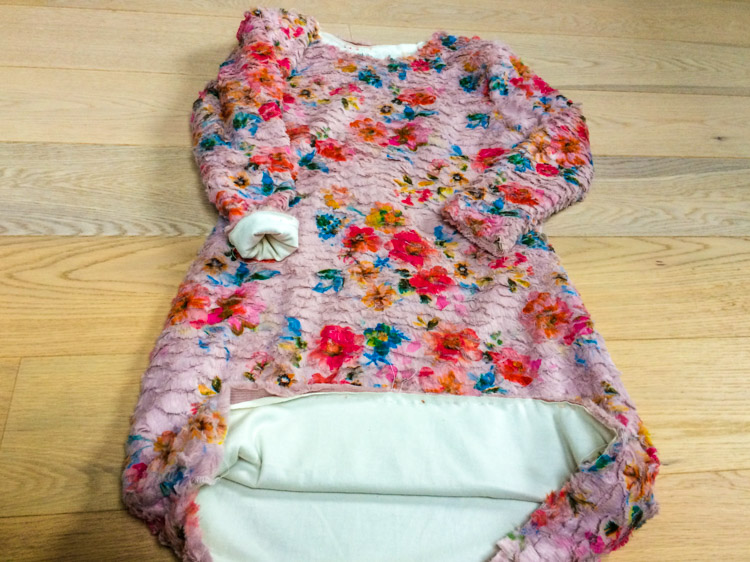
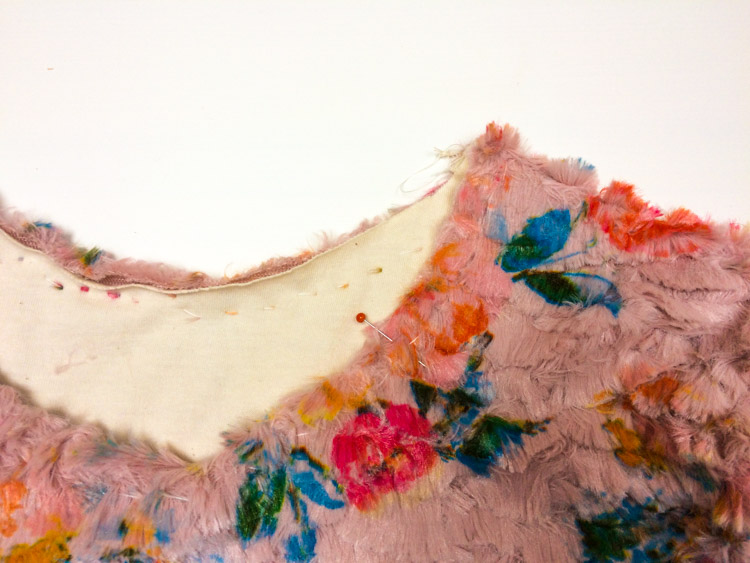
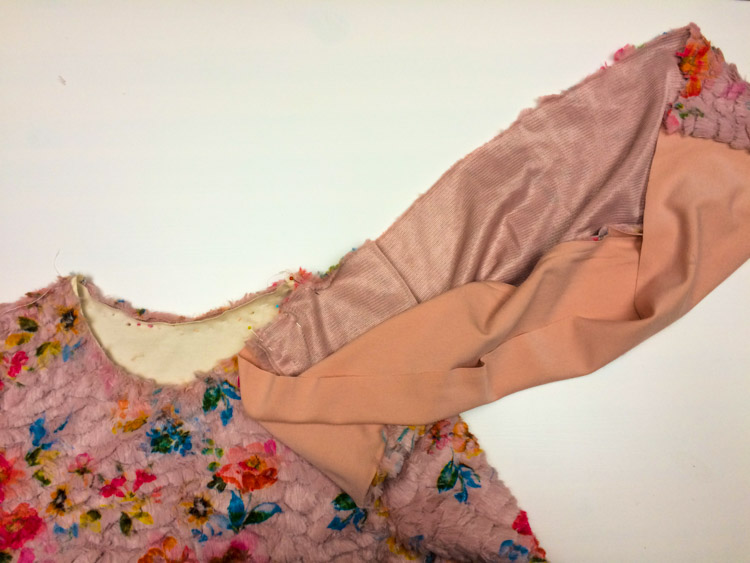
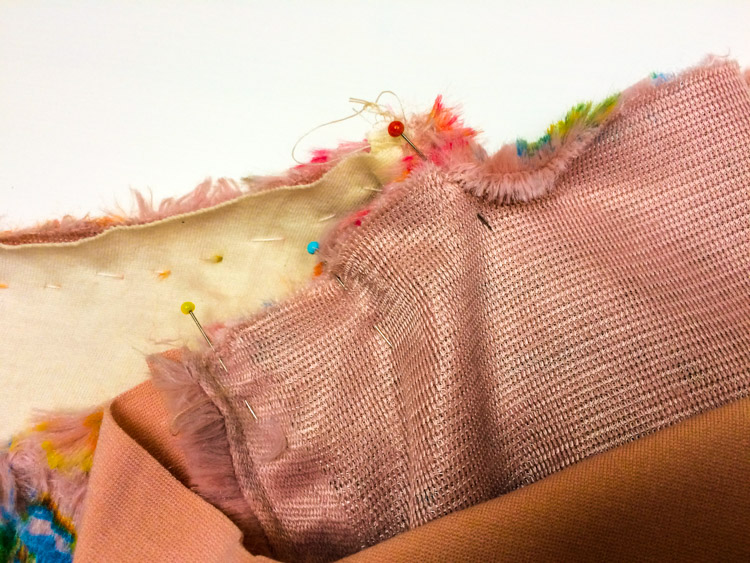
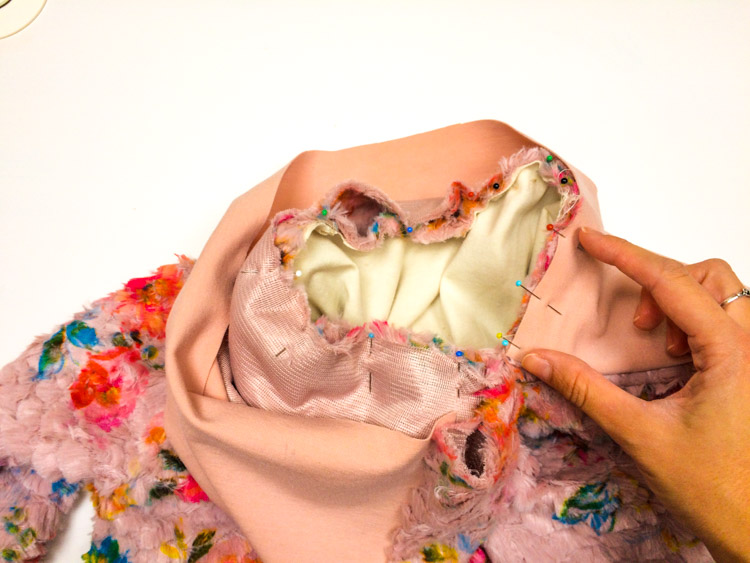
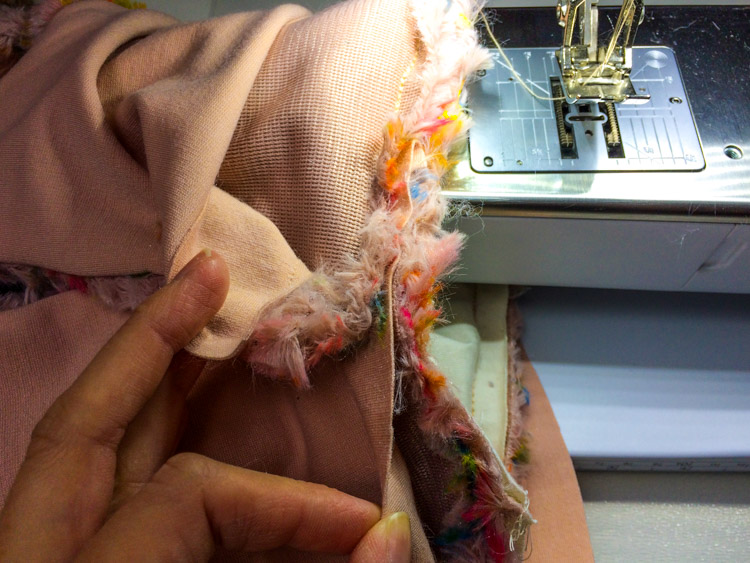
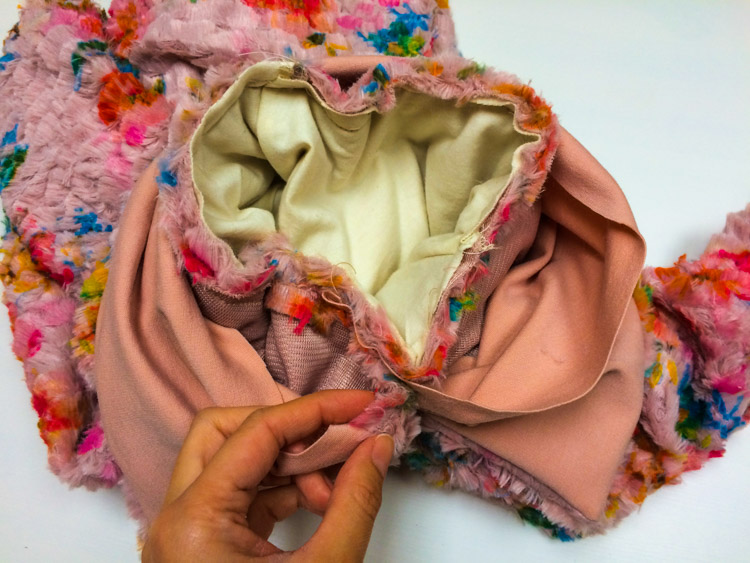
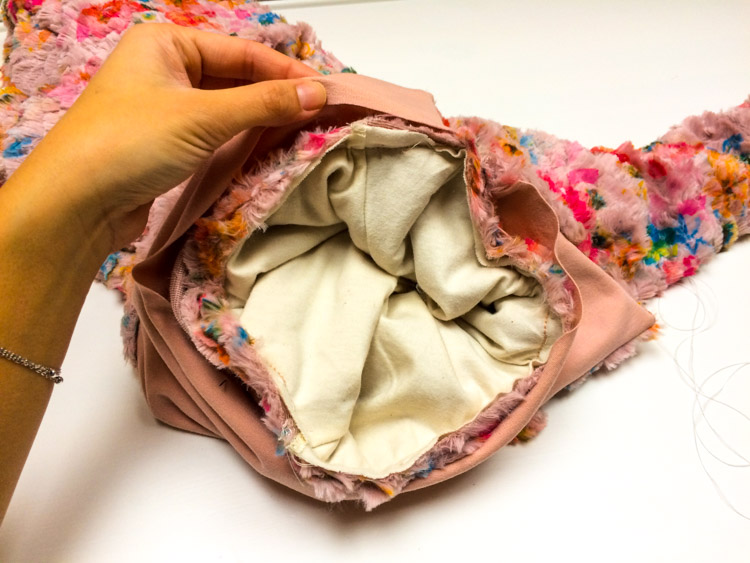
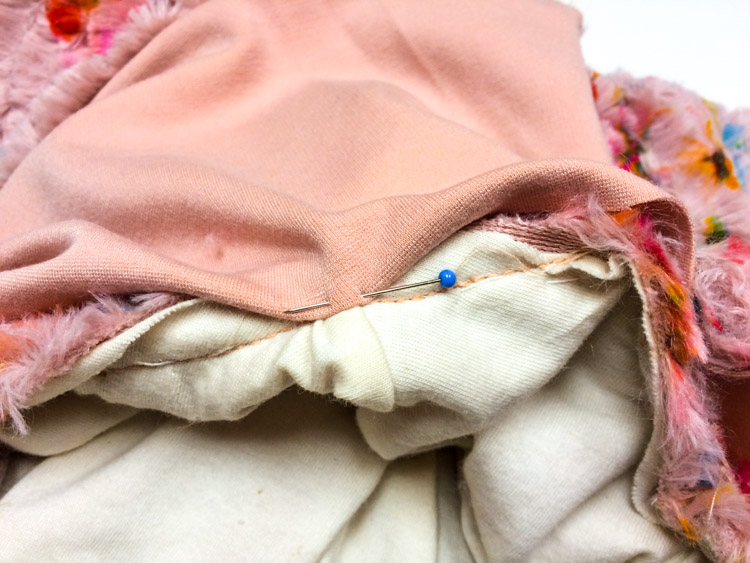
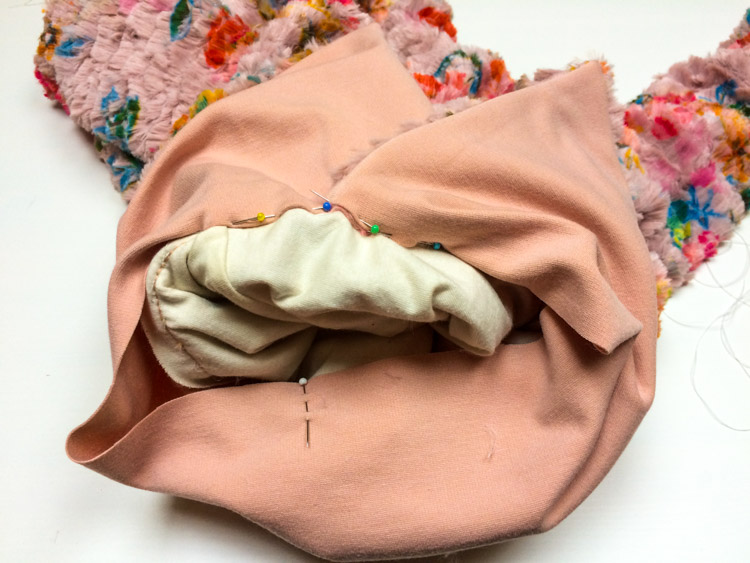
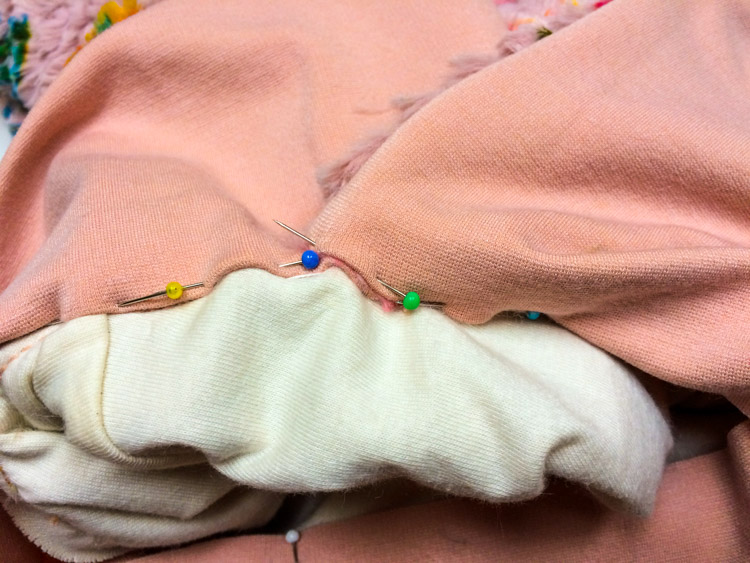
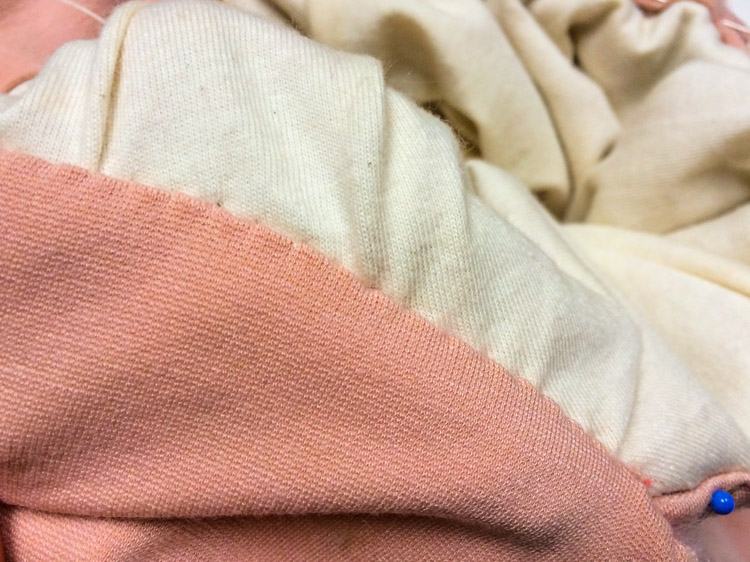
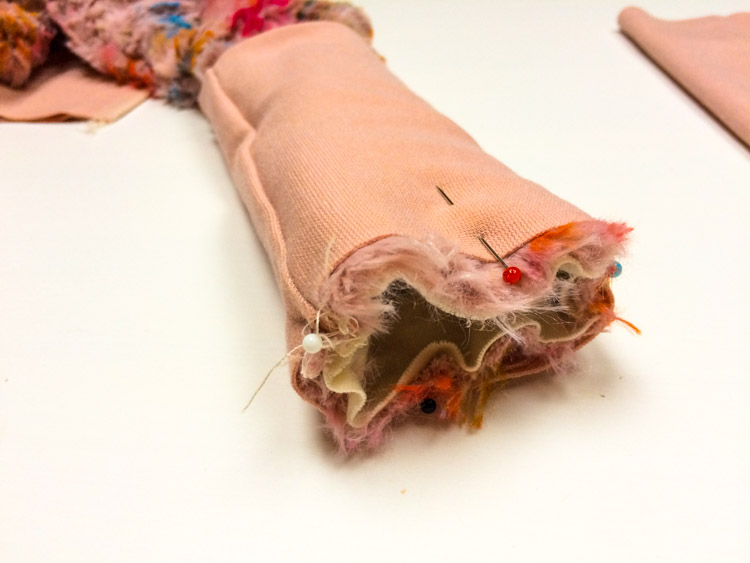
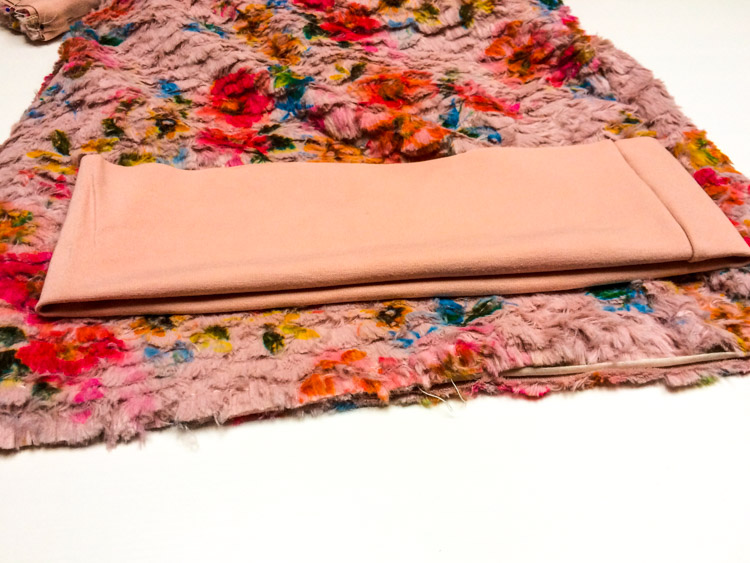
The lining of the dress is turned inward and we put it in the top clothes (they are facing each other to the back).
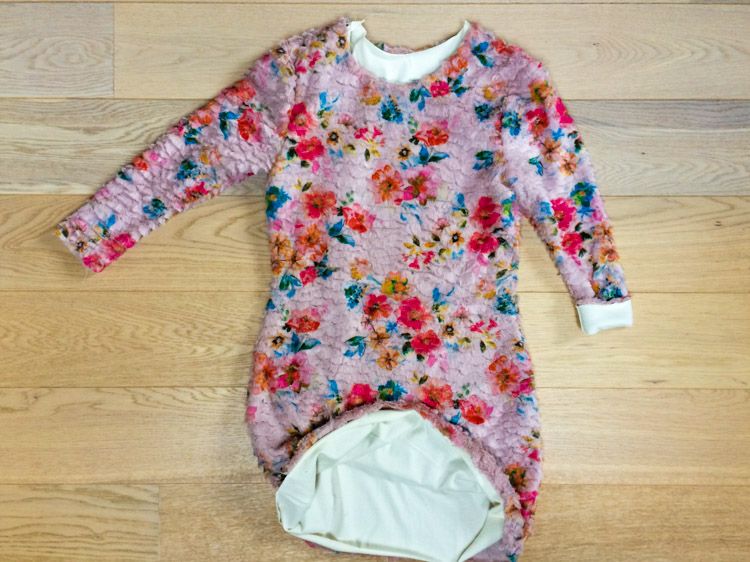
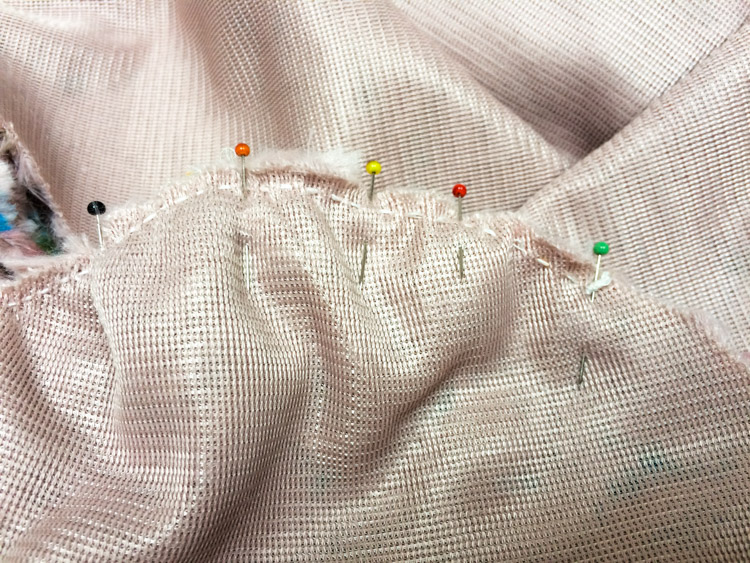
With tacking thread, we cut the lining dress to the top of my dress along the bottom of my clothes.

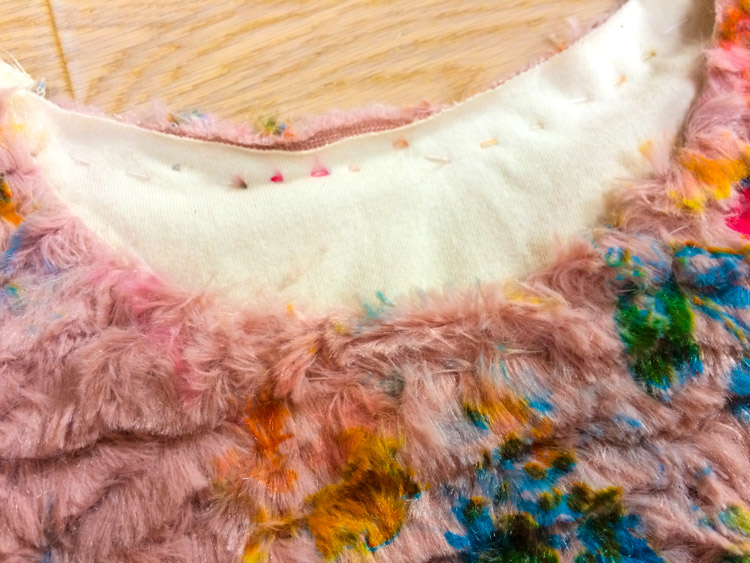
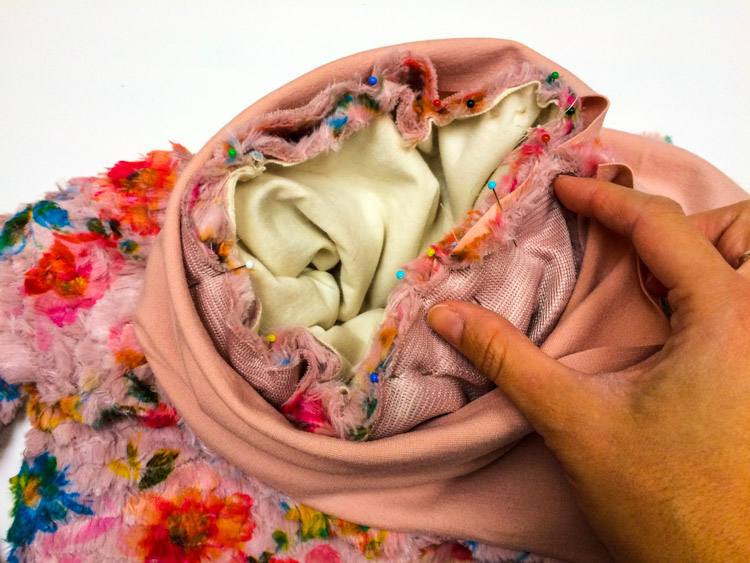
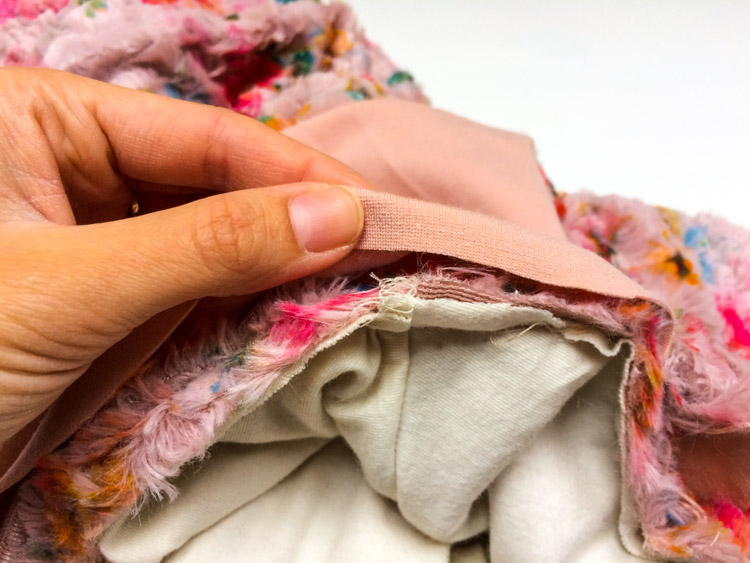
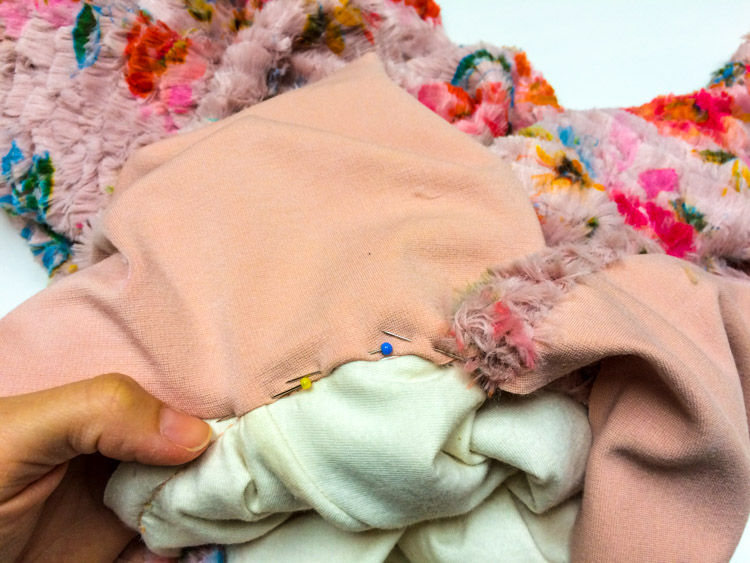
We tack our necklaces together.
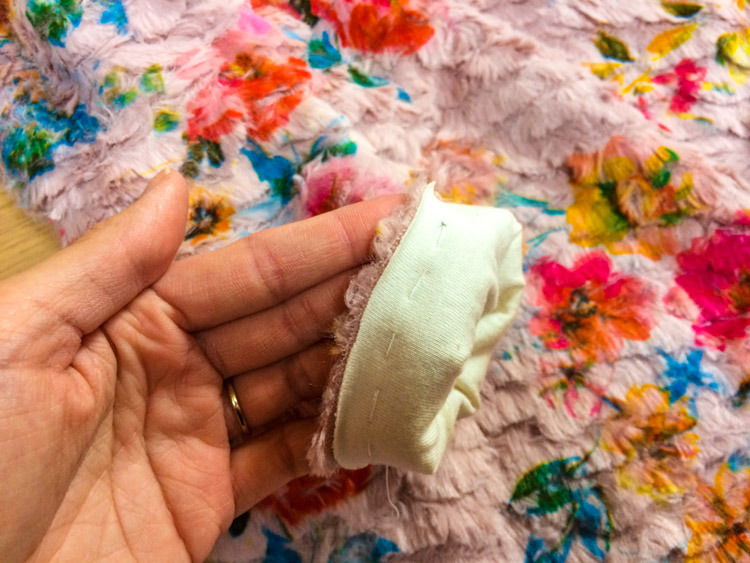
And also sleeves.
Collar
Now we're getting a collar. Put the top and the additive on top of each other (face to cheek) and stitch on three sides (long and two shorter).
If we have a top cloth (bottom collar) that depends on the direction of the thread (as for my fur) or pattern, so the stitched side is the top when the fabric is laid so that the motif goes naturally - from the top down.
For the additive (top collar) it is the opposite. If it depends on the direction of the pattern of the additive, we think it ahead of us so that it is a pattern from the bottom upside - down.
We will trim the sewn horns and turn the collar on front.

If necessary, we can cut the collar. Grafting is along the three stitched sides and the non-stitched side begins and ends about 2 cm from the cutting edge (we do not cut into the edges).
For long-haired fabrics like this, I do not recommend grafting, most of the time, the hairs under the stitch become tangled and fall in the wrong direction.
On the dress in the neckline, we will mark the location where the collar will cross. It can be exactly in the center of the front piece or somewhere on the side. If we choose an asymmetric variant, we should avoid having a place near the center of the front. It could be a mistake in the final, not a goal. I placed this place on the left (in terms of dress) 15 cm from the left shoulder.
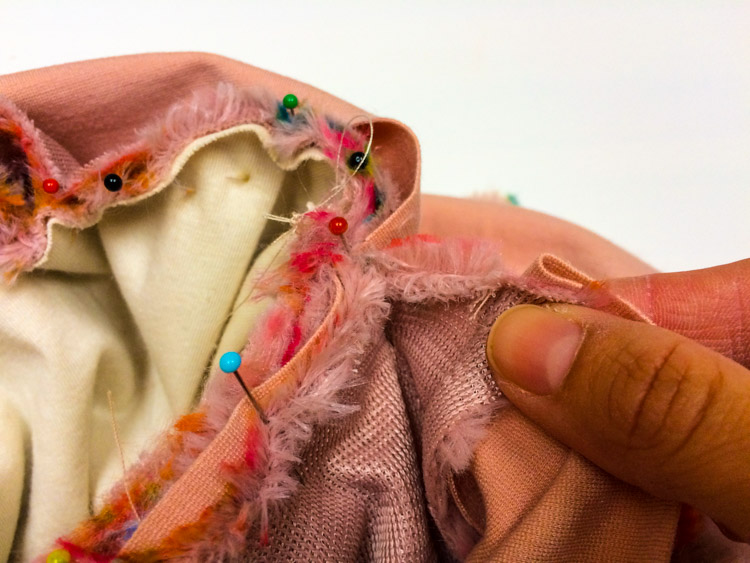
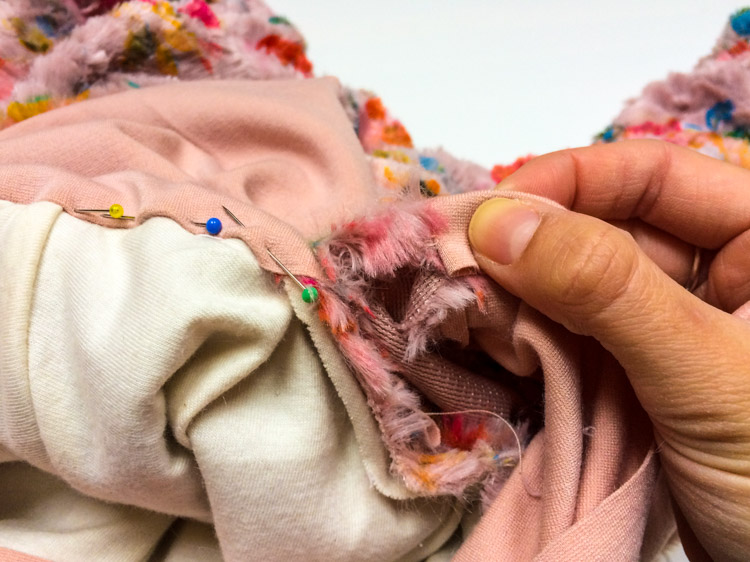
To this place we begin to pin the collar - the lower collar. Pins first to the left shoulder seam.
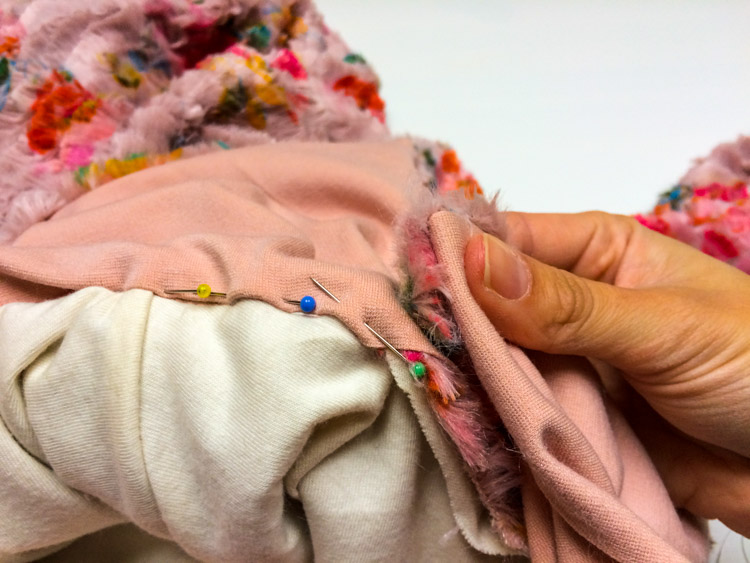
Gradually, we lower the lower collar along the entire neck. The first approx. 5 cms are also studded with a top cloth so that we can pinch the collars over this place.
For the upper layer of the lower collar, keep the last approximately 2-3 cm unsewed.
Now lower the collar around the perimeter into the neckline.

The top collar and the last 2 cm of the bottom collar are not sewn.
We pull out all the tacking stitches from the neck.
Now cut the cutting edge of the top collar approx. 1 cm into the back.
And the top collar is pinned into the seam.
Reinforced corner also extends 1 cm into the back, create a corner and fold over the lower part of the top collar.

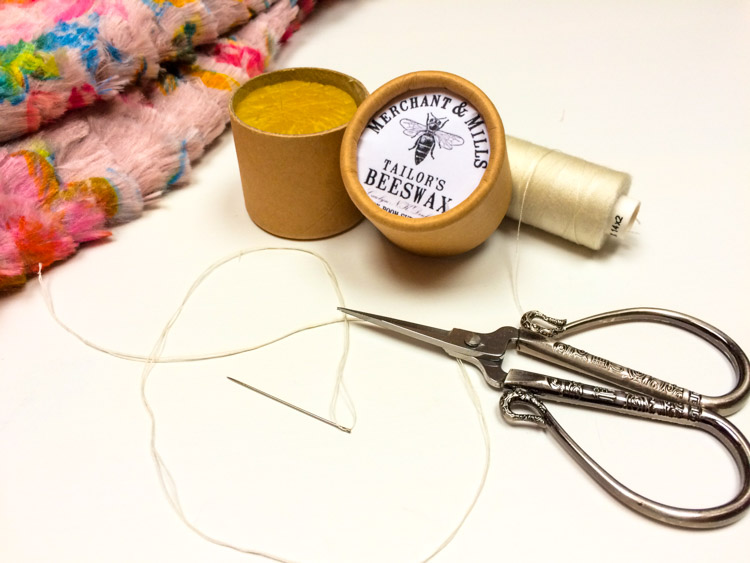
We will fit the top collar manually. We use the classic polyester yarn for sewing. Before threading into the needle I recommend to wipe the thread with beeswax. We will not get too tired or tangled. We will thread the thread twice.
Sew a small hand stitch that is flexible. You can also stitch the back stitch. I like to stitch with a pearl stitch, for example, by hand sewing the lining into a luxurious haute couture of clothing. Sew it by inserting a needle into the lining fabric by approx. 0.7 cm, pinching the needle and taking a few threads from the top collar. We will pull out the needle and thread.
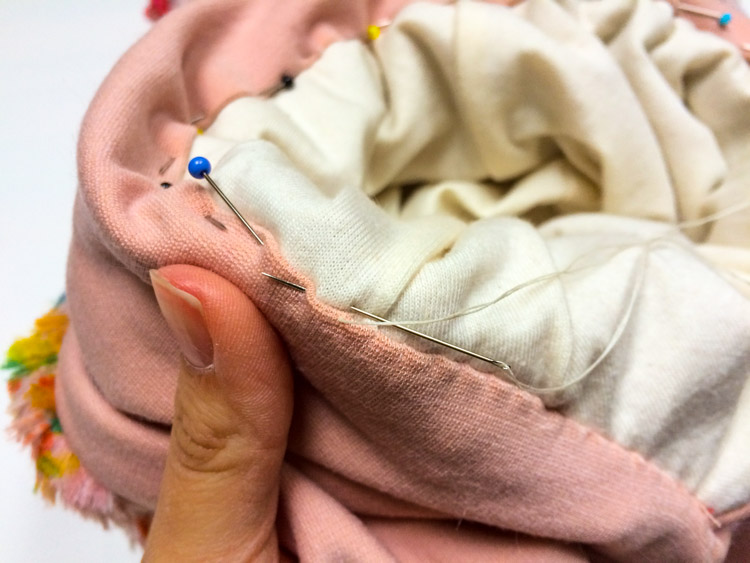
After that, we sew the needle into the lining exactly where we first pulled it out of the top collar.
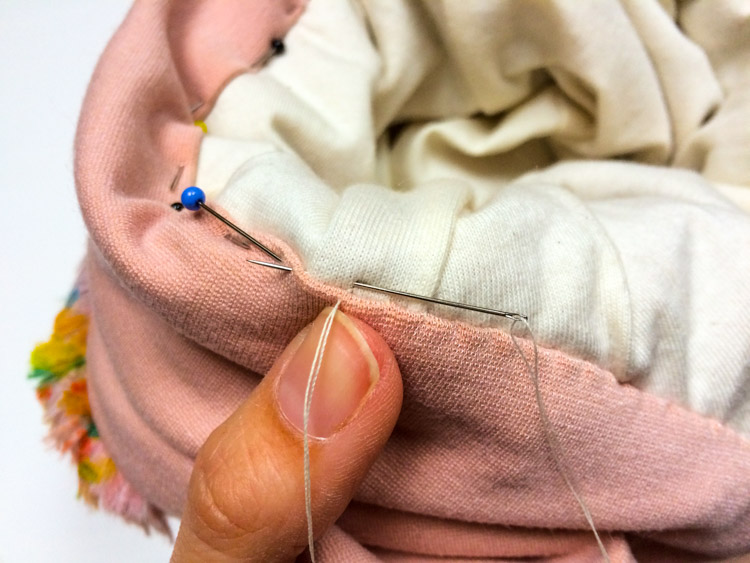
This seam is very strong, light elastic and virtually invisible.
![]()
Sleeve cuffs and bottom hem
Last of all, we put the sleeves of the sleeves and the bottom hem. We can use a knit, or a thick, very flexible knit. I used a punto di roma knit, which I used for example on my costume.
At the cuffs, we take care to stitch them correctly - a bit of their size because they are deliberately long, so it could easily happen that we are wrongly sewn shorter but very wide and we do not want it. ?
We put the stitched cuffs in half, face out.
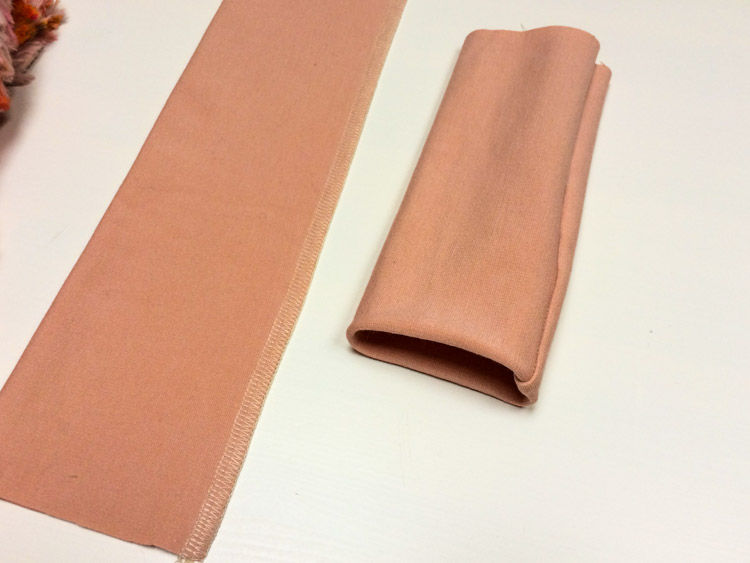
We pin the cuffs sleeves in the sleeves, face and sew them. We're pulling out the tack.
In the same way, we trim the bottom edge of the dress - again sew the top cloth, lining and trim (knit). We pull the heel out.

Well, that's the dress done! How do you like it? If you have a moment, I will be glad to leave a comment under the article, what do you say about the dress.
Have a nice day!
Peťa