


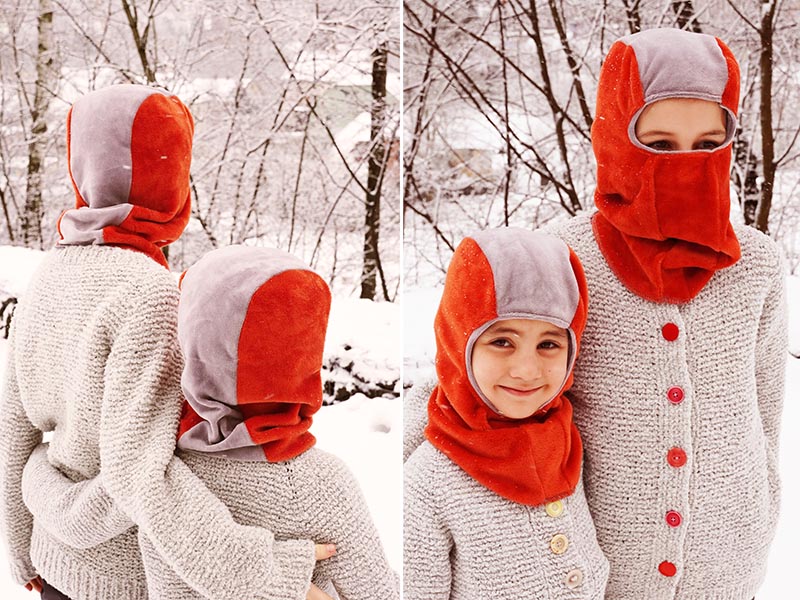
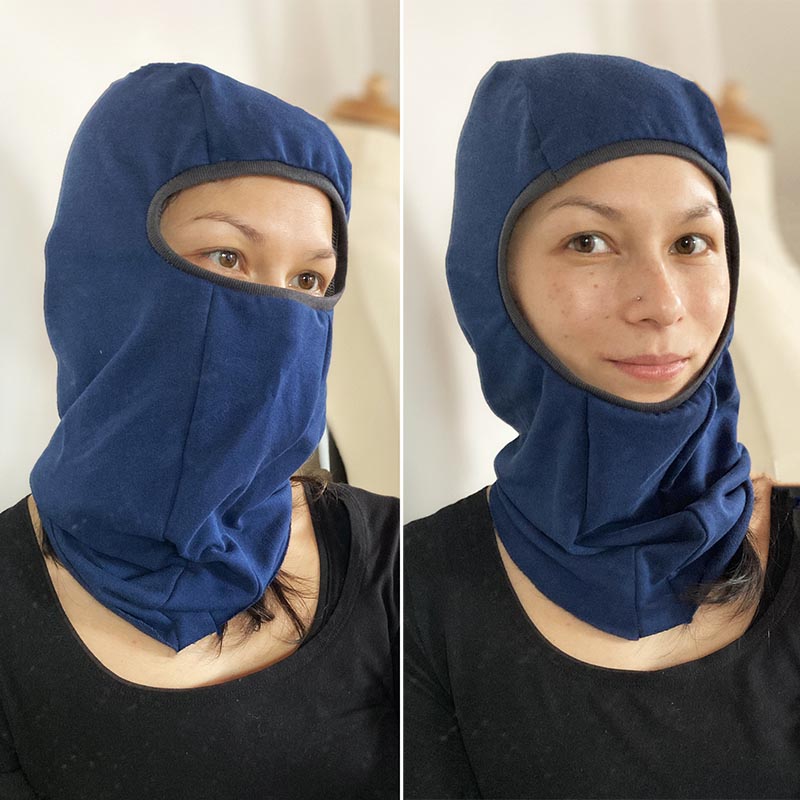
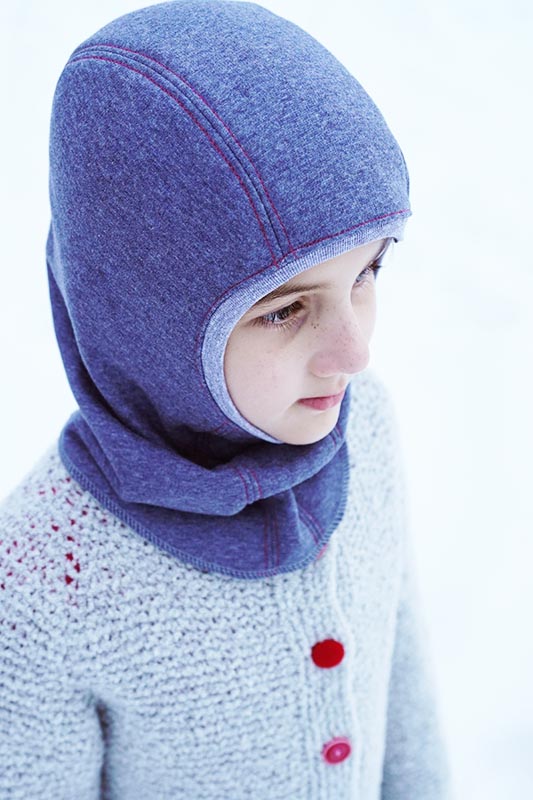
Winter is still in full swing, so you might need a simple pattern and instructions for a balaclava. This balaclava is quite easy to sew and therefore suitable for intermediate sewers and daring beginners. The pattern is available in children's, women's, and men's sizes and you can download it and start sewing immediately after paying for the order. The pattern files contain pieces for two styles of balaclava - one leaving the whole face exposed (open/leisure) and the other covers everything except the area around the eyes (1-hole ski mask).
The pattern

Recommended material
This balaclava pattern is designed for medium to thick knits. You can use laid-in knits, sweater fabrics, warmkeeper, etc.
Suggestion:
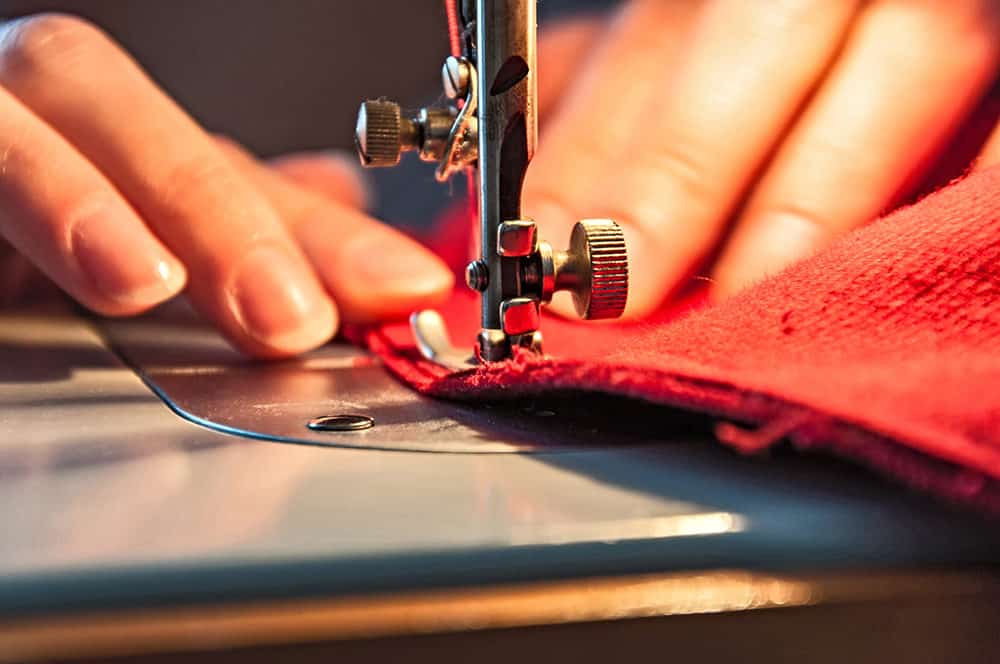
You can sew this balaclava on an overlock machine or a regular sewing machine. In any case, the seams must be elastic so that they do not tear. When sewing on a regular sewing machine, follow the recommendations in this article:
Sewing instructions
The photos in this article are embedded using mini-galleries. To enlarge them and get a better view of the details, simply click the photo.
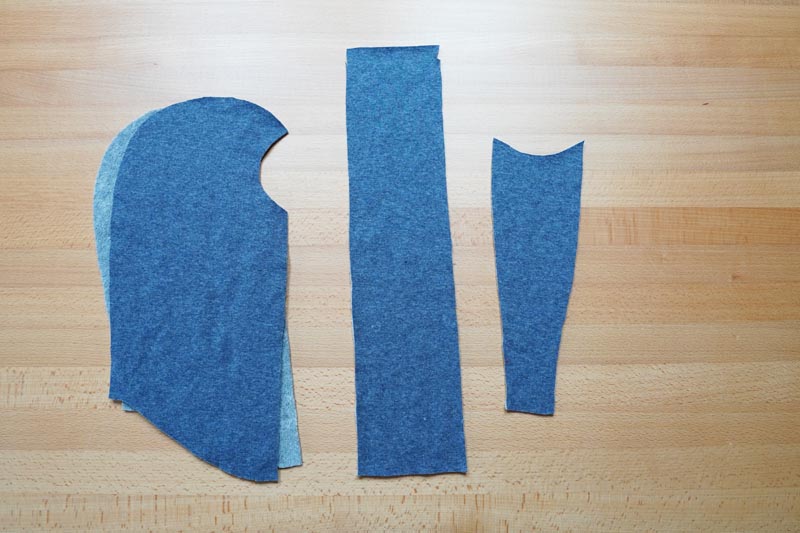
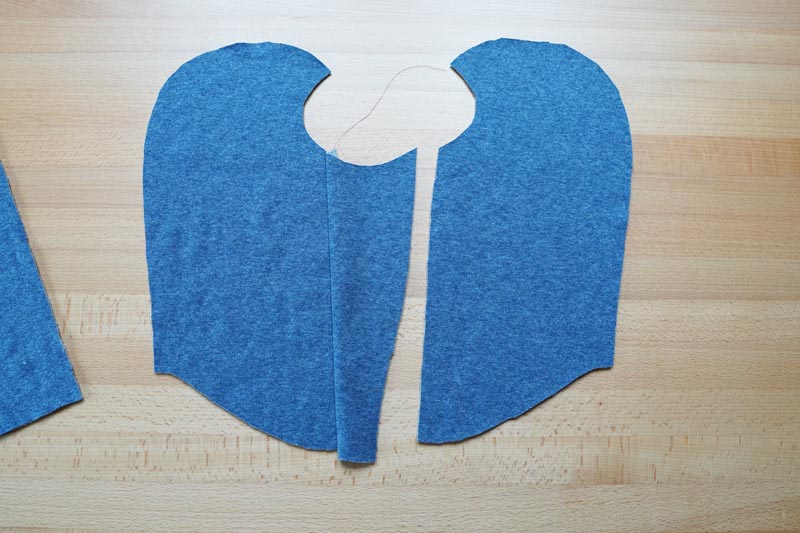
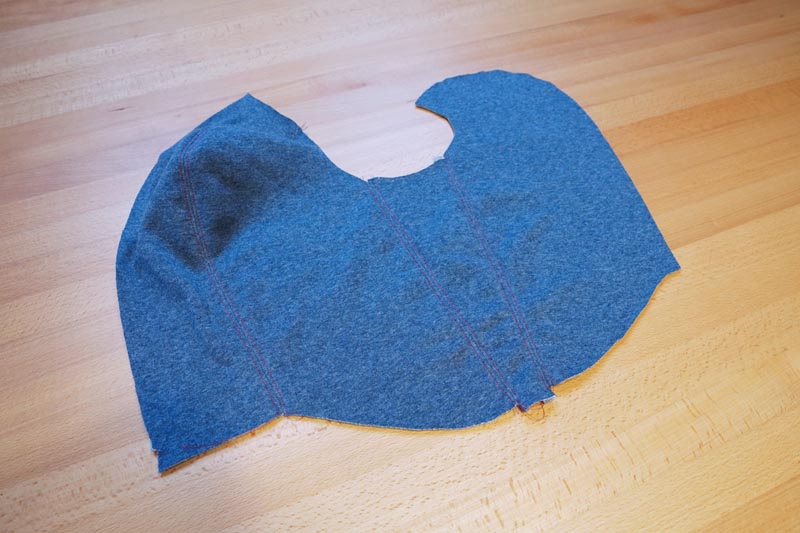
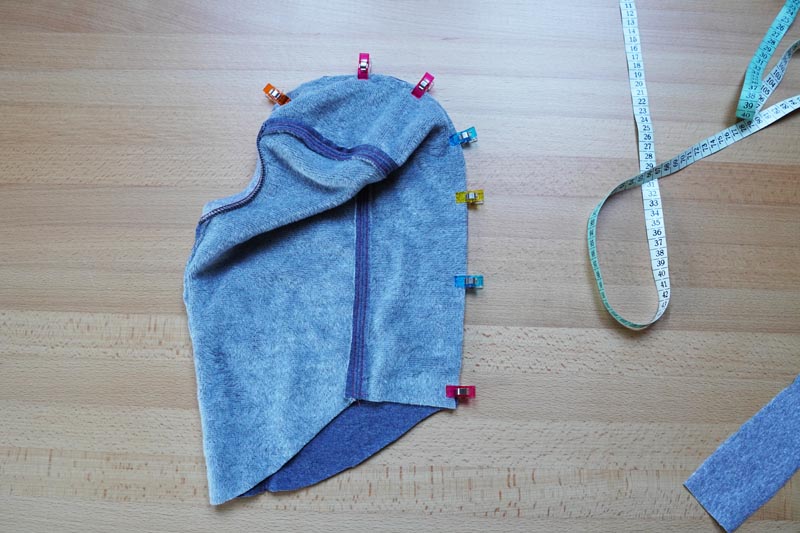
Pattern layout
Prepare:
- 1x front piece (piece 1a or 1b)
- 2x side piece (piece 2a or 2b)
- 1x back piece (piece 3)
All seam allowances are 1 cm (0.4”) wide.
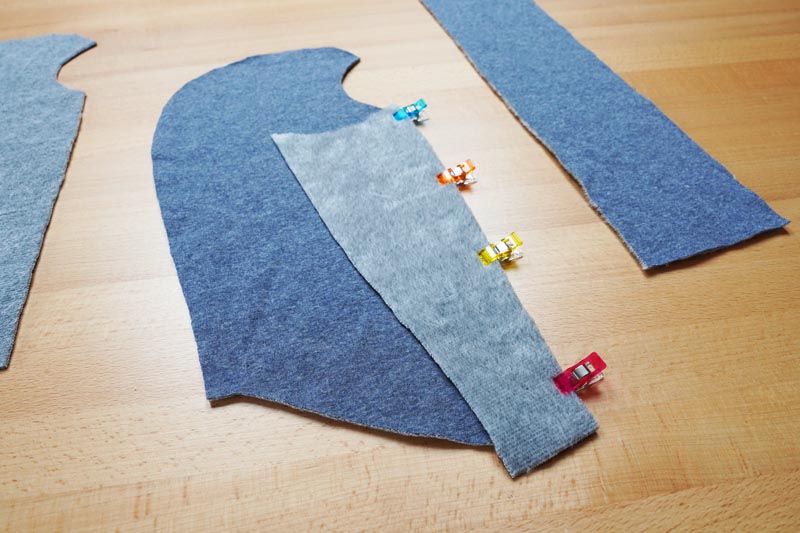
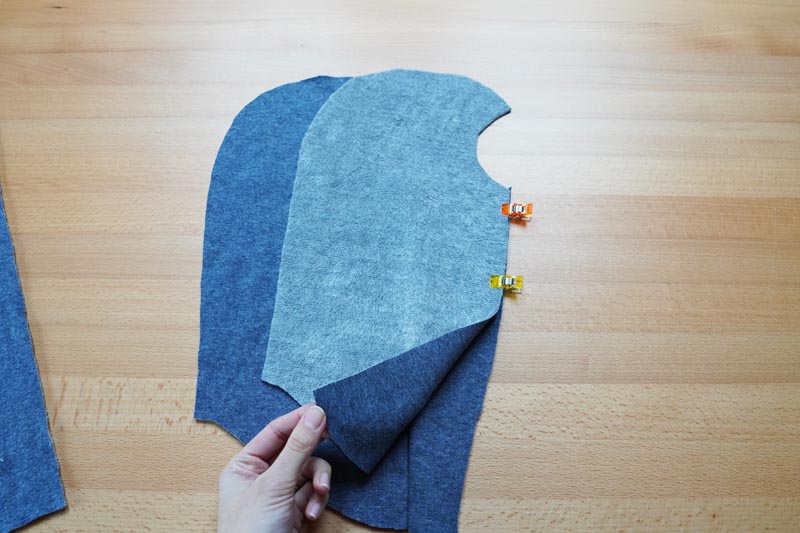
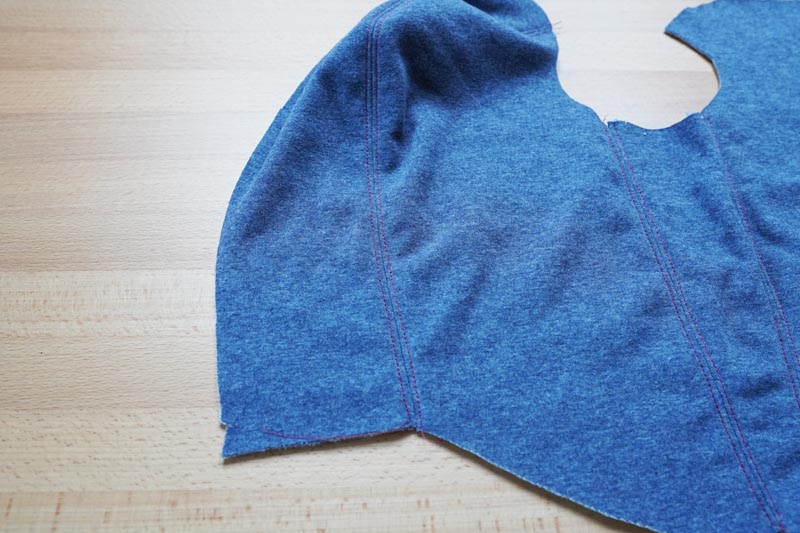
Front seams
Lay the front pieces on one of the side pieces (face side to face side). Pin the pieces together and sew the first front seam. Don’t forget to use an elastic stitch. I used a three-step straight stitch, but you can also use a narrow zigzag stitch (or sew on your serger machine).

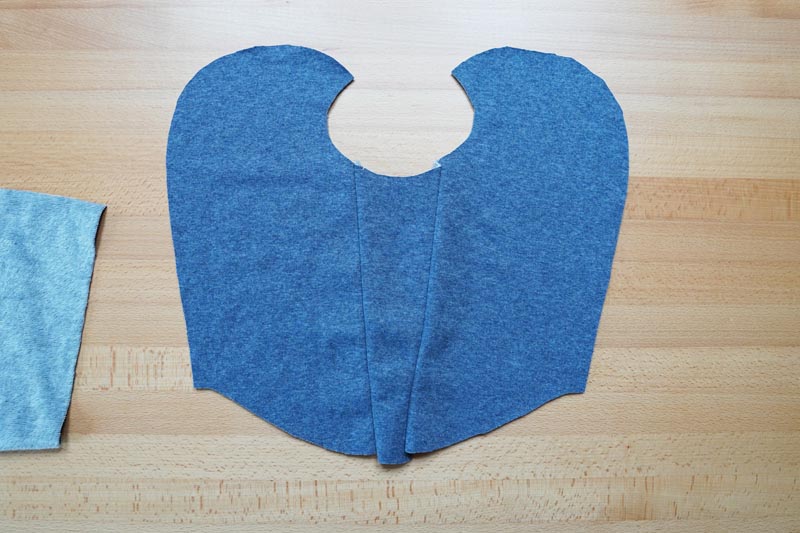
Unfold the pieces as shown below and lay the second side piece on top of the front piece (face side to face side). Pin and sew the second side seam.
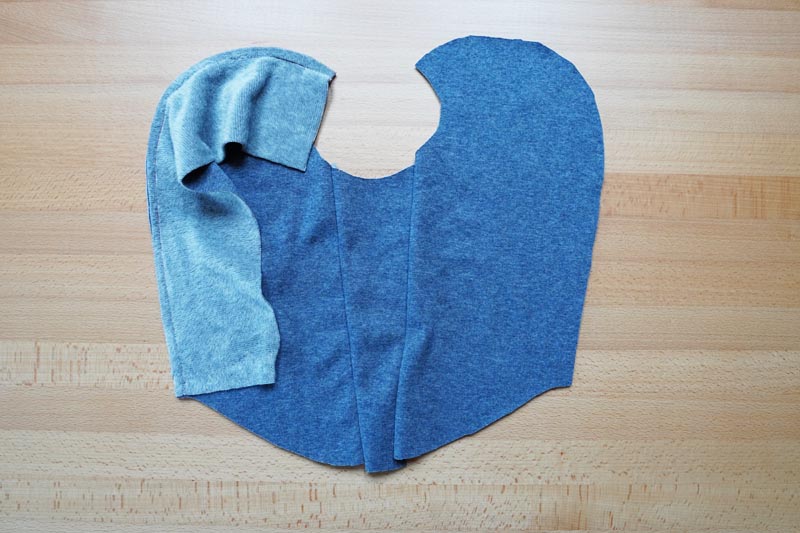
First rear seam
Place the back piece on one of the side parts and sew the first of the two rear seams.

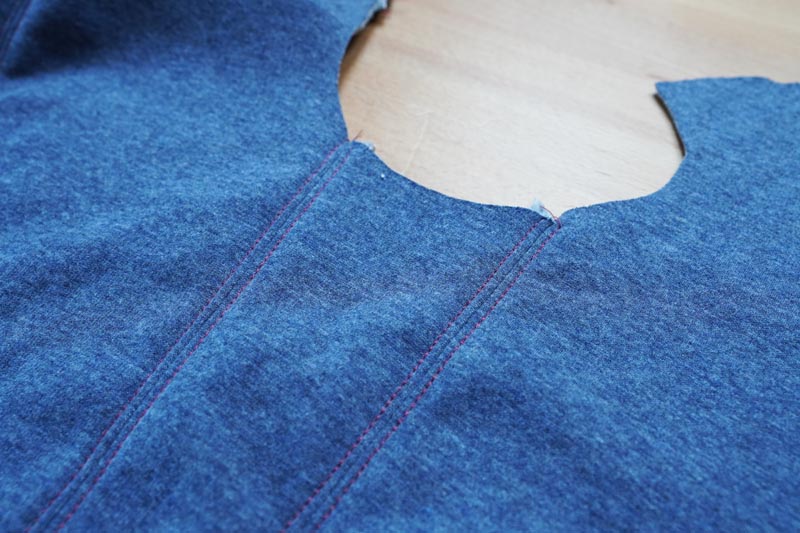
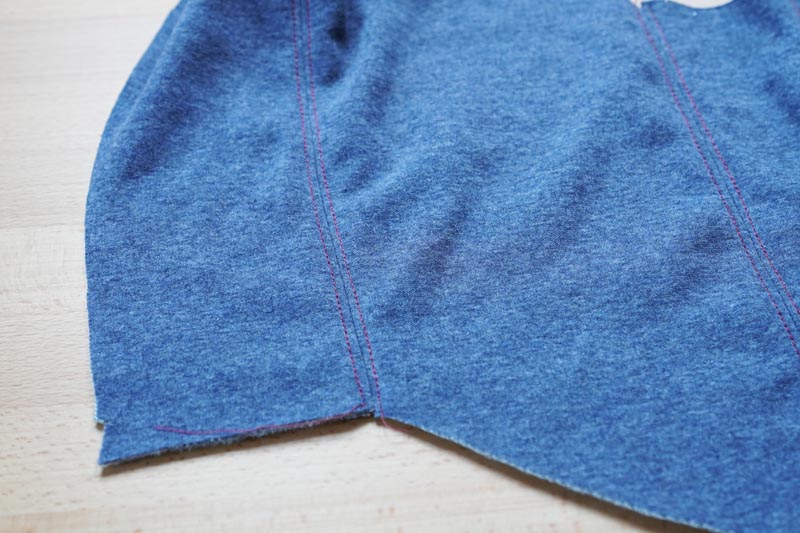
Topstitching
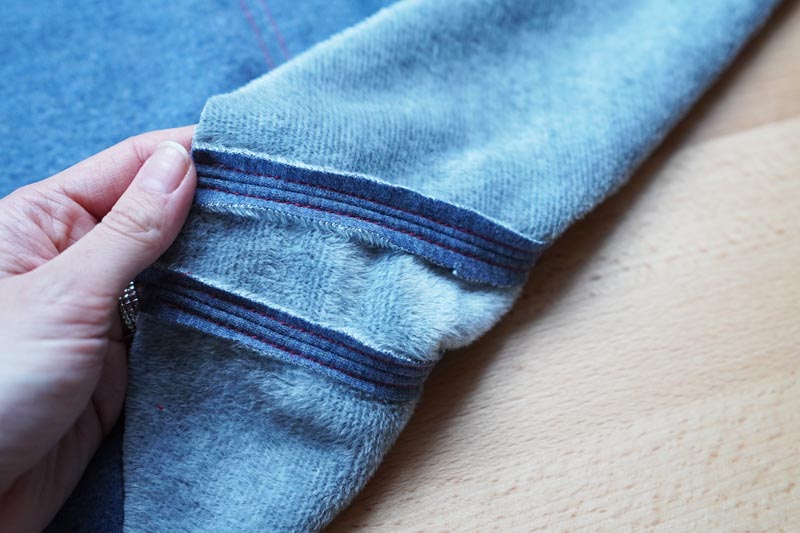
You can clean all three seams the classic way, or press their seam allowances open and topstitch them as shown below. (Topstitching is - simply put - sewing on the face side of the garment.)


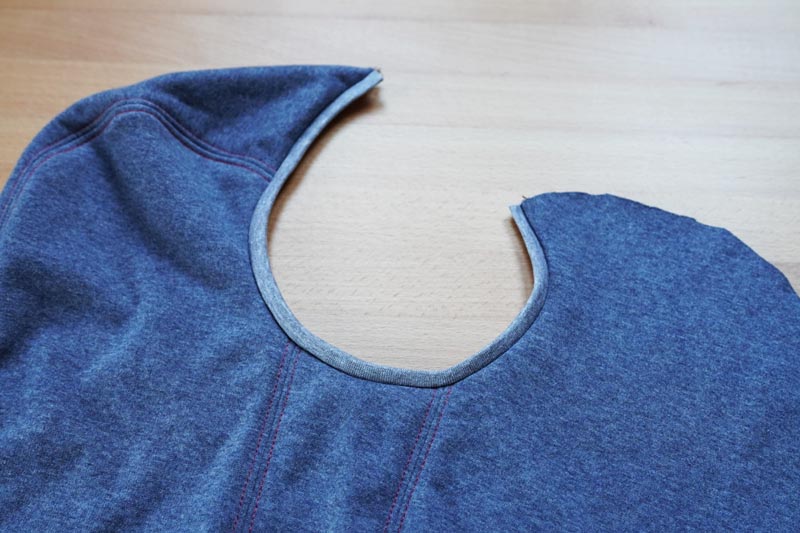
Face opening - Hem
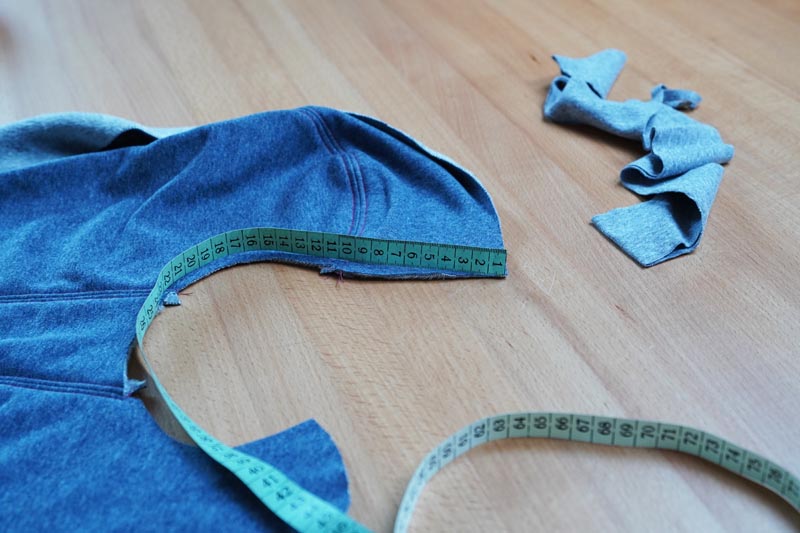
Start by measuring the length of the edge of the face opening. Measure with a tailor's tape laid on its side. Multiply the length by 0.8 - the result is the length of the knit strip that you will need for the hem.
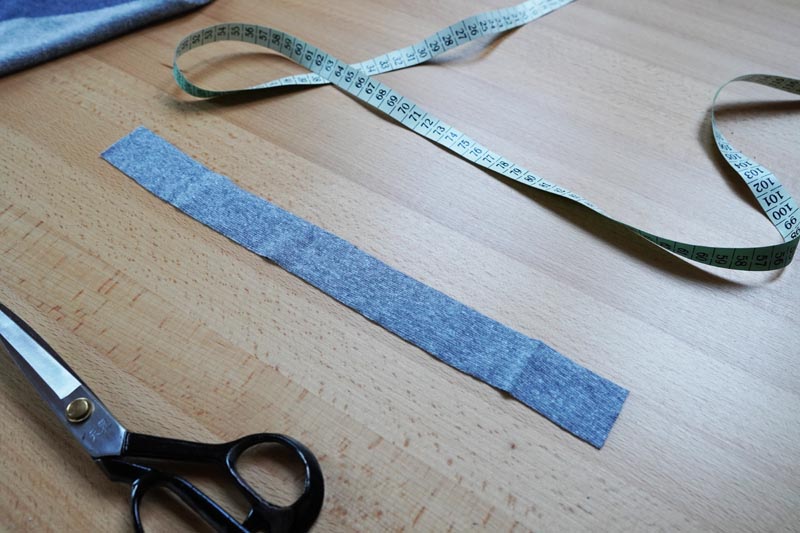
Cut your strip about 3.5 - 4 cm (1 3/8” - 1 5/8") wide. The narrower strip will form a nice subtle hem, but its use can be quite difficult for beginners. Wider strips are easier to work with, but the resulting wider hem may look too robust for smaller balaclavas.
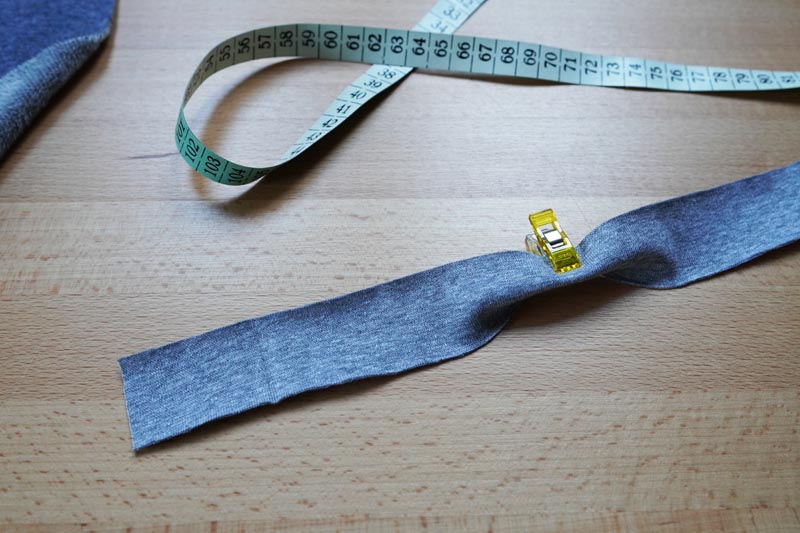
Find the midpoint of the strip and mark it with a pin, clamp, notch, or tailor’s chalk. Next, find the midpoint of the edge of the face opening.
(Note: this point is not located in the middle of the front piece, because the back piece has already been sewn to one of the side pieces.) Align the midpoints of both pieces and pin them together.
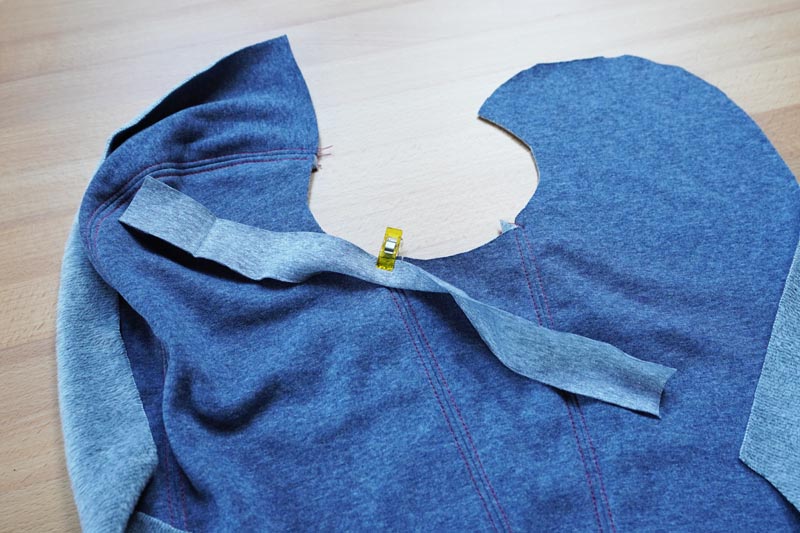
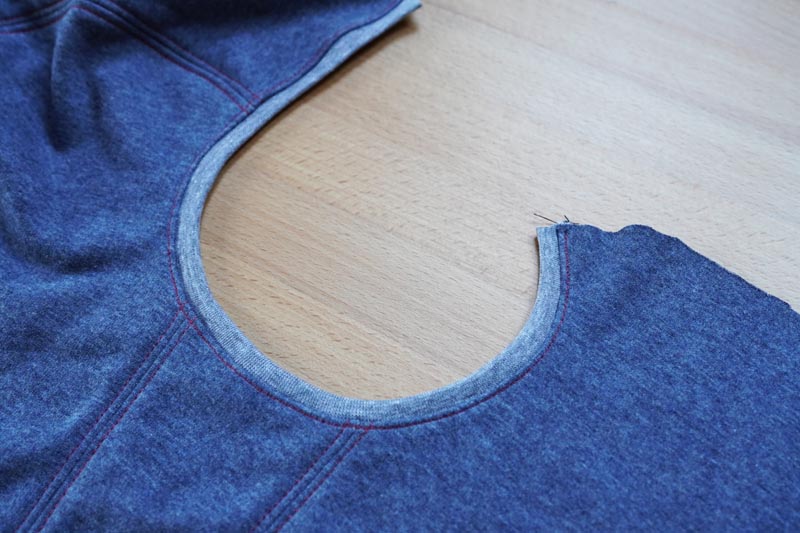
Sew the strip to the edge of the face opening. When sewing, it is necessary to stretch the strip (lightly) to sew it evenly.
My tip: If you have an overlock, I recommend using it to sew the hem even if you decided to sew the rest of the balaclava on a regular sewing machine. You will be able to "settle" the hem better.

Face opening - Topstitching
If you have topstitched all the previous seams, you should sew topstitching around the face opening hem as well.
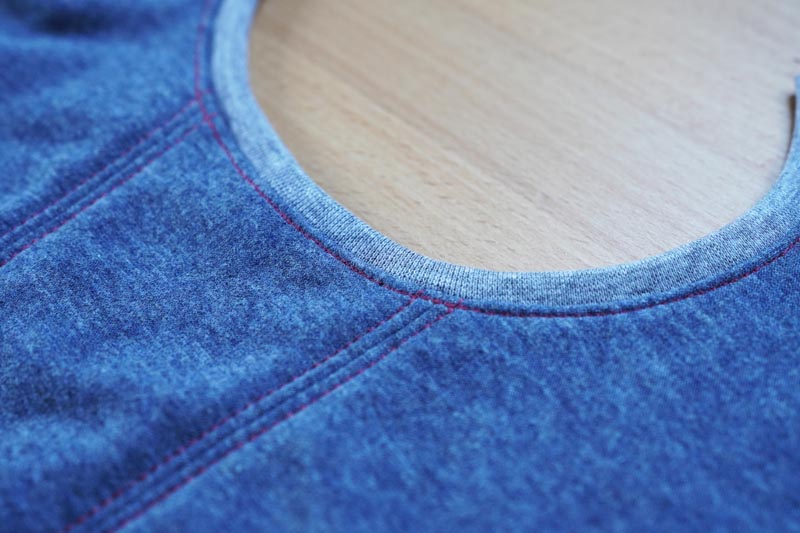
![]()
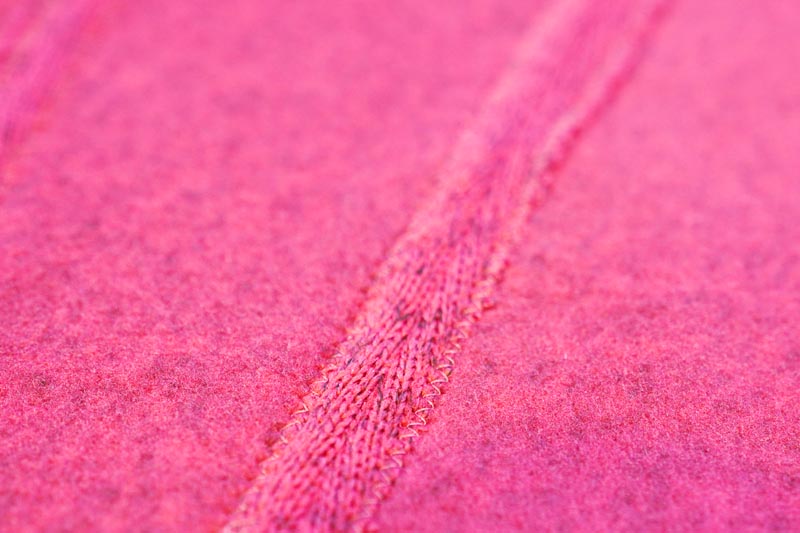
HEM - TOPSTITCHING - ZIGZAG STITCH ![]()
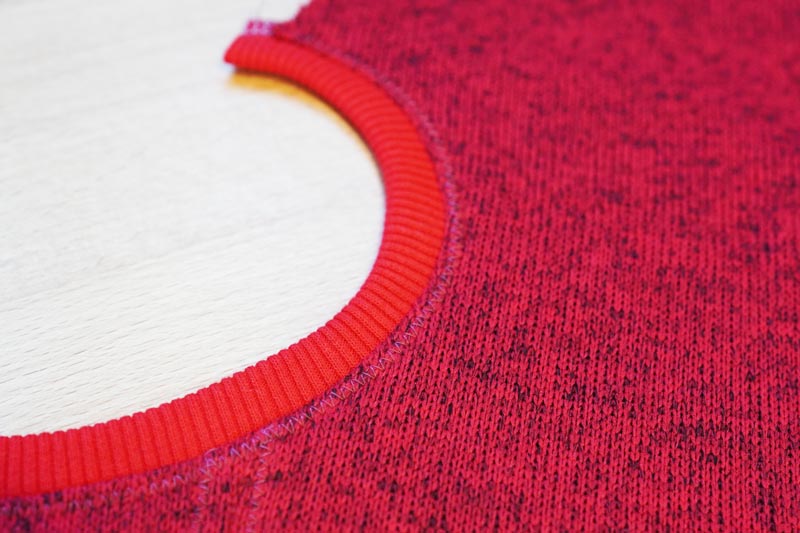
HEM WITHOUT TOPSTITCHING

Second rear seam
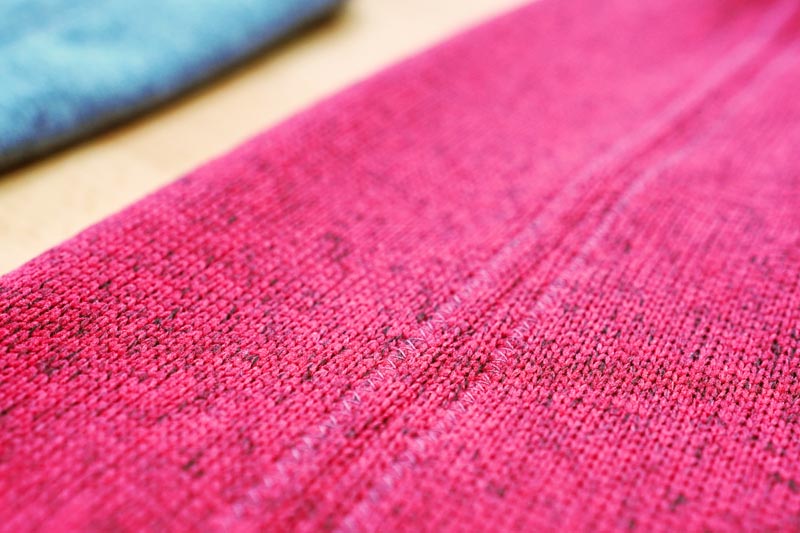
Let’s sew the other side seam. Pay attention when connecting the two corners (and topstitching) of the face opening hem - you need to align them nicely, otherwise, you will get quite a noticeable notch there. The second photo shows that even a small inaccuracy will be visible. I didn't quite succeed in aligning topstitching lines...
I don't think anyone will notice, but you know how it is... Once you know about a mistake, you will notice it every time. You just can't unsee it.
![]()
![]()
HEM - SLIGHTLY MISALIGNED TOPSTITCHING

Bottom hem
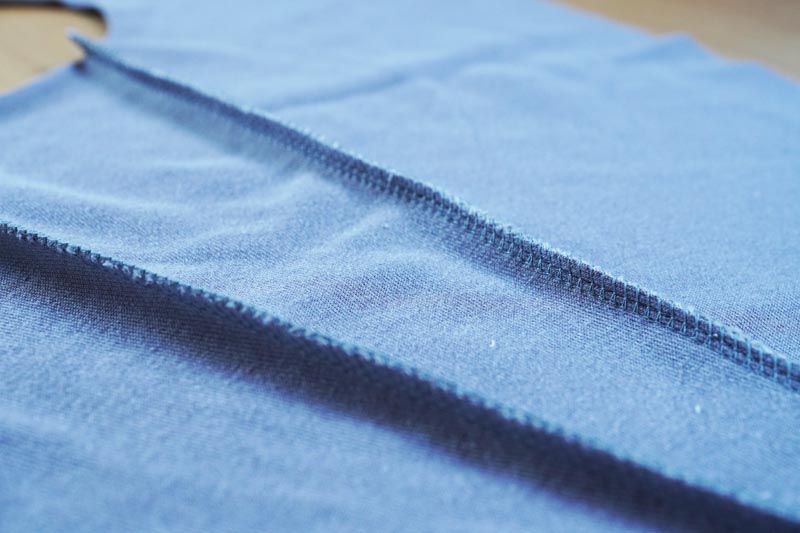
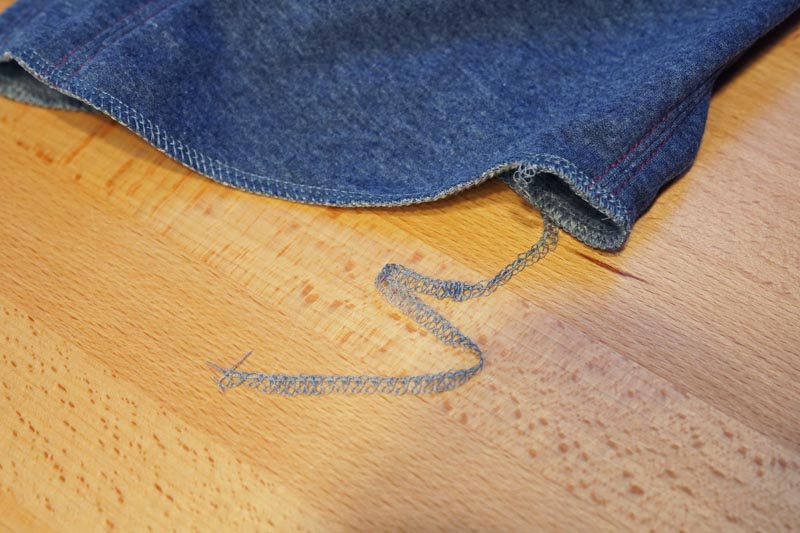
I recommend finishing the bottom hem with a wide zigzag stitch (or serger). Of course, you can finish the bottom hem in the same way as the face opening, or by folding to the inside of the balaclava and topstitching it, but in that case, be very careful not to deform the hem.
Pull free ends of the thread chains under the loops (when using an overlock machine).

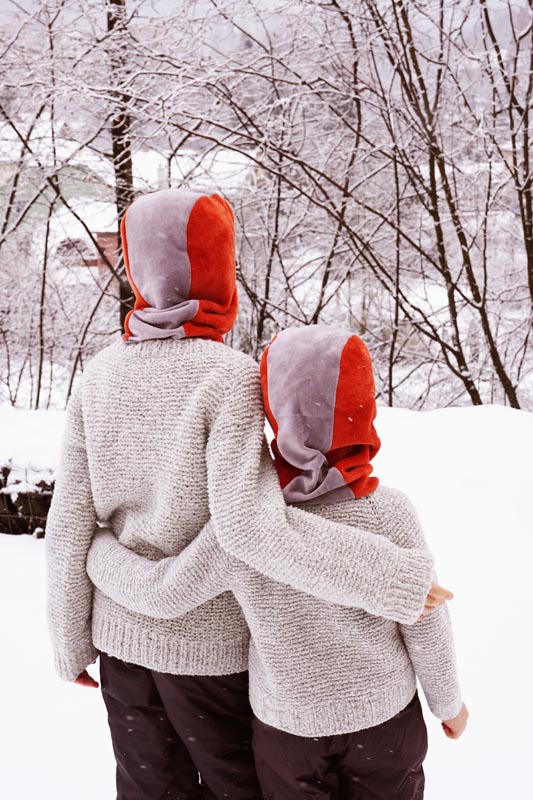
That’s it - your new balaclava is finished! You can get my pattern for balaclava in nine sizes (children's, women's, and men's) here: The pattern for balaclava SKI, or also as part of a pattern set for winter accessories: Pattern set - Winter accessories


Don't forget to share your joy with others!
Do you like this article? If so, share it with your friends and tell me about it in the comments section below. I will be glad for any feedback! ♥
PS: Did you know that there are FREE PATTERNS available on my blog?