


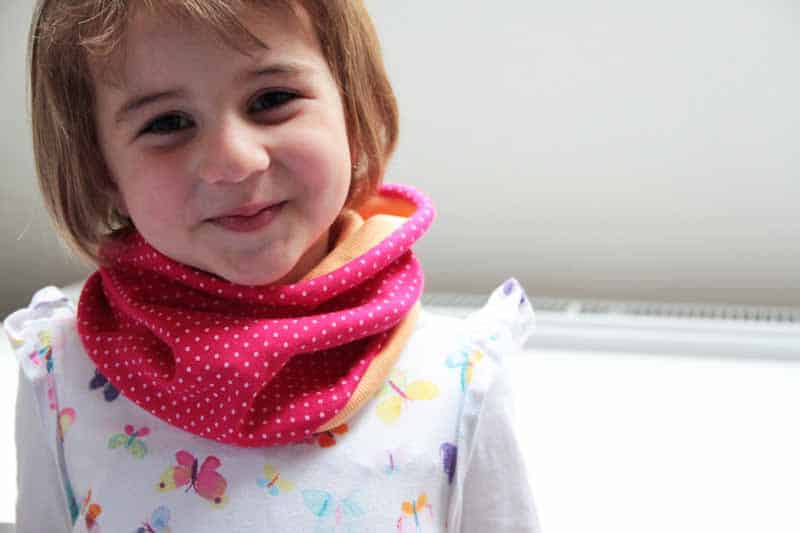
Spring is almost here, so you should once again tweak your wardrobe a little. You can start with a simple women's or children's neck warmer, for example. I recently went through various online discussions, and I noticed that a lot of sewers ask about neck warmers and infinity scarves, so I decided to shoot a short video tutorial for you. You will have your neck warmer finished in no time, and you can also put leftovers from other sewing projects to good use. In this article, you will also find tips for sewing original women's neck warmer with hand embroidery...

Neck warmers and infinity scarves are relatively easy to sew, but there are a few tricky moments. Neck warmers have an outer and inner layer whose sides need to be sewn in the right order, and turned face side out at the right time... I'll show you. :) The sewing procedure is the same for women's and children's neck warmers.
Recommended material
Prepare some nice knit (stretchy material).
You can use elastic fleece, laid-in knit, warmkeeper/alpenfleece... The material must be stretchy, so you can fit your head through the neck warmer.
Parts & dimensions
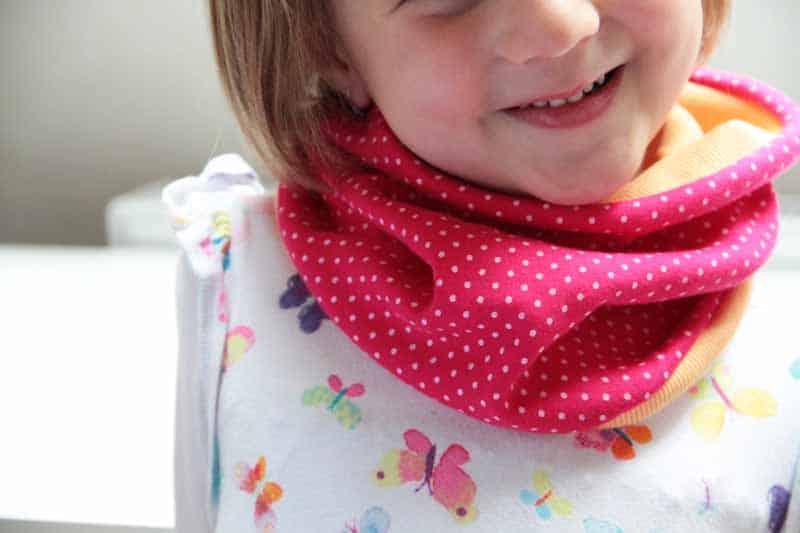
For a women's neck warmer, you will need two rectangles measuring about 45 x 65 cm (18" x 26"). The longer side of the rectangle should be stretchy.

When sewing for children under 4 years of age, I recommend starting with two rectangles measuring 25 x 50 cm (10” x 20"). If you have older children, you can cut bigger rectangles (40 x 50 cm / 16” x 20”, for example).
Video tutorial - How to sew a neck warmer
You can watch me sew my neck warmer in this in this older short video.
Beginners may find the procedure a bit confusing at first, but I believe that if you watch the video two or three times (and play the video while sewing), everything will become clear and the result will be great...
You can find more video tutorials on my YouTube channel...
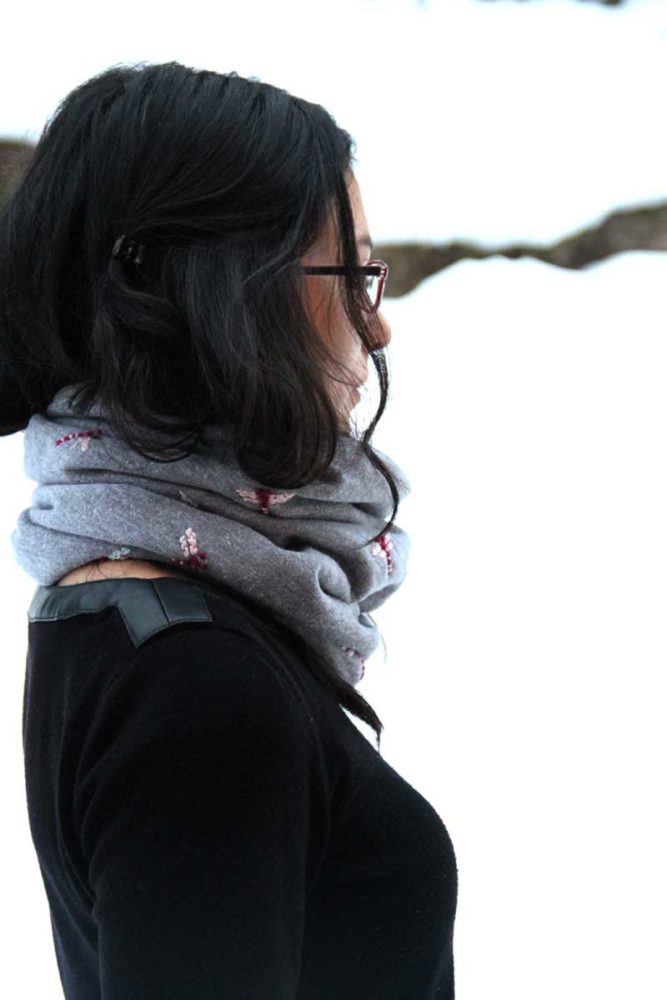
Women's neck warmer with hand embroidery
Your neck warmer does not necessarily look sporty, it can also be delicate and elegant. All you have to do is choose nice muted colors and decorate it with simple hand embroidery...
What you will need
- “Baby plush” rectangle: 65 x 40 cm (26” x 16”) - longer side must be stretchy
- Laid-in knit rectangle: 65 x 45 cm (26” x 16”) - longer side must be stretchy
- Washable marker for textiles (or different tools you usually use to transfer an embroidery pattern to a fabric)
- Embroidery floss
For my neck warmer, I chose fabrics from Unuodesign.cz store.
I had them in my workshop for quite a long time, so I decided to finally use them:
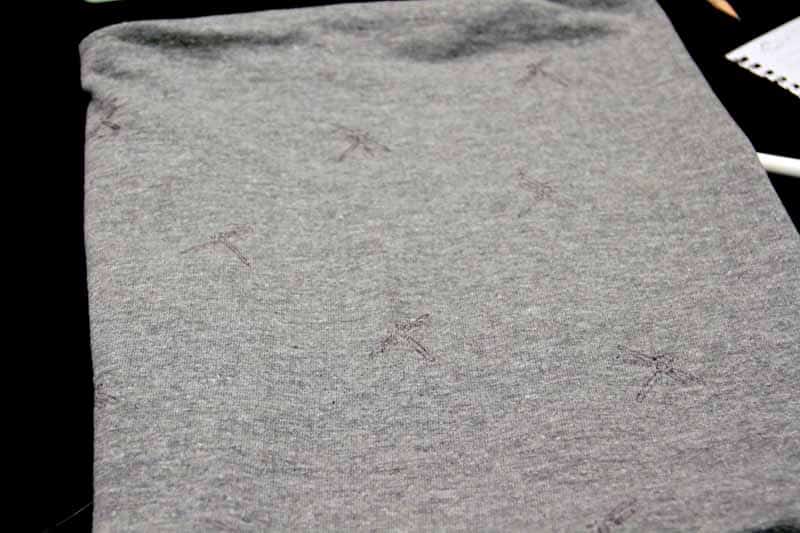
Fold the fabric that will form the outer layer (laid-in knit in my case) into the shape of a neck warmer so that you can plan the layout of the embroidery motif. Don't sew anything yet.
My tip:
Before you start sewing, I recommend ironing the fabric, and you can also wash it if needed.
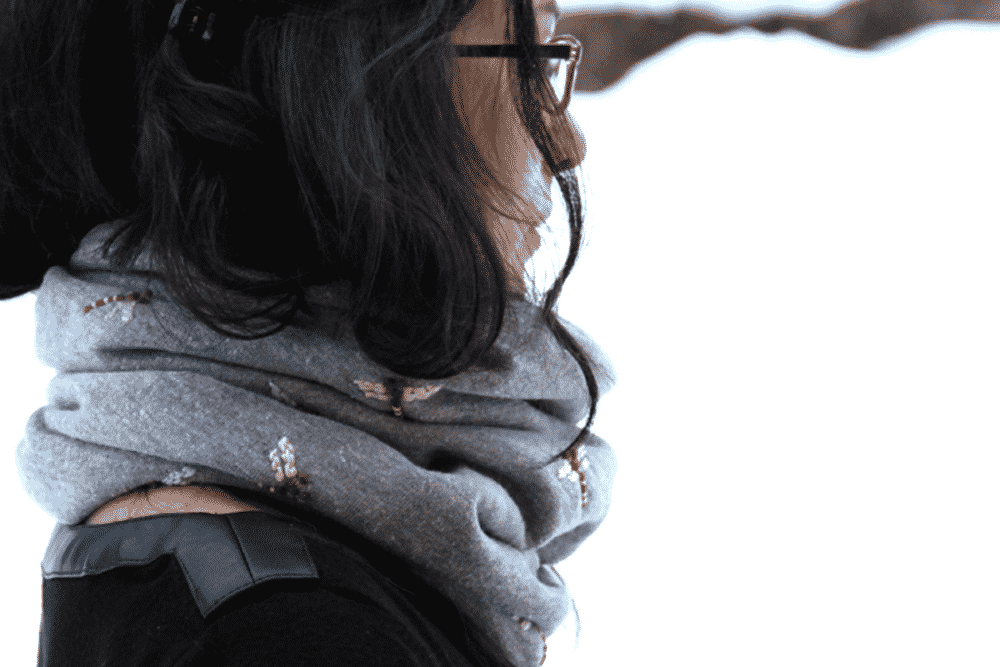
Transfer (or draw) the desired motif to the fabric. The simpler the motif you choose, the easier the embroidery itself will be. I do not recommend choosing complex motifs (if you are a beginner). It is easier to embroider simple motifs and large/intricate motifs so close to your face could attract too much attention. Keep it simple and subtle.
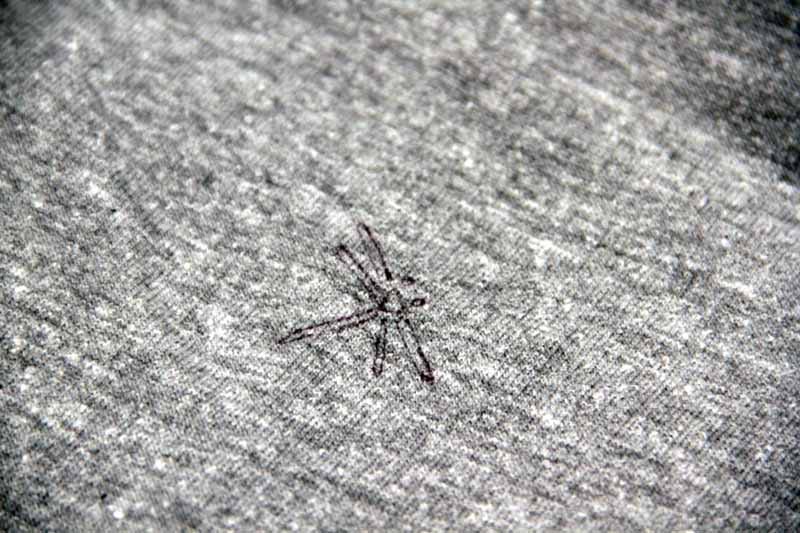
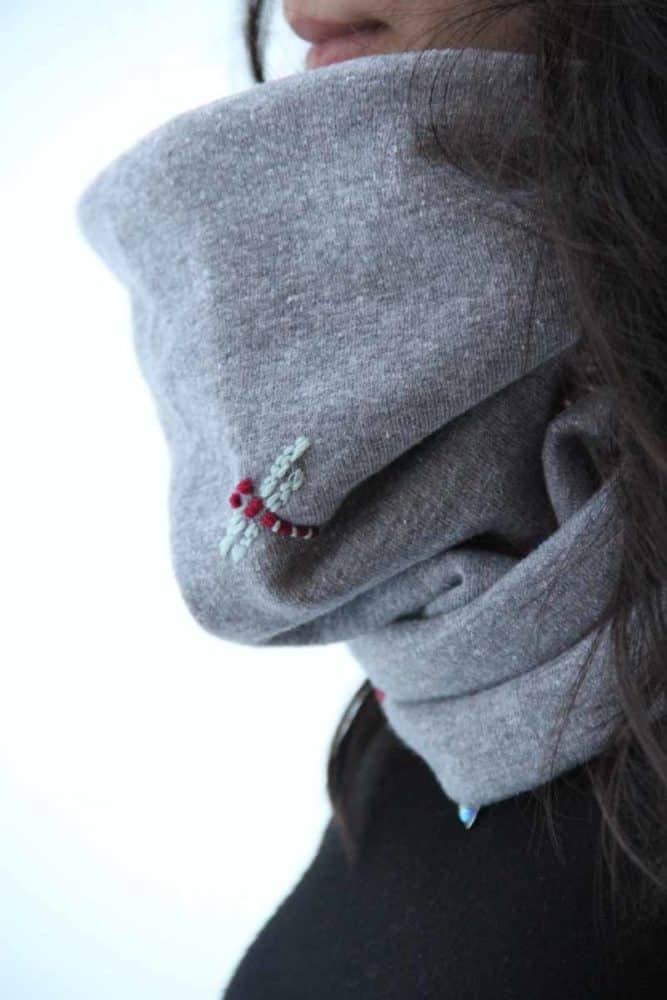
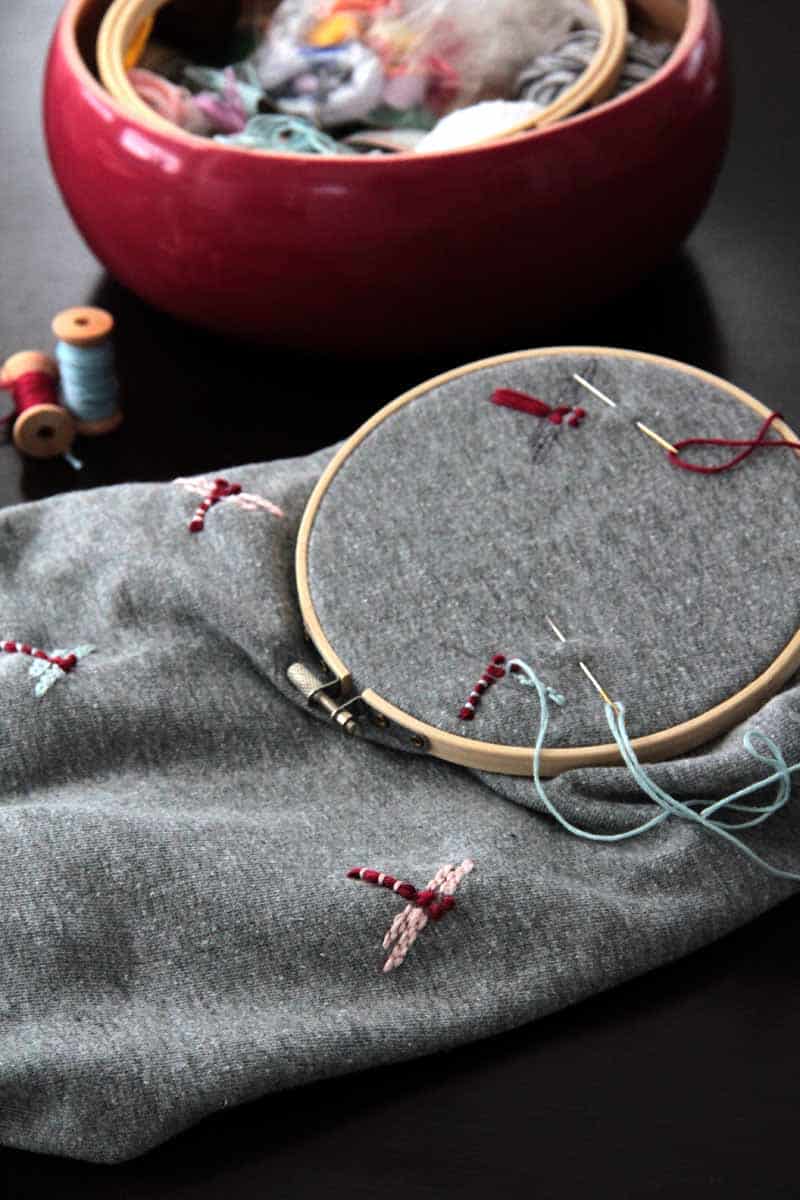
Embroider your motif. I chose simple dragonflies randomly scattered over the entire surface of the fabric. Creating nice embroidery on stretchy material can be a bit difficult - if you have an embroidery hoop, use it.
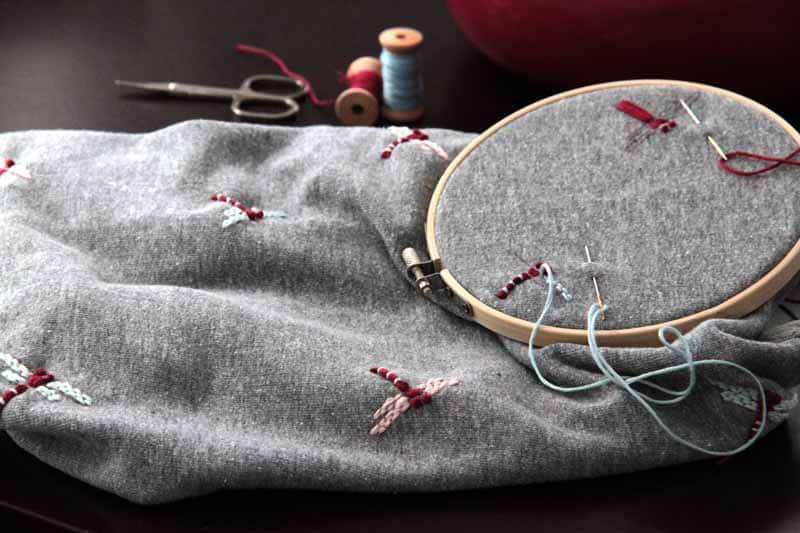
I used only a few colors to unify my dragonflies. They all have burgundy bodies and I used pale blue and pink embroidery floss to create their wings.
When you are done with the embroidery, you can simply sew the neck warmer according to the instructions from the video tutorial above. Here is an abbreviated version of the instructions...
How to sew a neck warmer
- Lay the plush rectangle face side up and fold it in half (shorter side to shorter side, face side in). Sew the two shorter sides. Do the same with the second rectangle.
- Turn the plush loop face side out and insert it into the laid-in knit loop (which is still inside out). The face sides of both loops are turned towards each other. Sew one side of both loops. Then sew about three-quarters of the length of the other side. Pass the neck warmer through the gap (so it’s face side out). Close the gap by hand.
And it is done. Enjoy your new neck warmer. :)

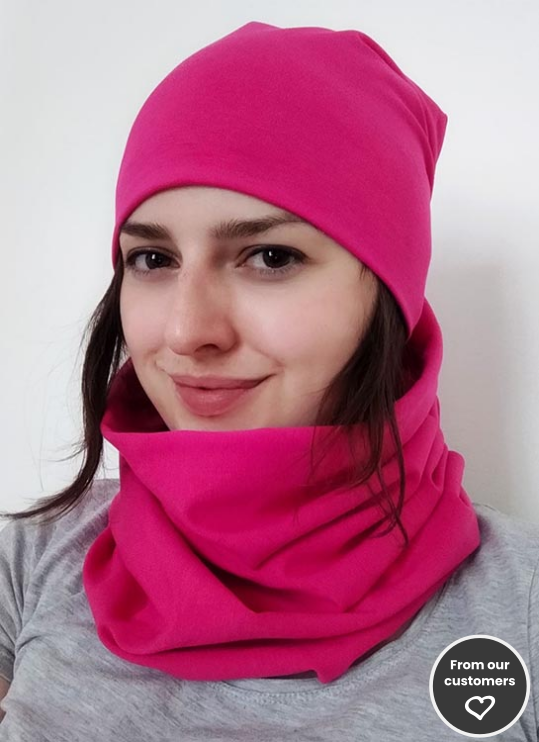
Marie P. matched her neck warmer with the beanie she sewed according to this pattern.
See also:
- Learn to use your sewing machine (straight & curved lines)
- How to choose tailor's scissors & cutting tools
- How to sew stretchy fabrics - 4 steps to success
Don't forget to share your joy with others!
Do you like this article? If so, share it with your friends and tell me about it in the comments section below. I will be glad for any feedback! ♥
PS: Did you know that there are FREE PATTERNS available on my blog?