


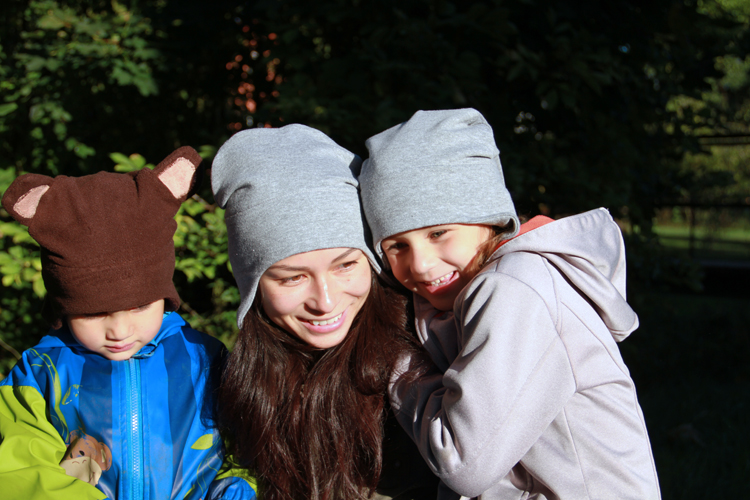
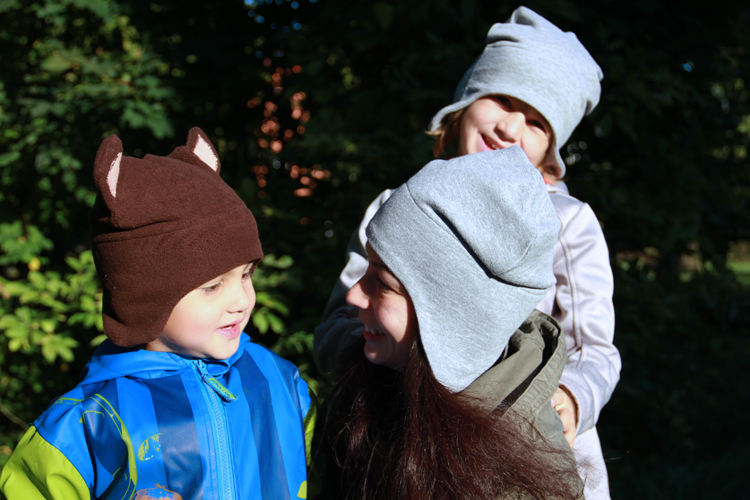
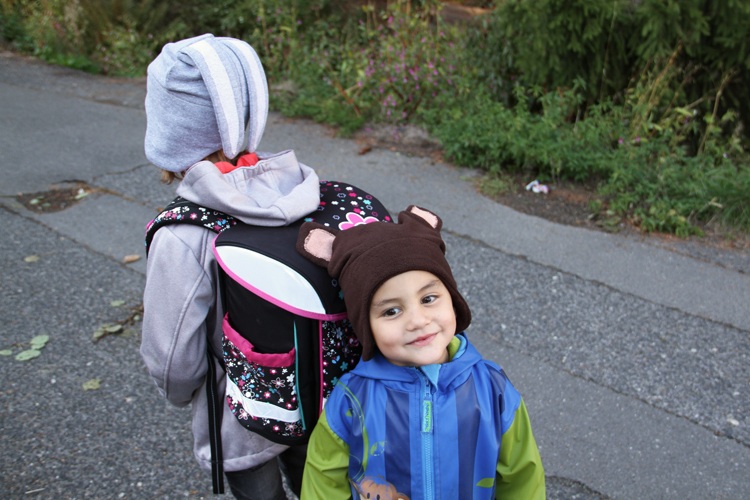
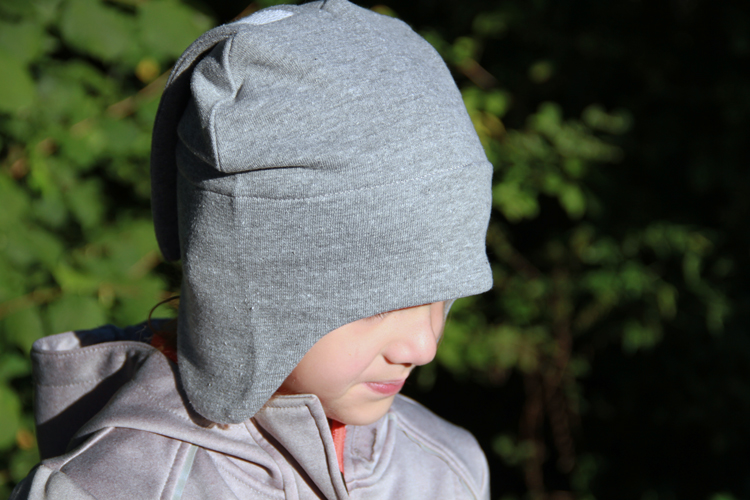
For today, I have prepared instructions for one of my hat patterns for you. The pattern for earflap hat WARM was one of the first patterns I designed. I wanted to sew a hat for my kids, which would protect their ears from the wind and not fall over their eyes. I also wanted it to be comfortable so that the children wouldn't want to take it off all the time. You know... A great hat...
How it all started
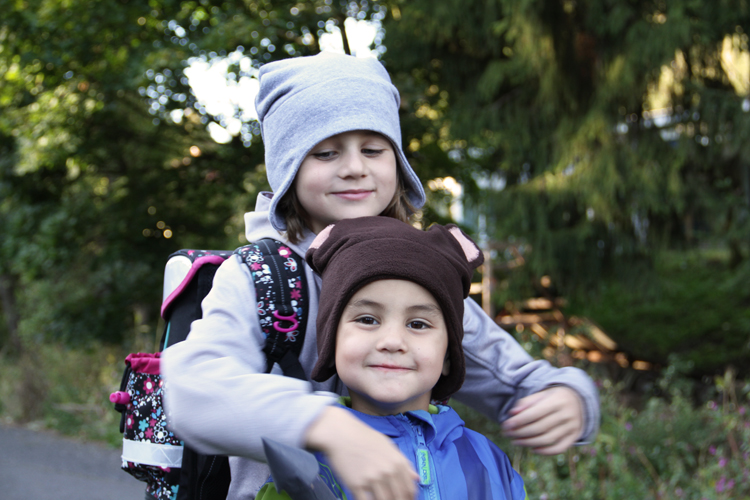
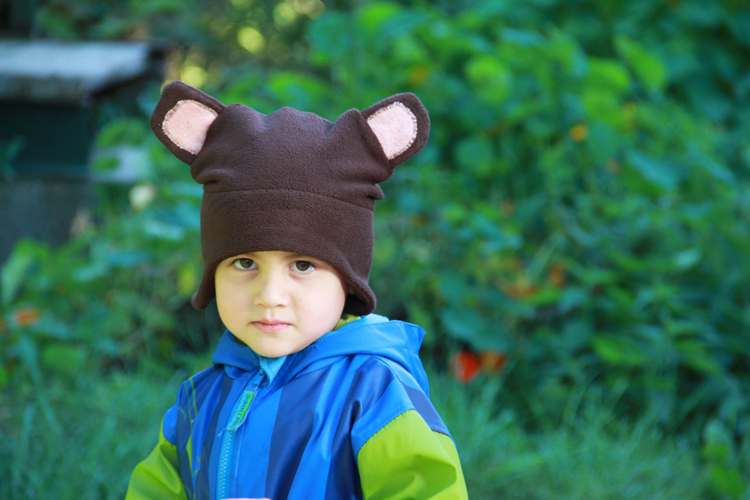
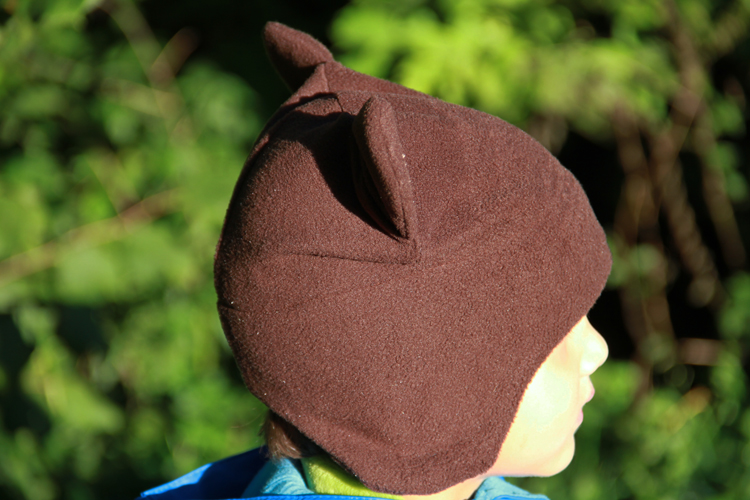
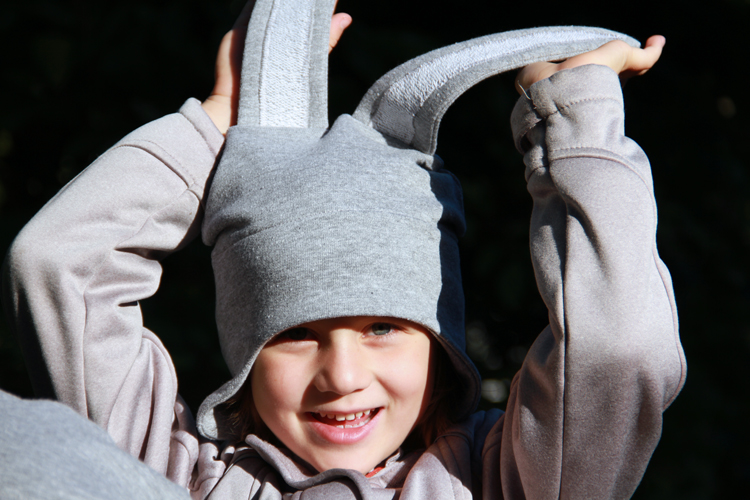
The first version of the pattern was pretty lousy, but over time it got better. However, it was still hand-drawn, and I don't think I even used curved rulers at the time. But I continued to improve my sewing and pattern making skills, I tested the pattern many times and today I can present it to you in a reworked form - I constructed it in a professional program for clothing pattern development and added a women's size. As a fun twist, I've also added pieces for rabbit and bear/monkey ears to the pattern files, so you can sew a purely practical version of the hat, or a more cheerful one. I think you will use this pattern to the fullest because as we all know, there are never enough hats. ;)
The pattern
You can get this pattern (four kid’s sizes & one women’s size) in my online store:
The pattern for earflap hat WARM
I also started working on size for newborn babies, but you will have to wait a while for it. Now I'm quite busy working on other projects and I also have to test this new size in real life so I can fine-tune it. :)
If your children are used to hats with strings, you can easily modify this hat for them. Just sew strings to the earflaps.
Recommended material
This pattern is designed for thicker knits.
You can use stretchy fleece, elastic laid-in knits, warmkeeper (alpenfleece), etc.
I bought the materials for my hats in the Unuodesign.cz store:
Suggestion:
You can sew the hat on an overlock machine or a regular sewing machine. If you are going to use a regular sewing machine, I suggest you read this article:
Sewing stretchy fabrics with a regular sewing machine

Sewing instructions
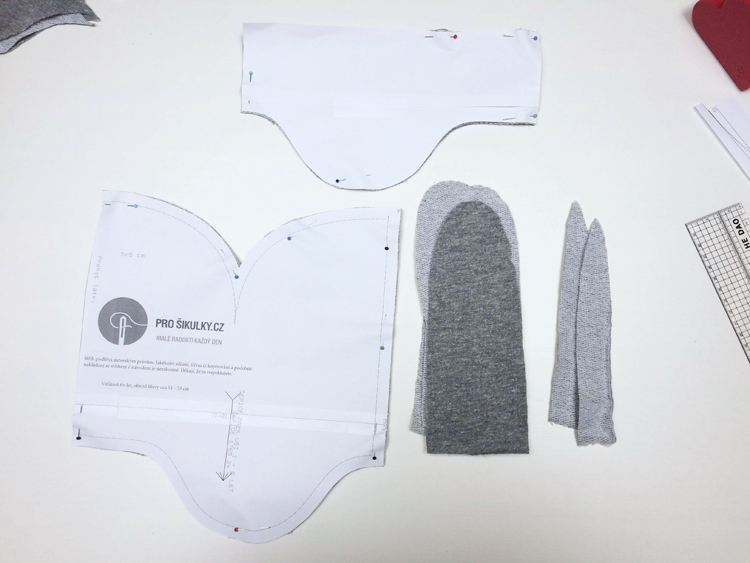
Prepare:
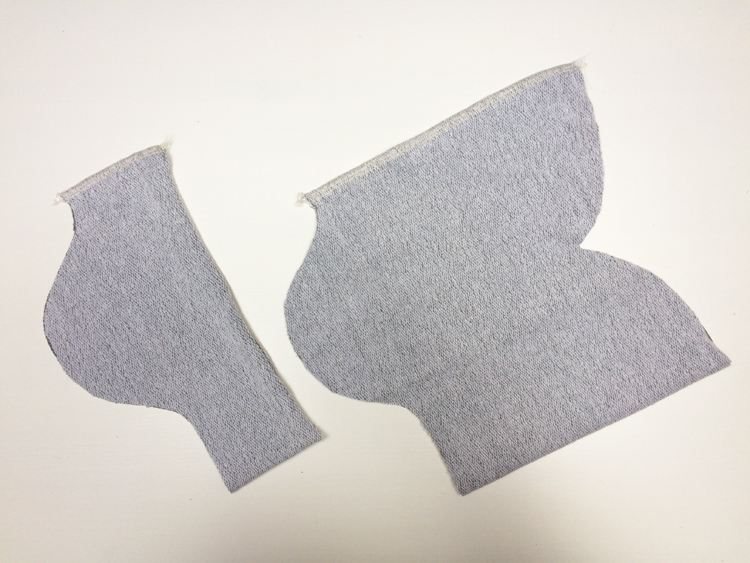
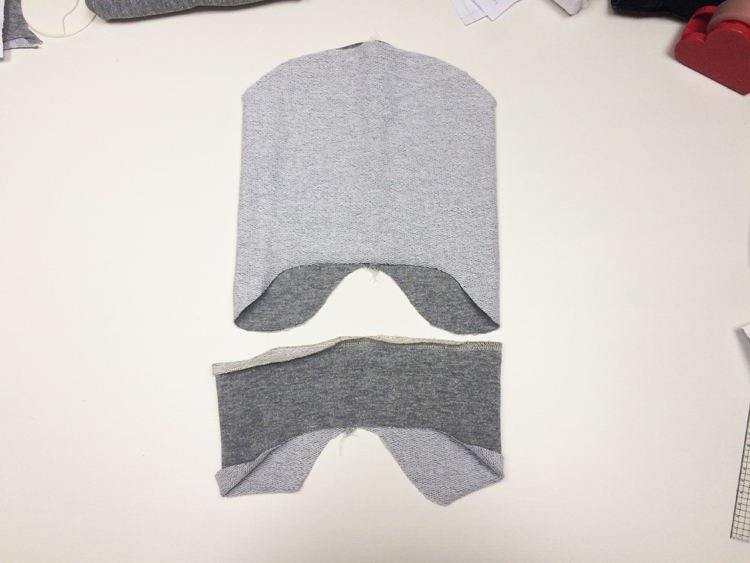
- 1x main piece (cut on the fold)
- 1x facing (cut on the fold)
- If you want to sew a hat with ears, prepare 4 large pieces and 2 small ones (inner parts).
The pieces for the ears don’t have seam allowances outlined. Don't forget to add seam allowances to the four larger pieces (especially if you are used to using the pattern version with seam allowances - individual sizes view). Cut the two small pieces without seam allowances.
Prepare the ears
If you want to sew a hat without ears, you can skip this part :)
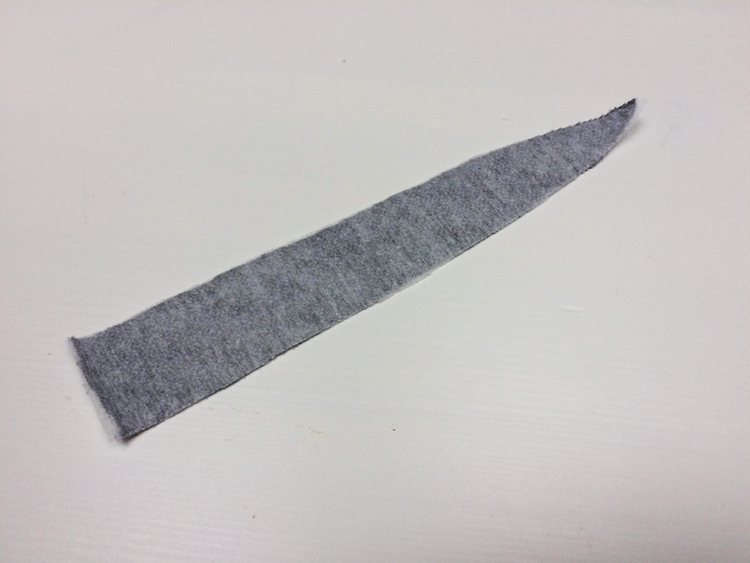
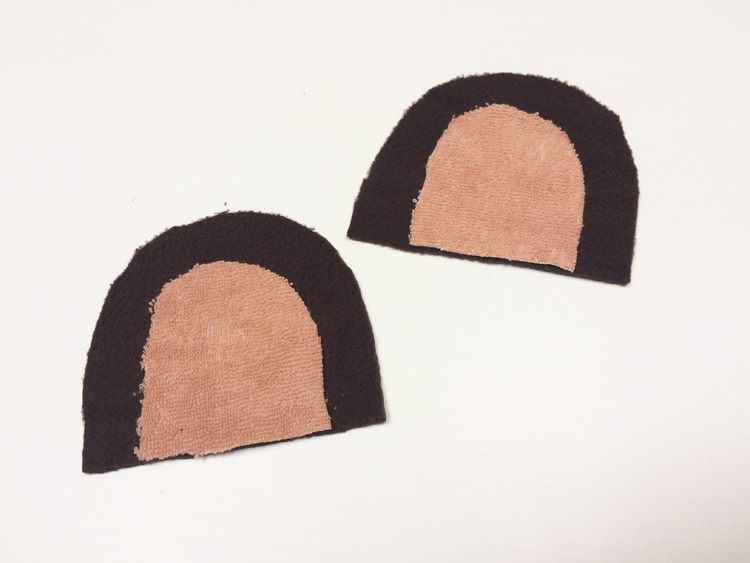
You may want to use some contrasting material for the inner parts of the ears. I used the same fabric as for the rest of the hat, I just flipped it over.
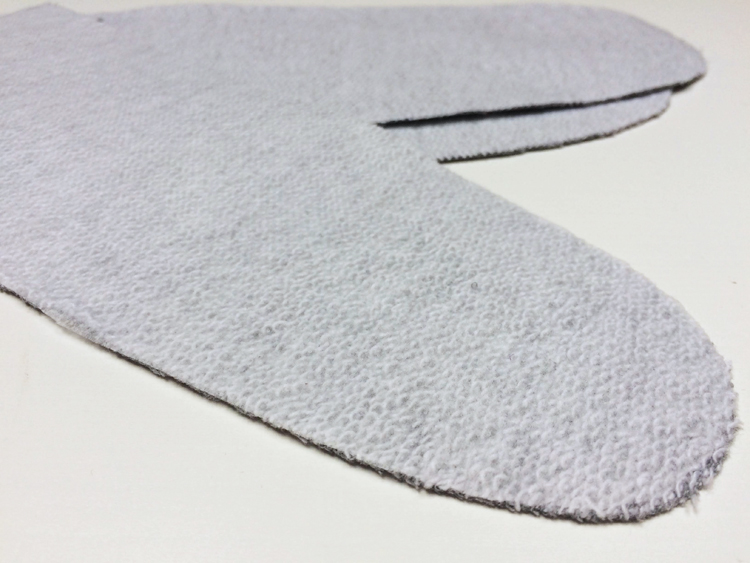
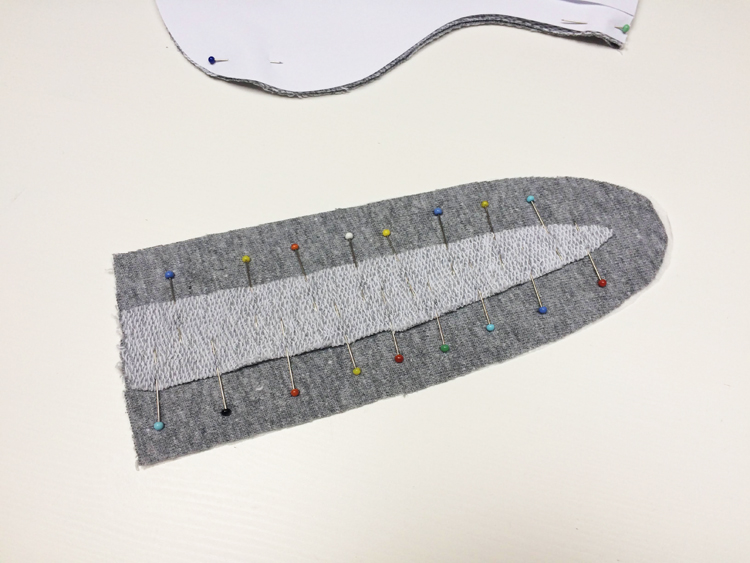
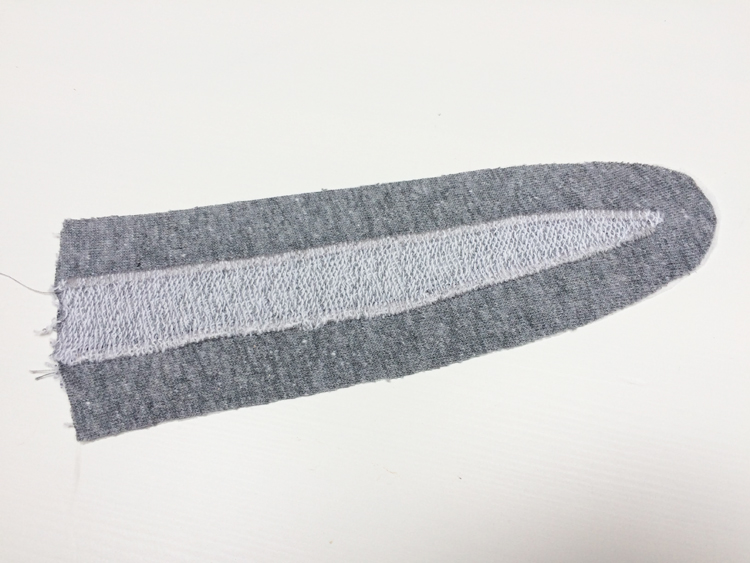
Reinforce all six pieces for the ears with a thin one-sided fusible interfacing.
Pin the inner ears to the big ears.
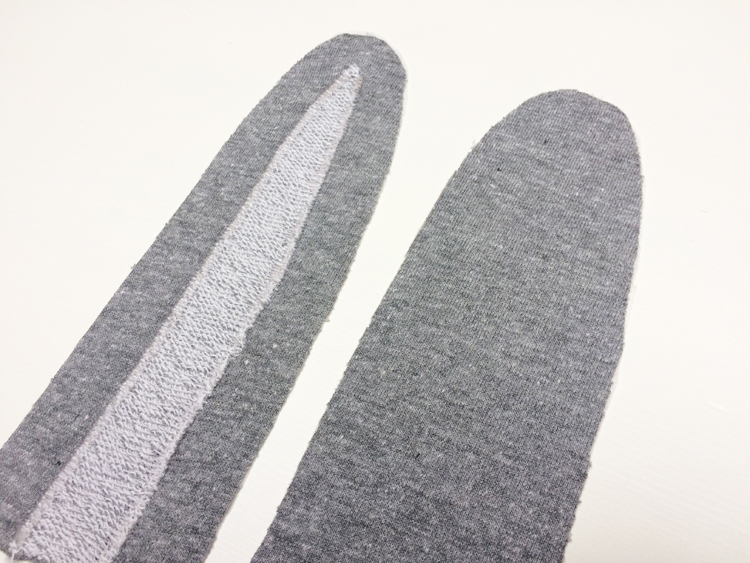
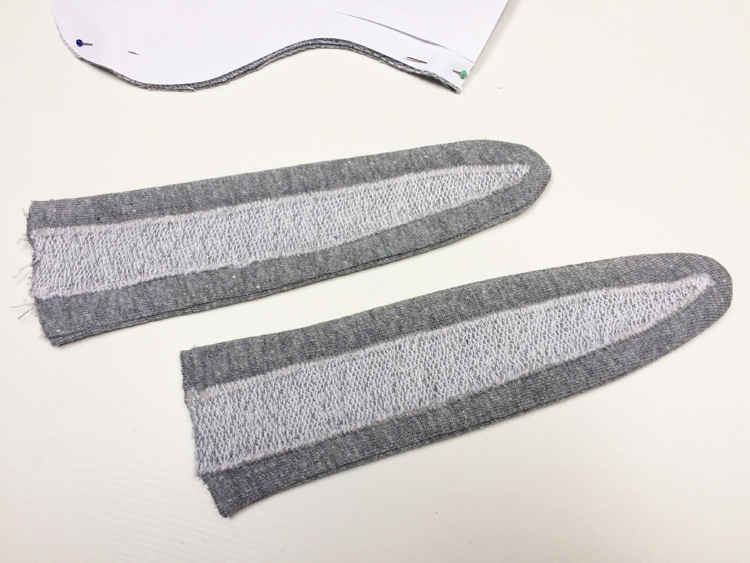
Set your machine to a wide and dense zigzag stitch and sew the inner ears. I used 7 mm (1/4") wide and 0.5 mm (0.02”) long stitches. Iron the ears.
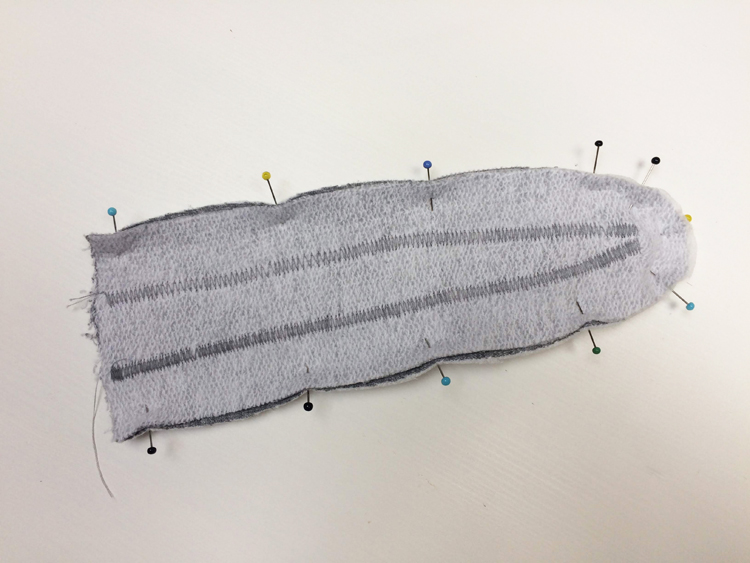
Lay the second large piece (back part of the ear) on top of the two front pieces (face side to face side)...
...Pin and sew the two large pieces.
Trimm the seam allowances in the upper part of the ear to about 3 mm (1/8”).
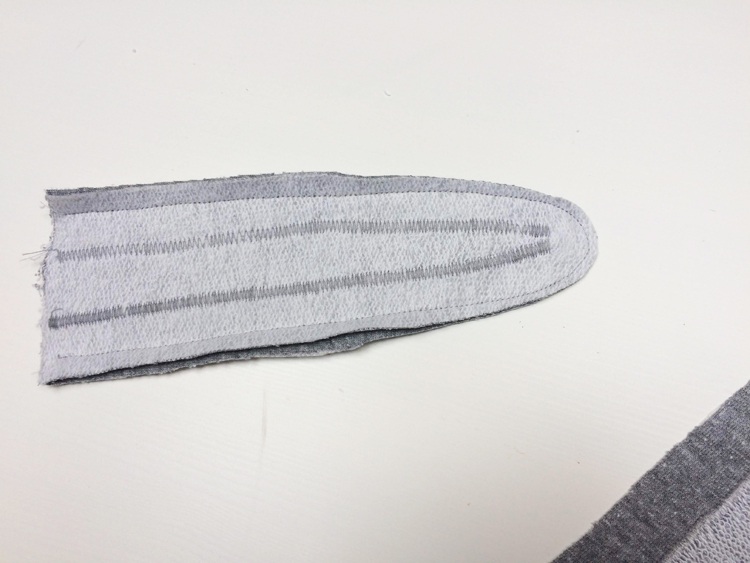
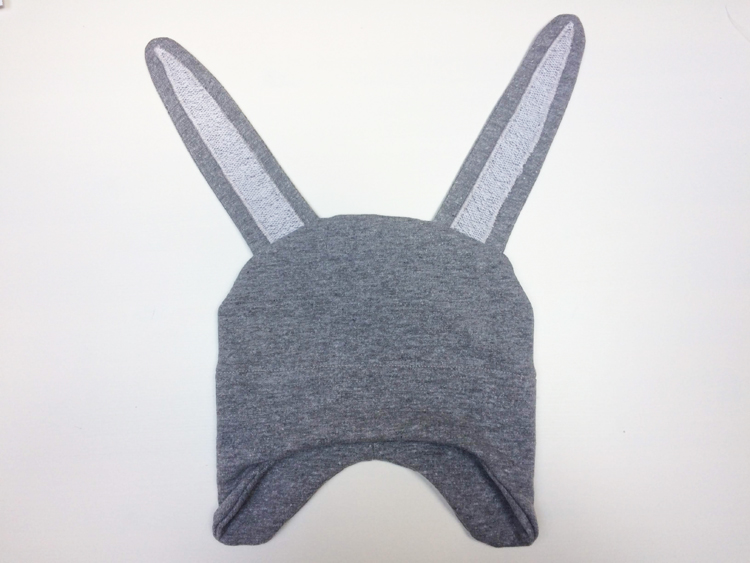
Turn the ears face side out and iron them. Now you can set the ears aside for a minute.
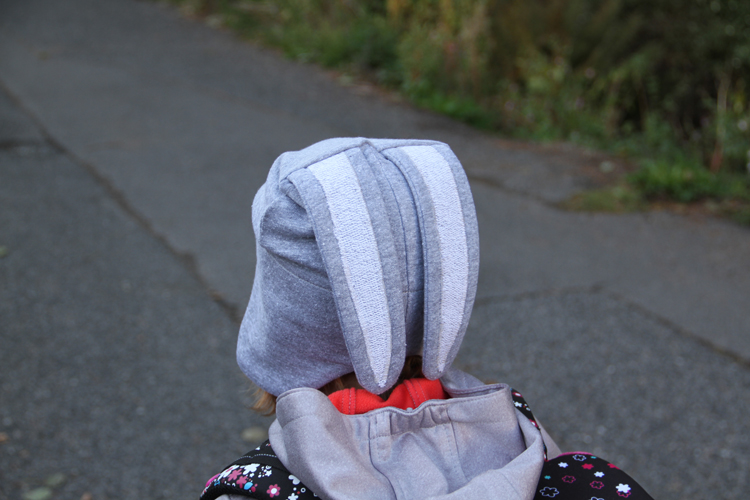
(In this article, I sew long "rabbit" ears, but the procedure is the same for smaller round ears.)
Sew the main part of the hat
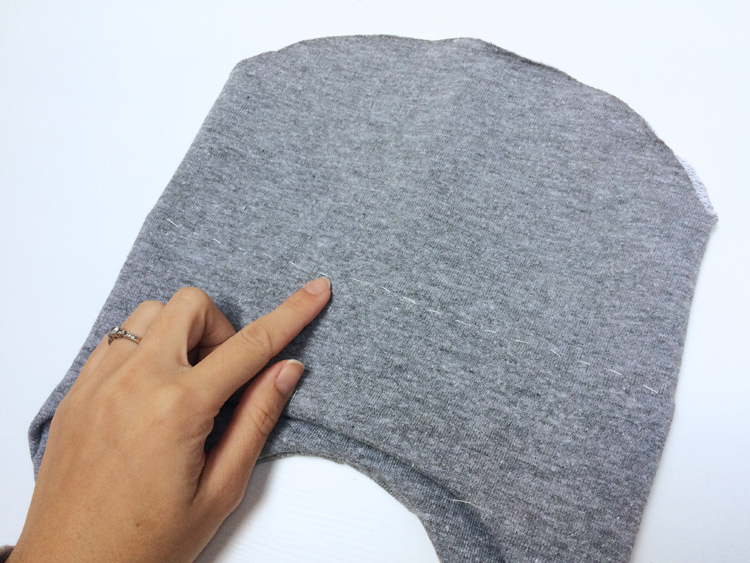
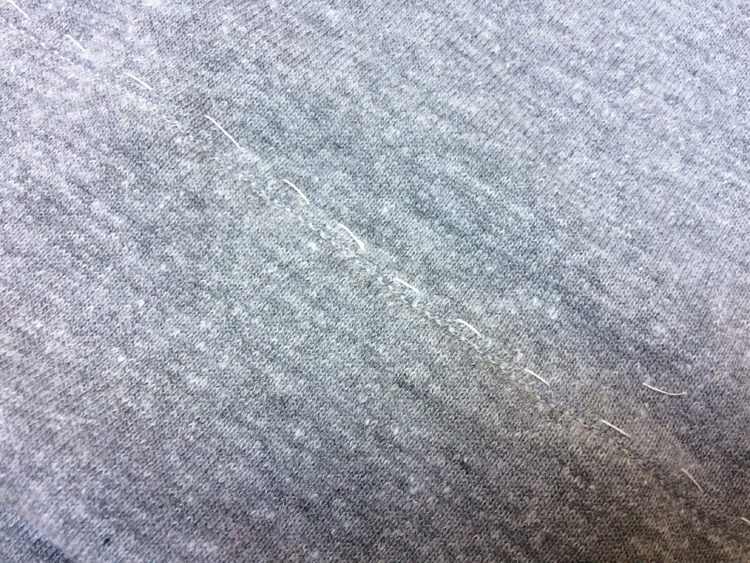
Sew the rear center seam of the main piece and facing piece.
Clean the top (straight) edge of the facing and pull free ends of the thread chains under the loops when using a serger.
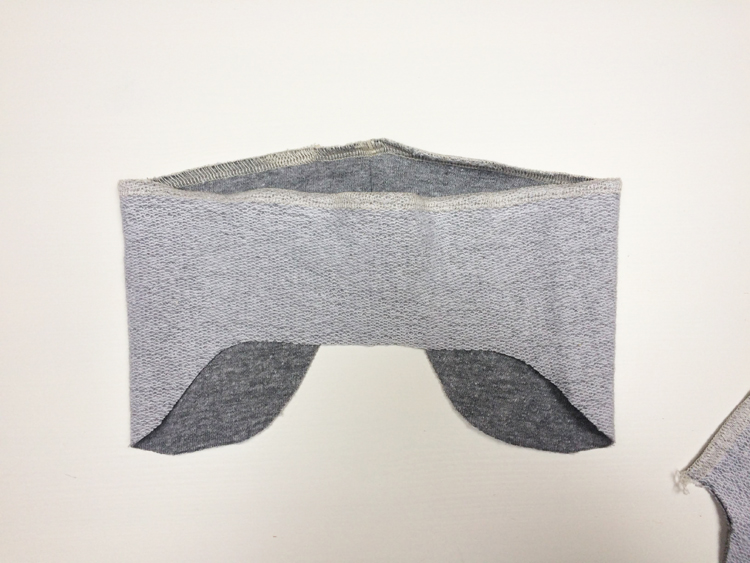
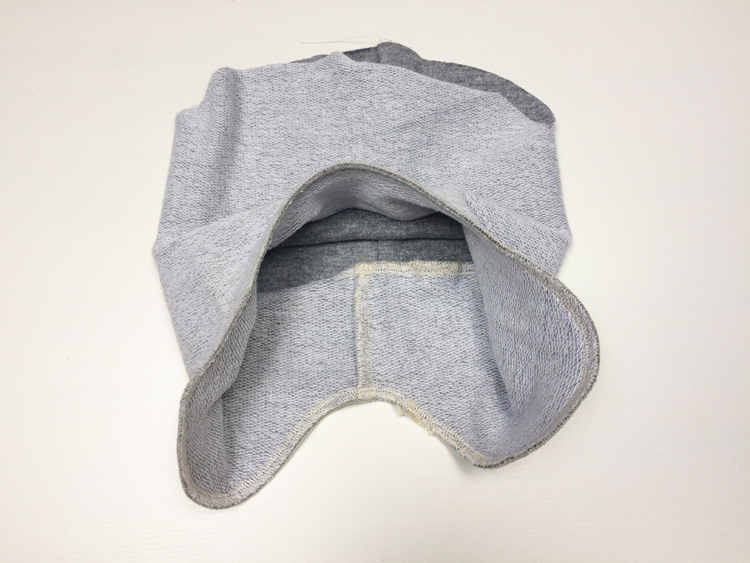
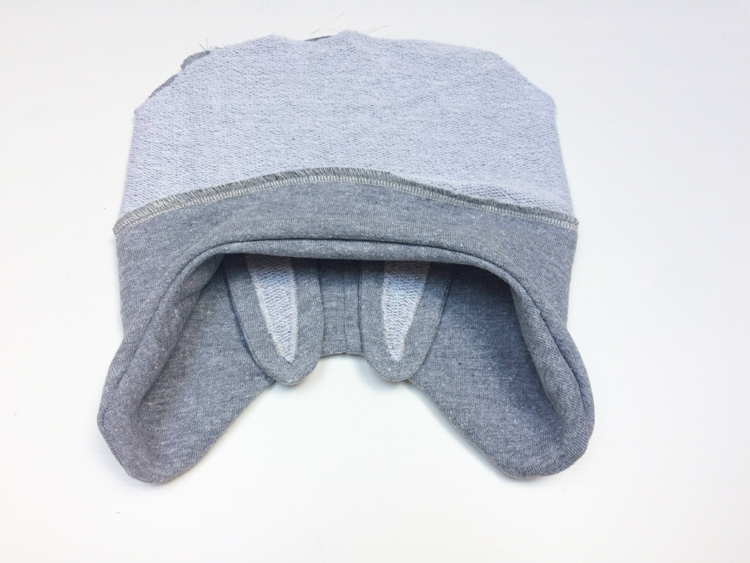
Turn the main piece inside out...
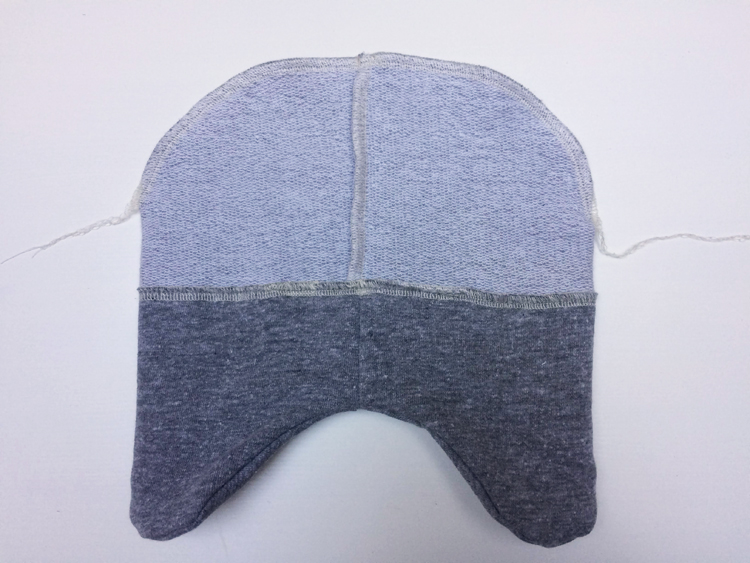
...and insert the facing into it (the pieces are now face side to face side). Sew the entire bottom edge. Pull free ends of the thread chain under the loops (when using your overlock machine).

Baste (temporarily stitch) the top of the facing to the hat. Keep as close to the edge as possible.
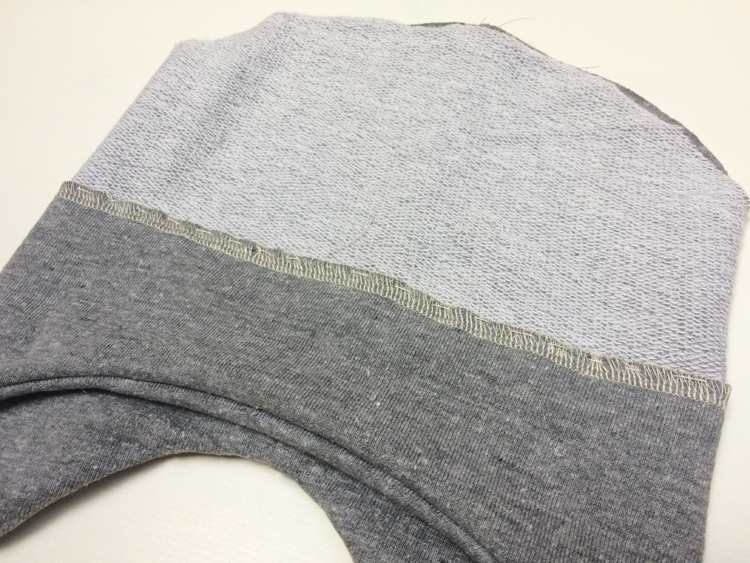
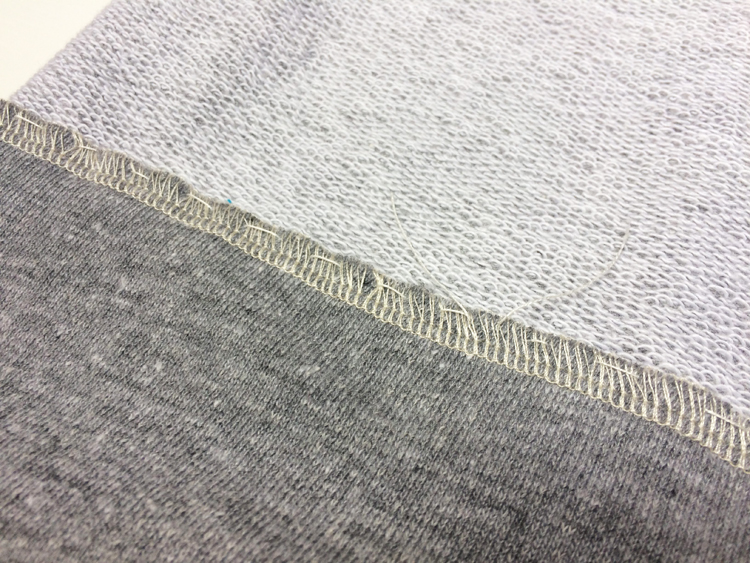
Topstitch the hat (sew from the face side) with an elastic stitch (three-step straight stitch, zigzag stitch, etc.)
Attach the ears
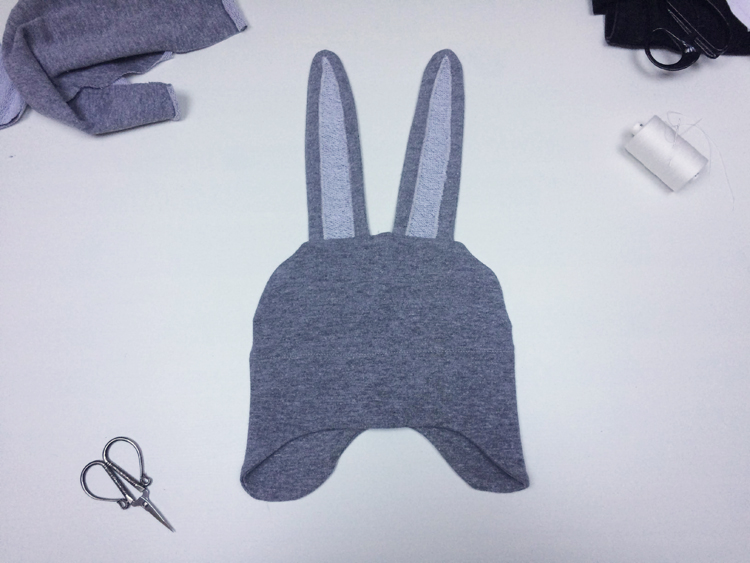
Pull out the basting thread and iron the hat. Insert the ears (front sides of the ears should face the front part of the hat). Baste the top of the hat and take a good look at it.
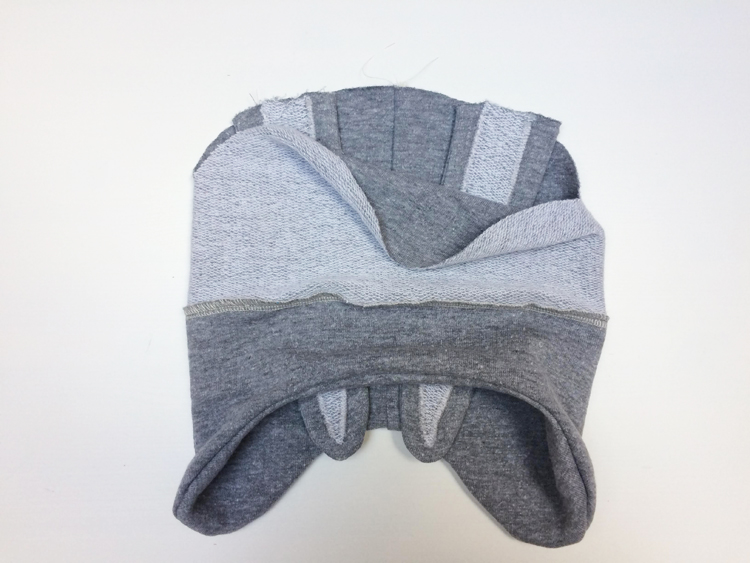
See if you like the placement of the ears, and adjust if necessary.
If everything seems to be in order, you can sew the top of the hat. Pull free ends of the thread chain under the loops when using your overlock machine.
Iron it one last time and your new earflap hat is finished! :)
The pattern
You can get this pattern (four kid’s sizes & one women’s size) in my online store:
The pattern for earflap hat WARM
If you want to see other articles about hats, click here.
Have a nice day, Petra
Don't forget to share your joy with others!
Do you like this article? If so, share it with your friends and tell me about it in the comments section below. I will be glad for any feedback! ♥
PS: Did you know that there are FREE PATTERNS available on my blog?