


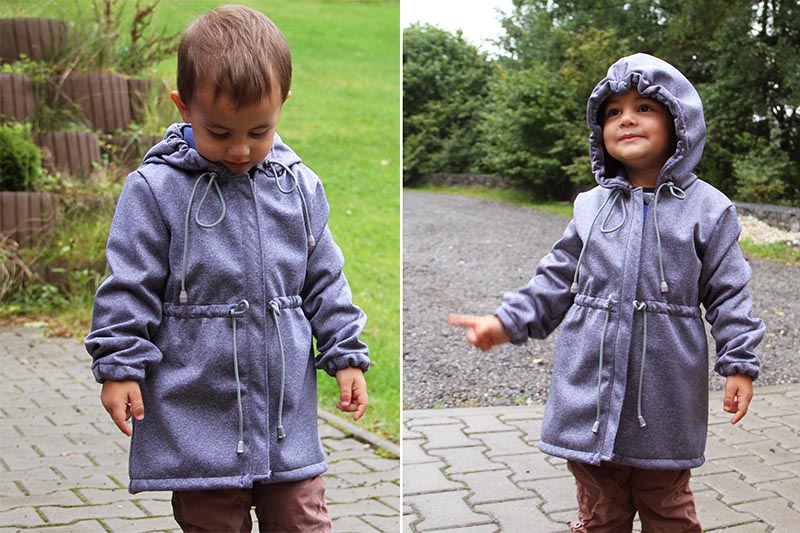
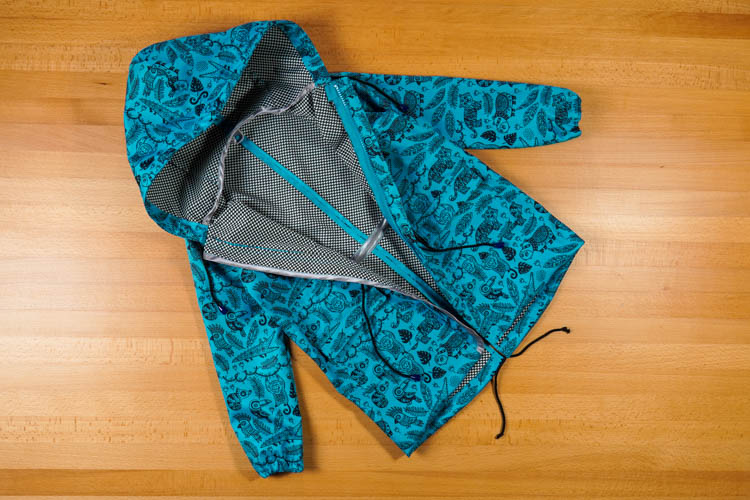
When I published the pattern for a girl’s jacket HELLO DOLLY, a lot of you wrote to me that you would also like to have a pattern for a boy's jacket. I listened to your wishes and started working on it. This is how the sewing pattern for jacket/parka HELLO BUDDY was created. This jacket is suitable for both boys and girls. The jacket has drawstrings at the waist, bottom hem, and hood, so it will always fit perfectly. Its sleeves are finished with elastic bands - they keep the cold out, but they aren’t too tight. This pattern is available in sizes 80 – 176.
The sewing pattern for children’s jacket HELLO BUDDY
If you are going to sew autumn (spring) or winter jacket for your kids, I recommend you try this pattern:
Pattern – Children’s jacket HELLO BUDDY


Recommended material
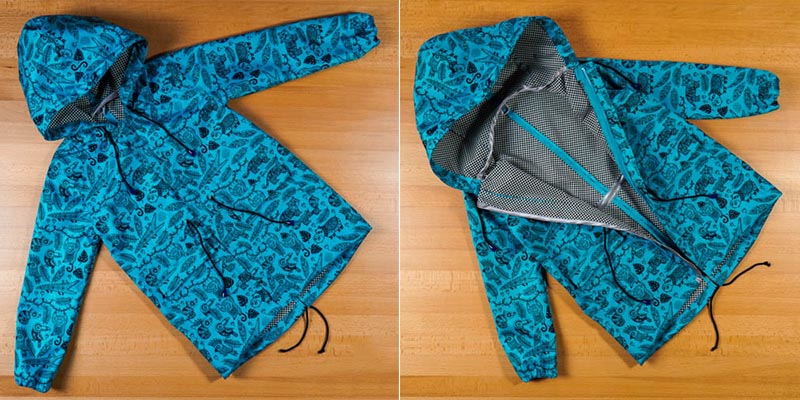
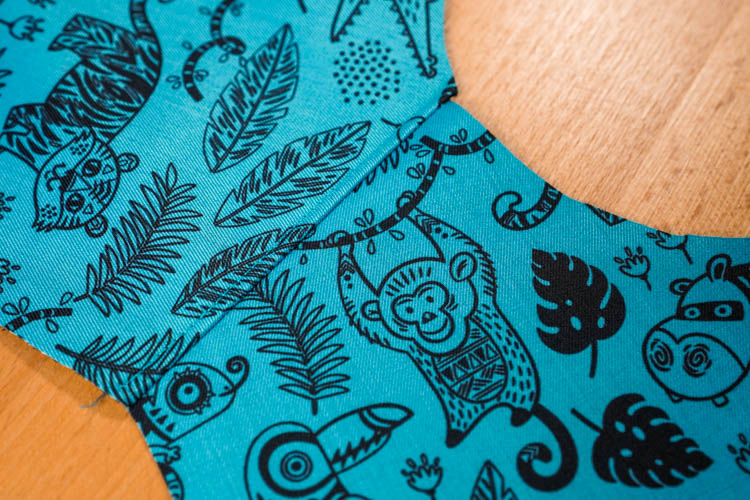
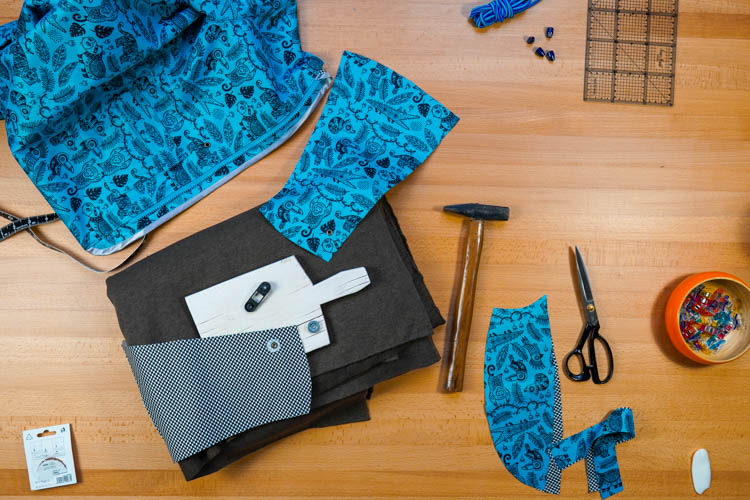
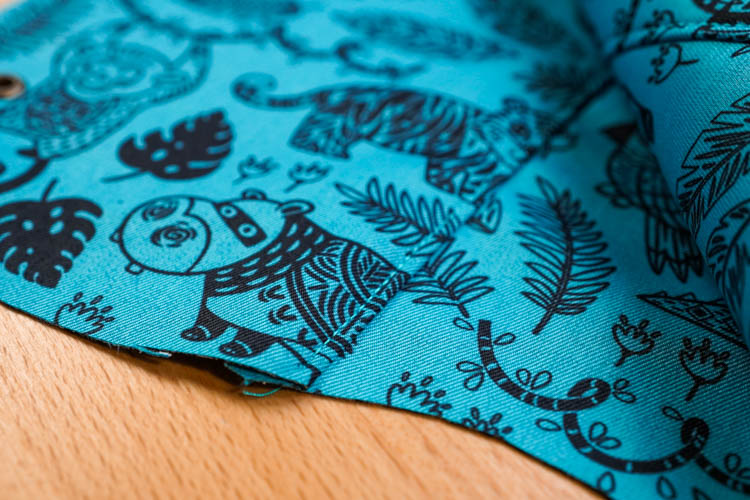
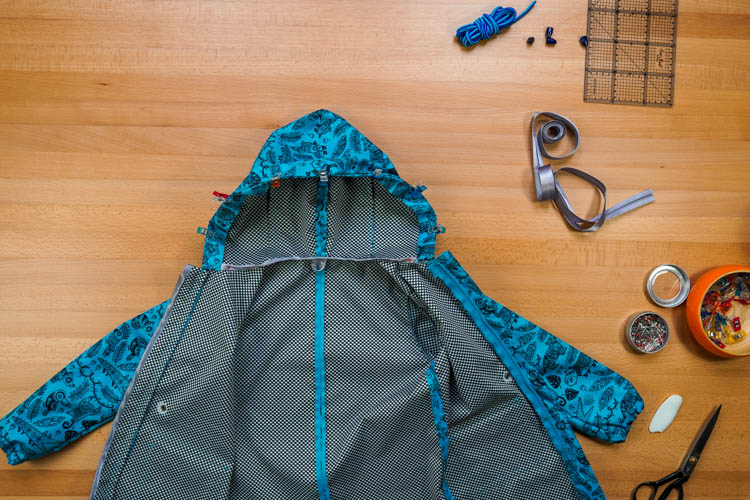
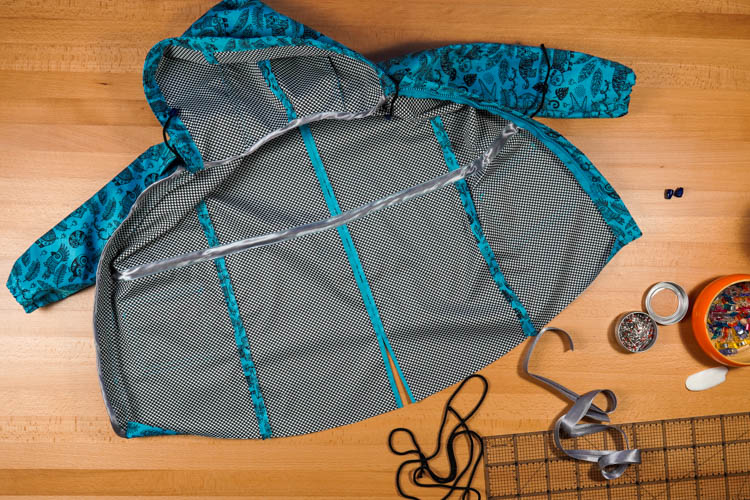
The gray jacket is made of winter softshell with fleece, the blue jacket is made of spring softshell with a knit layer. I bought both fabrics at Unuodesign.cz. In addition to softshell, you can also use corduroy, thick twill, and other materials for jackets and coats.
How to sew kid’s jacket HELLO BUDDY
Suggestion: I use softshell in this article, so I didn't have to clean the cutting edges. If you are sewing from a fabric that frays (or you do not like the raw edges from an aesthetic point of view), simply clean the cutting edges each time you finish a seam.
Note: The process of sewing this jacket has many steps, and because I want less skilled sewers to be able to sew it too, there are more than 200 photos in this sewing tutorial. So as not to overwhelm you (and your web browser), I have placed some photos in galleries. You can click the thumbnails and view the full-size photos so that you can see all the necessary details.
My tip: I also summarized the sewing process in this video tutorial. If you prefer videos, I recommend watching this video tutorial, but I must warn you that it is not very detailed. Beginners and less experienced sewers will probably prefer the step-by-step photo tutorial below.
Video tutorial
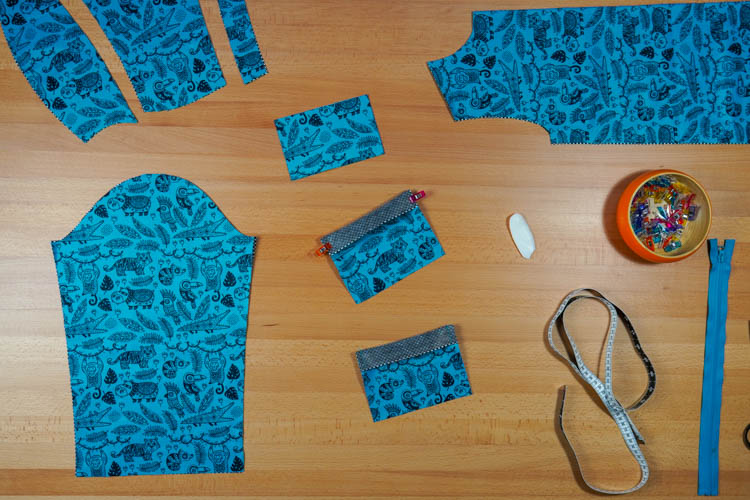
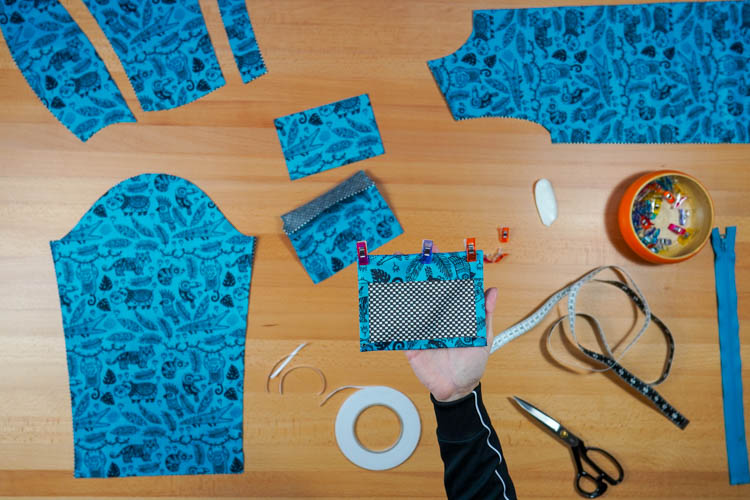
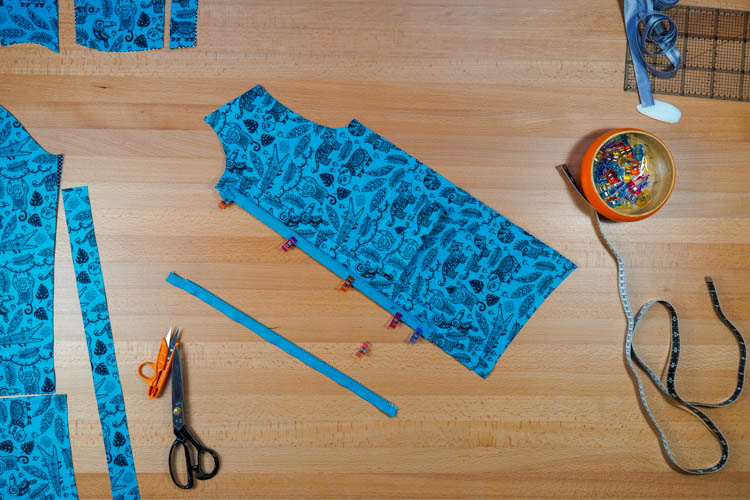
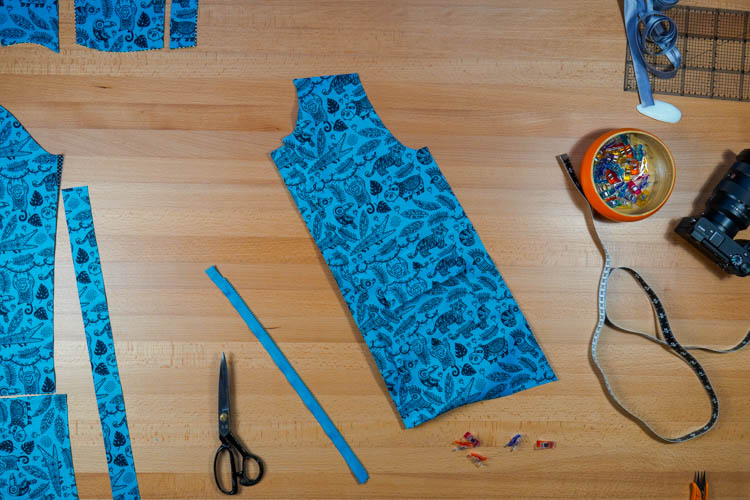
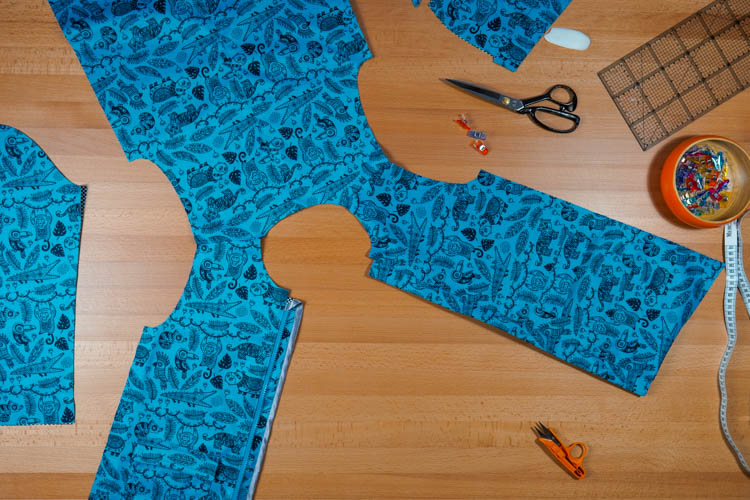
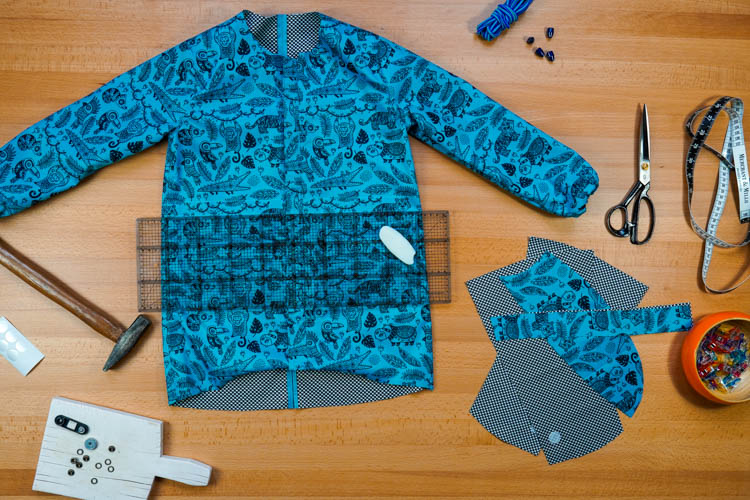
Pattern layout
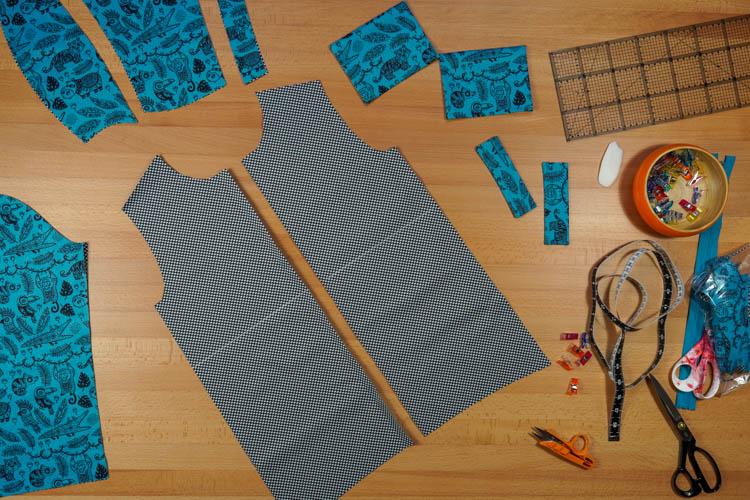
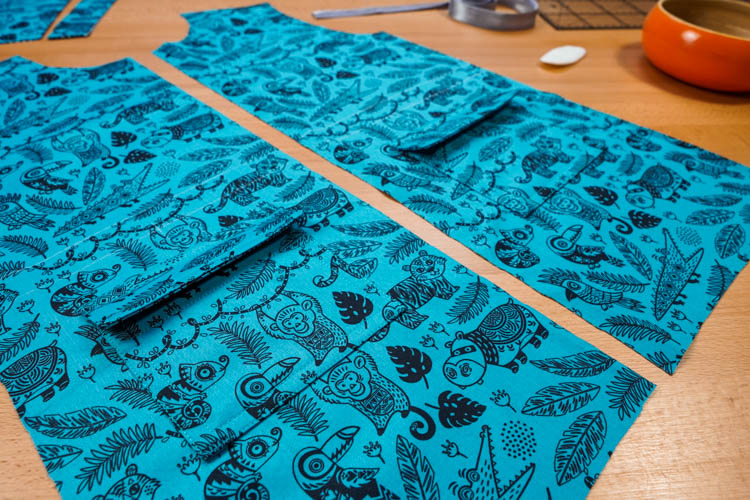
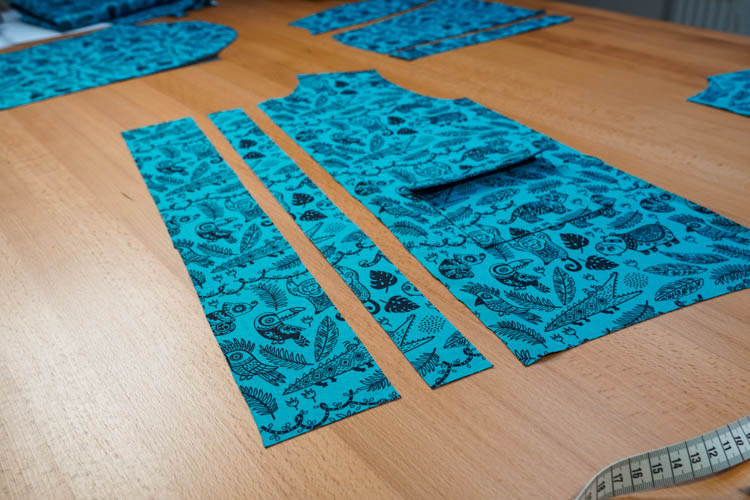
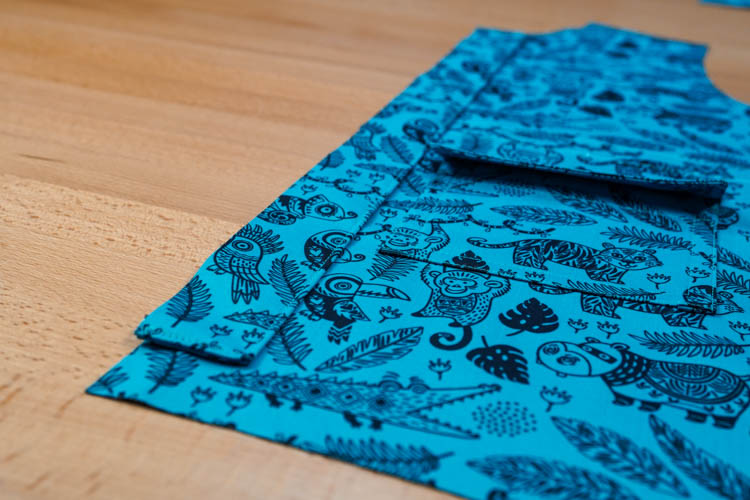
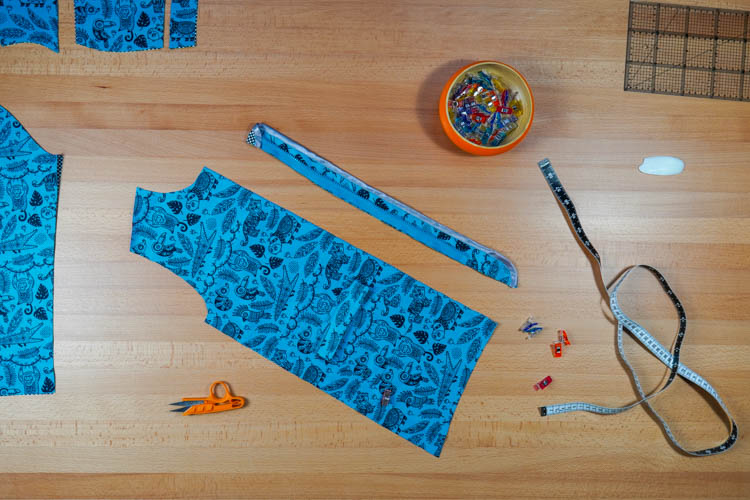
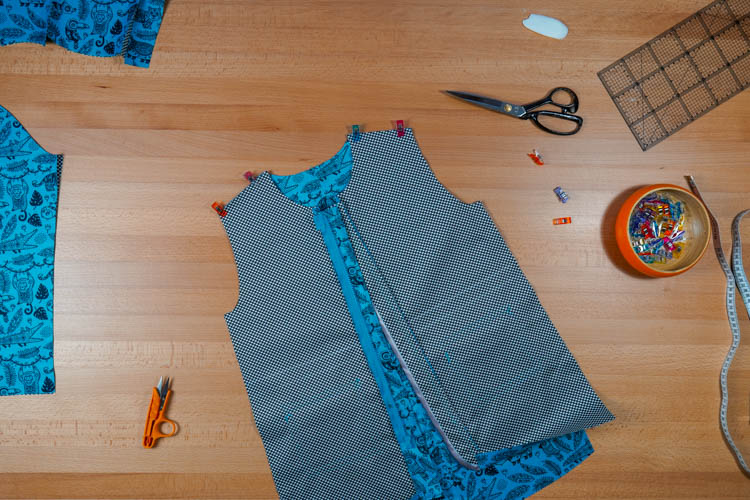
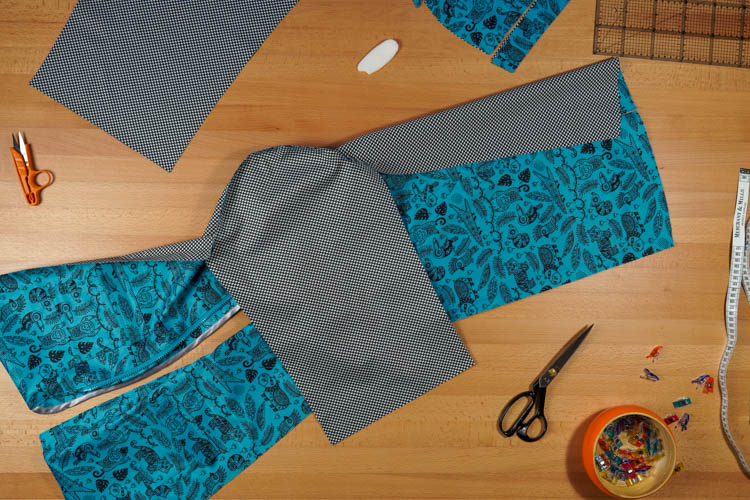
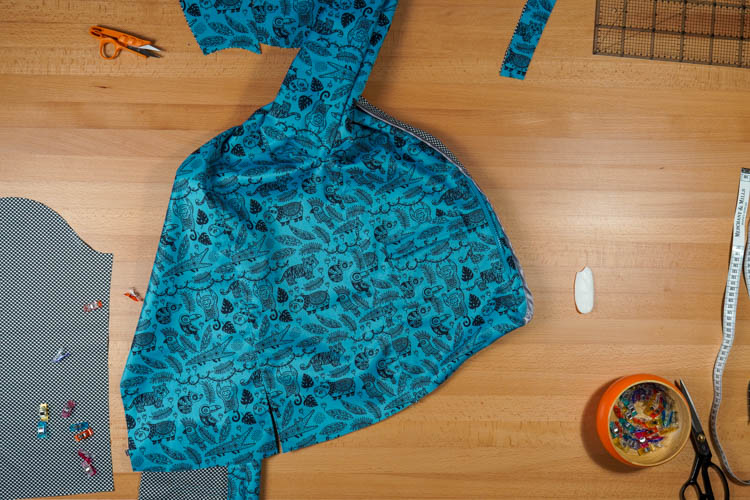
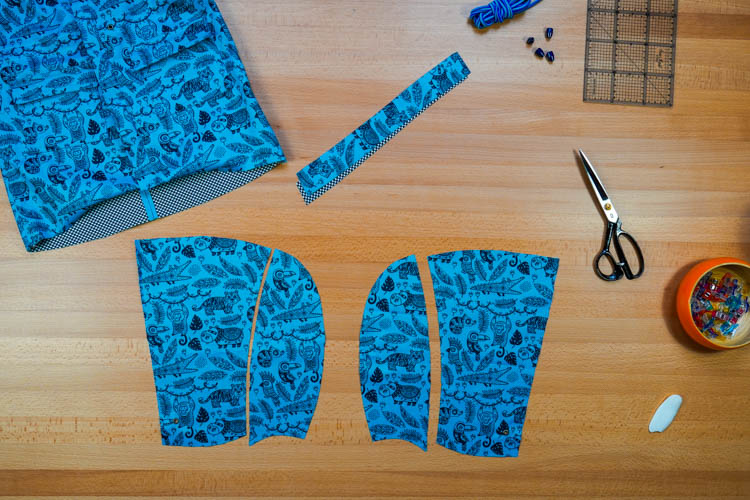
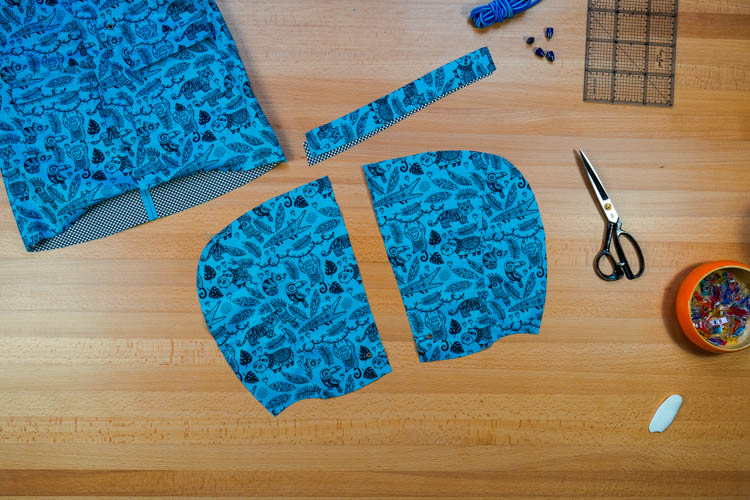
1. Position & prepare the pieces
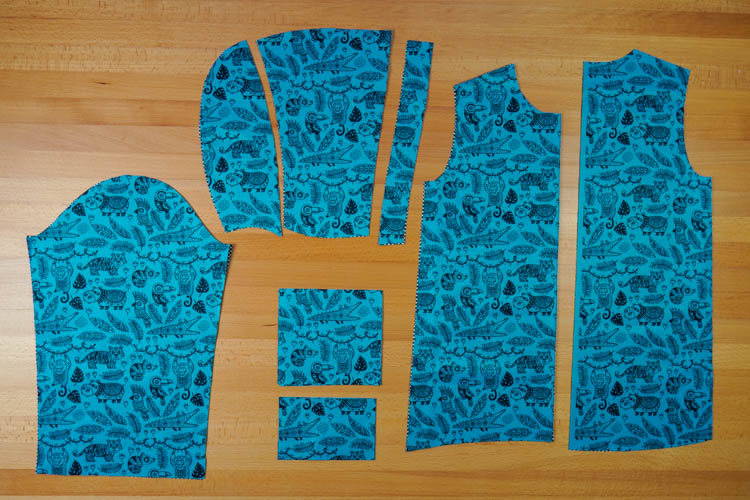
- 2x front piece
- 2x back piece
- 2x sleeve piece
- 2x front part of the hood
- 2x back part of the hood
- 2x hood facing
- 2x pocket flap
- 2x pocket piece
Seam allowances:
• 1 cm wide unless otherwise stated
• rear center seam - 2 cm wide
• front center seam – 2 cm wide
• pockets – 1,5 cm wide for outer edges, 3 cm wide for the edge of the pocket opening (hem allowance)
Sleeve hem allowances are 2,5 cm wide
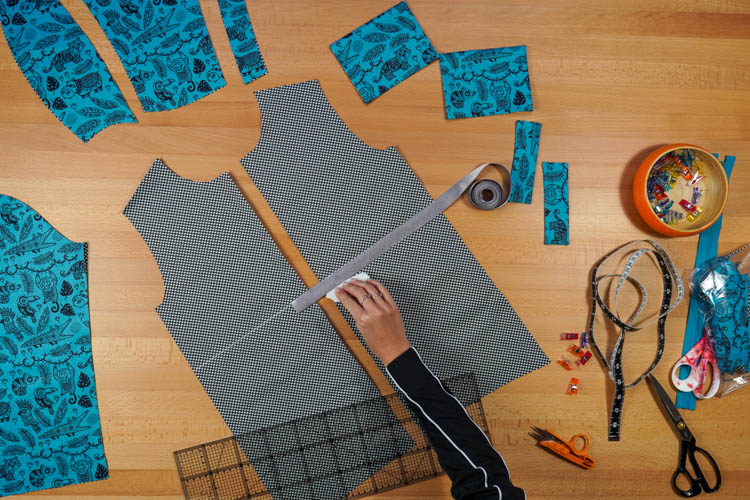
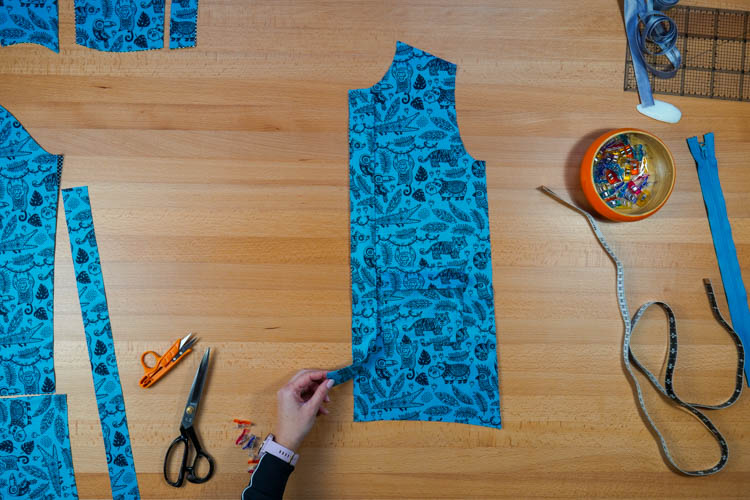
Don't forget to transfer all the important marks from the paper pattern. They will help you align individual pieces correctly.
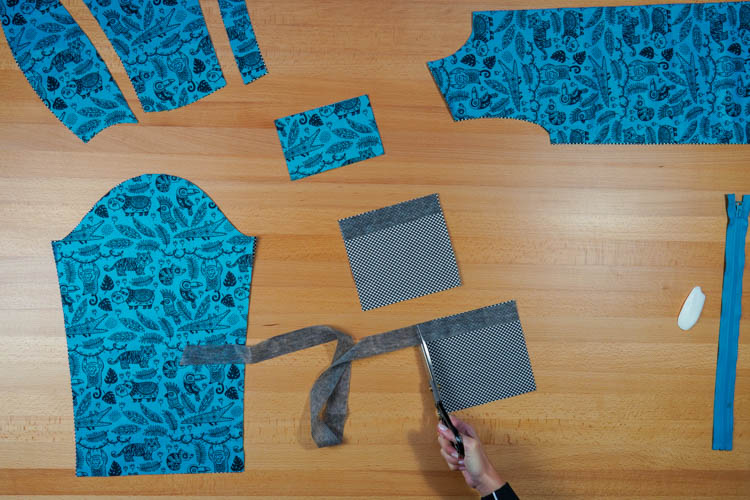
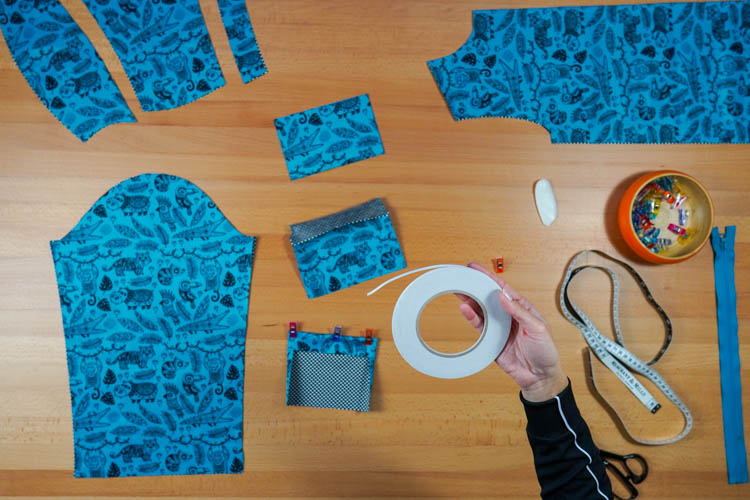
2. Interfacing
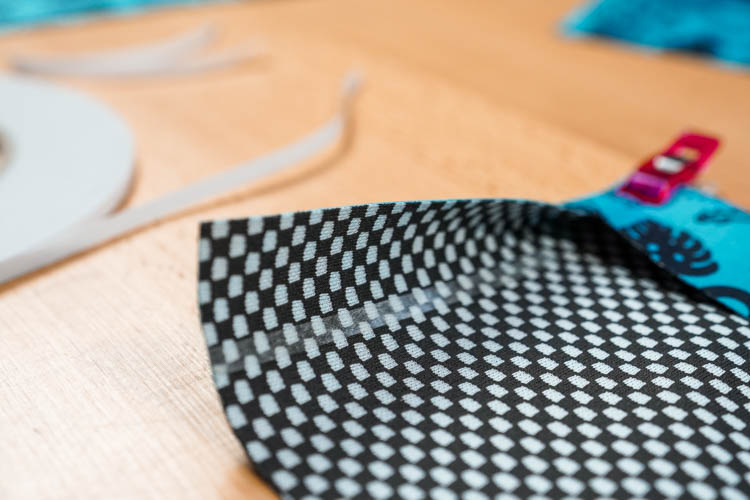
Reinforce hem allowances of the pocket piece with one-sided fusible interfacing to make them stronger.

My tip: If you are using a less stable fabric than softshell (for example, twill, corduroy, denim, etc.), reinforce the center edges of both front pieces too.
Patch pockets with flaps
3. Prepare the pocket pieces
Fold the hem allowance (face side in) and sew the sides.
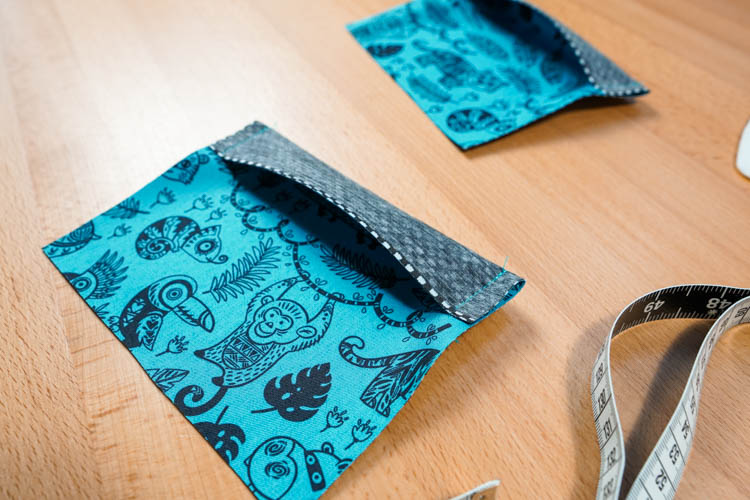

Carefully cut off the corners near the fold so that you can turn the pocket face side out.


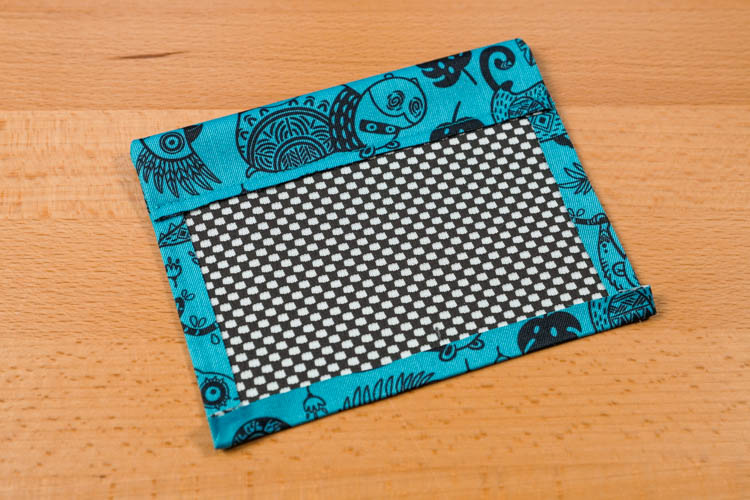
Turn the pocket face side out and fold the remaining seam allowances to the reverse side. Since you shouldn’t use pins on softshell, I helped myself with Stylefix tape. You can learn more about Stylefix tape here:
If you don’t have this adhesive tape, you can steam and iron the folds.


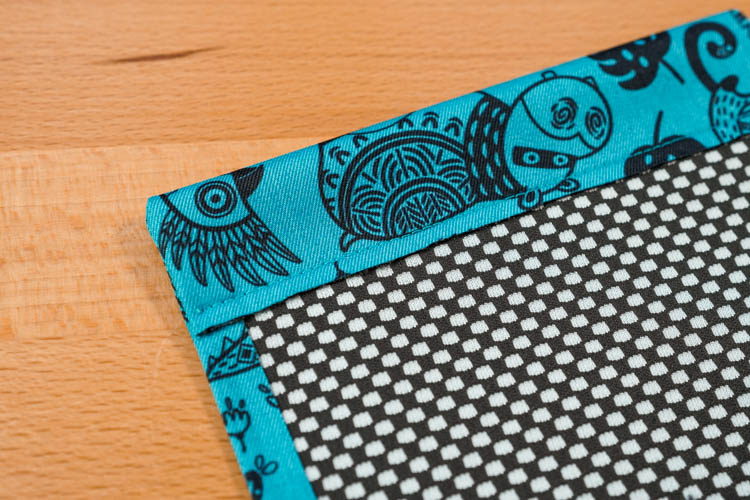
Sew the edge of the hem allowance to the pocket.

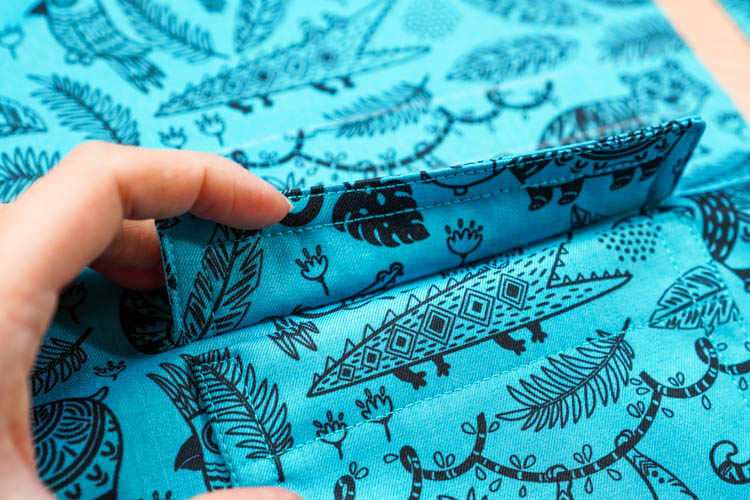
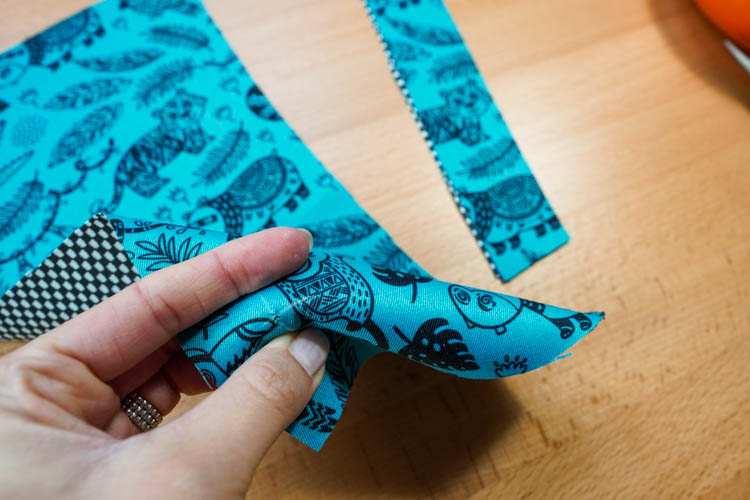
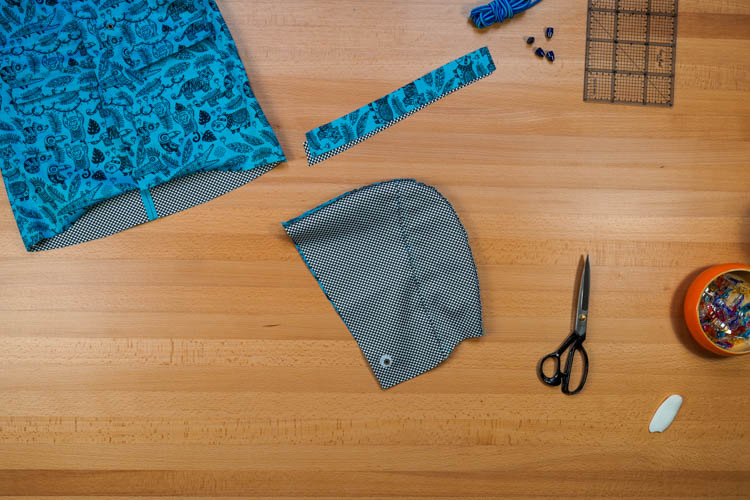
4. Pocket flaps
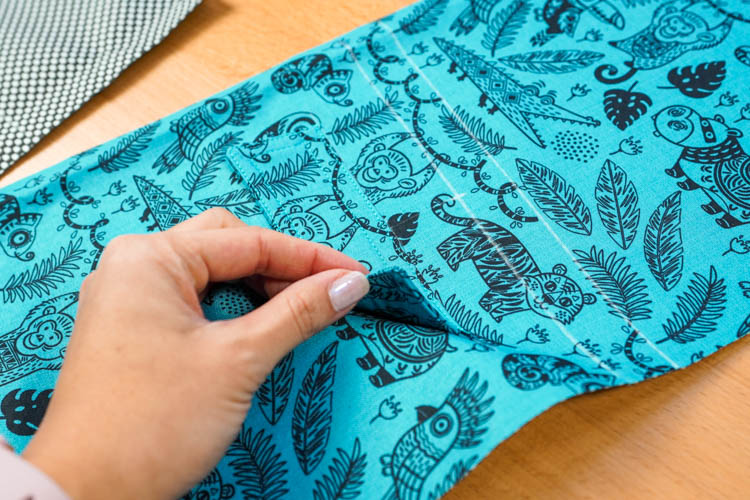
Set the pocket pieces aside and work on the pocket flaps. Fold the flaps in half (lengthwise, face side in).
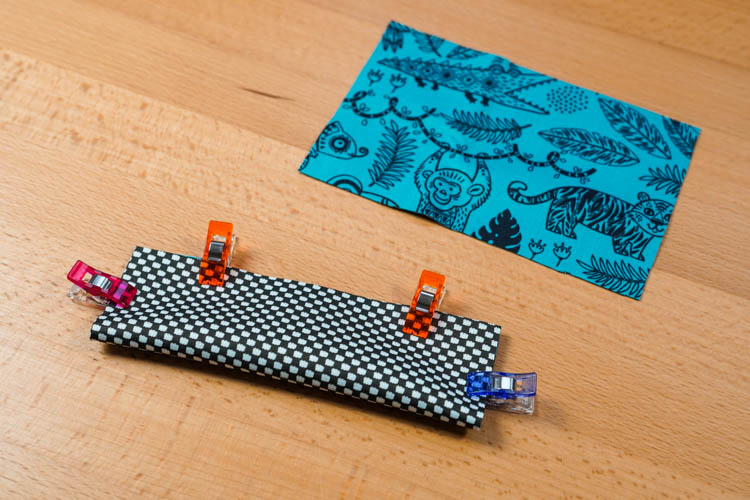
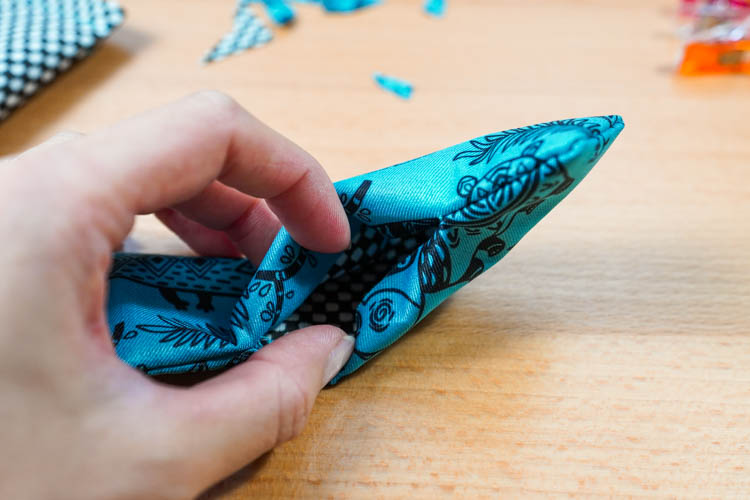
Sew both shorter sides and the longer side of both flaps. Leave a small gap in the longer side so that you can later turn the flap face side out.
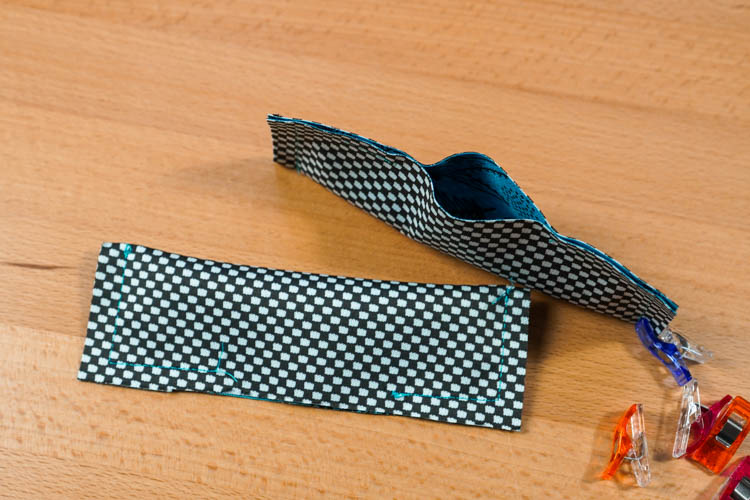
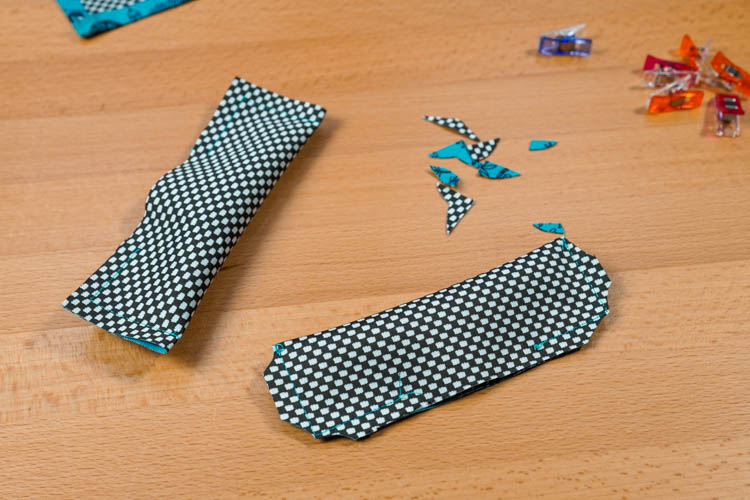
Cut off all four corners so that there is not too much fabric there - the corners should be sharp and without bulges, after you turn the flaps face side out. Be careful not to cut the seams.
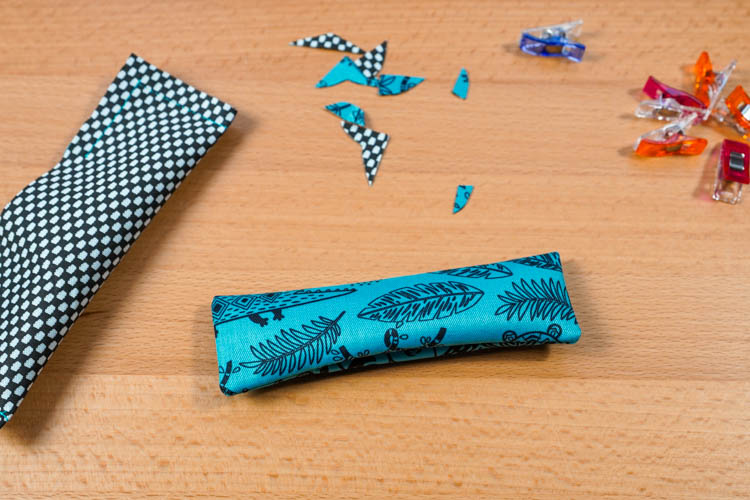
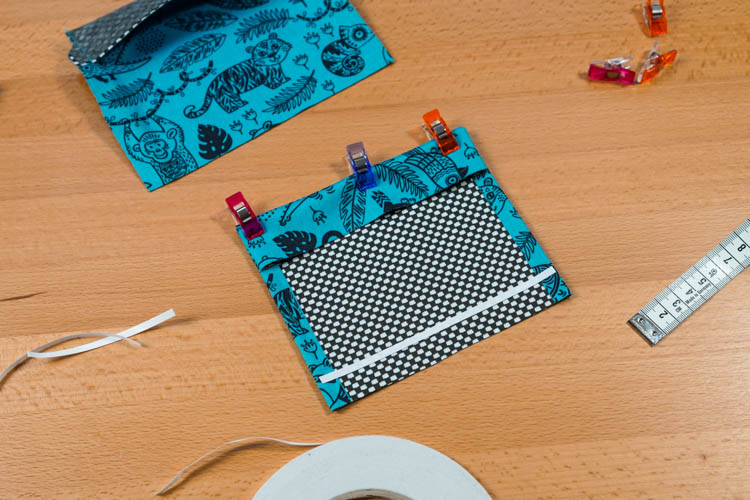
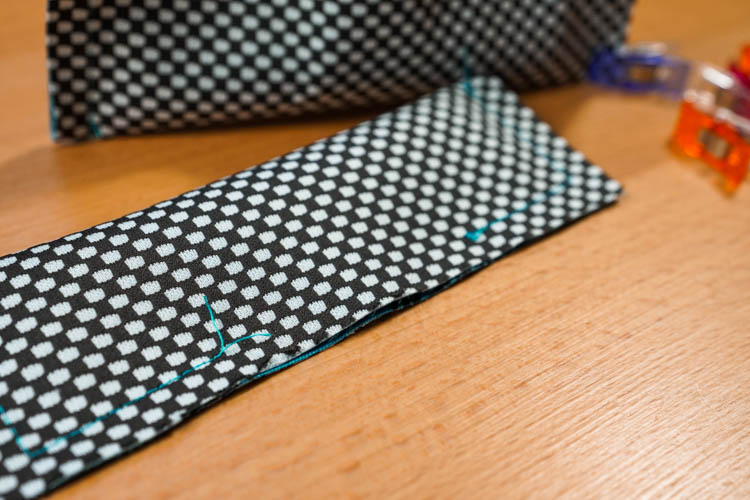
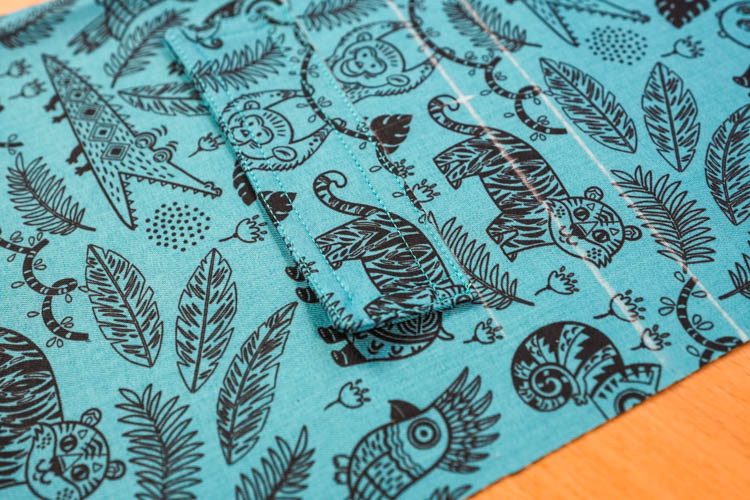
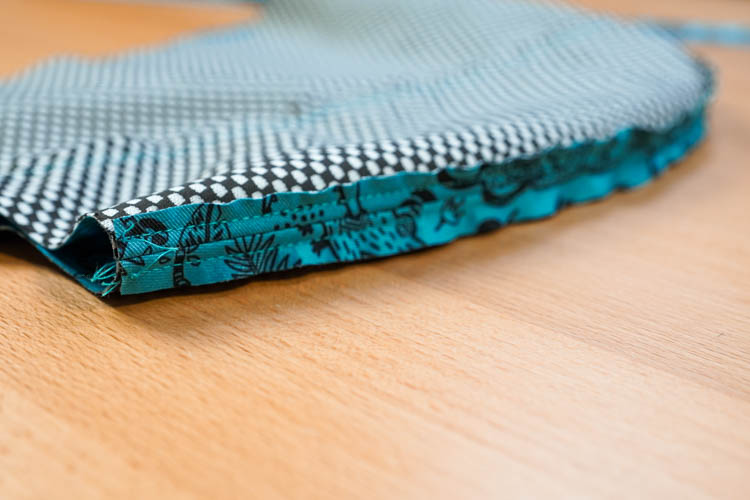
Turn the flaps face side out and clamp the gaps.
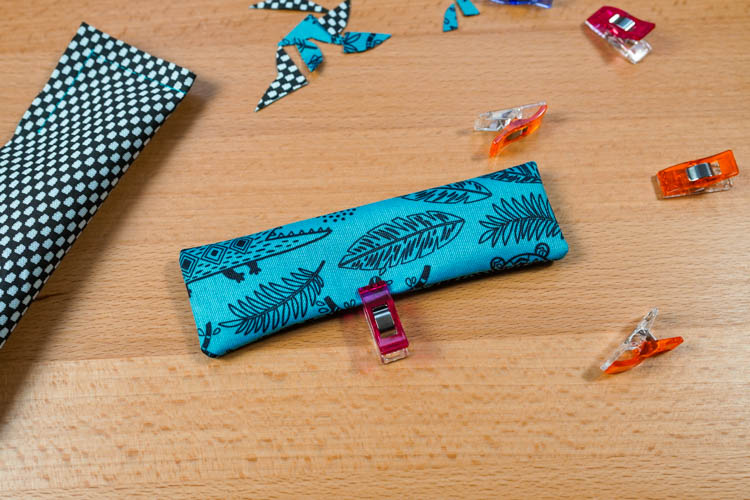
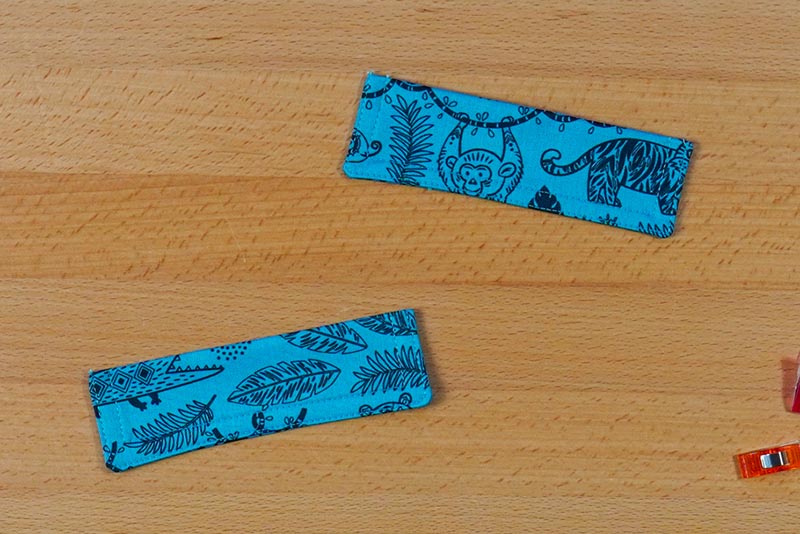
Topstitch the three sides of both flaps (don’t topstitch the fold). This will close the gaps and stabilize the flaps.
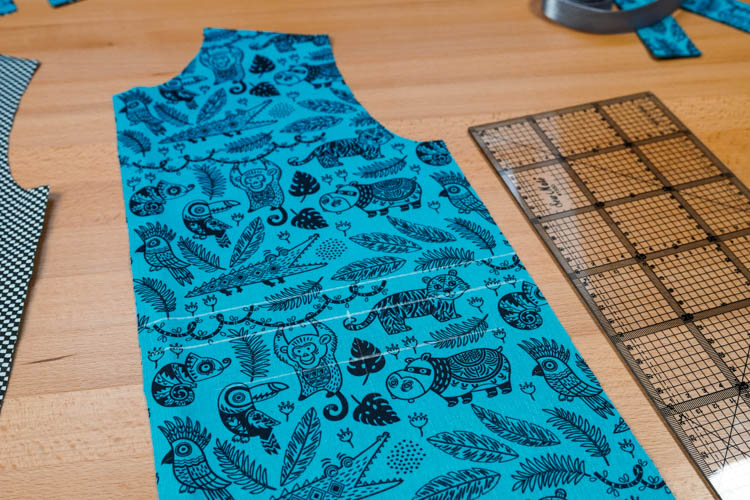
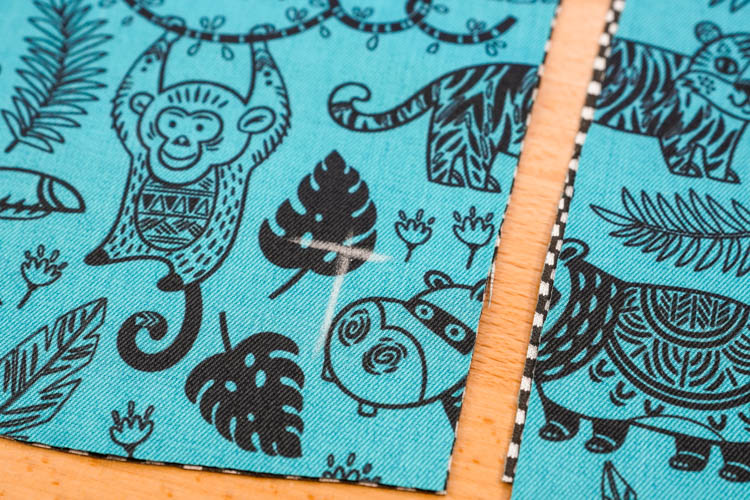
Waistline drawstring casing - Marks
5. Waistline
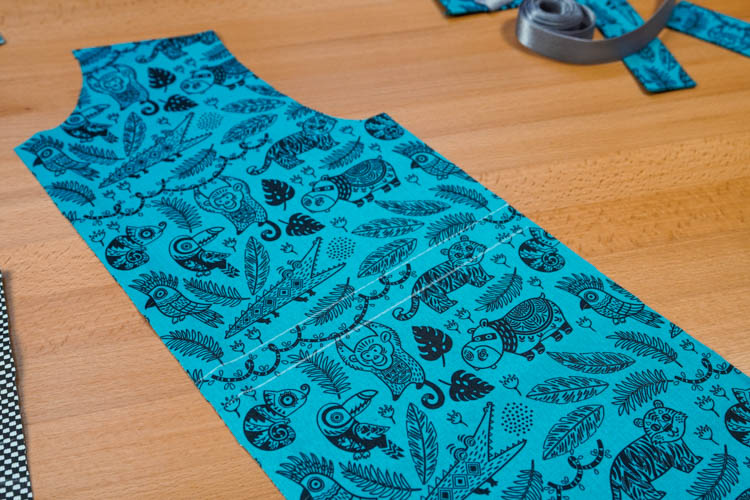
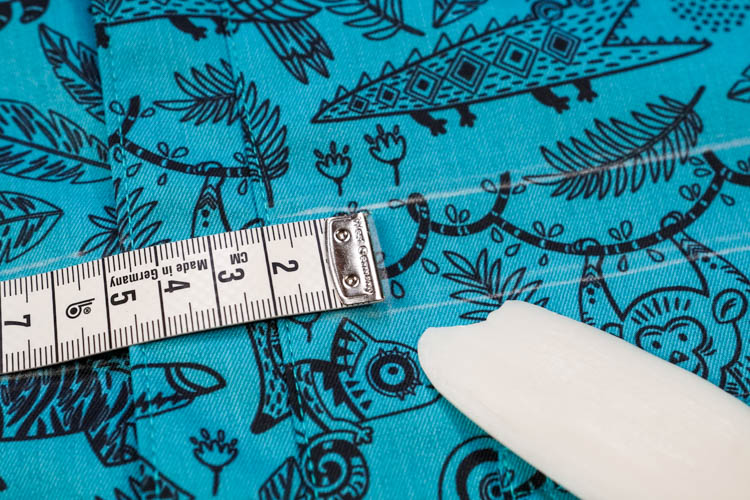
Transfer the line indicating the location of the waistline drawstring casing to the front pieces.
The drawstring will be created by sewing a ribbon, elastic band, or bias tape. Select the ribbon (or tape) you want to use and draw another (parallel) line below the original one. The distance of the lines depends on the width of your ribbon/tape.

Make small notches where the lines intersect the edges of the pieces.
Draw lines on face side pieces as well (connect the notches).
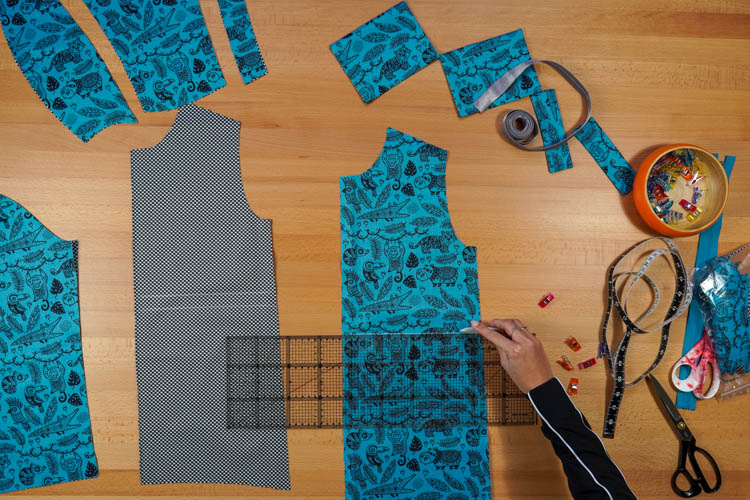
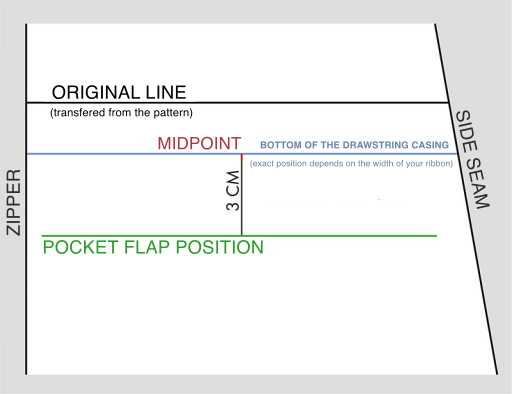
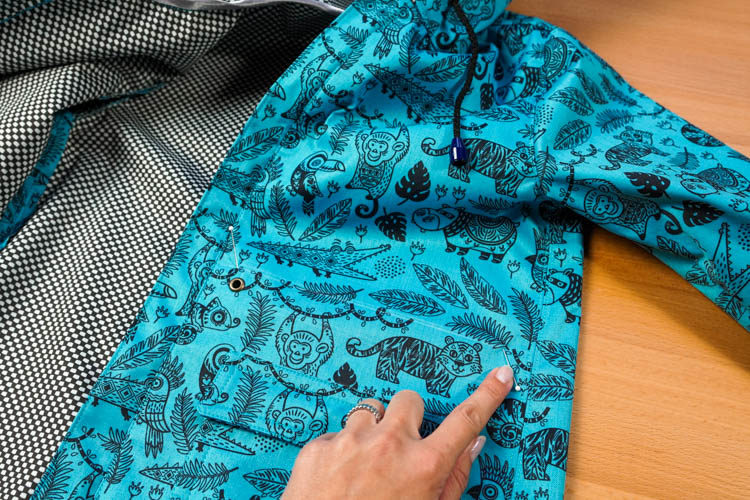
6. Correct pocket position
Find the center of the bottom line and mark it.
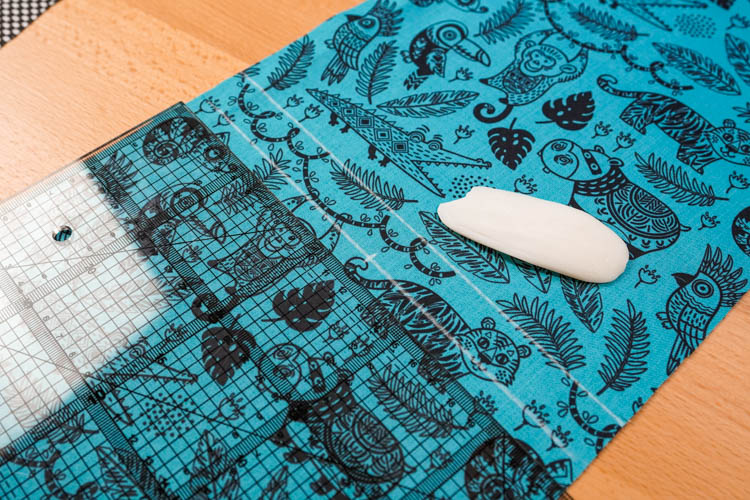
At this point, draw a line (downwards) that will be perpendicular to the two original lines. On this vertical line measure a distance of 3 cm from the bottom horizontal line and make another mark. Draw another horizontal line (parallel to the two original lines) that will pass through this mark. The pocket flap will lie on this line - 3 cm below the drawstring casing.
7. Pocket flaps
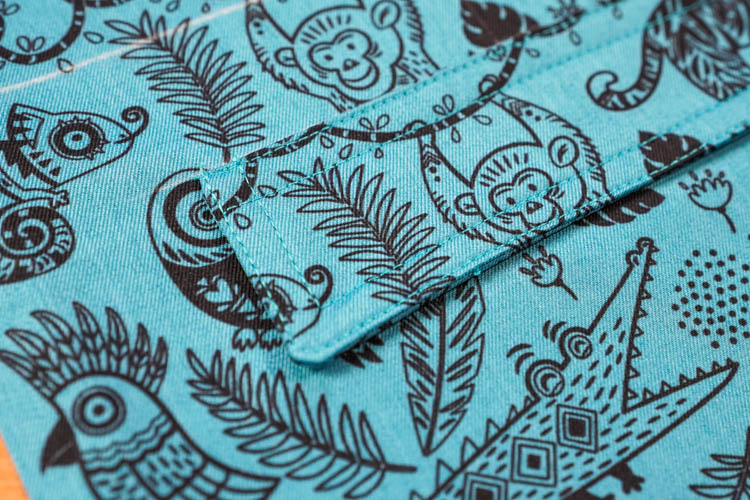
If I didn't use softshell, I could now simply baste/pin pocket flaps to the front pieces. But I don't want to pierce it more than necessary, so I helped myself with Stylefix adhesive tape again. I cut two smaller pieces with which I temporarily glued the flaps. The upper edge of the flap lies on the lowest horizontal line and the center of the flap is aligned with the vertical line.
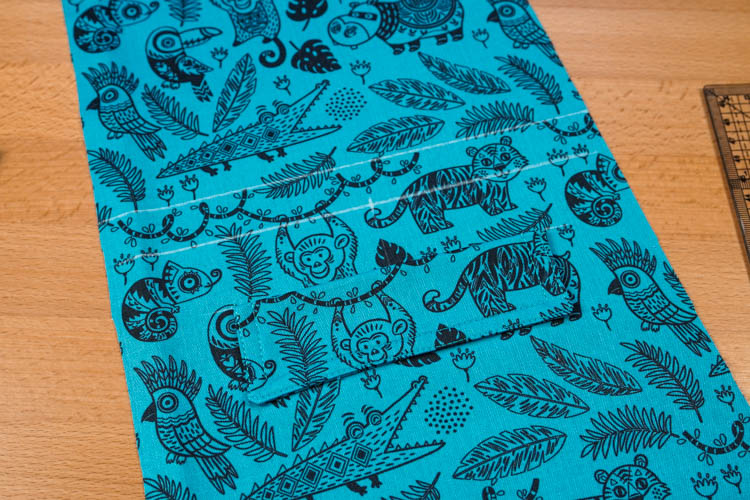
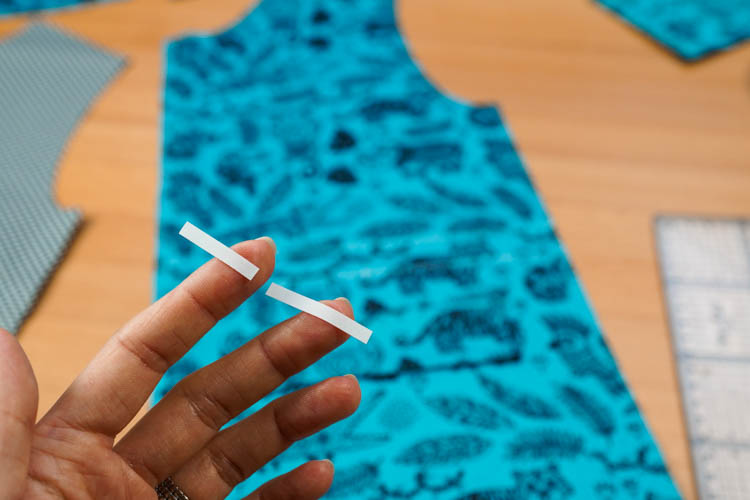
Sew the flaps to both front pieces.
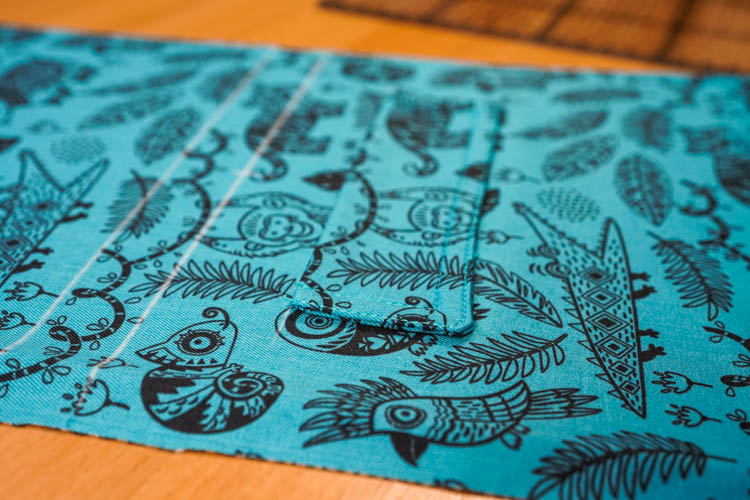
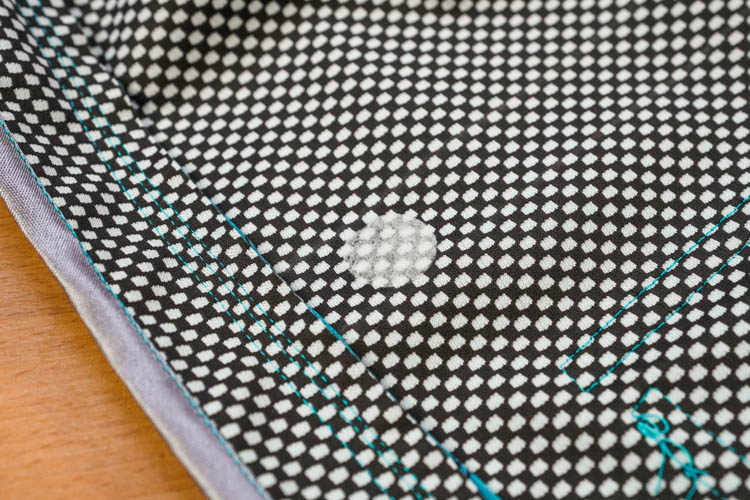
8. Pockets
I attached patch pockets in the same way as pocket flaps.

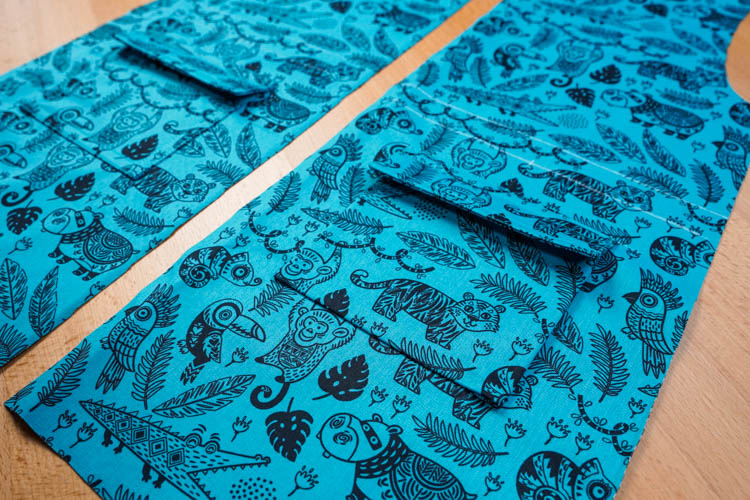
The upper edge of the pocket should be about 0.5-1.5 cm below the upper edge of its flap (so that the flap covers the pocket opening).
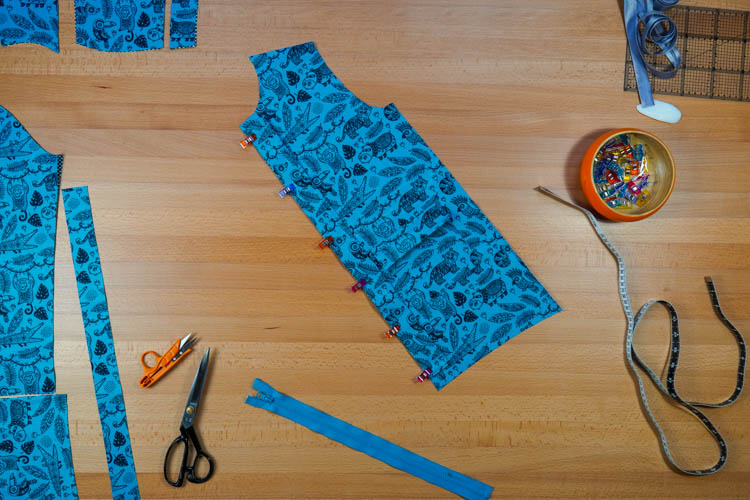
Zipper
9. Prepare zipper underlap & overlap
Measure the edge of the front piece (including seam allowances).
The zipper overlap (wider strip) is 8 cm wide and its length is 1.5 cm shorter than the length of the edge you just measured.
The underlap is 4 cm wide and has the same length as the zipper overlap.
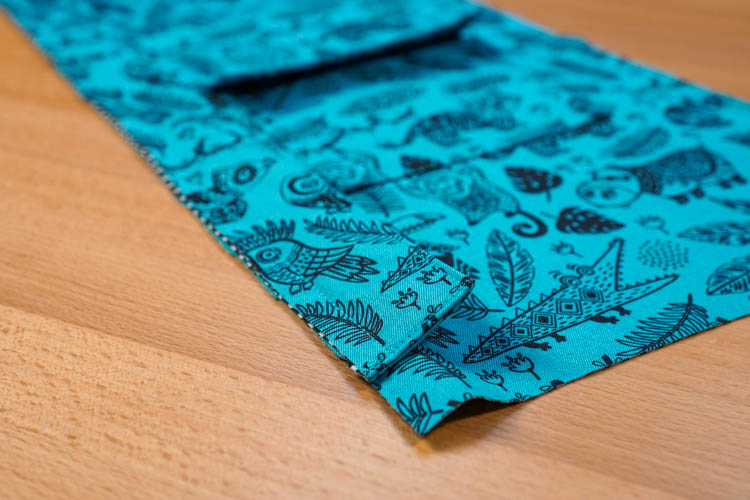
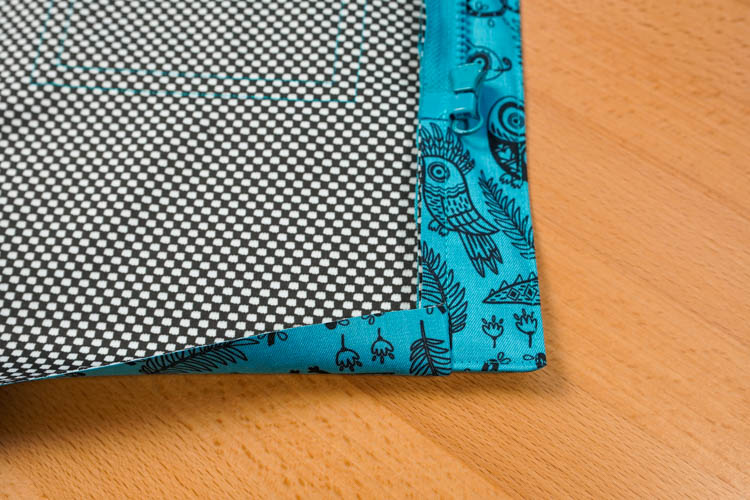
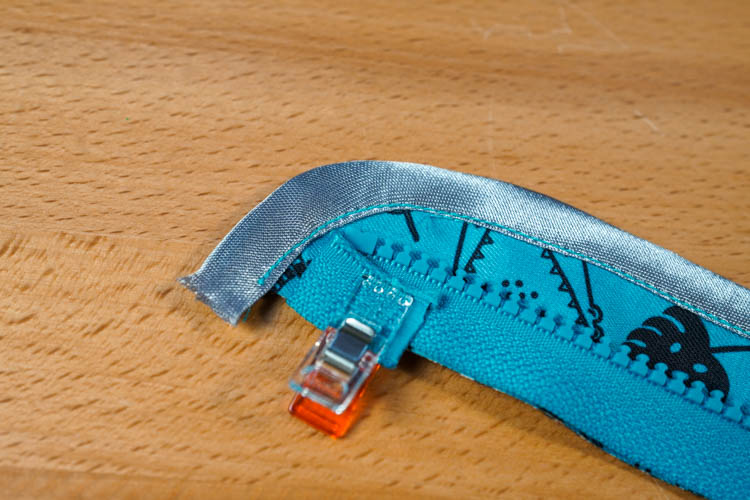
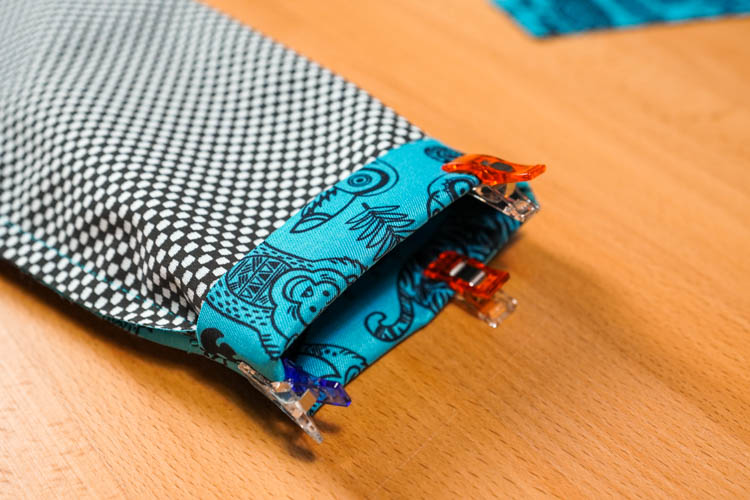
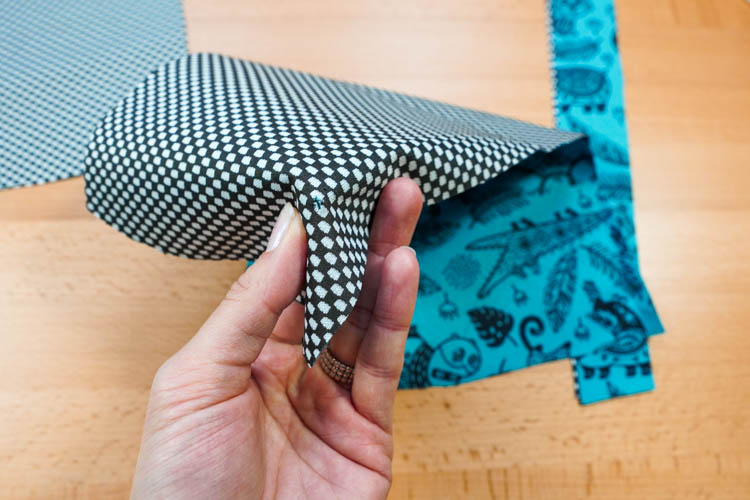
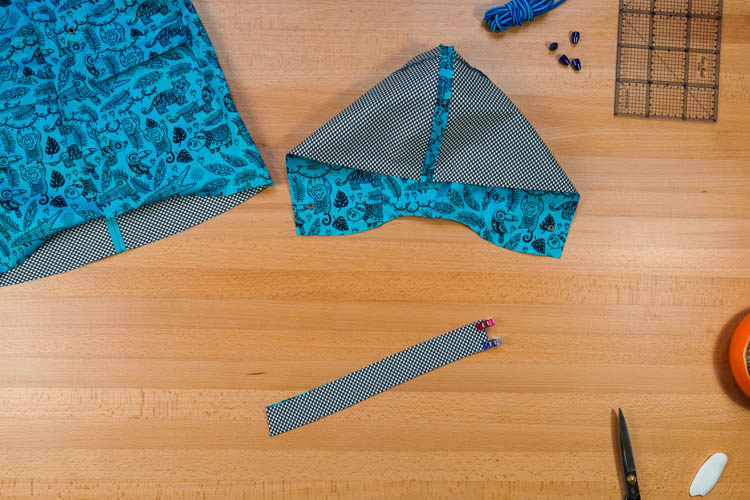
10. Zipper overlap
Fold the overlap piece in half (lengthwise, face side in) and sew the shorter sides. Sew 1 cm from the edges. Cut the corners of the seam allowances near the fold so that you can easily turn the piece face side out.

Turn the overlap face side out, iron it, and topstitch both shorter sides and one of the longer sides (the one with the fold).
Lay the overlap on the face side of the front piece. Put it on the left front piece if you are sewing a jacket for a boy, or on the right front piece if you are sewing a jacket for a girl.
The overlap should lie 2.5 cm above the bottom edge of the front piece and 1 cm below the upper cutting edge (neckline).
Sew the overlap to the front piece.
Lay one half of the zipper on top of the overlap (face side to face side).
The upper end (last tooth) of the zipper should be aligned with the upper edge of the overlap. Fold the zipper tape back on itself so that it doesn’t reach over the overlap.
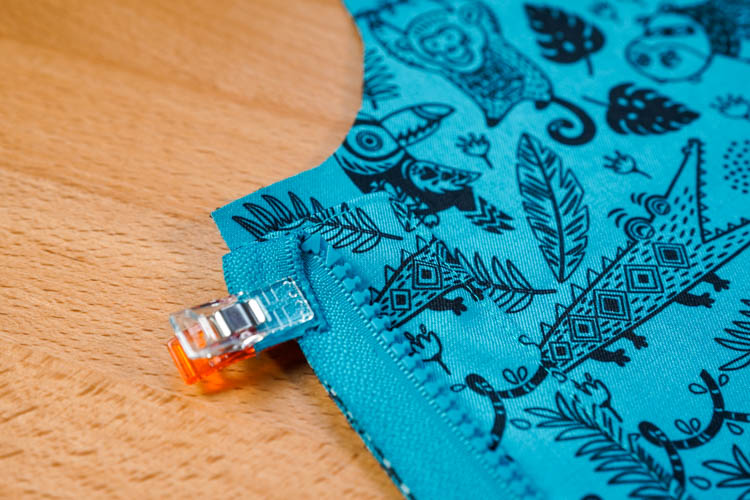
The bottom end of the zipper is in a slightly different place for each size.
Sew the zipper to the jacket - sew right next to the zipper teeth.

You can sew through the top part of the zipper tape with a straight stitch to keep it in place.
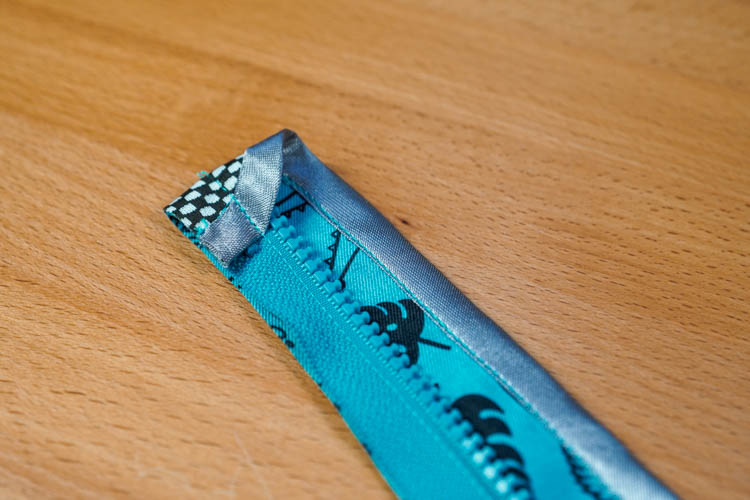
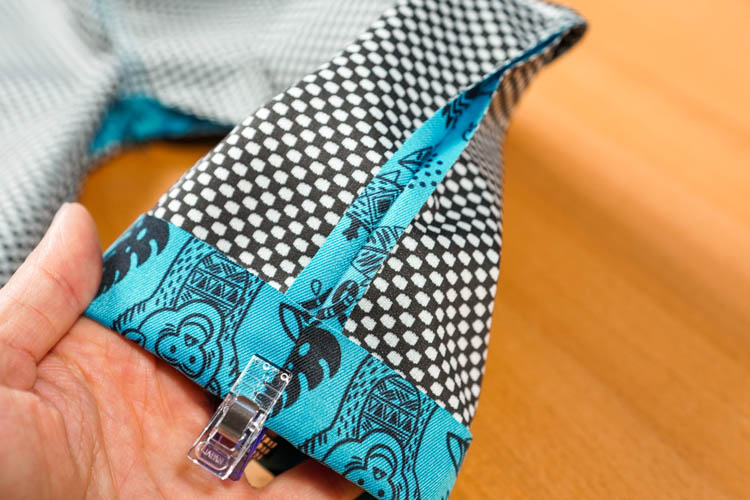
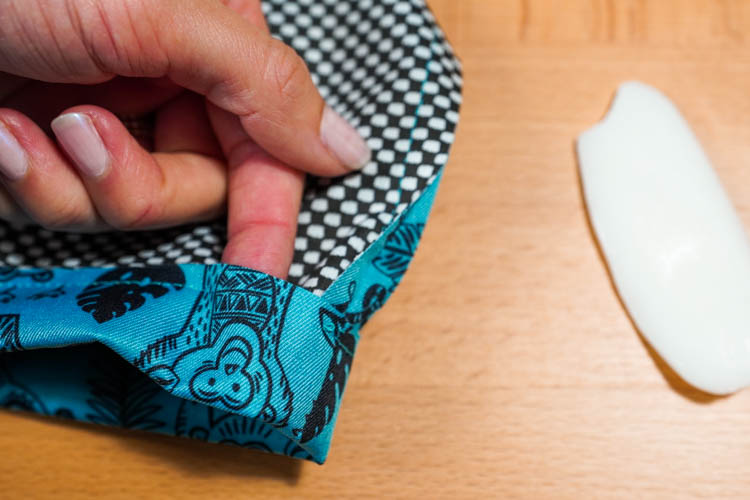
Fold the bottom hem over the zipper overlap. Sew through the folded bottom hem as if you were continuing the previous seam.
Carefully cut the corner of the bottom hem and turn it face side out.
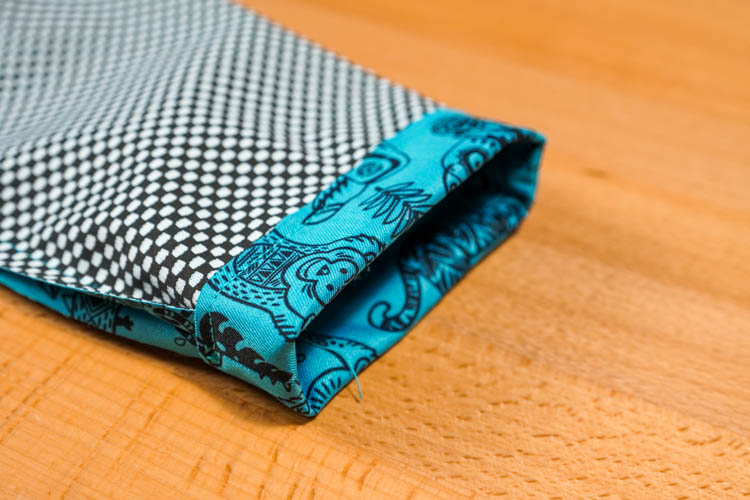
Topstitch the front piece and zipper & overlap. This attaches the seam allowances and the zipper tape and stabilizes the area.
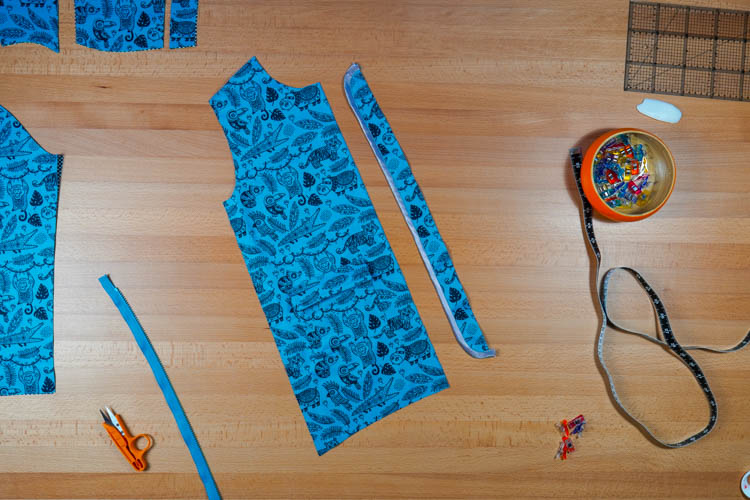
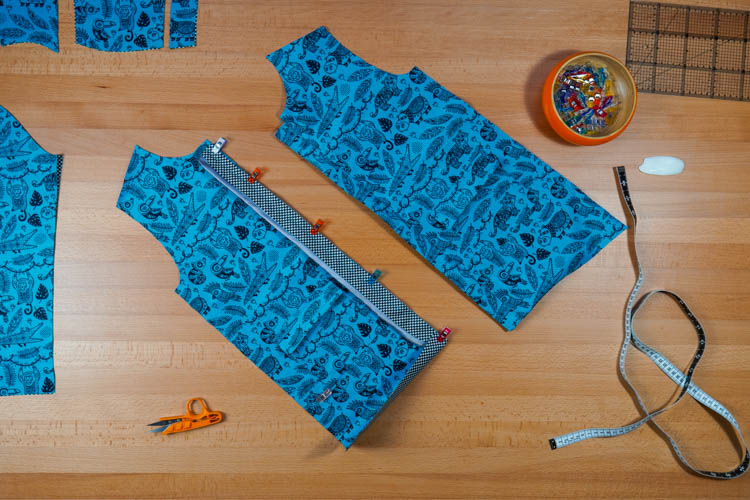
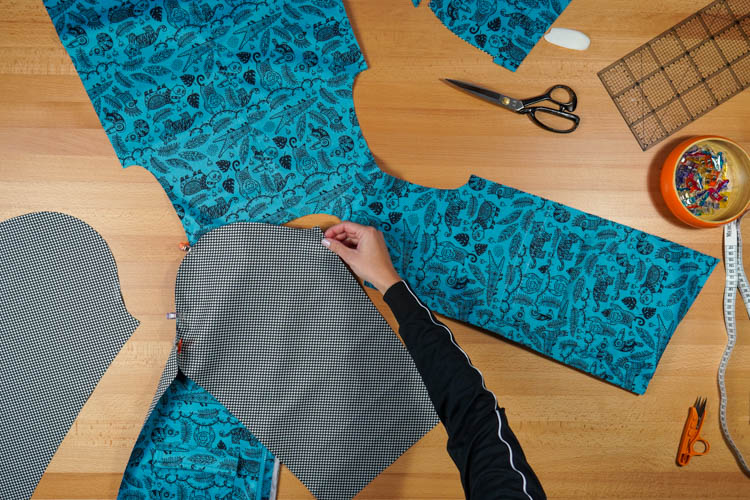
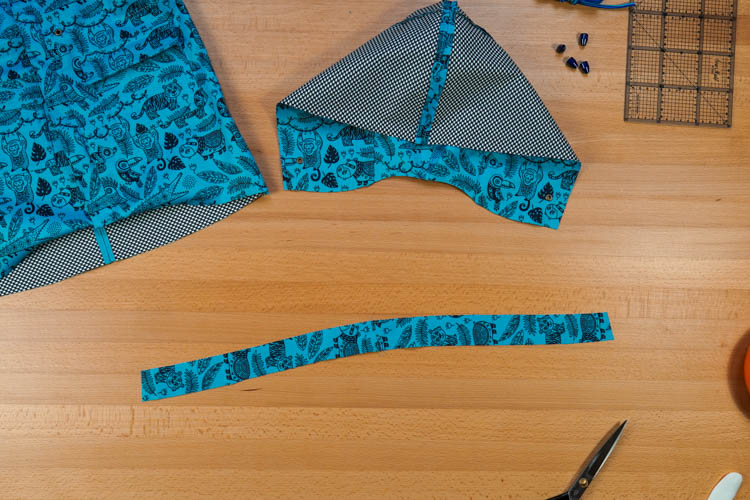
11. Zipper underlap
Place the zipper underlap next to the second front piece. Place the pieces face side up if you are using a fabric with a motif and you need to make sure that the motif of the underlap piece is not upside down.
I made the mistake of keeping the underlap face side down and not checking the direction of the motif, so as you will see a little later, I have it upside down! :D

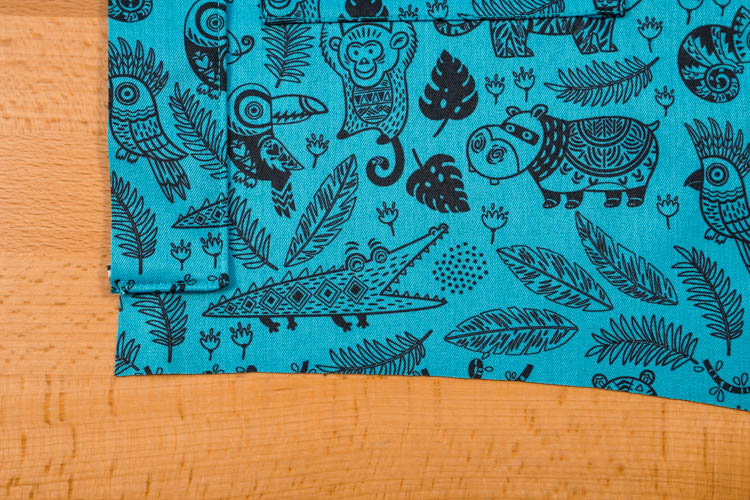
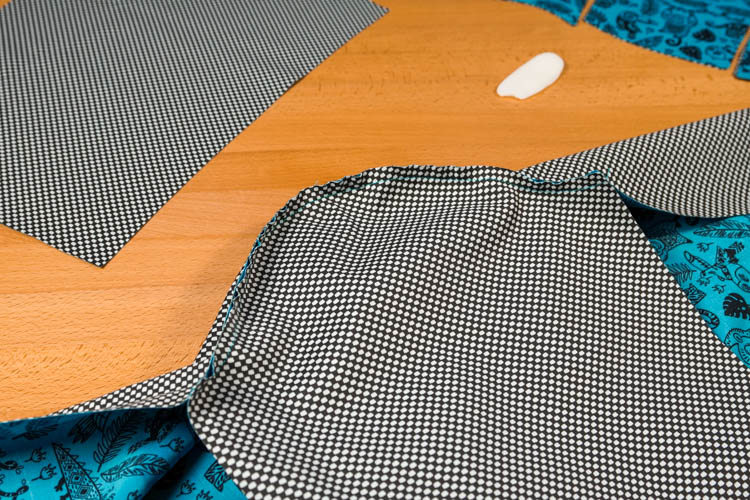
Round the two outer corners of the underlap.
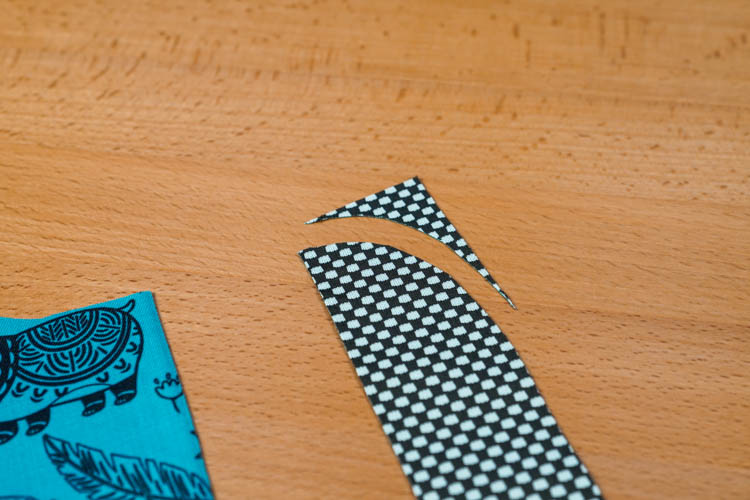

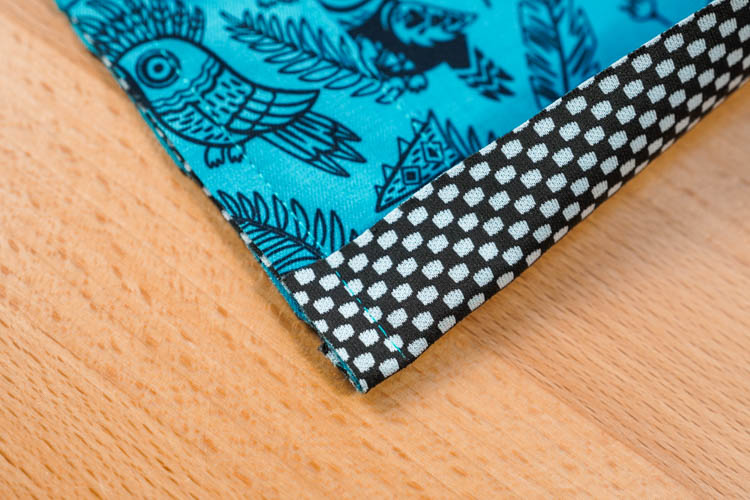
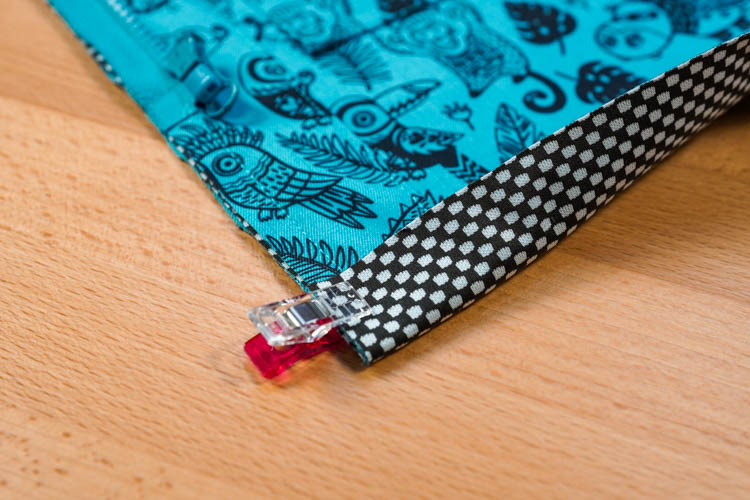
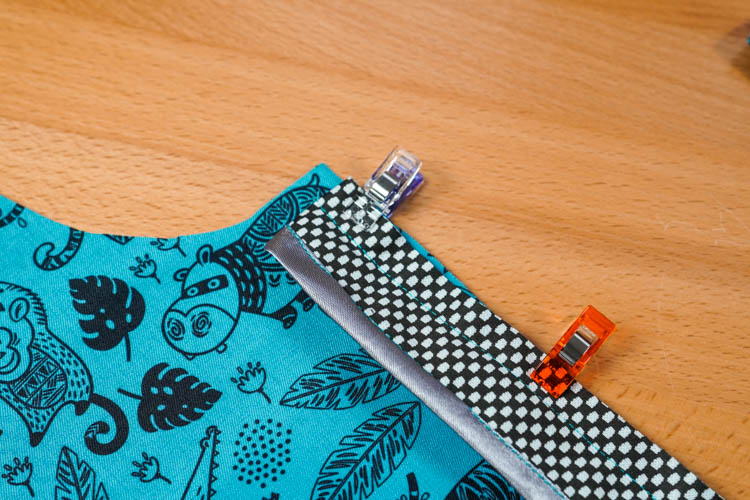
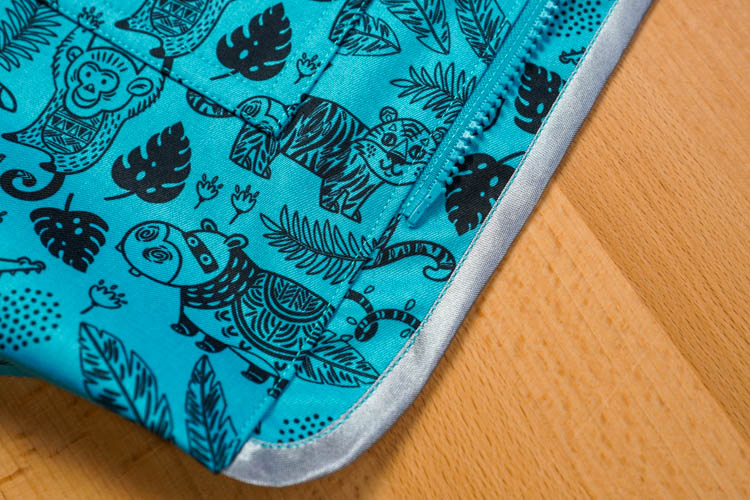
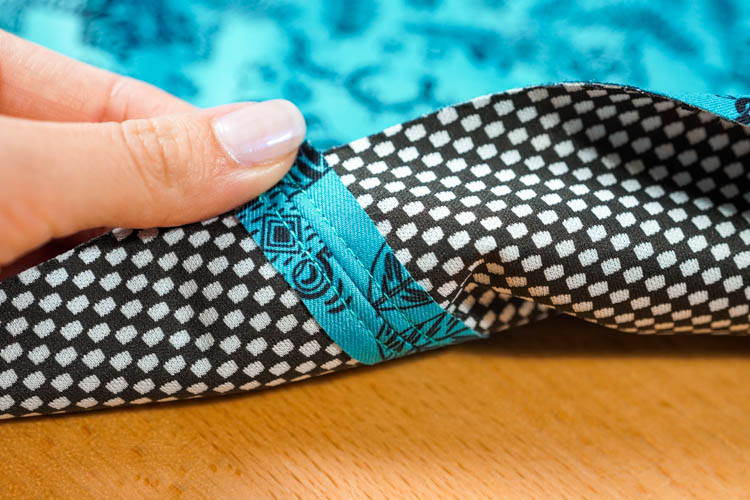
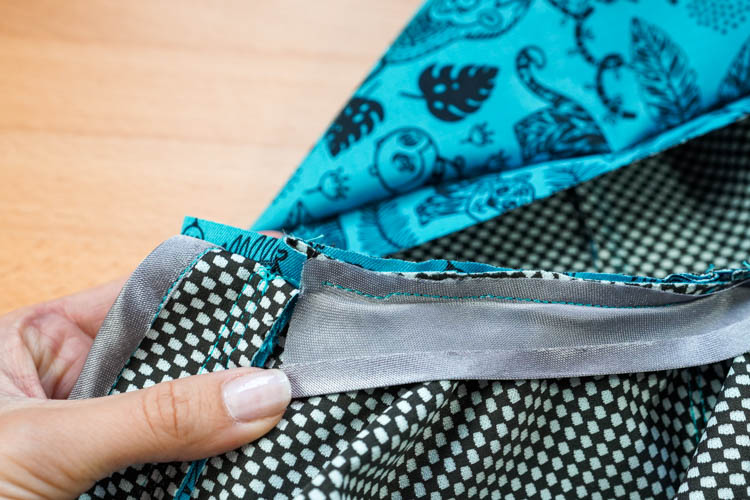
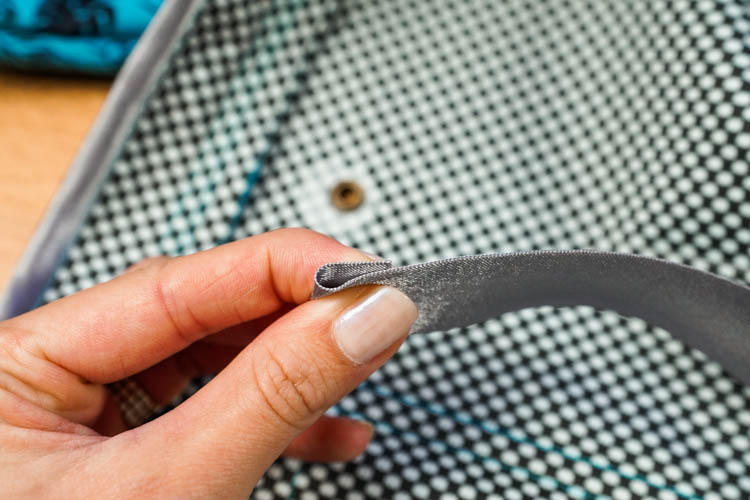
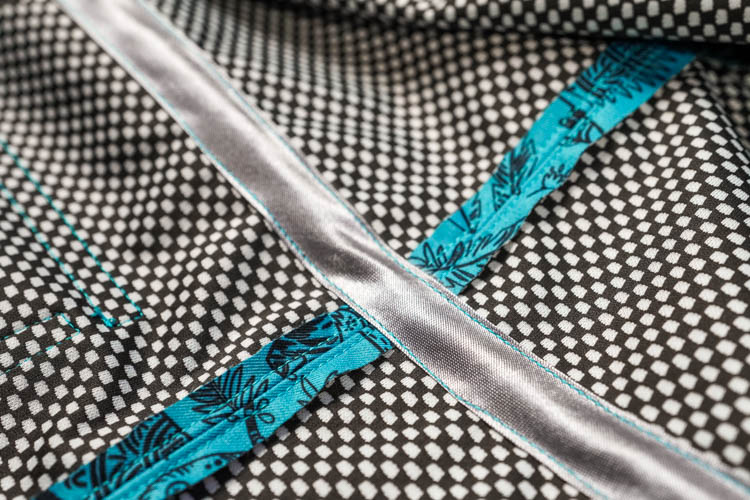
Hem the side with rounded corners. You can use a bias tape or elastic band, for example.
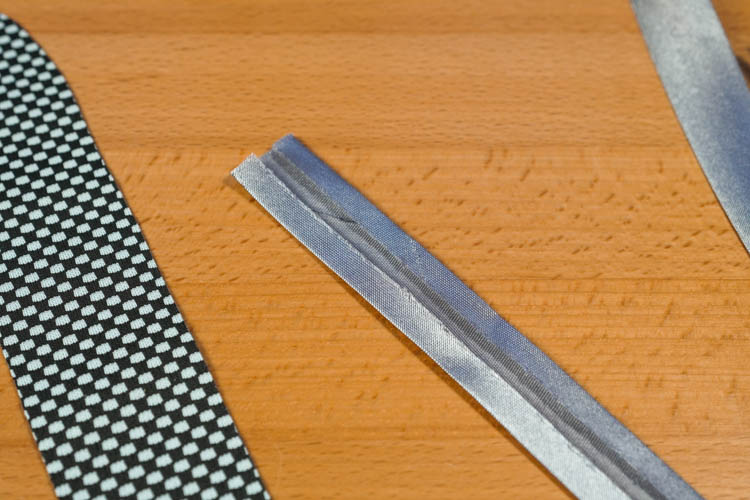

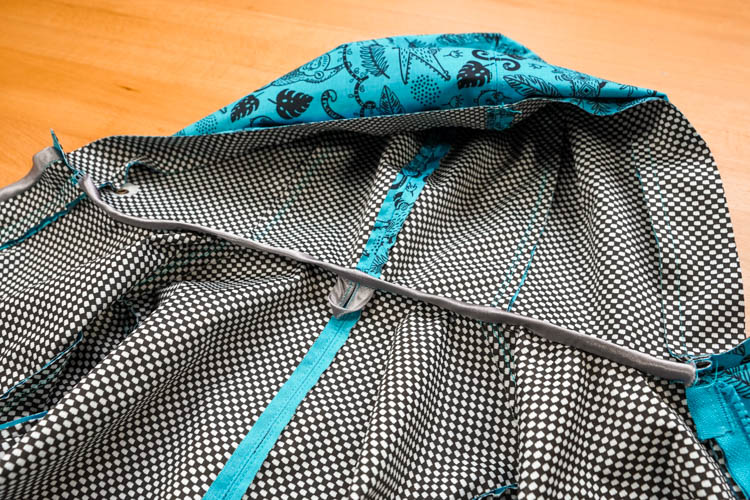
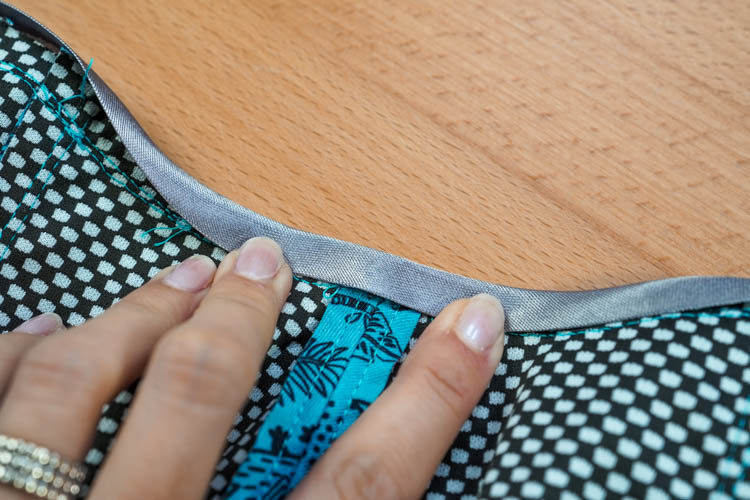
I used a bias tape - first I sewed it to the reverse side of the underlap...
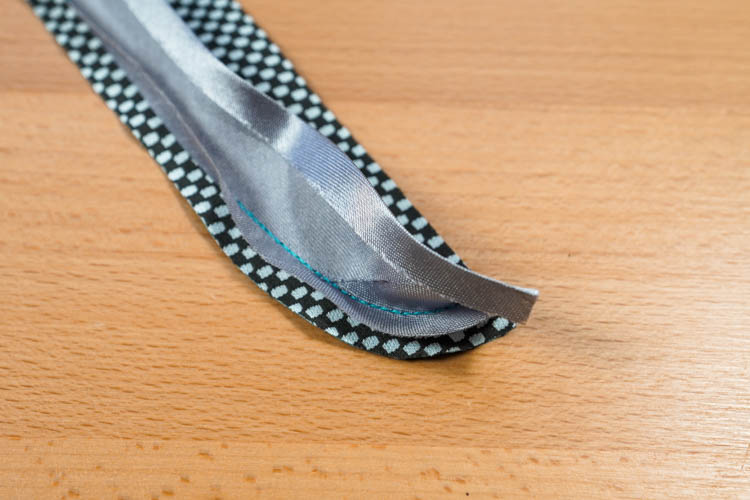
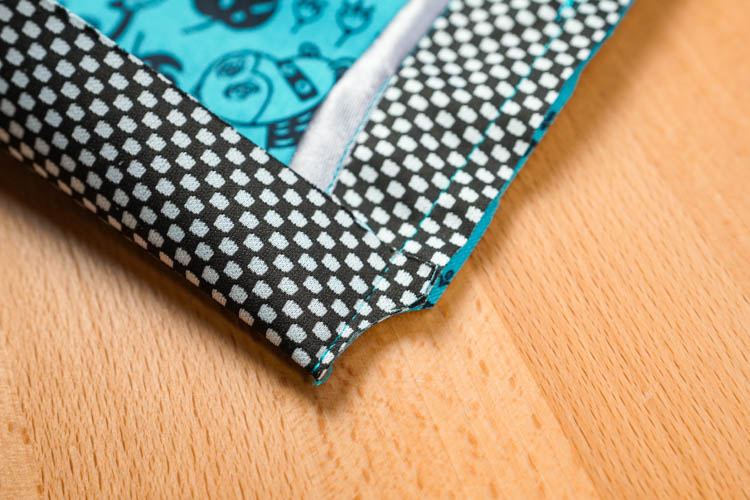
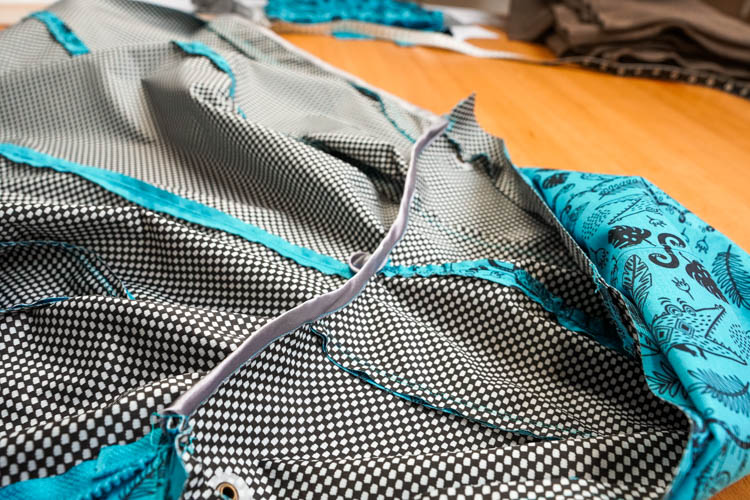
...then I folded it over the edge and sewed it to the face side.
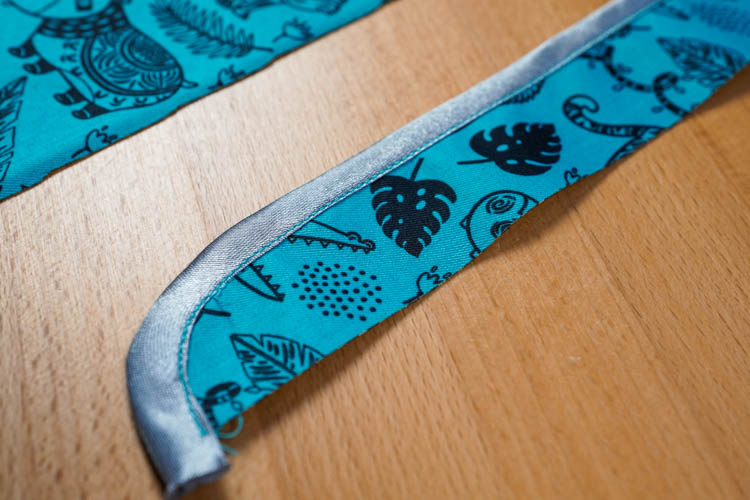
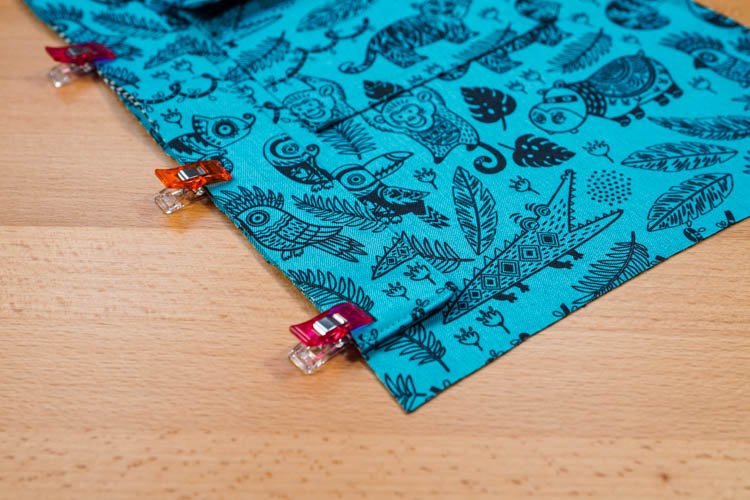
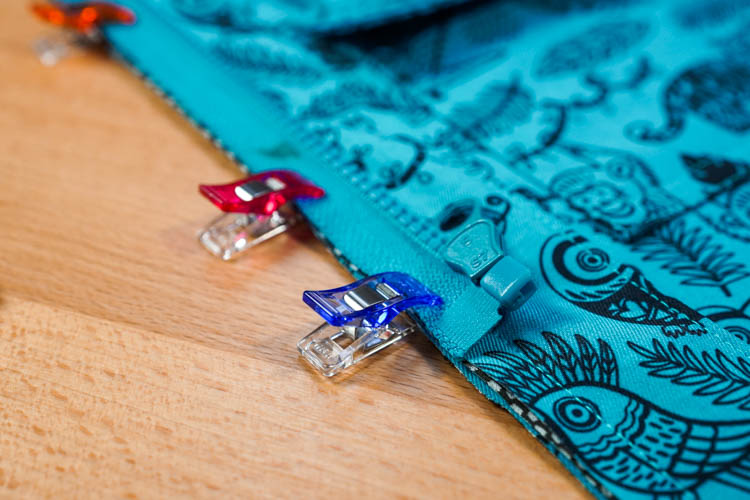
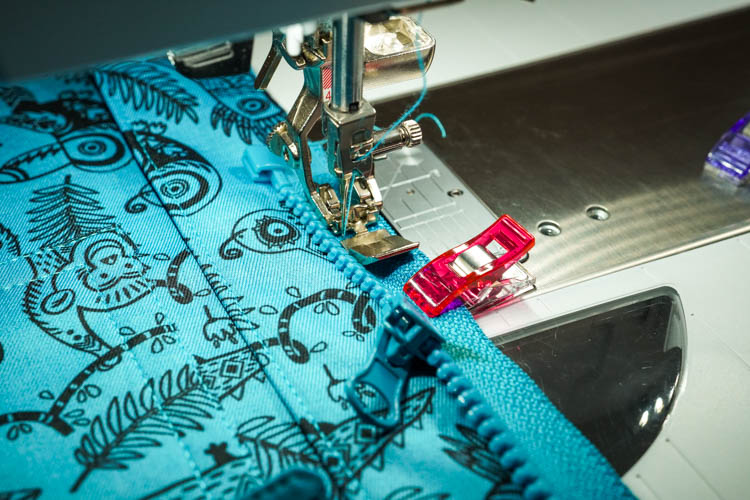
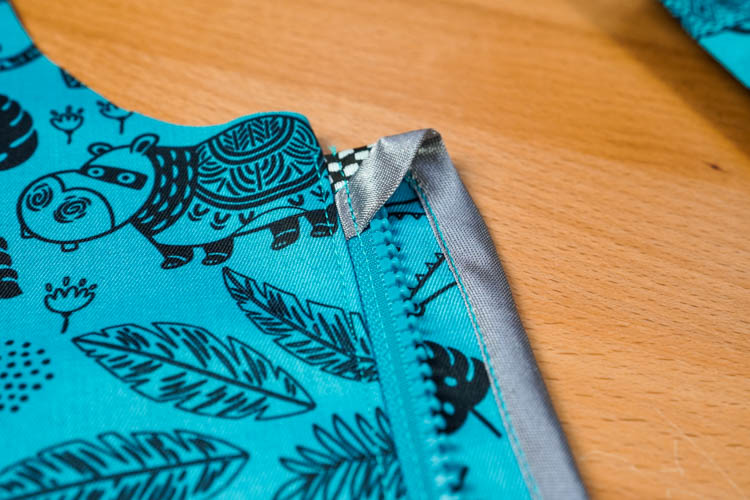
Attach the zipper to the underlap. The top stop of the zipper should be 2 cm below the upper edge of the underlap Fold the rest of the zipper tape back on itself.
Fold the top of the underlap over the zipper and clamp all layers.

Sew the zipper to the underlap.
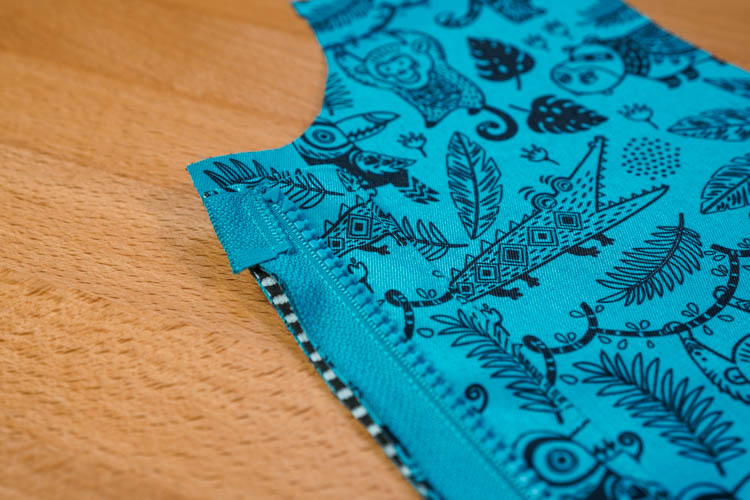
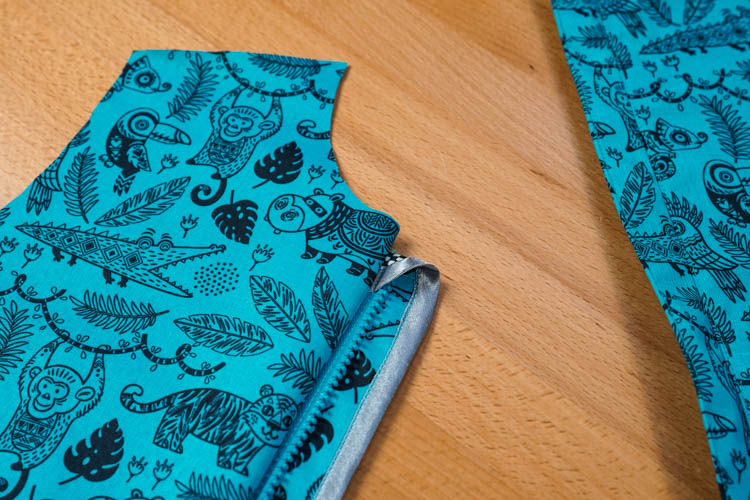
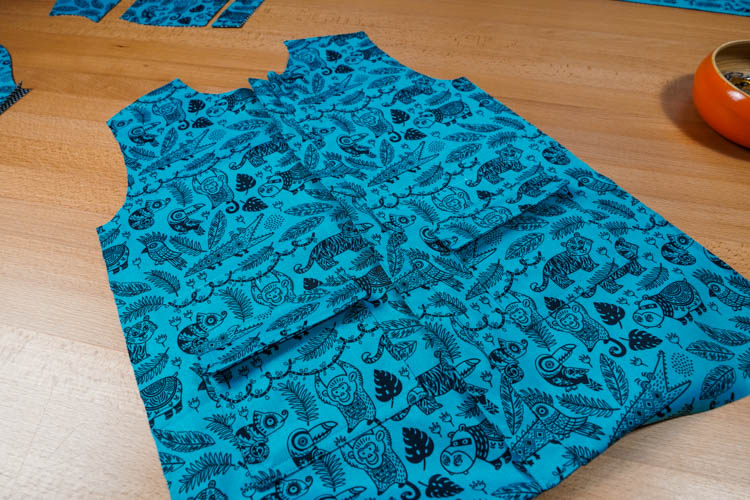
Attach the underlap to the front piece (face side to face side).
Underlap should be 1 cm below the edge of the neckline and 2.5 cm above the bottom edge of the front piece. Fold the bottom hem of the front piece over the underlap.

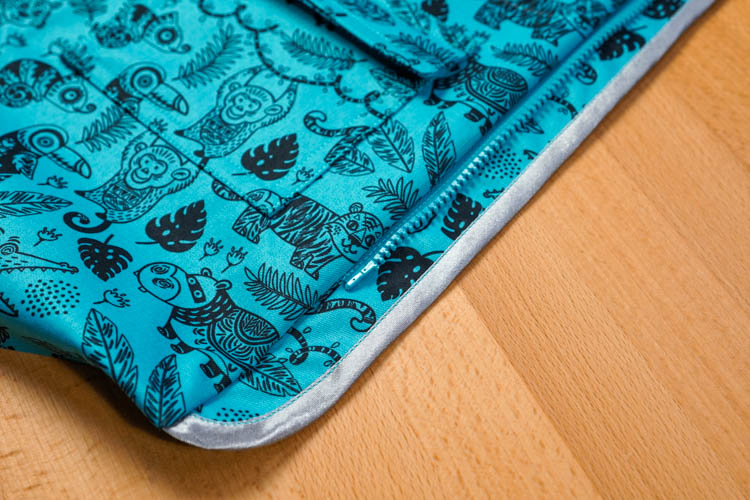
Sew the underlap & zipper to the front piece. Cut off the corner of the bottom hem.
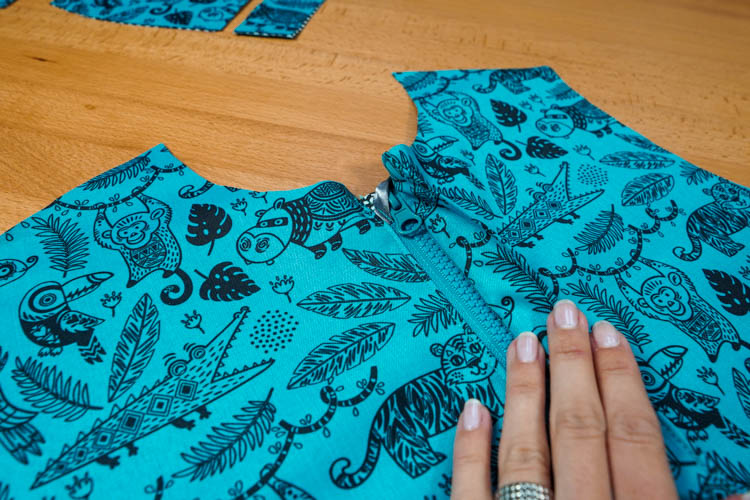
Both sides of the zipper and their covers are in place. Close the zipper and check if everything is OK. The pockets should be placed symmetrically and the edges of the bottom hem should be aligned. The edges of the neckline should also be aligned.
If everything is in order, you can topstitch the underlap.
Back pieces
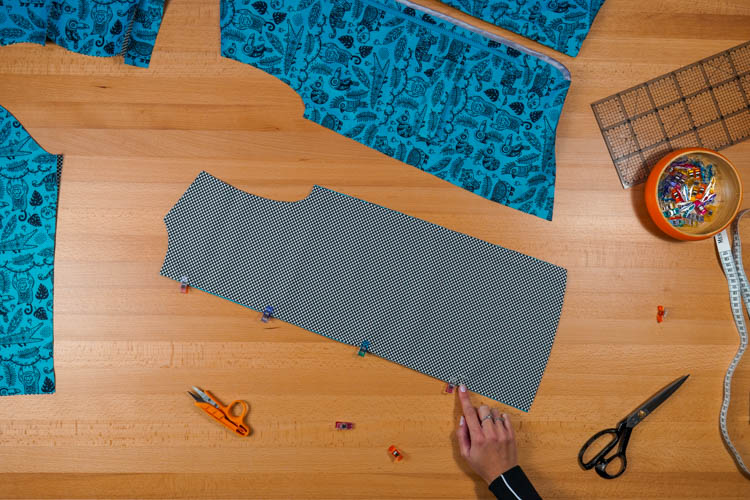
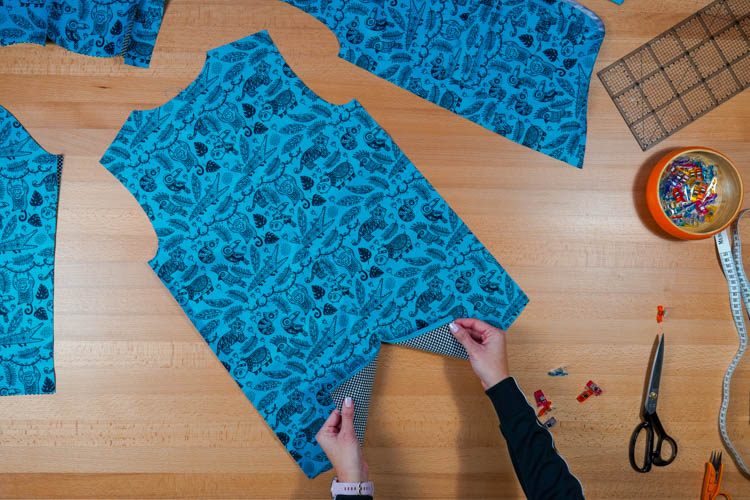
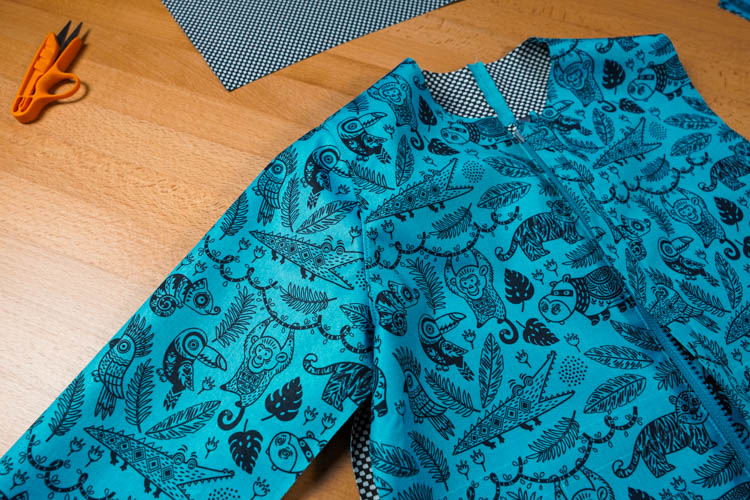
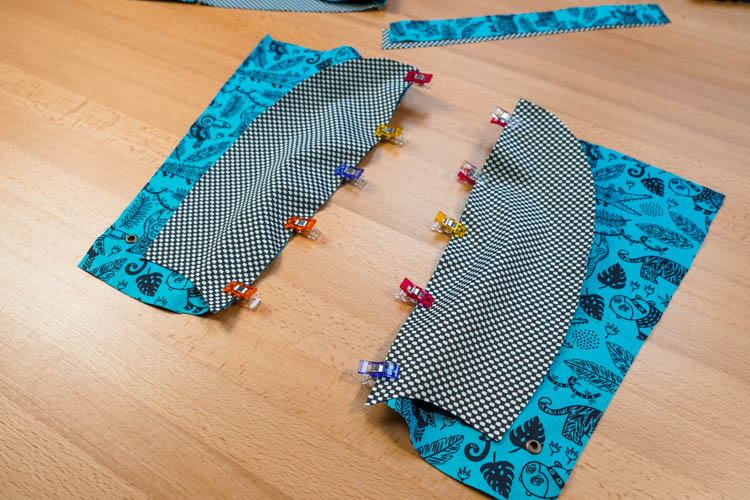
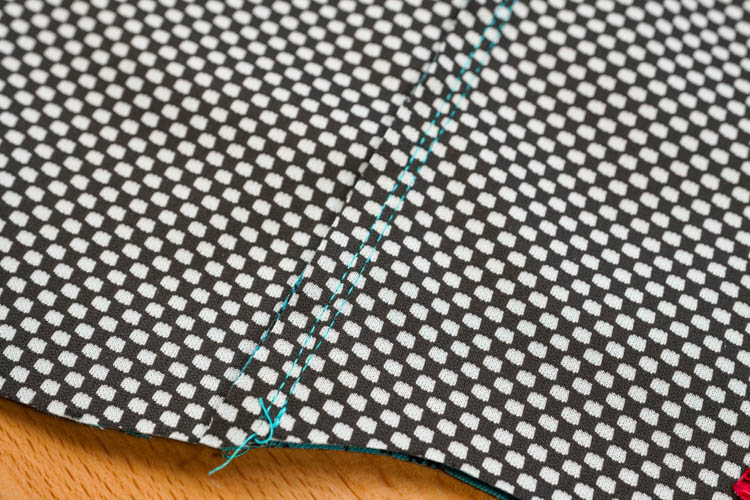
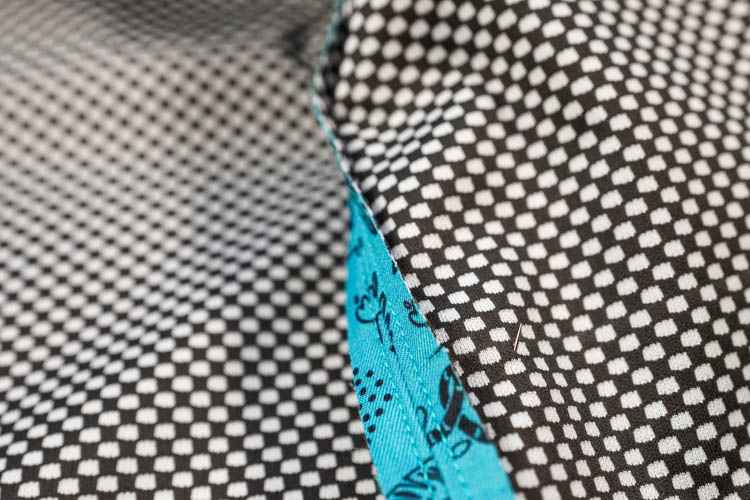
12. Rear center seam
Let's prepare the back pieces. Put the back pieces on top of each other (face side to face side) and clamp the rear center seam.
On the paper pattern, you will find a mark that determines the position and length of the rear slit (vent). Transfer this mark to the fabric pieces (if you haven't already done so).
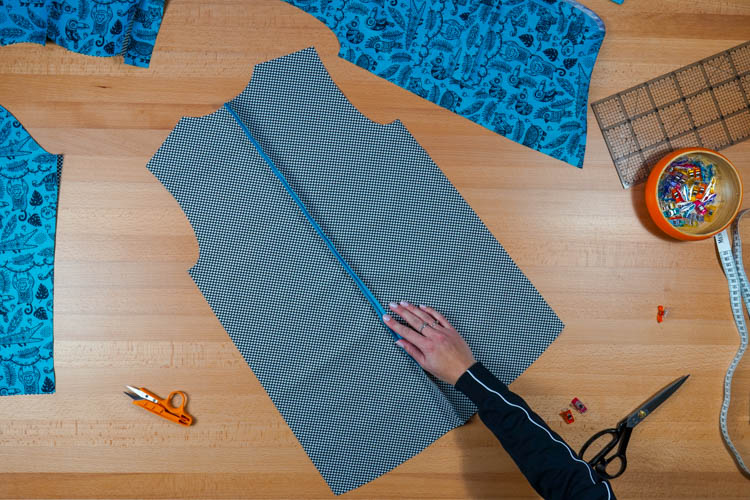
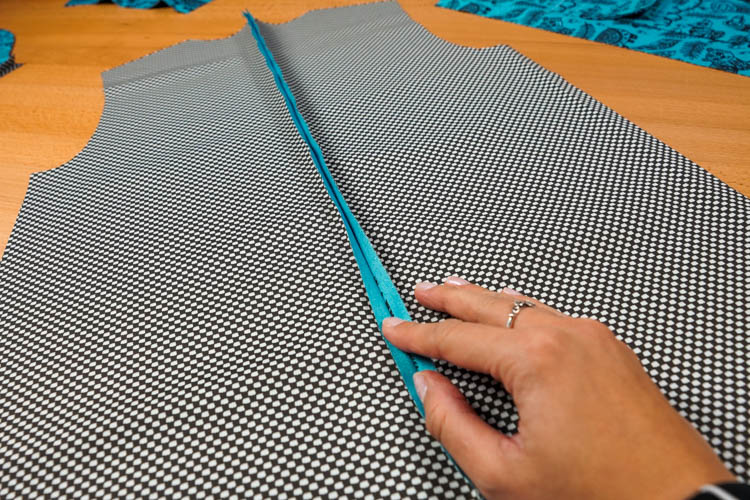
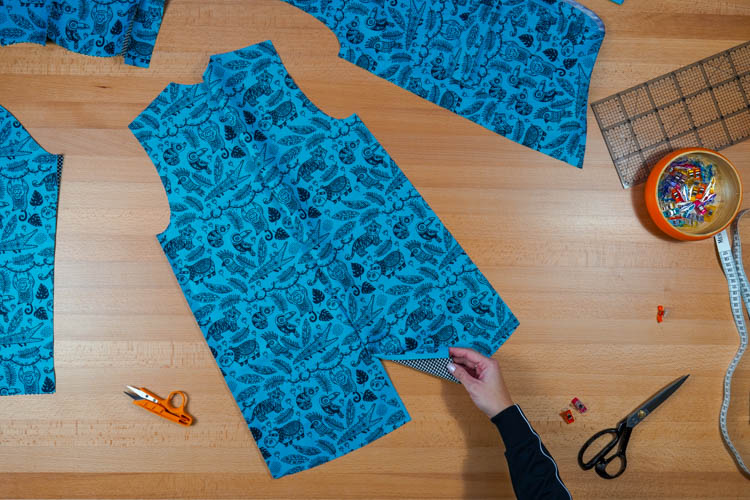
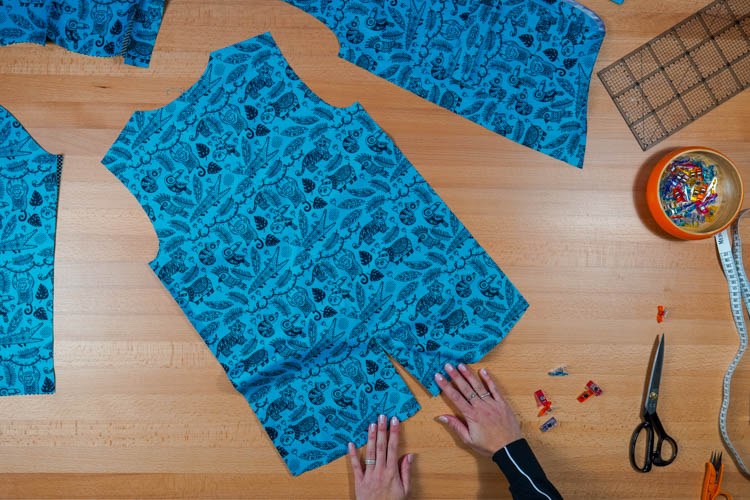
Sew the rear center seam - sew from the neckline up to the mark.

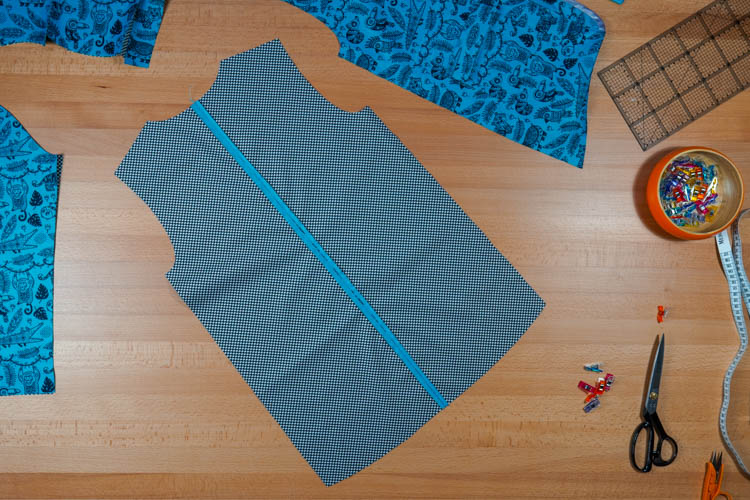
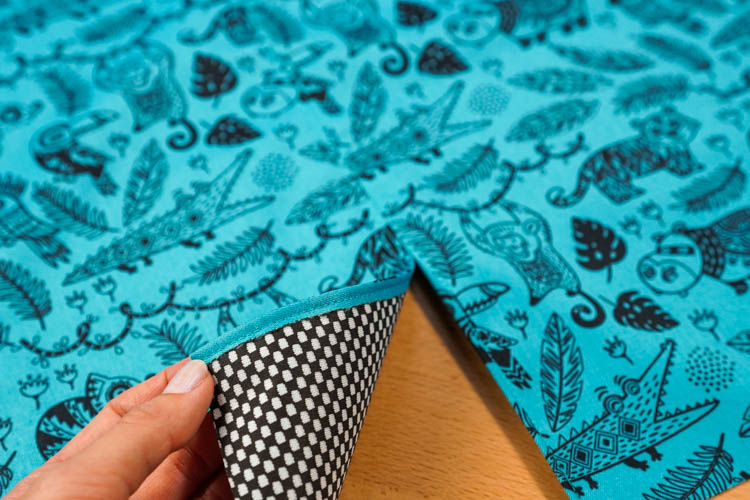
Press the seam allowances open and topstitch both sides of the seam and both edges of the slit (vent).
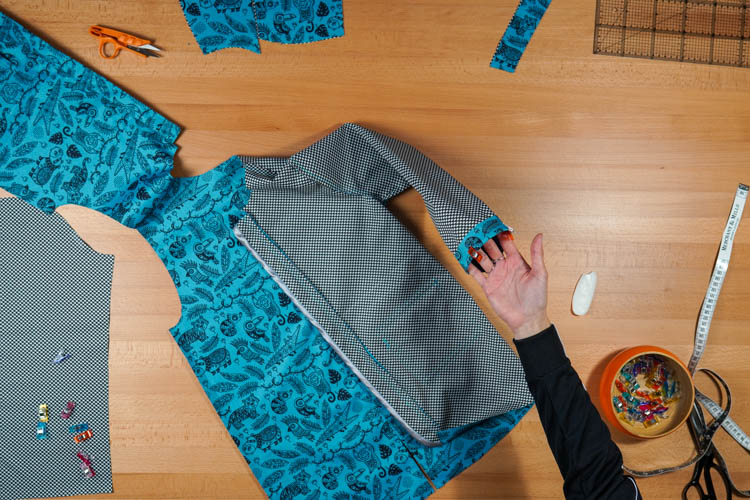
Shoulder seams
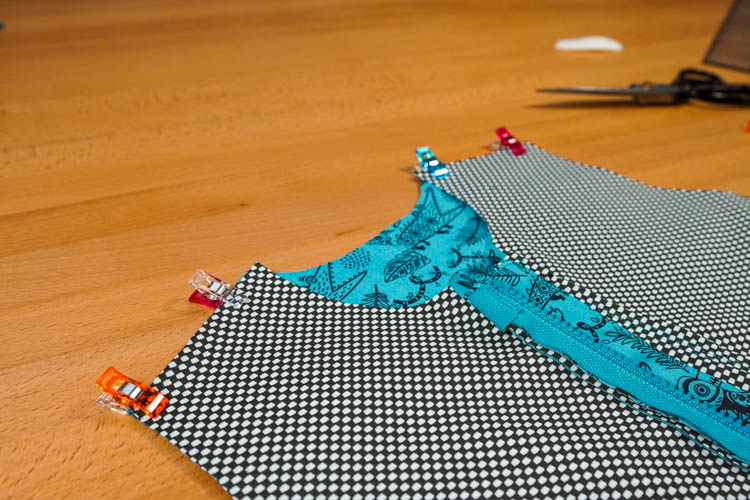
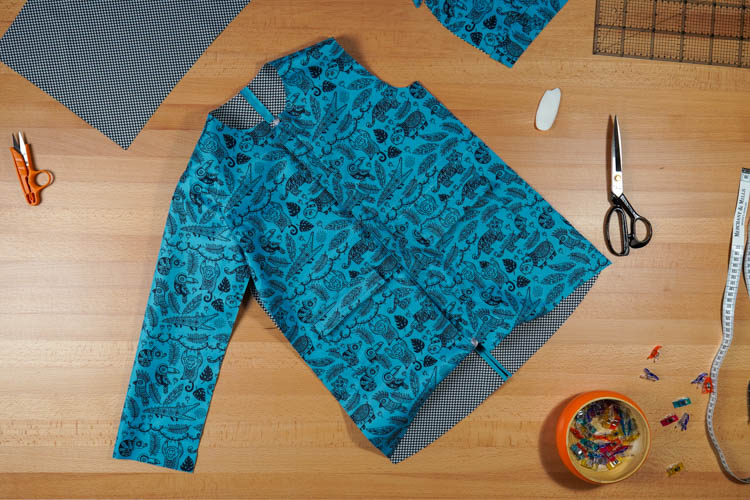
13. Sew the shoulder seams
Lay the front pieces over the back pieces (face side to face side). Clamp and sew both shoulder seams.
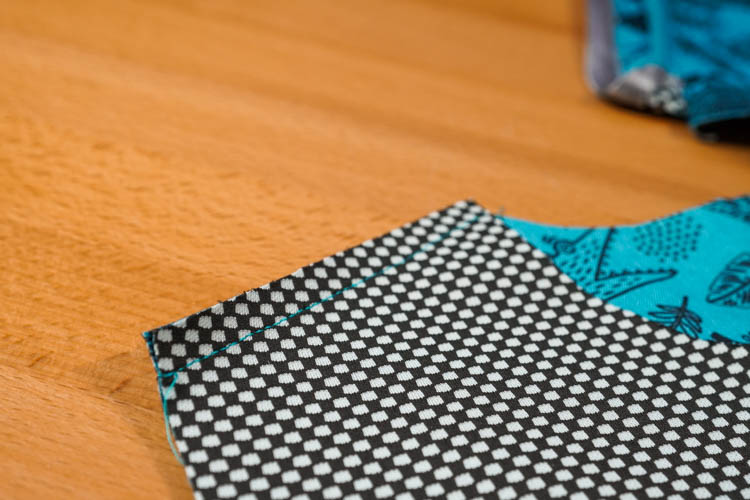
Unfold the pieces, press the seam allowances towards the back piece, and topstitch both shoulder seams.
Sleeves
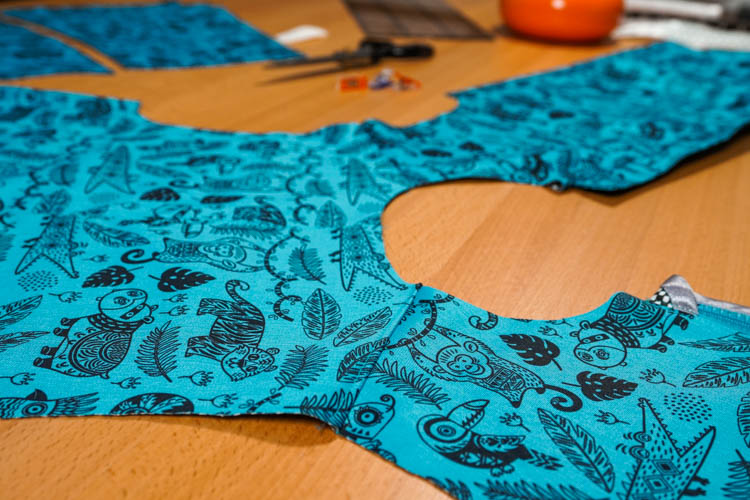
14. Sew the sleeves to the jacket
Pin the sleeve piece to the armscye (face side to face side). The marks that you have transferred from the paper pattern will help you sew the sleeve correctly.
Press the seam allowances towards the torso and topstitch the armscye.

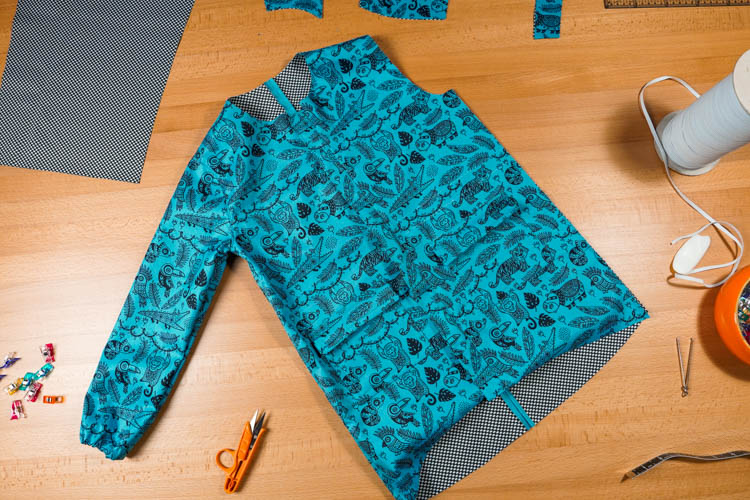
15. Sleeve seams & side seams
Turn the jacket inside out and clamp the side seam & sleeve seam.
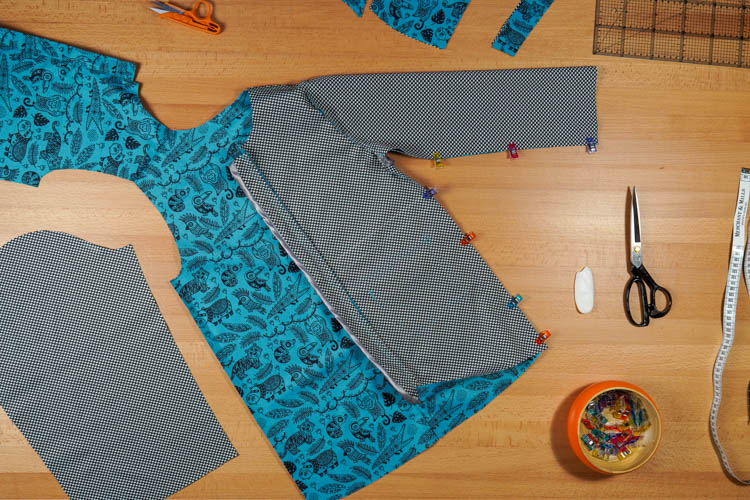
Sew the side seam & sleeve seam in one go and press the seam allowances open. Turn the jacket so that you have good access to the side seam...
...and topstitch both sides of the seam.

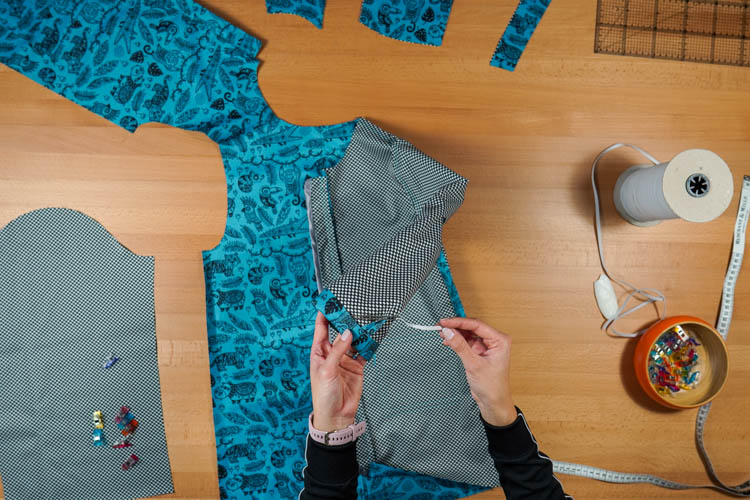
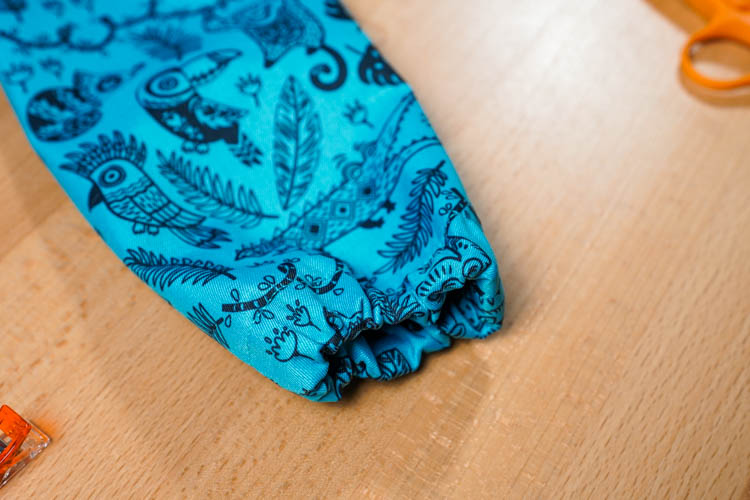
15. Sleeve hems
Turn the sleeve inside out and fold (roll) the bottom edge 2.5 cm to the reverse side as shown below.
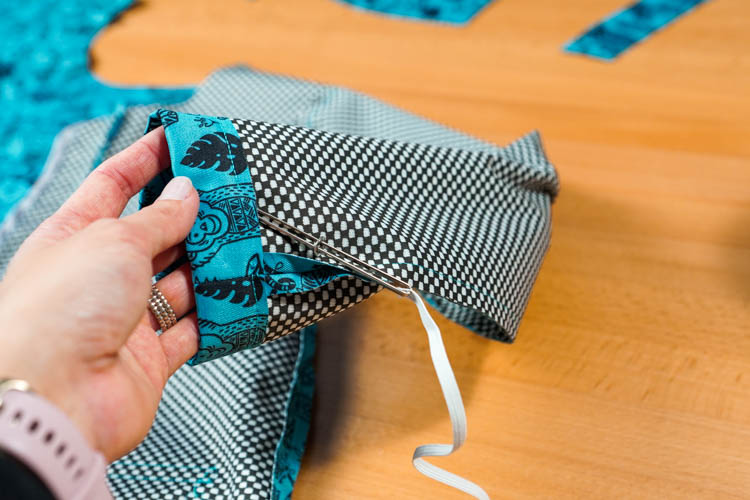
Sew the hem of the sleeve, but leave a small gap near the sleeve seam.
Insert a narrow flat or thicker round elastic band through this gap. Determine the correct length of the band by wrapping it around the wrist of your kid. The band shouldn’t be too tight, as it will be embedded in a relatively stiff and thick fabric.
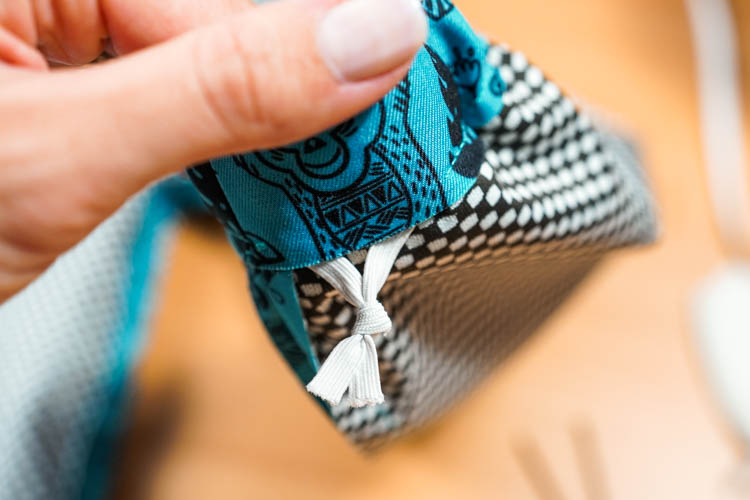
My tip: I used 19 cm long elastic bands for this jacket (size 122). You will use a few centimeters to tie a knot, but even so, it is a big difference compared to the circumference of the wrist (our Tomík, for whom the jacket is, has a wrist circumference of 13 cm).
Tie (or sew) the band, hide it in the hem and sew the gap shut.
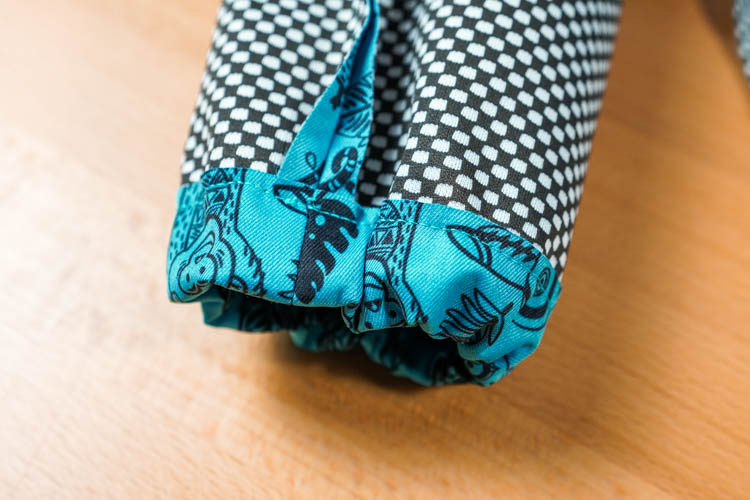
Work on the other side of the jacket in the same way.
Grommets
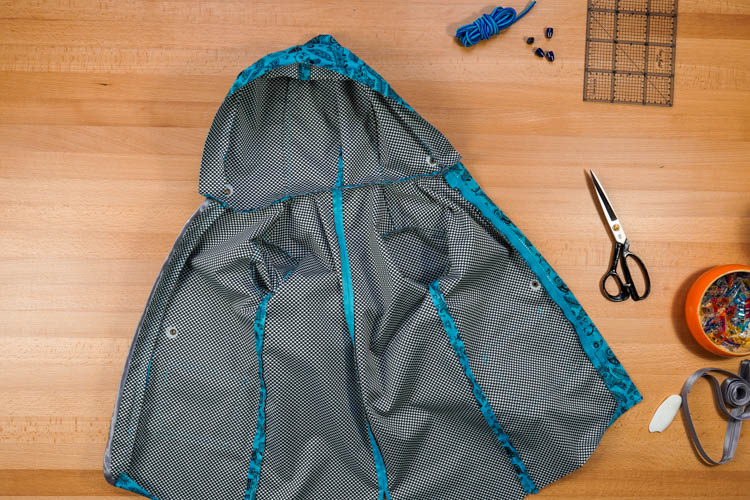
16. Hood
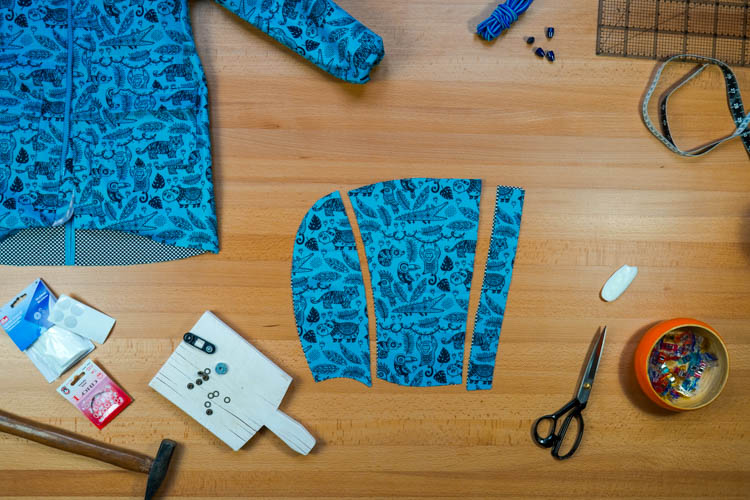
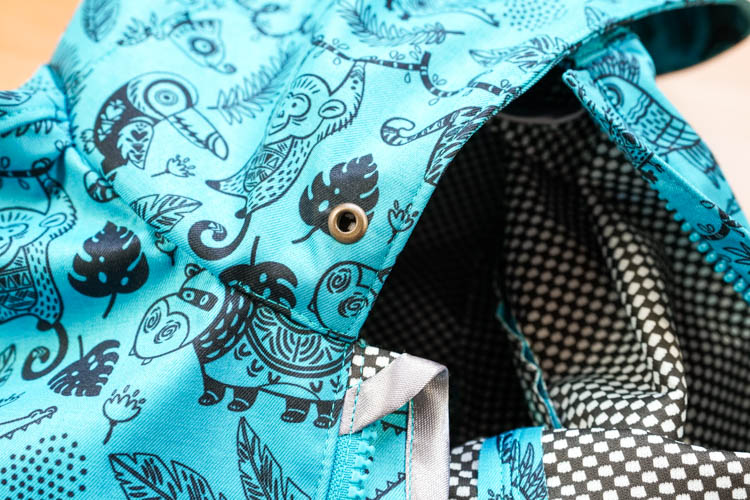
Insert grommets to the front parts of the hood. I recommend reinforcing the places where the grommets will be with one-sided fusible interfacing or special adhesive reinforcement for grommets (pre-cut round patches).
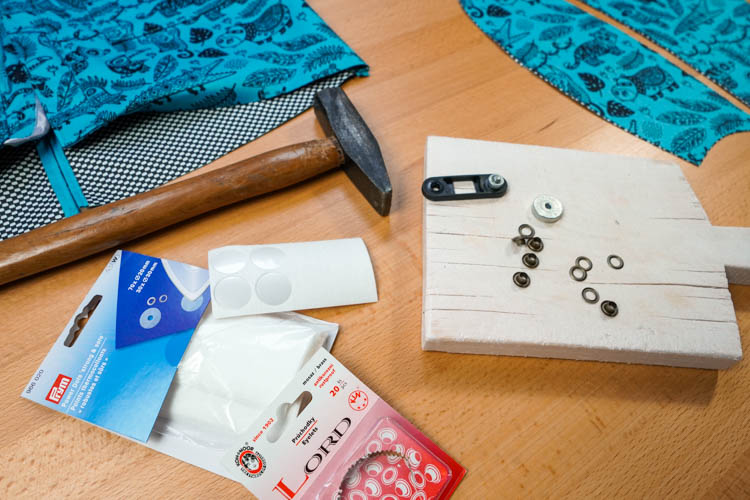
Mark a point that is 2.5 cm from the front edge and 4 cm from the bottom edge of the front hood piece.


Make a hole with an awl. Instead of an awl, you can use scissors and make a small cut. I recommend using scissors when working with softshell, otherwise, it is better to use an awl.
Reinforce the reverse side.

Insert the grommet. Do the same on the other front part of the hood.
17. Waistline
You can also insert waistline grommets. Check the position of the lines indicating the drawstring casing and, if necessary, adjust these lines so that they are aligned across both front pieces of the jacket.
On both front pieces, mark a point that is 2 cm away from the edges of the overlap and exactly between the two lines of the drawstring casing.
As with the hood, use your awl (or scissors) and make small holes in the fabric. Reinforce the reverse side and insert grommets.
Hood
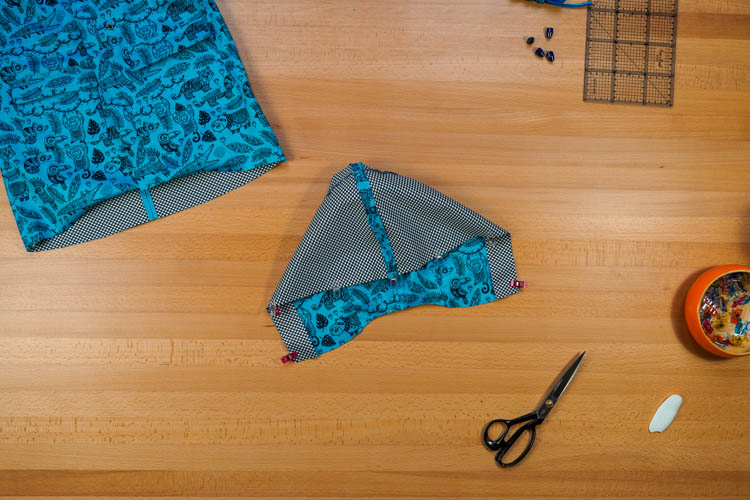
18. Assemble the hood
Place the back parts on the front parts (face side to face side). Follow the marks when aligning the pieces.
Sew the connecting seams of both sets of parts. Press the seam allowances towards the front pieces.
Topstitch the seams to attach the seam allowances.
Lay both sides of the hood on top of each other (face side to face side) and clamp the connecting seam. Sew the halves together, press the seam allowances open and topstitch both sides of the seam.

19. Hood facing
Put the two parts of the hood facing on top of each other (face side to face side). Sew the central seam (that's the straight one, not the beveled one).
Press the seam allowances open and topstitch both sides of the seam.

Clamp the facing to the front edge of the hood (face side to face side).
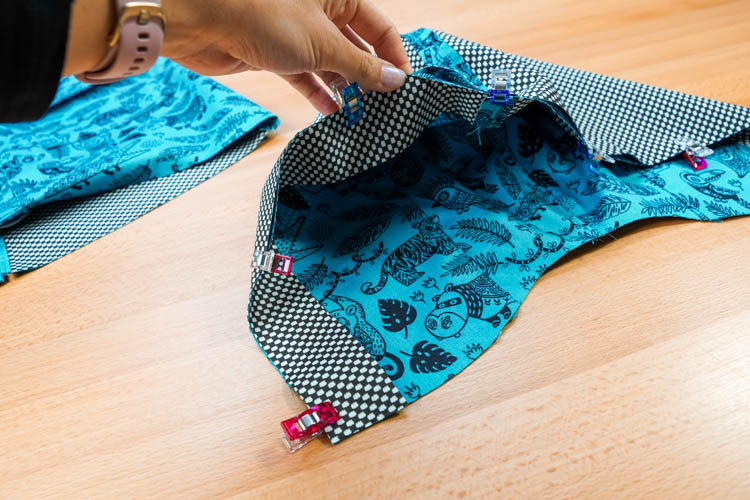

Sew the facing to the hood.

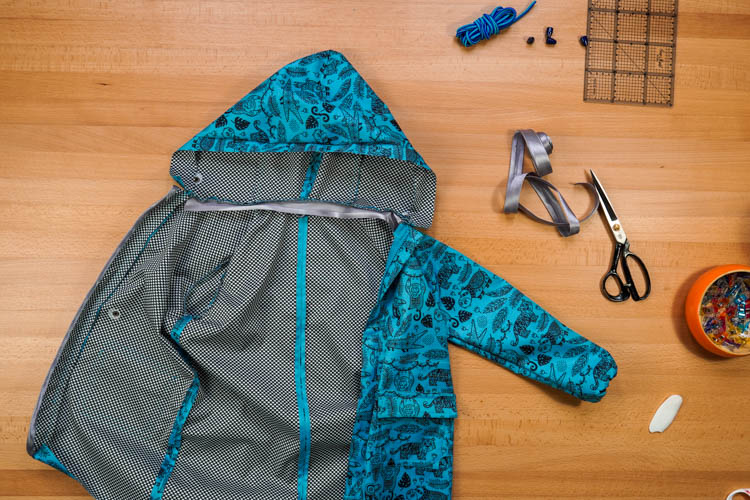
Sew the hood to the jacket
20. Sew the hood to the neckline
Clamp the hood to the neckline (face side to face side). Start in the middle of the rear part of the neckline - align the rear center seams and clamp them.
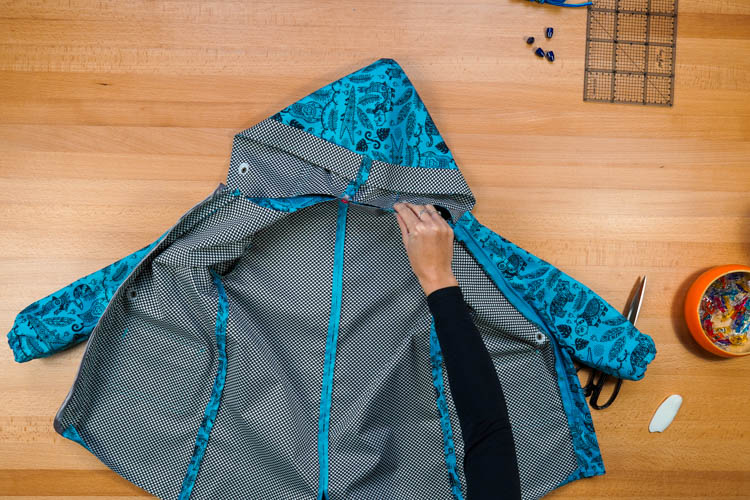
The front edges of the hood should be aligned with the edges of the front pieces. Fold the seam allowances as shown below and clamp the edges of the hood to the edges of the front pieces.
Note: This step is not easy (due to the relatively complex shape of the seam), so you may need an extra dose of patience. :)


Sew the hood to the neckline.

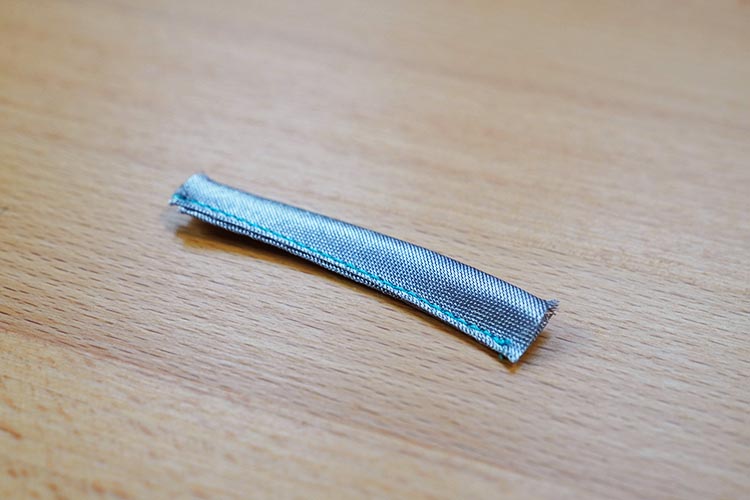
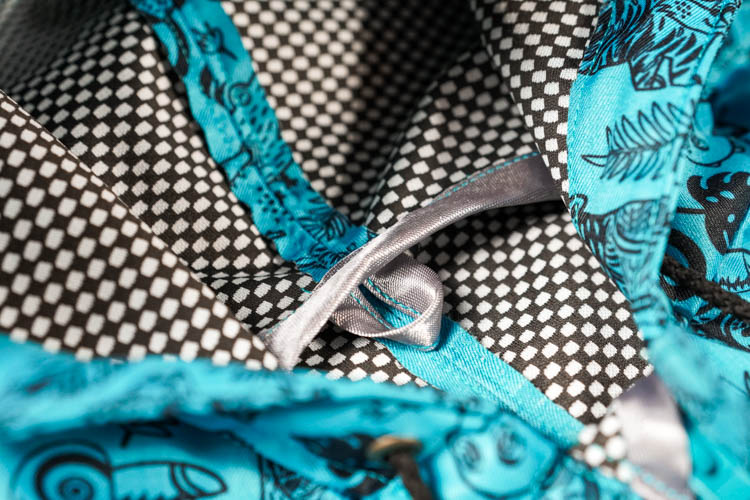
21. Hanging loop
Prepare a hanging loop. You can make it from a halved elastic band or bias tape strip. Sew it to the middle of the back piece, just below the neckline.

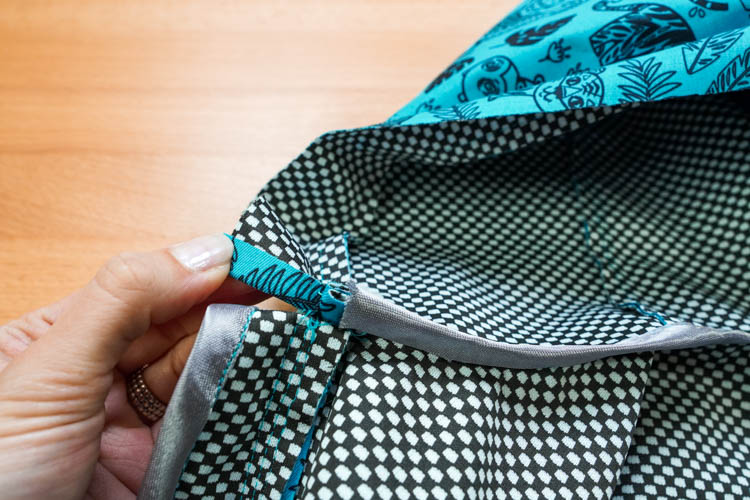
22. Neckline hem
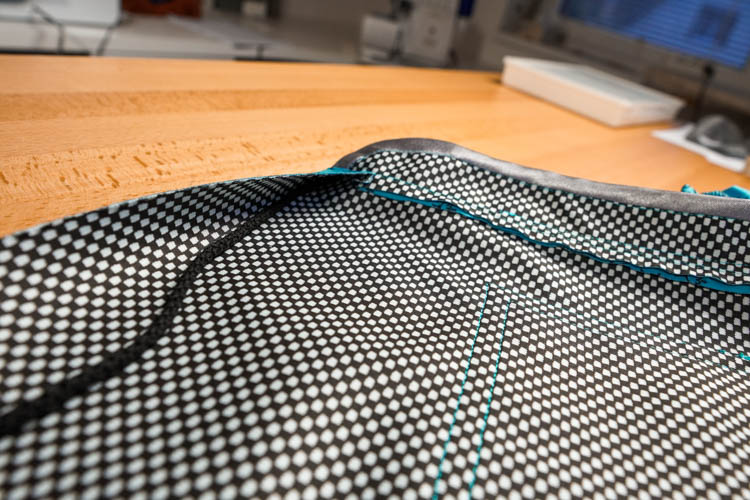
Clean the inner cutting edges of the neckline with an elastic band or a bias tape. First, sew the hem to the seam allowances of the torso. Start and stop right next to the "inner" edges of the zipper underlap/overlap.
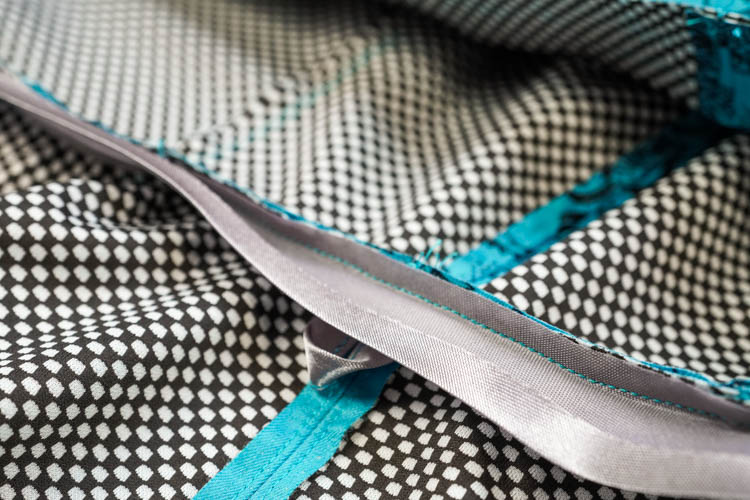
Then fold the hem over the cutting edges and sew it to the seam allowances of the hood.
Drawstring casing - Hood
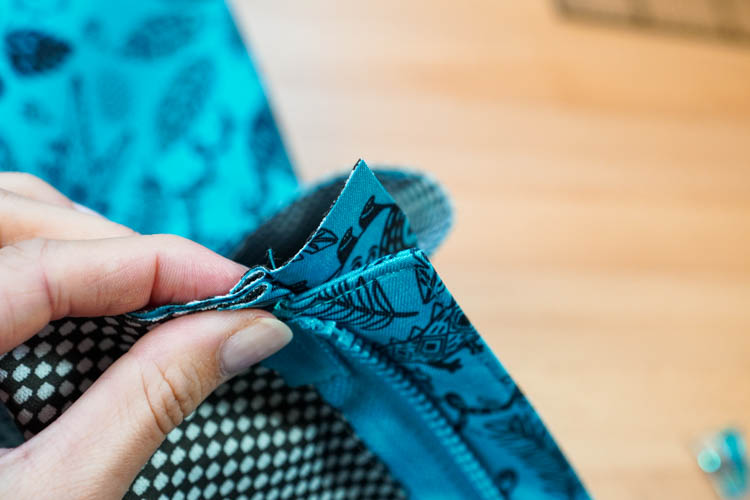
23. Create the casing
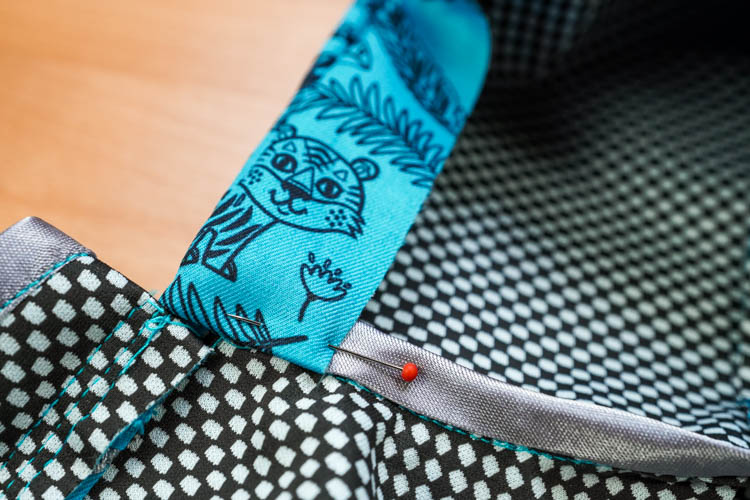
The casing will consist of the hood facing, which is sewn to the front edge of the hood. Fold the facing to the inside of the hood and pin it there.
Fold the short seam allowance of the facing over the neckline hem. You can attach it with adhesive tape or a pin. Piercing the softshell will require quite a lot of force, but be careful not to prick your finger.
Fold the entire facing to the inside of the hood and secure it with clamps.
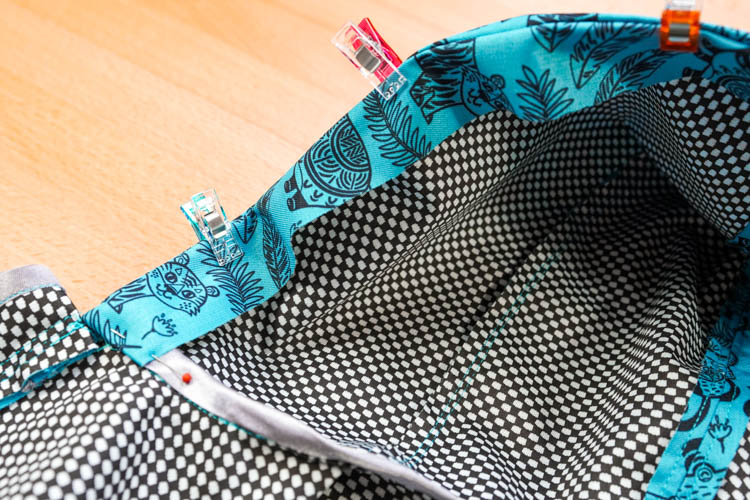
Then topstitch the entire front edge of the hood. Also a topstitch he part of the hood that covers the hem of the neckline (to permanently attach the seam allowance that is pinned there).
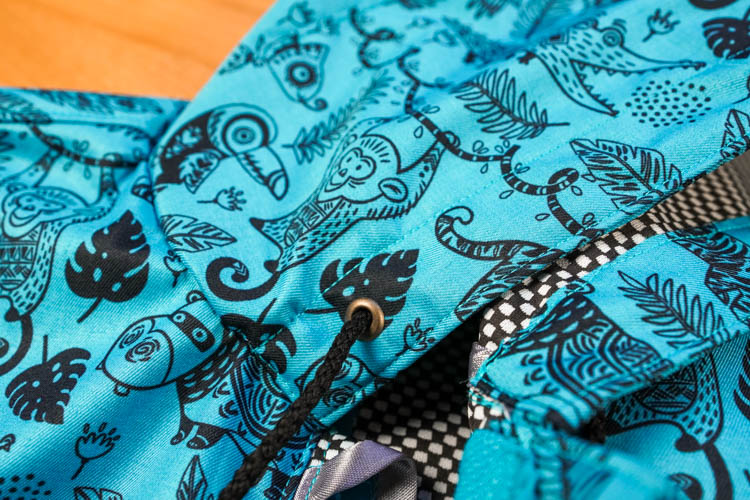
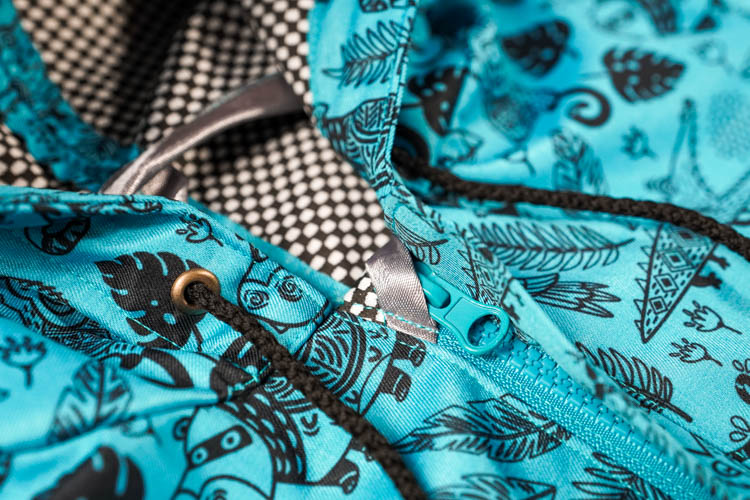
24. Hood drawstring
Now tuck your drawstring under the facing and pull its ends out through the grommets. Clamp the drawstring right next to the topstitching to keep it out of the way. I recommend securing the ends of the drawstring with aglets. It won’t fray and if you choose suitable aglets, you will not be able to accidentally pull it to the casing.
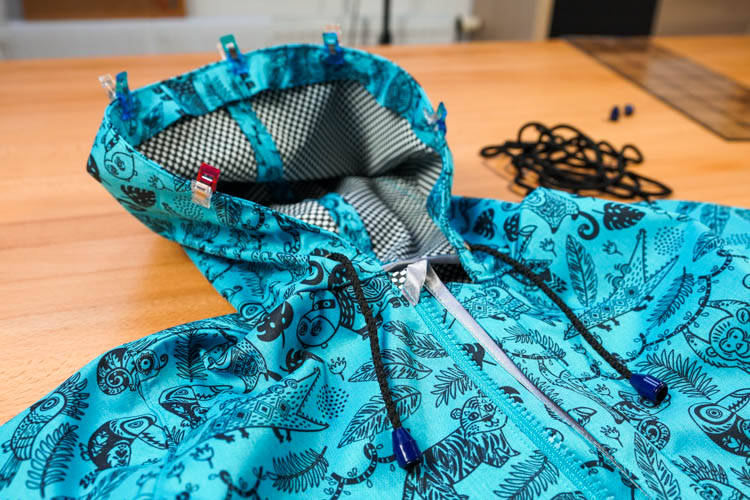
Topstitch the hood again to close the casing - sew about 2.5 cm from the original topstitching line.
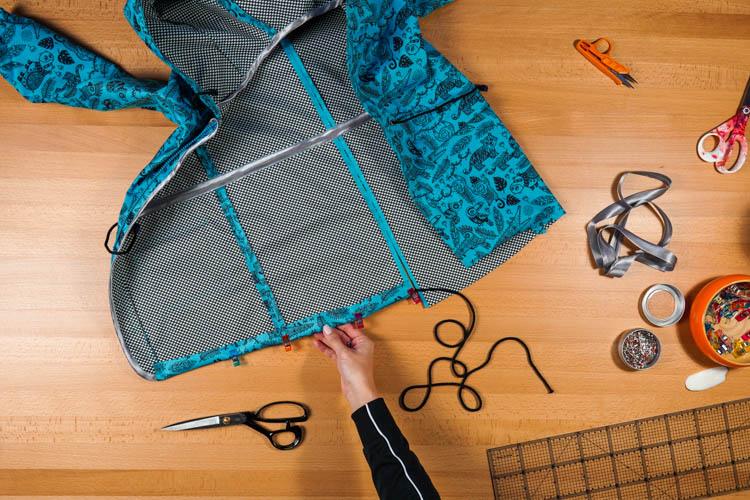
Drawstring casing - Waistline
25. Create the casing
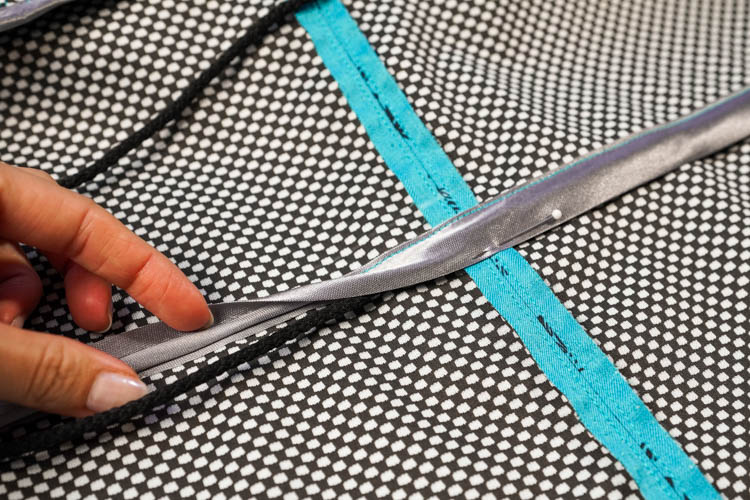
You have previously marked lines that indicate the position of the waistline drawstring casing. Carefully pierce the fabric with pins and redraw the lines on the reverse side (if they have been erased or if they are inaccurate).

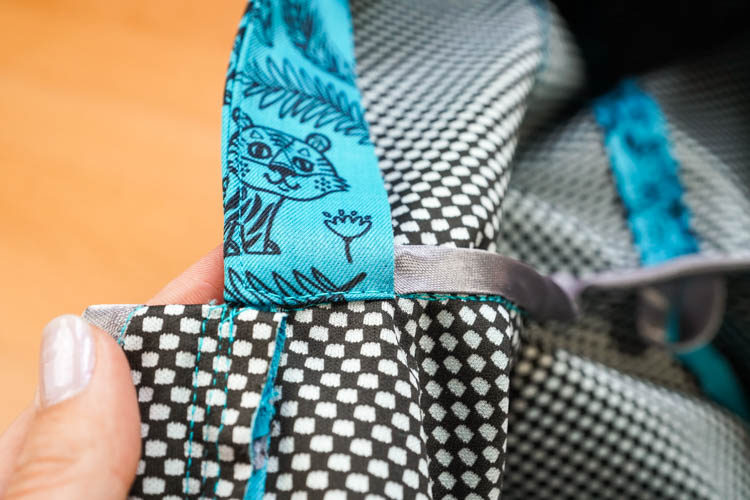
Fold the end of the elastic band or bias tape under itself. Lay the band/tape on the front piece - right next to the zipper underlap/overlap so that it covers the grommet.
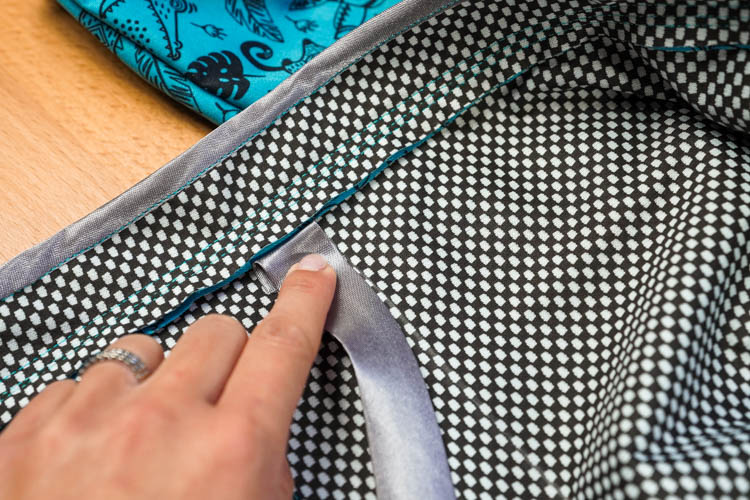
Sew one side of the tape to the waistline. Fold the other end of the tape under itself. When sewing near the grommets, be careful not to hit them with the needle. You could not only break the needle but also damage the needle bar of your sewing machine.

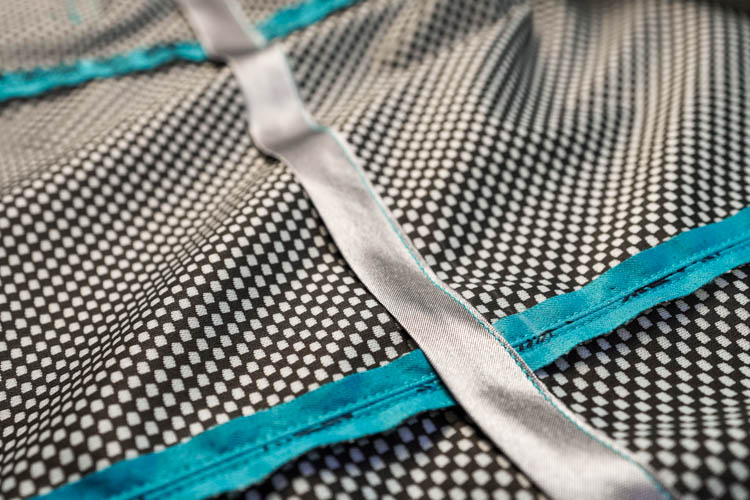
Tuck the drawstring under the tape and pull its ends through the grommets.

Now you can sew the other side of the tape/band. Be careful not to accidentally sew through the drawstring.
Secure both ends of the drawstring with aglets.

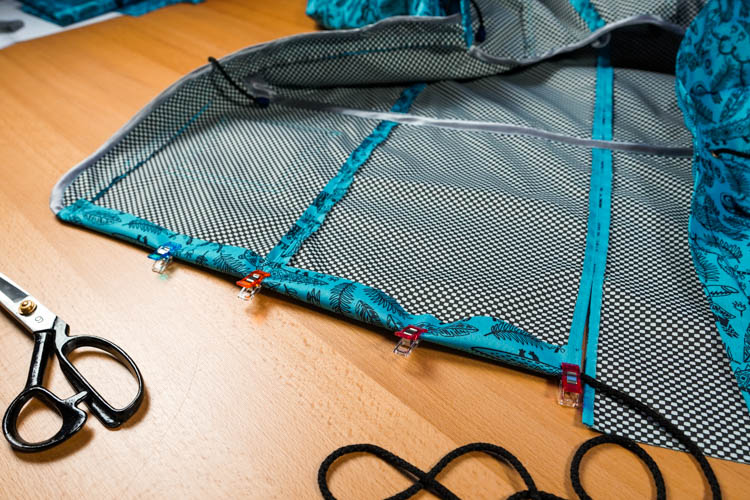
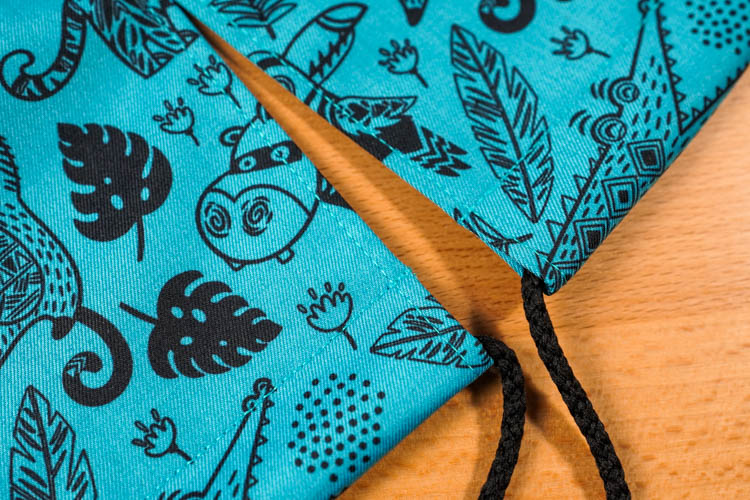
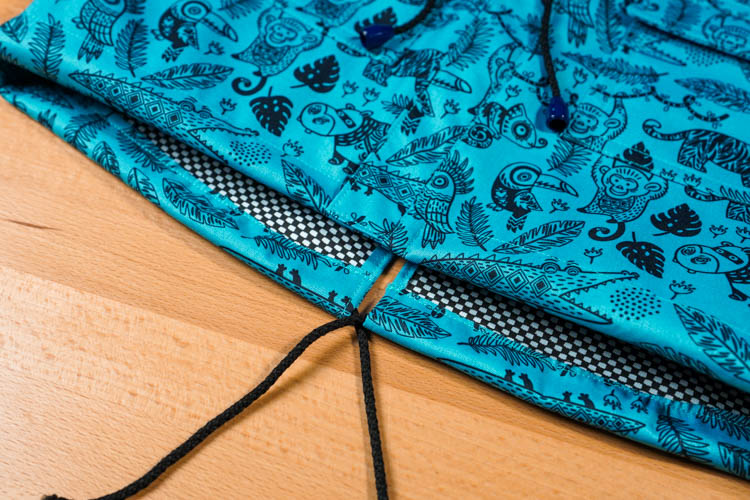
Bottom drawstring
26. Create the casing
Tuck one end of the drawstring under the bottom hem and push it close to the overlap/underlap.

Topstitch the corner (sew through the end of the drawstring).
Tuck the rest of the drawstring under the hem and secure it with clamps.
Topstitch the bottom hem. Sew about 2 cm from the fold. Don’t sew through the drawstring.
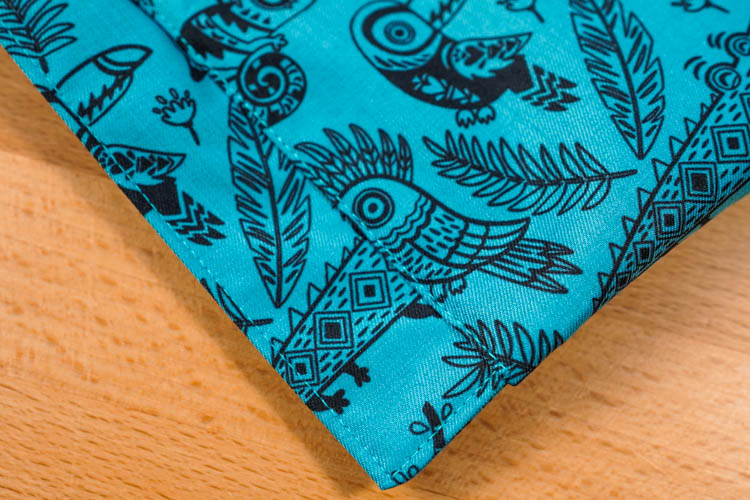
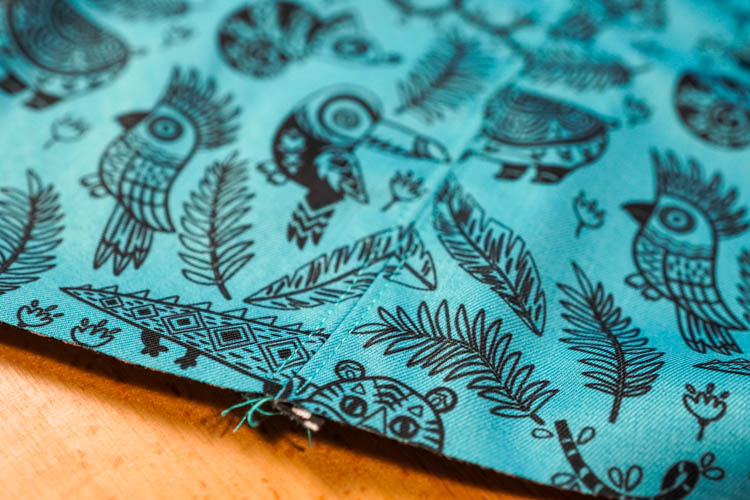
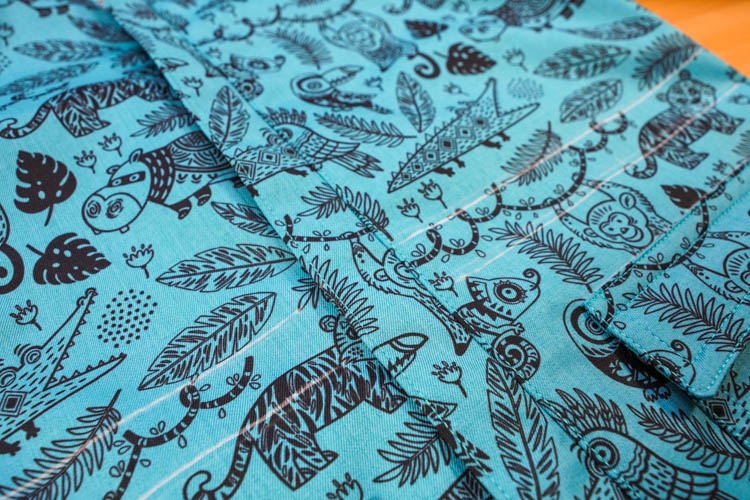
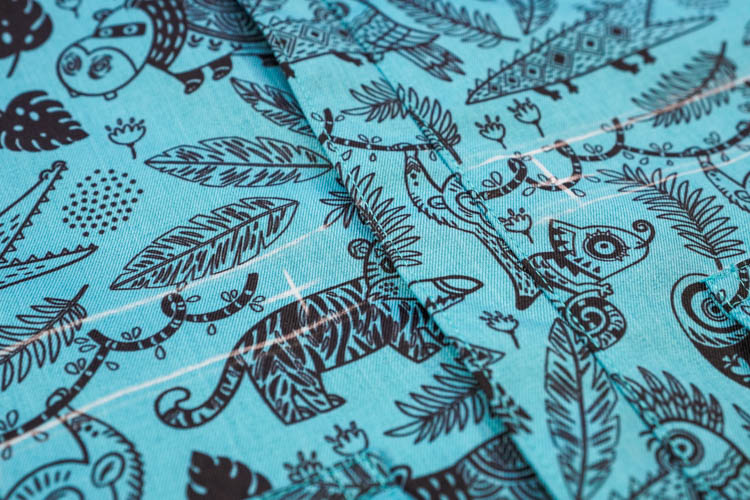
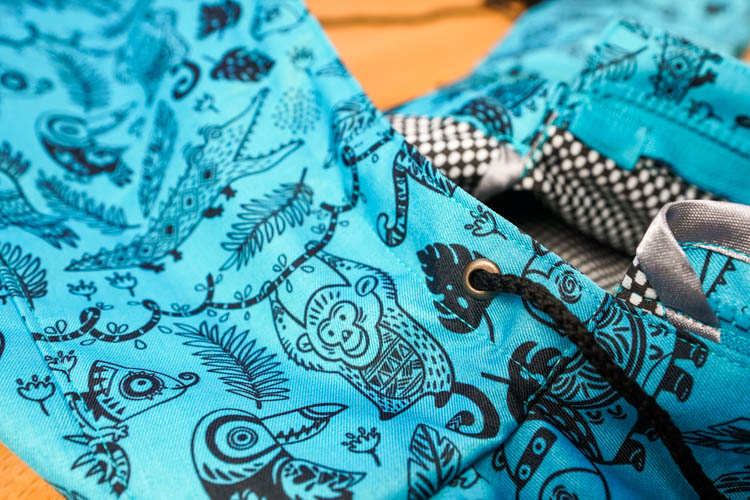
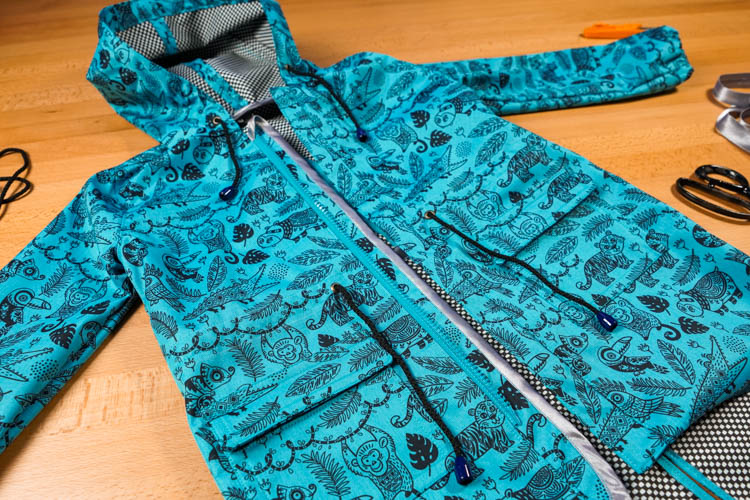
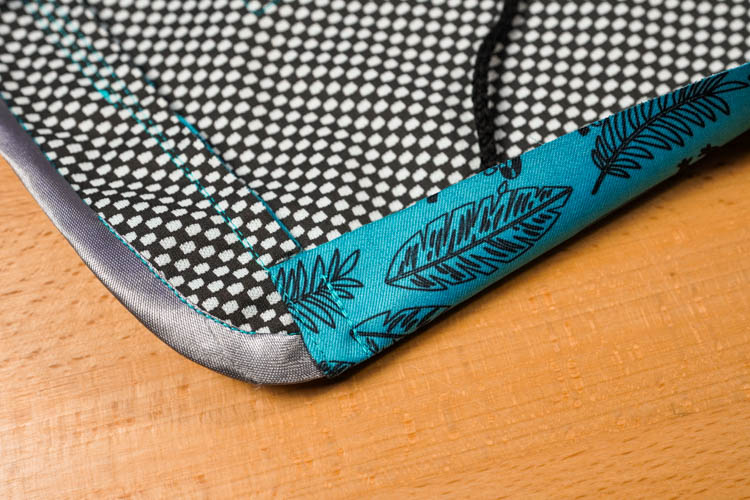
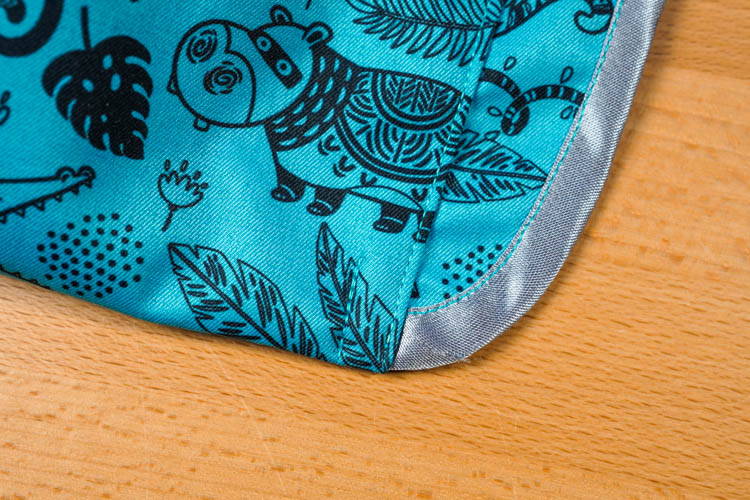
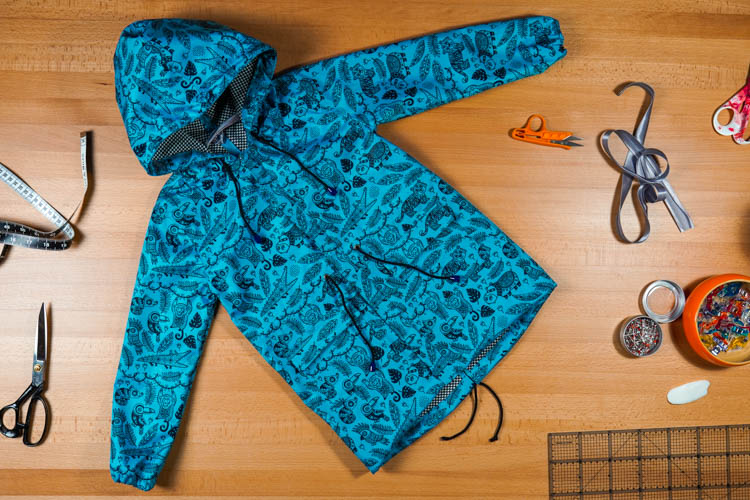
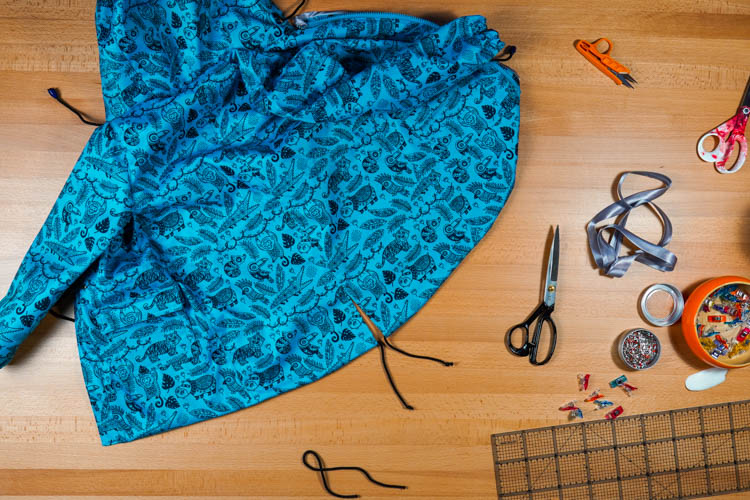
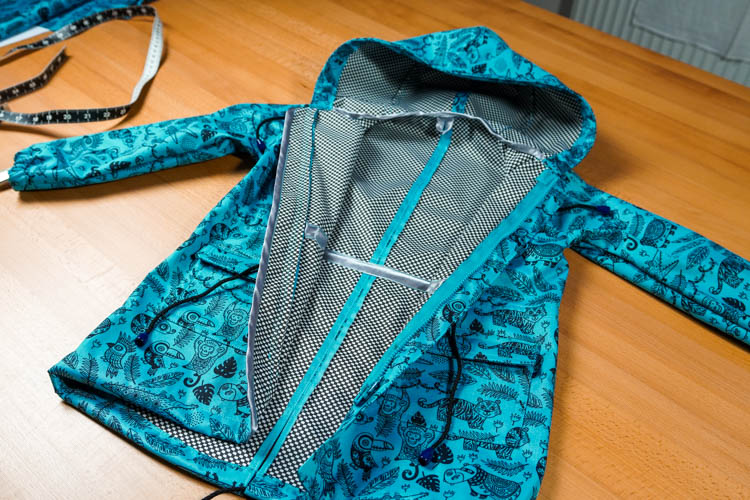
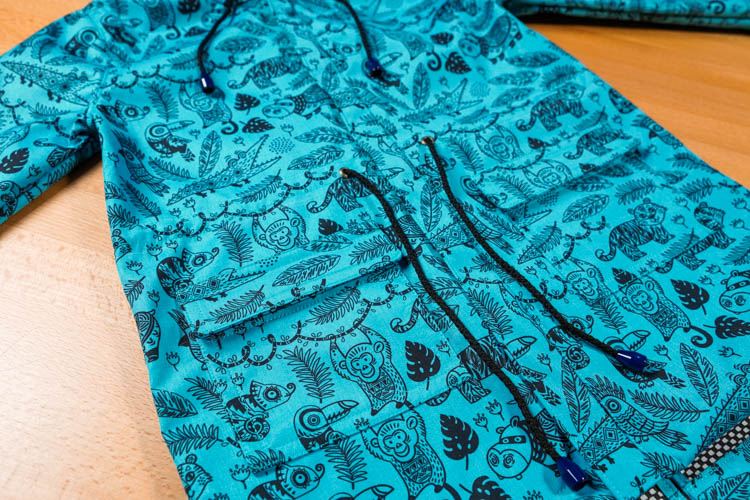
And that’s it - the jacket is finished! If you've come this far, congratulations, you've done it! Finally, a few detailed photos. At the end of this article, there are also a few photos from those who have already won their battle with this pattern.
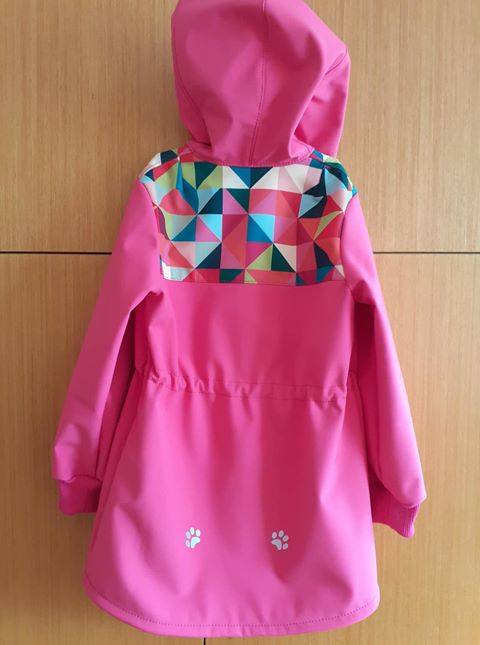
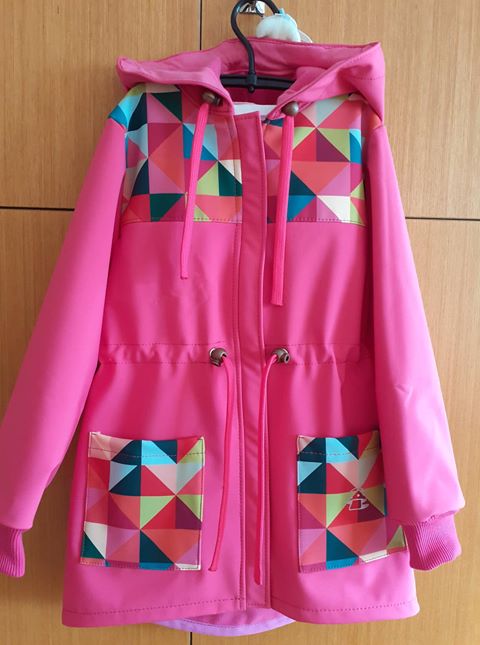
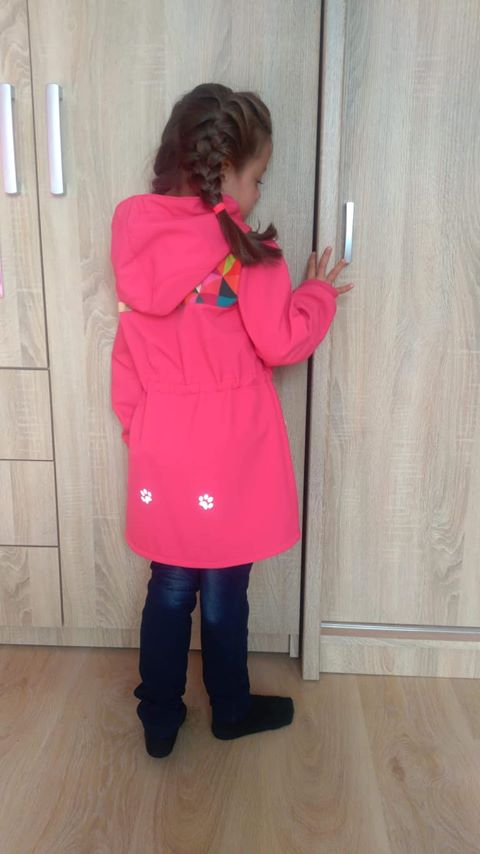
Some time ago, I received great photos from Dana L., who sewed this jacket for her granddaughter. She used modified the pattern for the kid’s jacket HELLO BUDDY. She added simple large patch pockets and yokes (divided front and back pieces). I think the result is great and that's why I'm posting it here (with Dana's permission). Maybe it will inspire and motivate you... :)


I would also like to point out the kid's jacket from Klára Š, she sewed the jacket well (and also took amazing photos). Take a look! :)


You can find the pattern featured in this article here:
Pattern – Children’s jacket HELLO BUDDY
Don't forget to share your joy with others!
Did you like today's article and pattern? If so, share them with your friends and tell me about it in the comments section below. I look forward to your feedback! ♥
PS: Did you know that there are FREE PATTERNS available on my blog?