


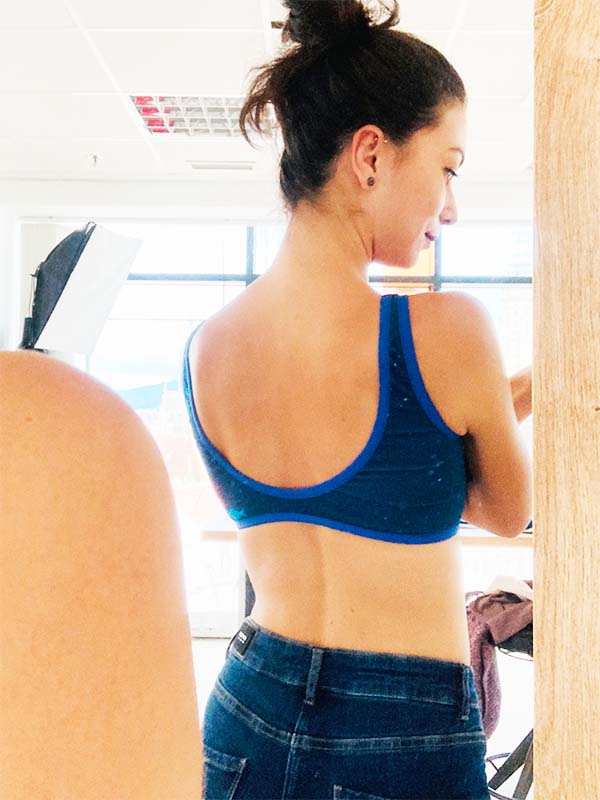
In this article, I will show you how to sew a simple lambada bra. These sewing instructions are for the pattern for women's bra top (lambada bra) SIMPLY. This simple low support bra is suitable for women with cup sizes A to C (UK). For more support, the front can be sewn from two layers of fabric.
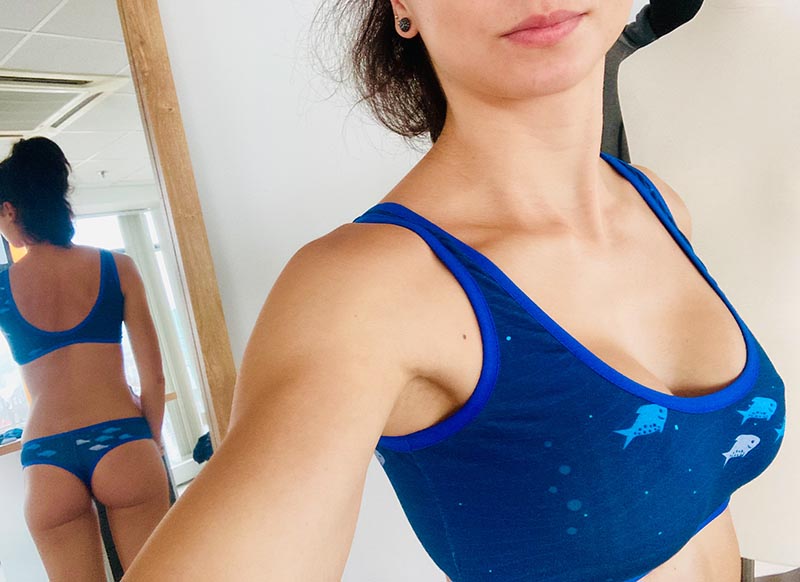
There is no fastening on the back of this bra (simply pull the bra over your head). Women’s lambada bra SIMPLY is suitable for leisure, sports (yoga, pilates, etc.), or for sleeping.
The pattern
You can explore the pattern featured in this article here:

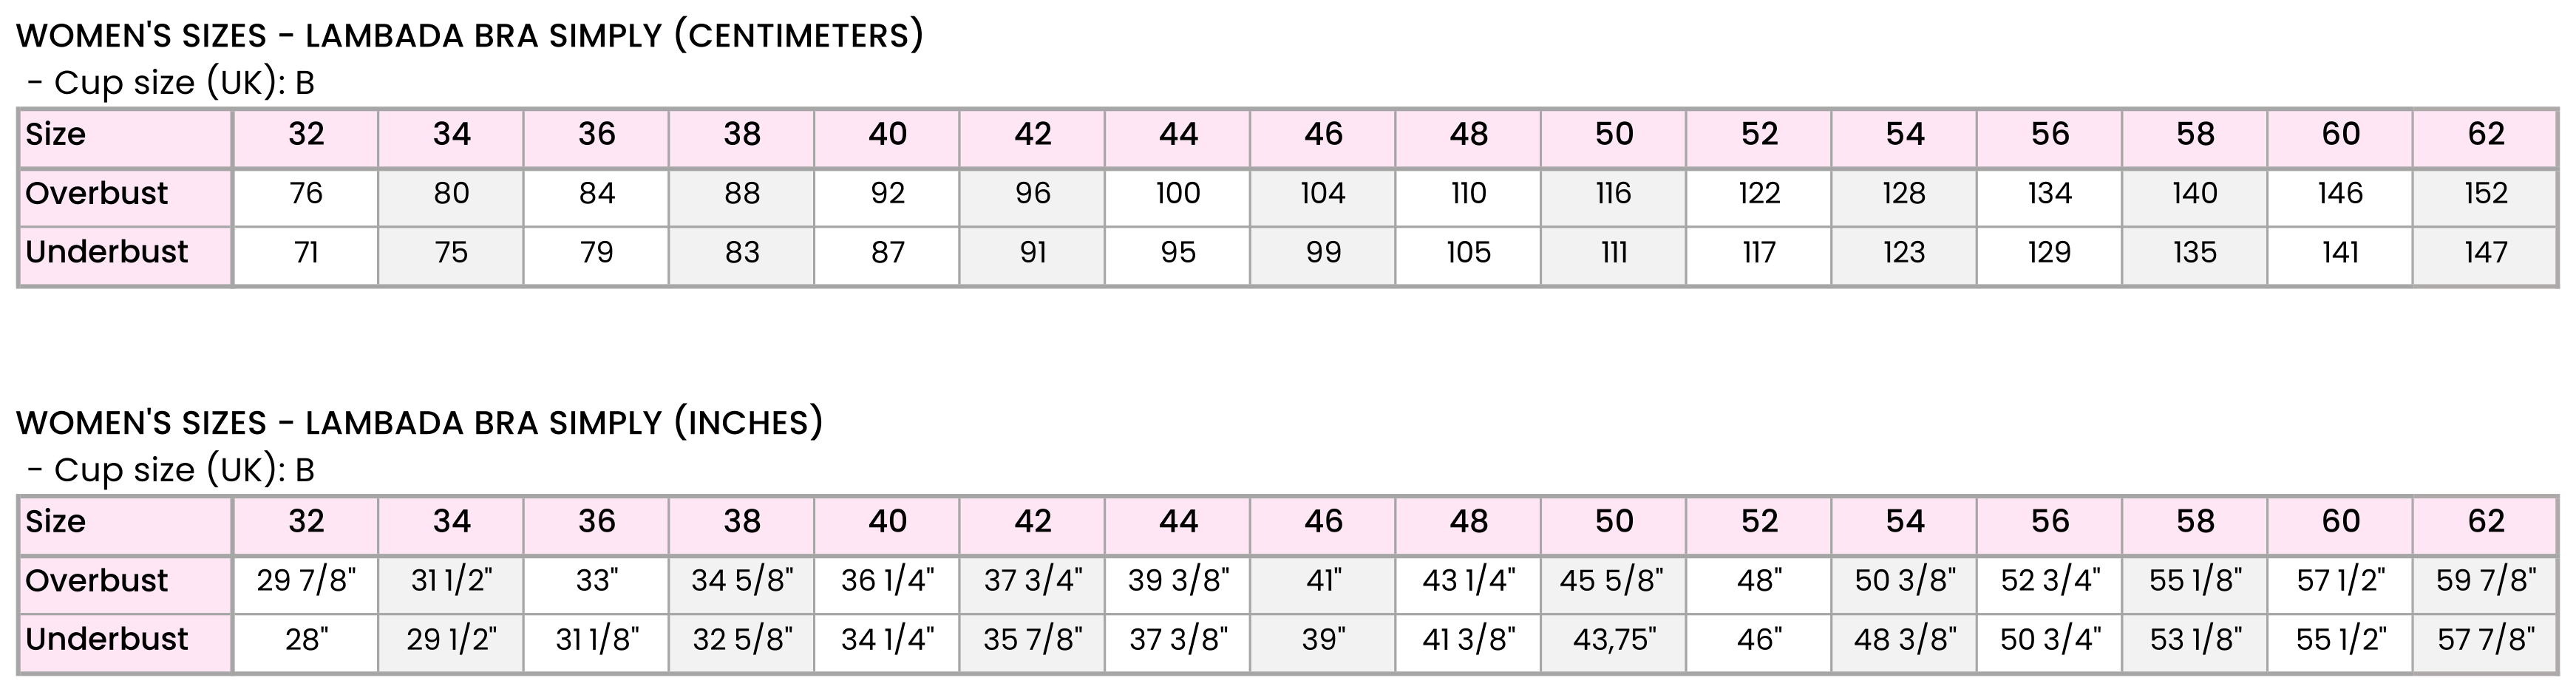
Size charts
The pattern is designed for an average cup size - B (UK).
If you have a larger or smaller cup size, please choose the size based on the overbust measurement.
Example: Overbust 91 cm (35 3/4”), underbust 78 cm (30 3/4”).
Start with size 40 and reduce the bra circumference to size 36.
Recommended material
The pattern for women’s lambada bra SIMPLY is designed for light knits. I recommend using classic cotton knit with elastane, but it is also possible to use a swimwear knit. Choose a fabric with a weight between 195 g/m² and 290 g/m² (8.2 oz/y² to 12.2 oz/y²). The higher the fabric weight you choose, the higher the level of support your bra will have.
Suggestion:
You can sew the bra on an overlocker or on a regular sewing machine. However, the seams must be elastic in both cases so that they do not burst. When sewing with a regular sewing machine, please follow the recommendations in this article:
Sewing instructions
The photos in this article are embedded using mini-galleries. Simply click on the photo to enlarge it and get a better view of the details.
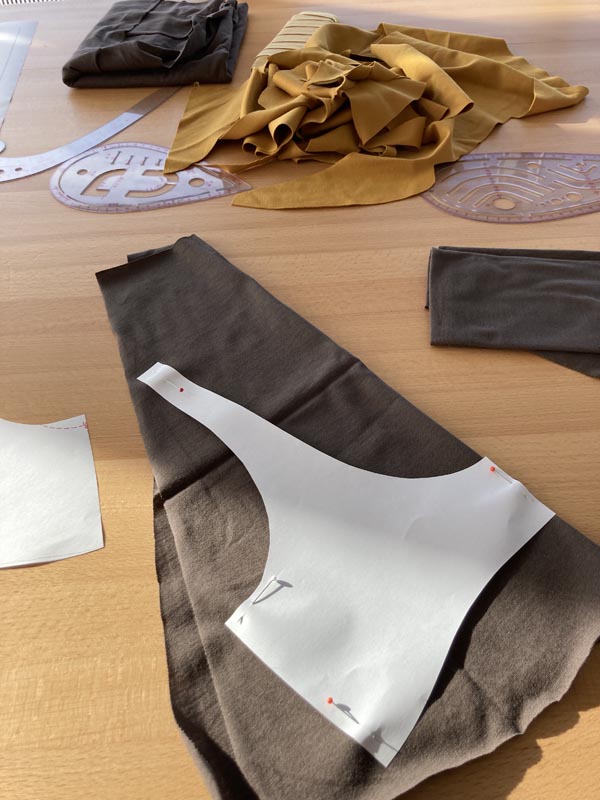
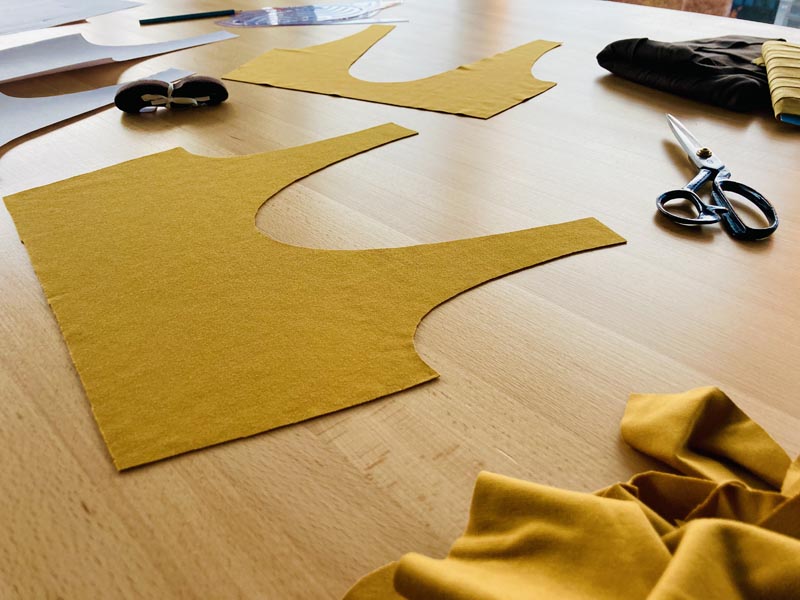
Pattern layout
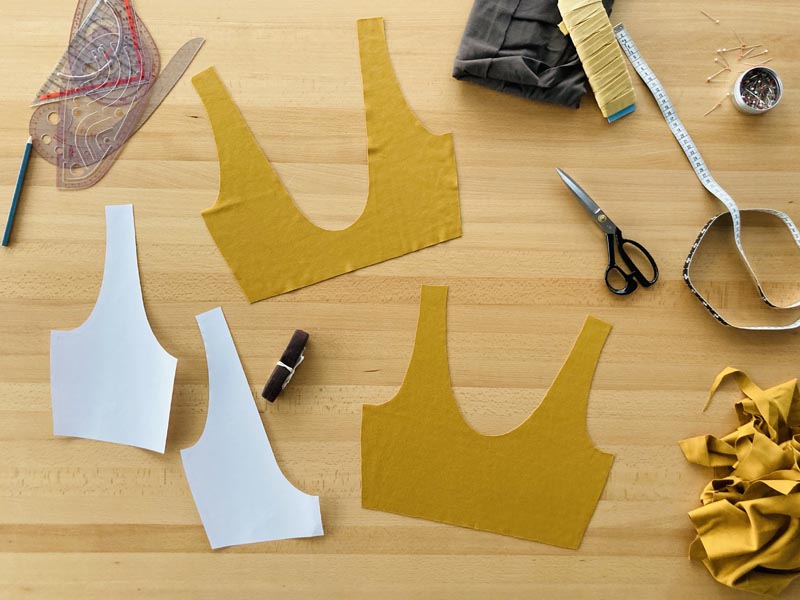
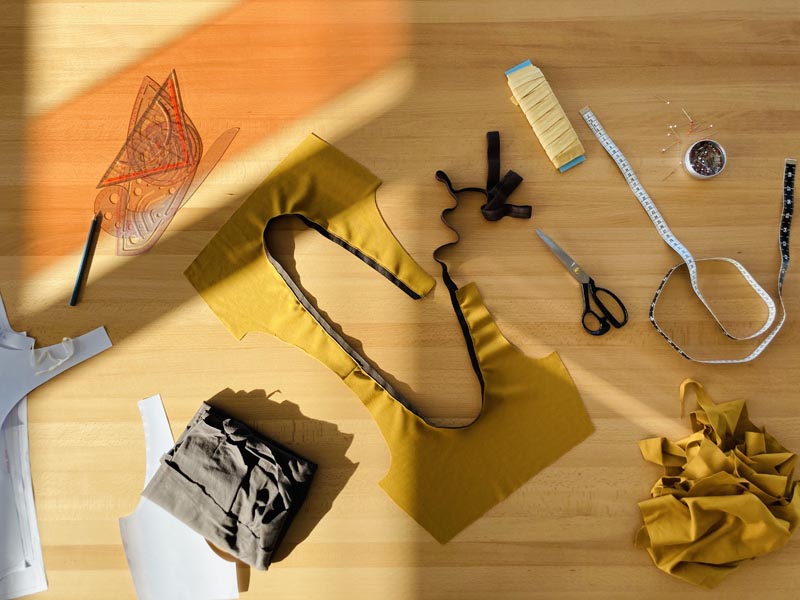
Prepare:
- 1x front piece (cut on fold)
- 1x back piece (cut on fold)
You will also need a hemming elastic band
- Sizes 32–46: 3 m / 120”
- Sizes 48–60: 4 m / 160”
All seam allowances are 1 cm (0.4”) wide.
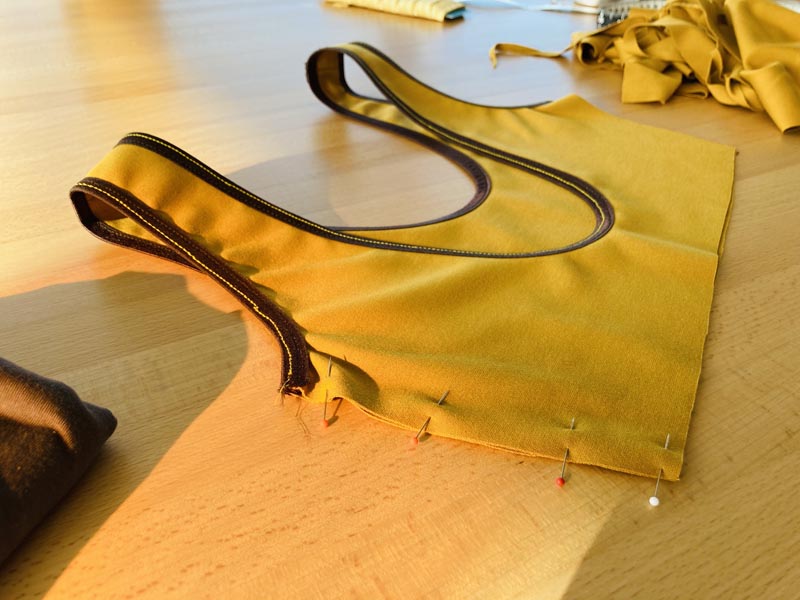
First shoulder seam
Lay the back piece over the front piece (right side to right side). Pin the shoulder seam on the right side (when the bra is finished, it will be the left shoulder seam). Sew the shoulder seam.
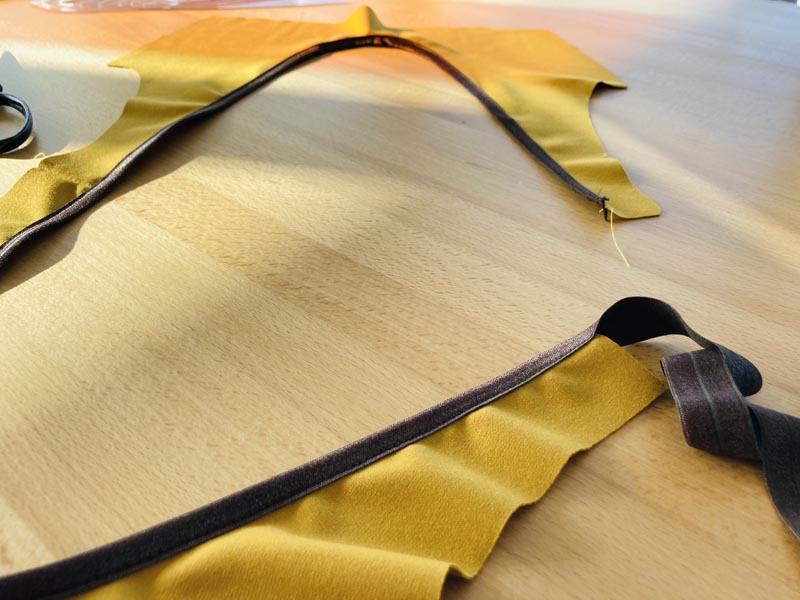
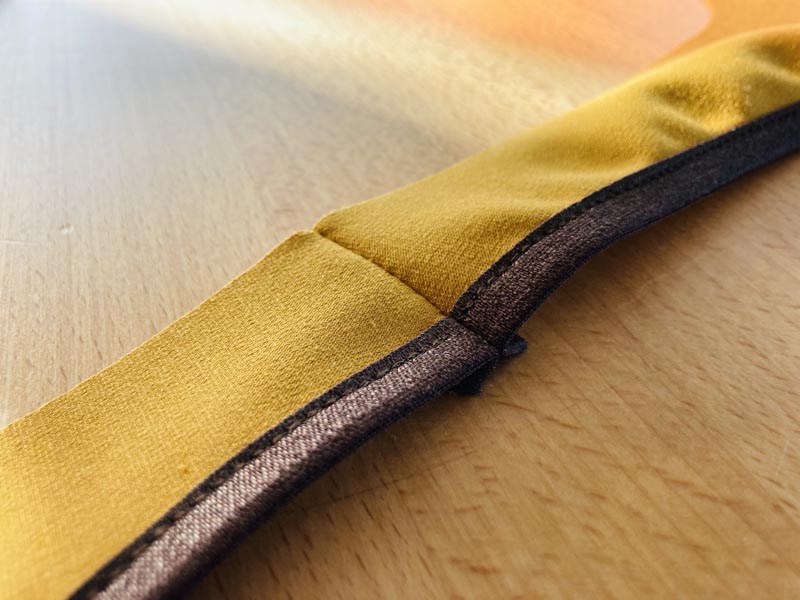
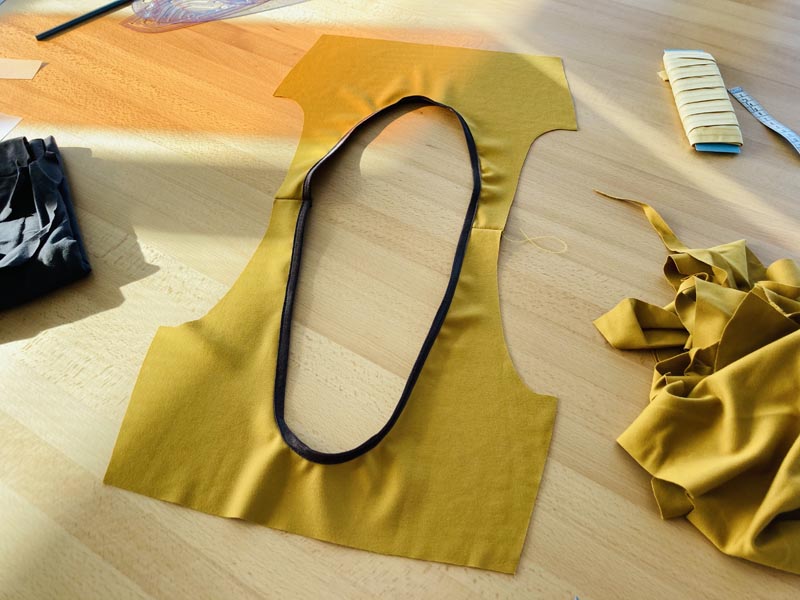
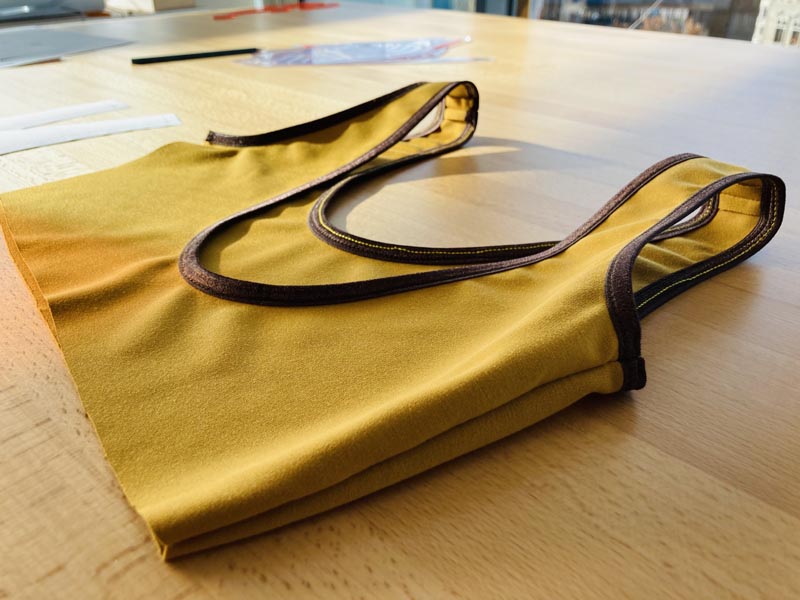
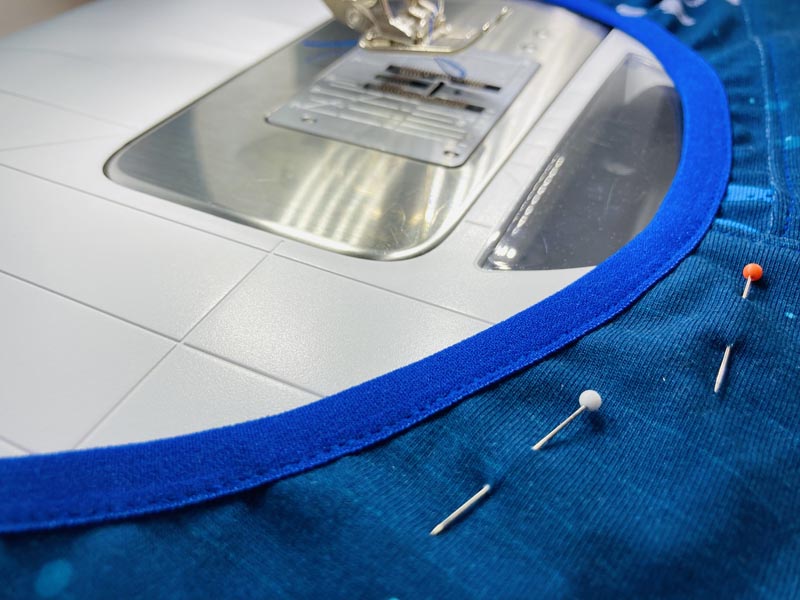
Neckline hem
Let's work on the neckline hem. If you don't know how to do it, watch this video:
- https://youtu.be/ZBiK9u48Ne0 (Don't forget to turn on subtitles.)
You can skip to minute 20 to see me use a hemming elastic band.
You need to stretch the hem a bit to sew it in evenly. It takes a bit of practice and you may not get it 100% right the first time. It depends on the particular elastic and fabric, how steady your hand is and the stitch you choose. You need to get a feel for it.
Second shoulder seam
Place the pieces back on top of each other (right side to right side) and sew the second shoulder seam.
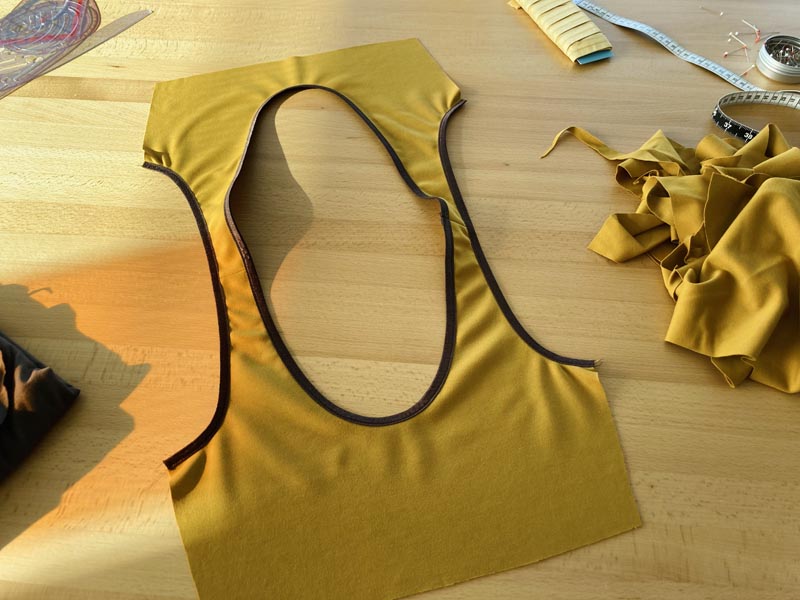
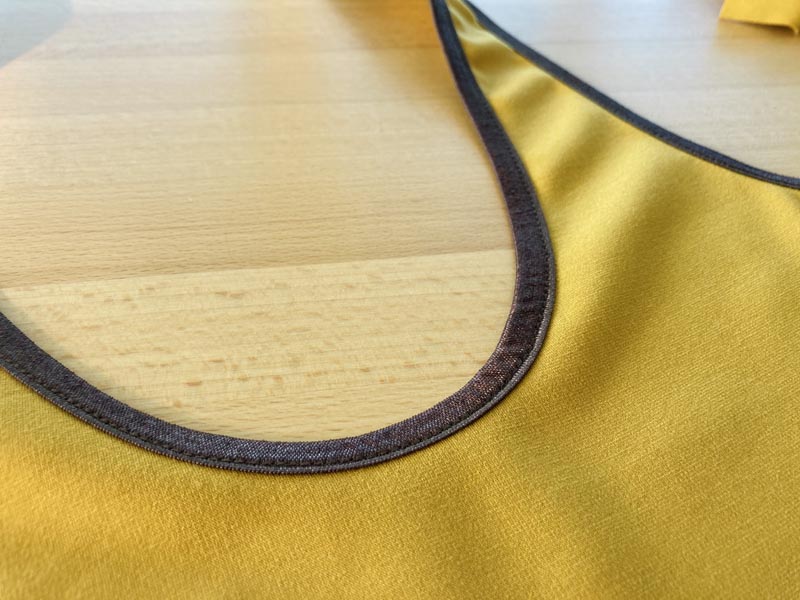
Armhole hems
Hem the armholes in the same way as the neckline.
First side seam
Lay the back piece over the front piece (right side to right side) and sew one of the side seams.
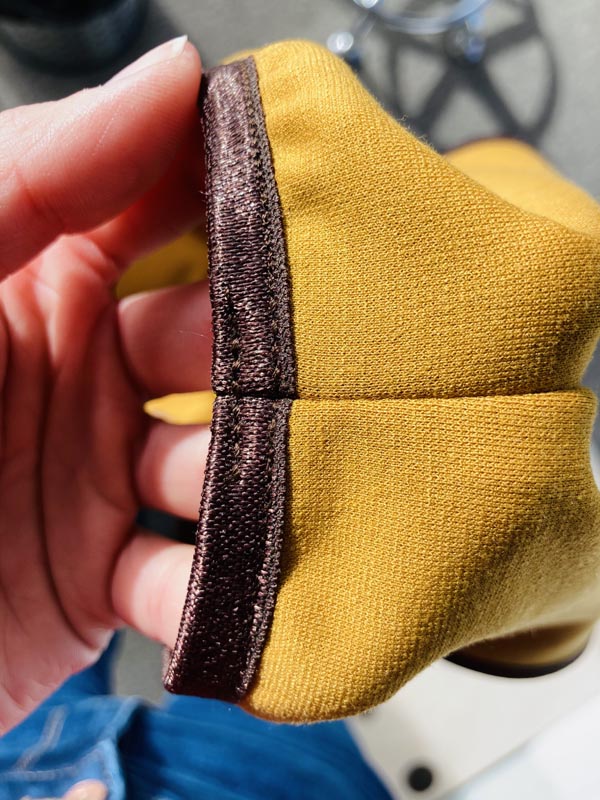
Bottom hem
Now you need to sew the bottom hem - when sewing, stretch the band a little more than you did when sewing the neckline and armholes.

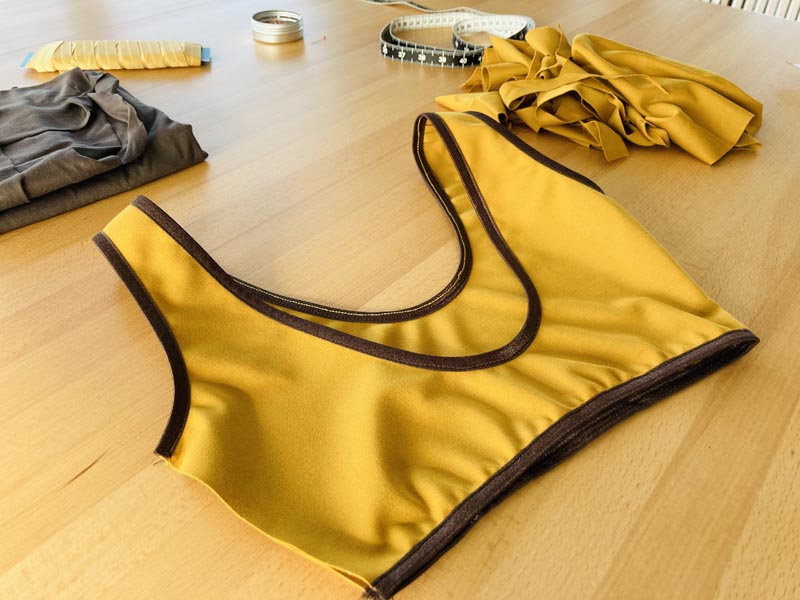
Second side seam
The last step is to sew the second side seam.
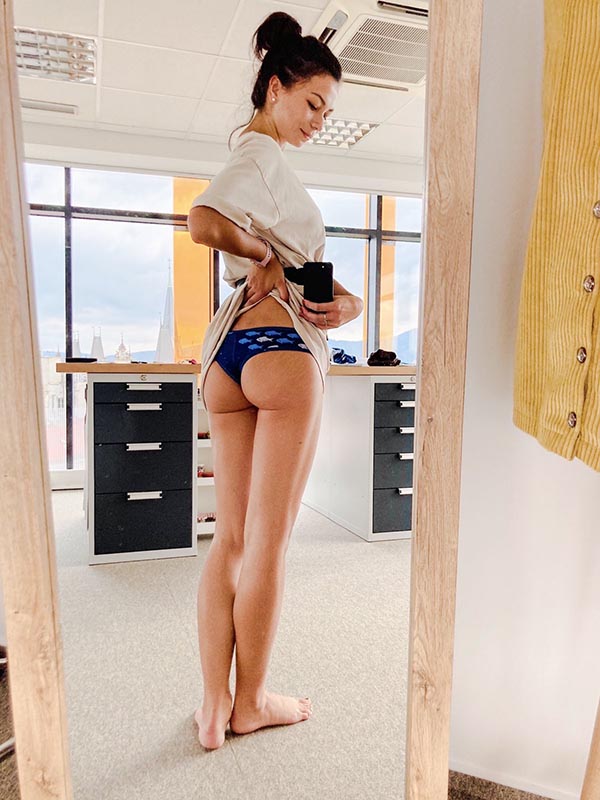
If you have some fabric scraps left over, you can use them to make panties. I decided to use the rest of my fabric to sew two pairs of Brazilian panties. I hemmed one of them with a knit strip and the other with an elastic band. Now I have a very cheerful fishy set. :)


Don't forget to share your joy with others!
Do you like this article? If so, share it with your friends and tell me about it in the comments section below. I will be glad for any feedback! ♥
PS: Did you know that there are other FREE PATTERNS available on my blog?