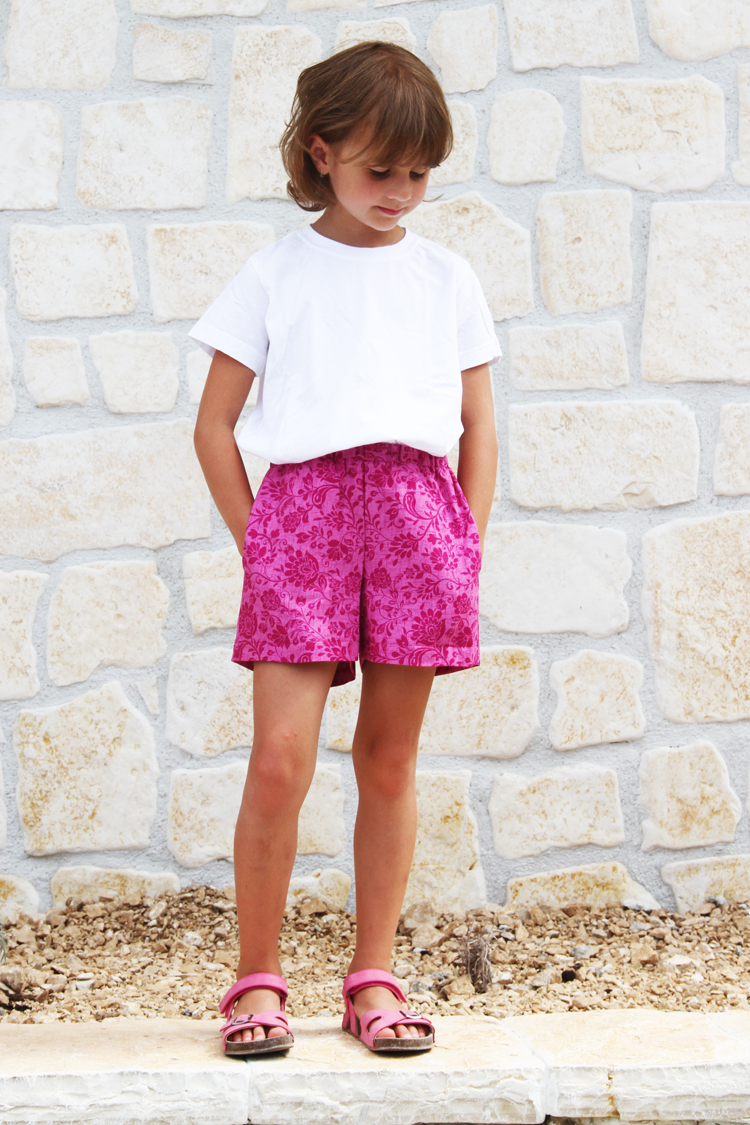
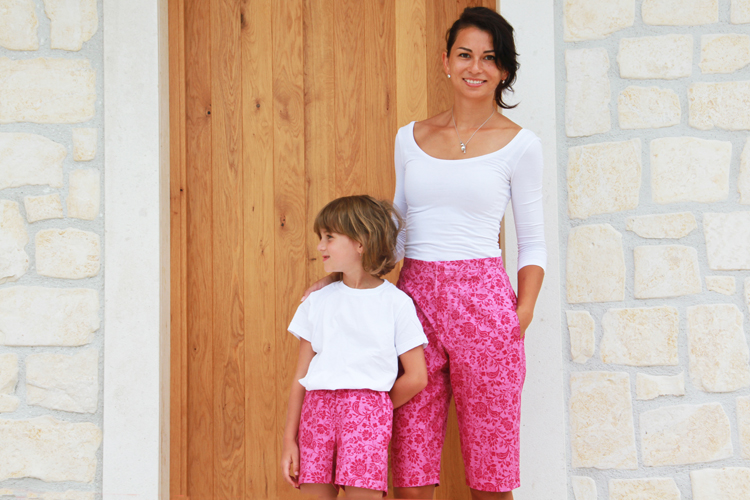
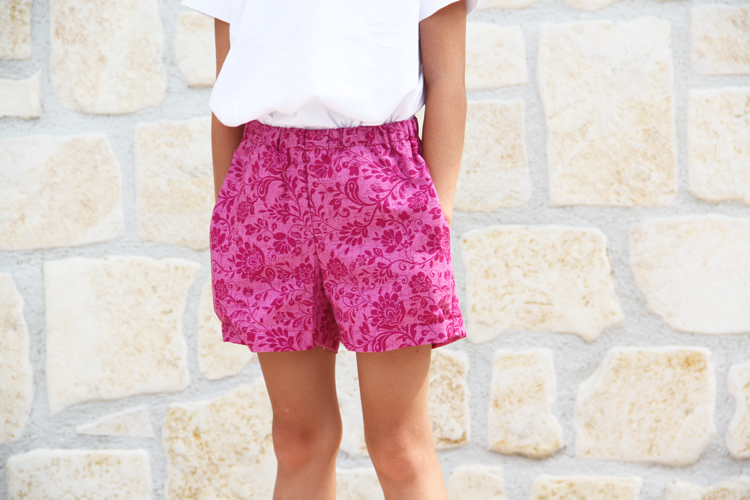
Today we will look at how to sew woven fabric shorts for kids. This article is dedicated to our new shorts pattern, which contains pieces for two variants of shorts (short shorts & Bermuda shorts). The shorts do not fasten with a fly but have an elastic waistband. There are also two side pockets. This pattern is constructed in a professional program for clothing pattern development and it is available in sizes 80–176. The pattern for short shorts / Bermuda shorts HAWAII is simple and designed for woven fabrics, so it is suitable even for absolute beginners.
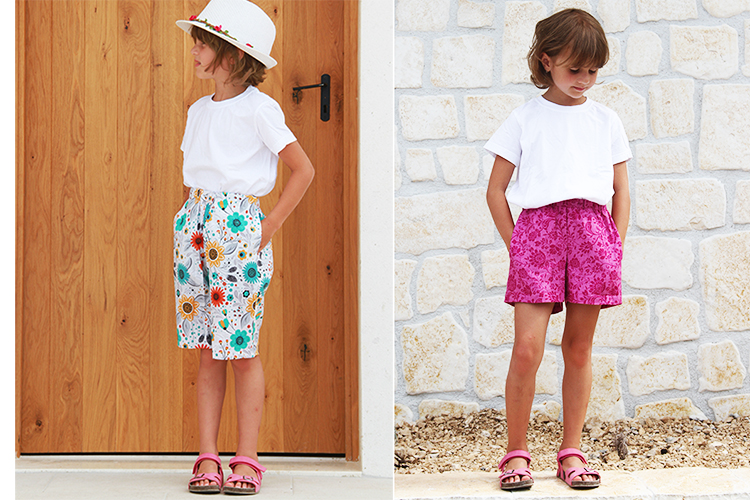
UPDATE: A new version of the pattern for children’s shorts HAWAII has been released. There are now more sizes available and we used bolder lines in the “all sizes view”, so it's now easier to distinguish between stitching lines of different sizes. The design is still the same, but I have modified the pattern files to make sewing easier for you. You can download the updated version of this pattern after logging in, or by clicking the link in the email we sent you after your purchase.
The pattern
You can get this pattern here:
You can get this pattern as part of a pattern set along with the pattern for women’s shorts HAWAII:
Pattern variants & modifications
The pattern is very versatile, you can, for example, omit the pockets and sew simple pajama shorts. The Bermudas are knee-length and short shorts are about mid-thigh, but you can easily adjust the length according to your needs.
Recommended material
1. Leisure shorts
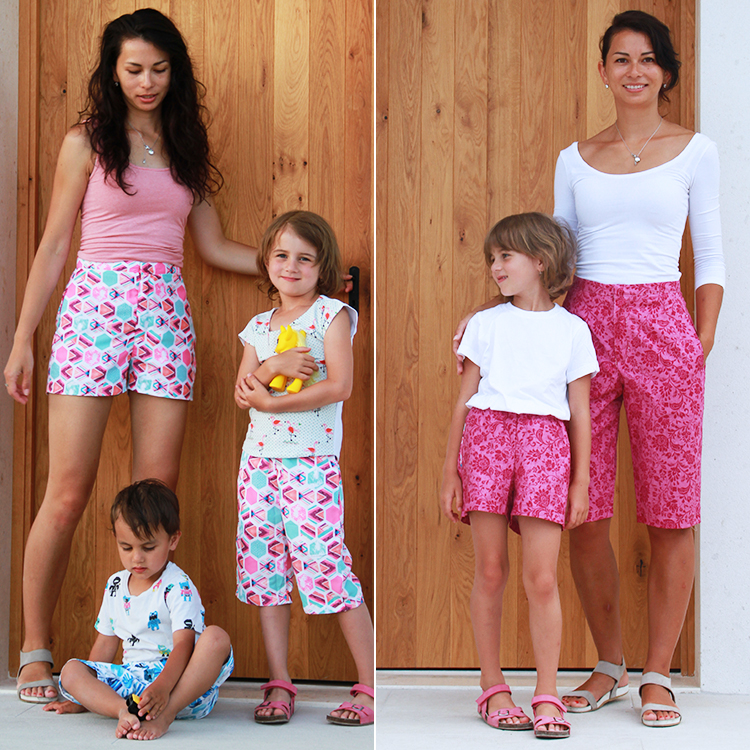
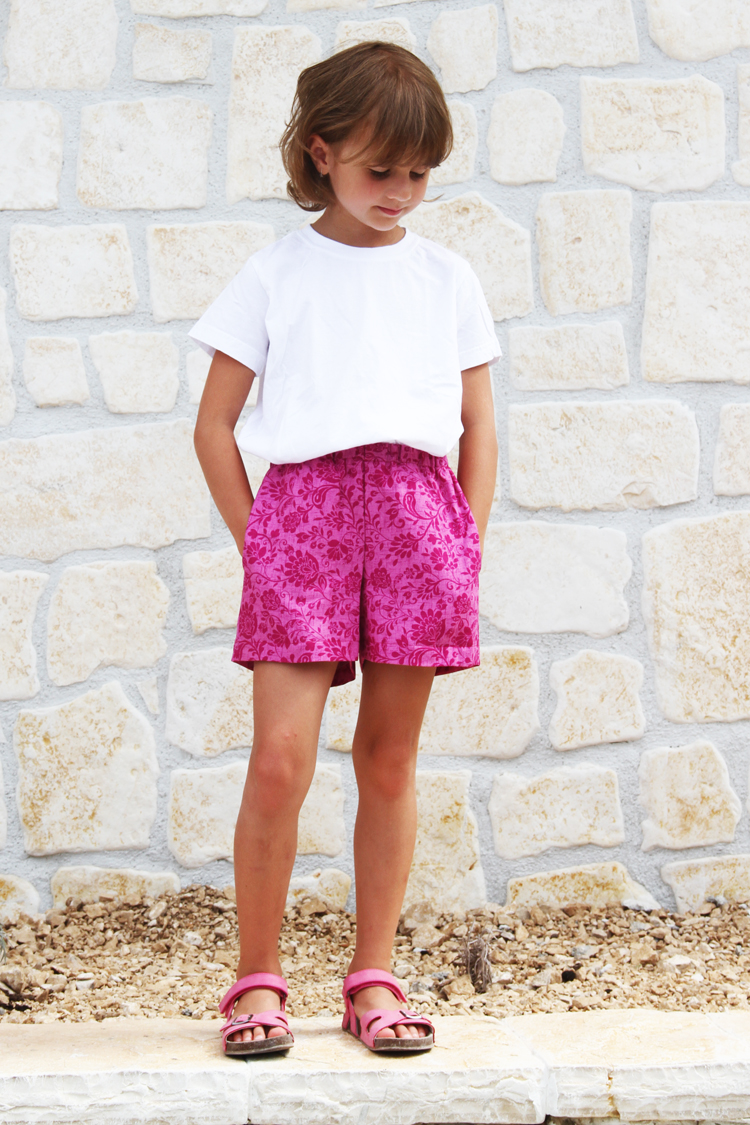
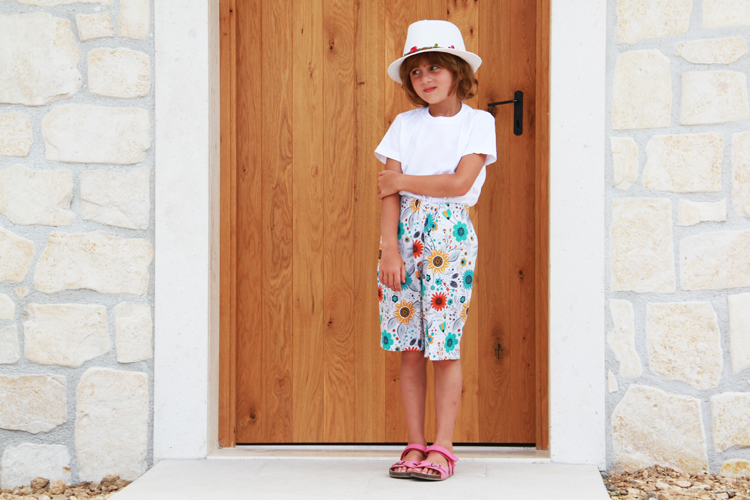
I recommend using somewhat strong (but soft) fabrics. American cotton works great. I used it to sew Bermuda shorts for myself and short shorts for Terulka. You can get this fabric in the Dumlatek.cz store:
- Pink cotton: Cotton canvas Michael Miller: Plume – You´re so vine
2. Sports shorts
You can use micropeach to sew children's sports shorts. This material is offered for example by Unuodesign.cz store:
You can also use a light softshell:
And pants softshell:
My fabrics:
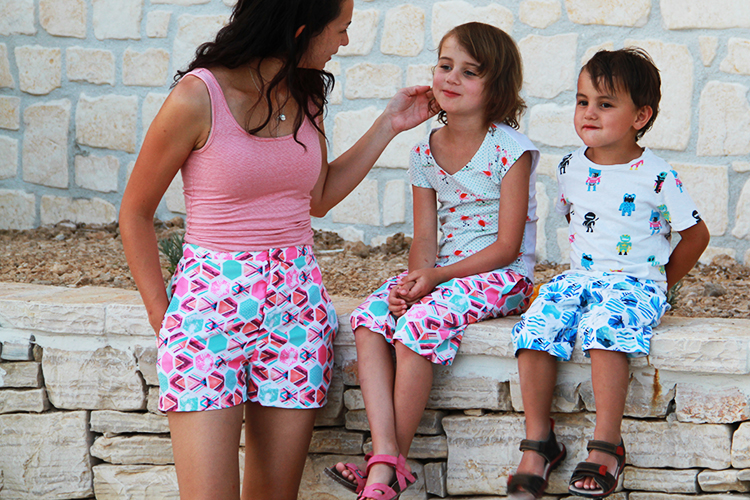
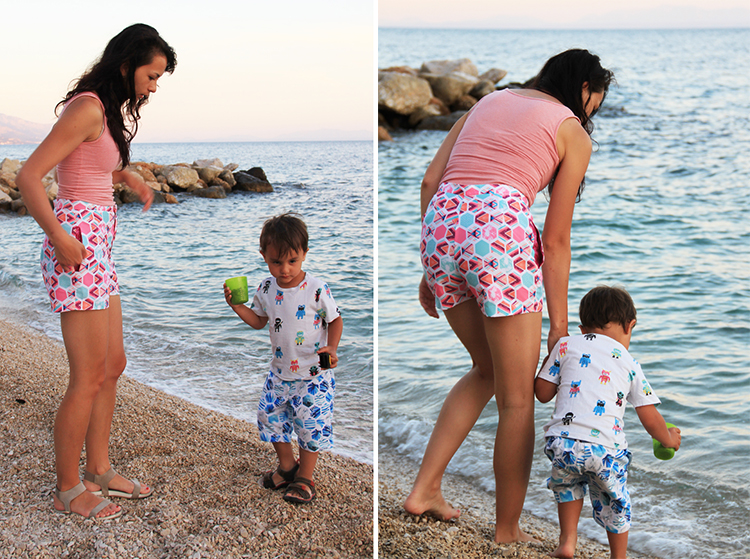
- My short shorts & Terulka’s Bermuda shorts: Micropeach - Pink tiles
- Thomas’s Bermuda shorts: Micropeach - Blue tiles
Tips
The shorts are sewn mainly on a regular sewing machine and you can use your overlock machine to clean the edges. But you can just as well clean all the edges with your regular machine (use a zigzag stitch, for example).
Sewing instructions
Pattern layout
Prepare
- 2x front piece
- 2x back piece
- 4x pocket piece
You will also need a 2.5 cm / 1" wide elastic band (measure the correct length directly on the child's body), and a strip of one-sided fusible interfacing (to reinforce pocket openings).
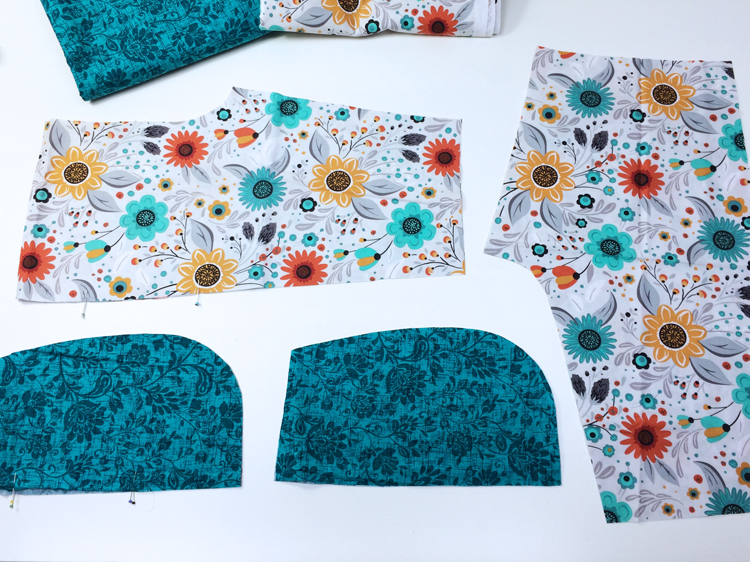
Don’t forget to mark the pocket openings on the pocket pieces and front pieces (transfer the marks from the paper pattern). You can use chalk, soap, or pins.
Pockets
First, prepare two strips of one-sided fusible interfacing, they should be approx. 1–2 cm / 0.4"–0.8" longer than the pocket opening.
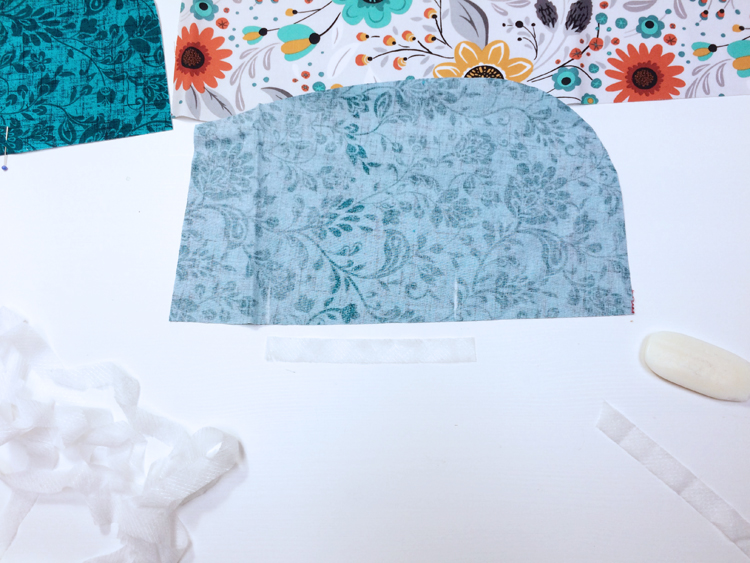
Use the strips to reinforce two of the four pocket pieces - one for the right and one for the left side of the shorts. Reinforce the parts of the edges that will form the pocket openings.
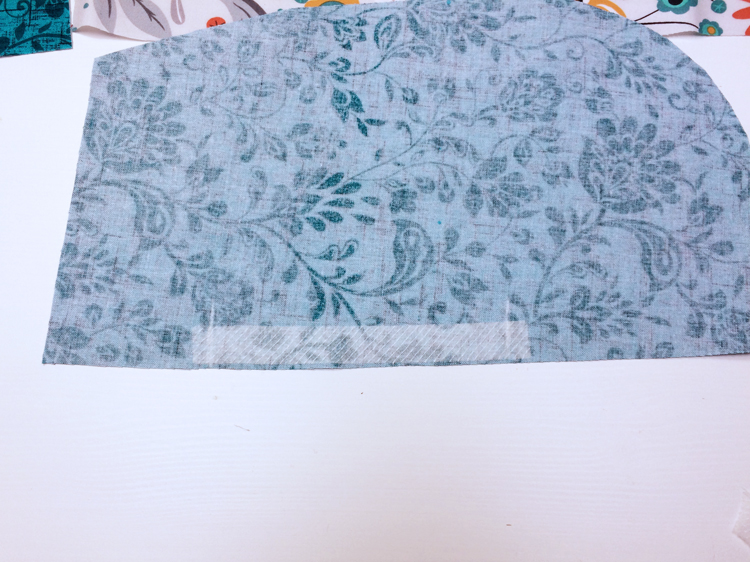
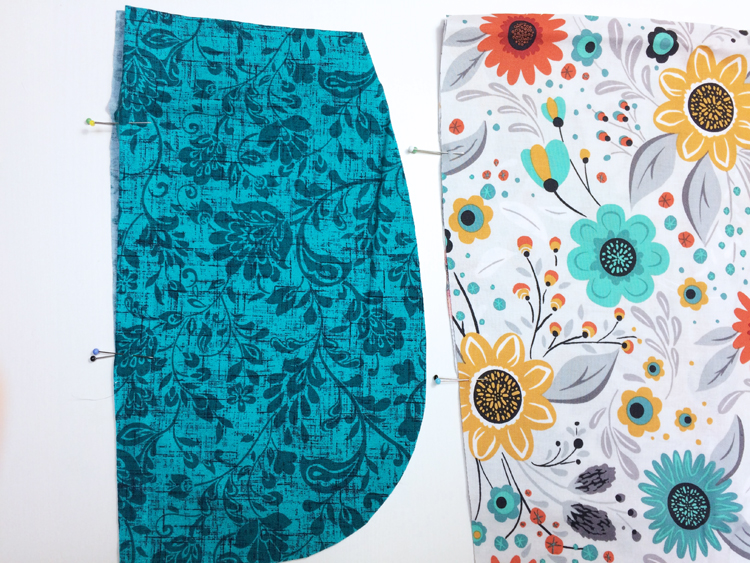
Take one of the reinforced pocket pieces, place it on the front piece (face side to face side) and align the pocket opening marks.
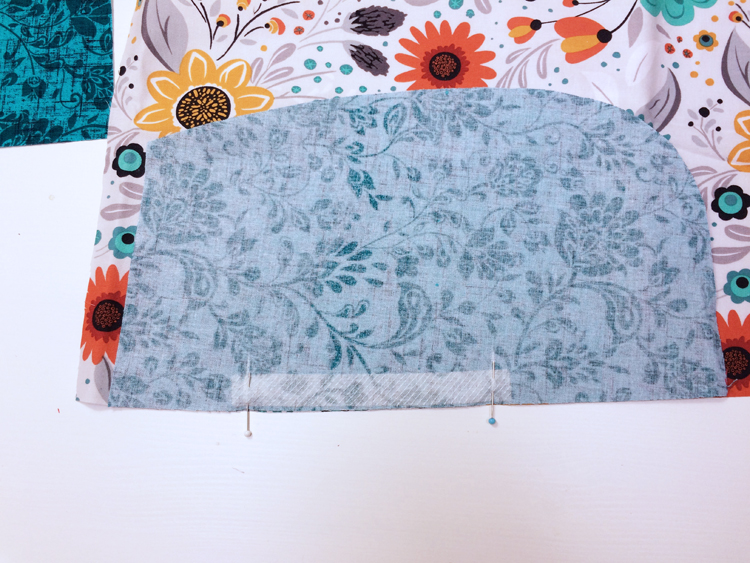
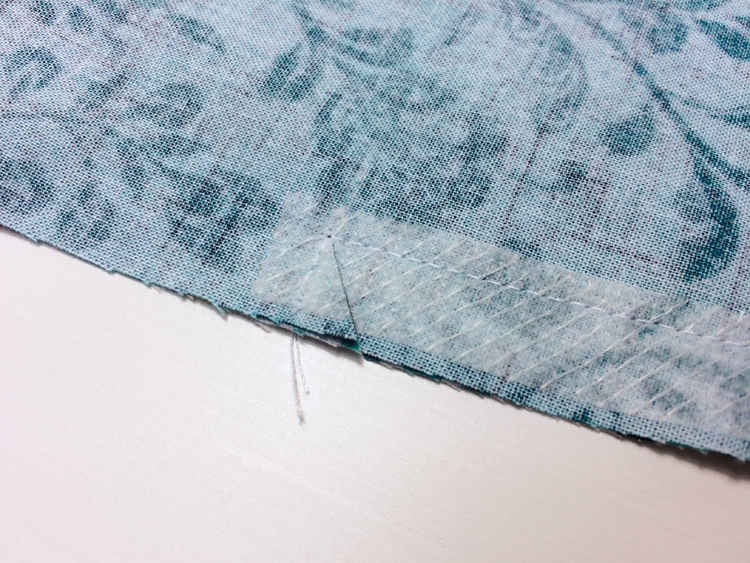
Sew the pocket piece with a "rectangular" seam (as shown in the picture below). The shorter sides of the rectangle are about 1 cm / 0.4” long.
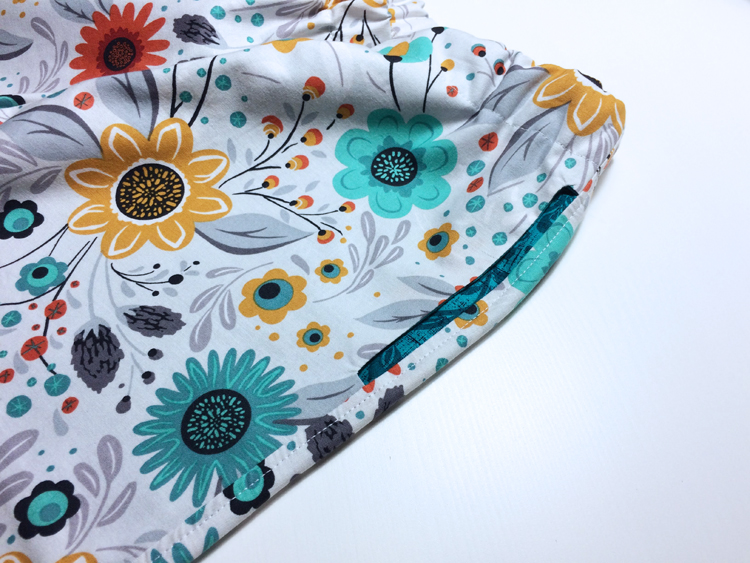
If you want the pockets to be more pronounced (for example, if you decided to use a contrasting fabric for pocket pieces), you can make the shorter sides of the rectangle longer - for example, up to 3 cm / 1.2” long. This will make the pocket openings "deeper".
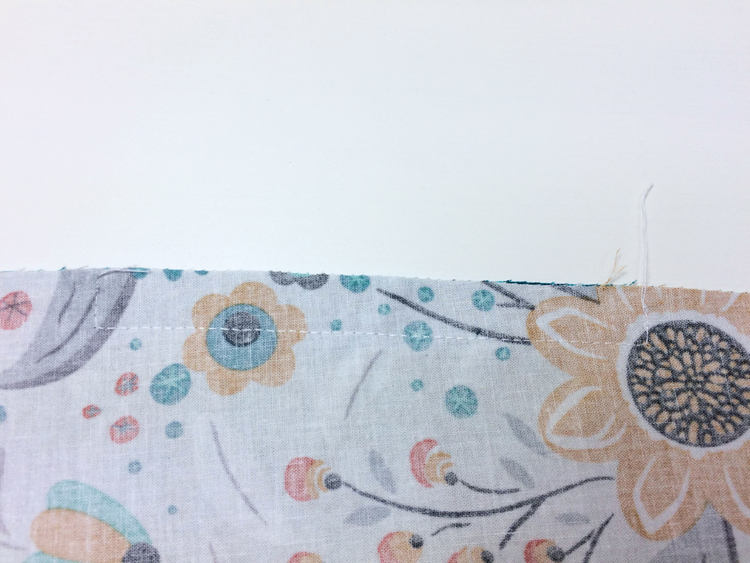
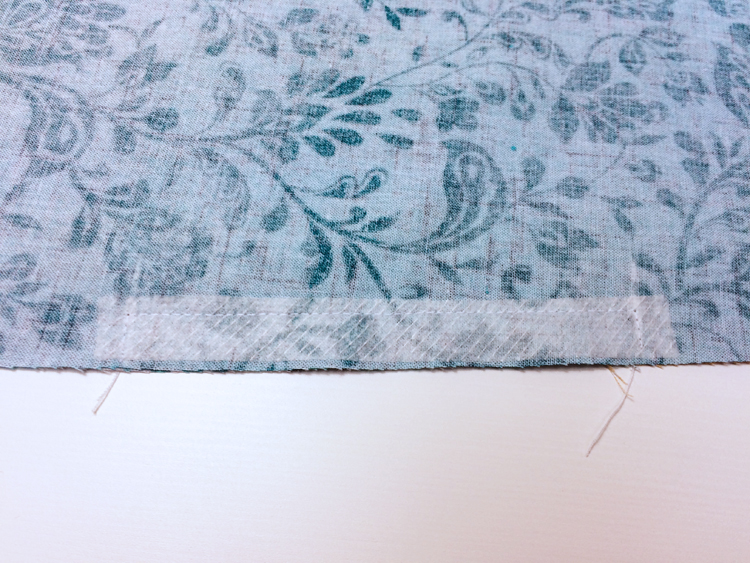
Cut the pocket opening towards the corners of the seam as shown below - be careful not to cut the seam.
Then flip the pocket piece over the edge of the front piece.
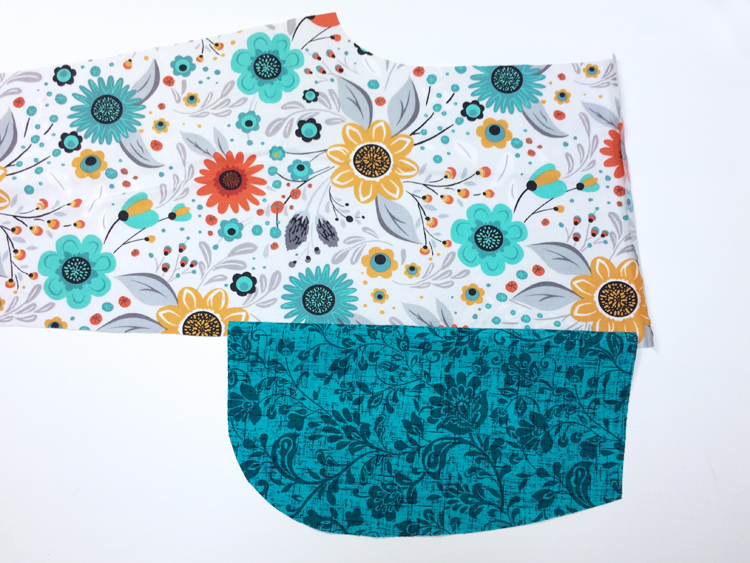
Carefully flatten the fabric around the pocket opening and iron it thoroughly. Work on the other side in the same way.
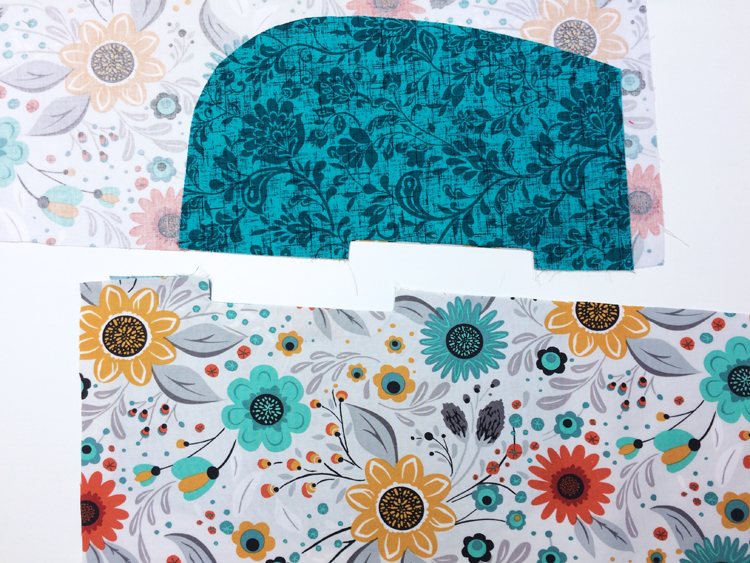
If you want, you can topstitch the pocket opening.
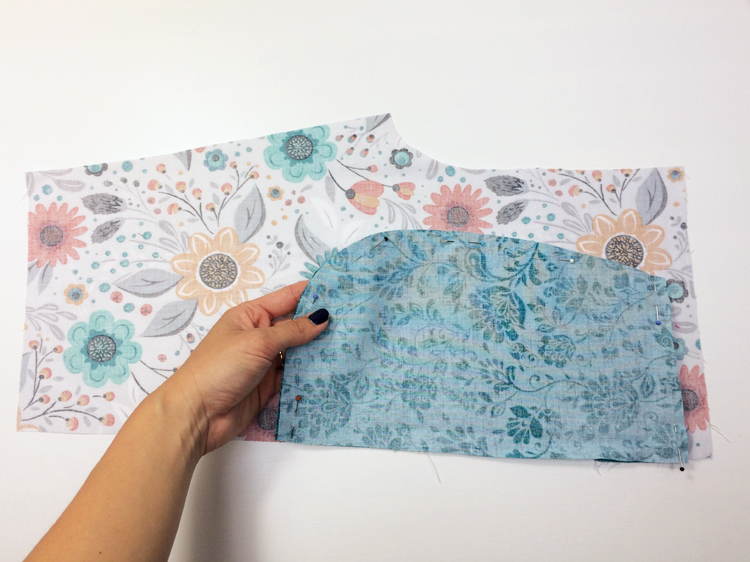
Place one of the remaining pocket pieces over the sewn-in pocket piece (face side to face side). Pin and sew the entire pocket pouch and work on the other pocket in the same way.
Pockets - Finishing touches
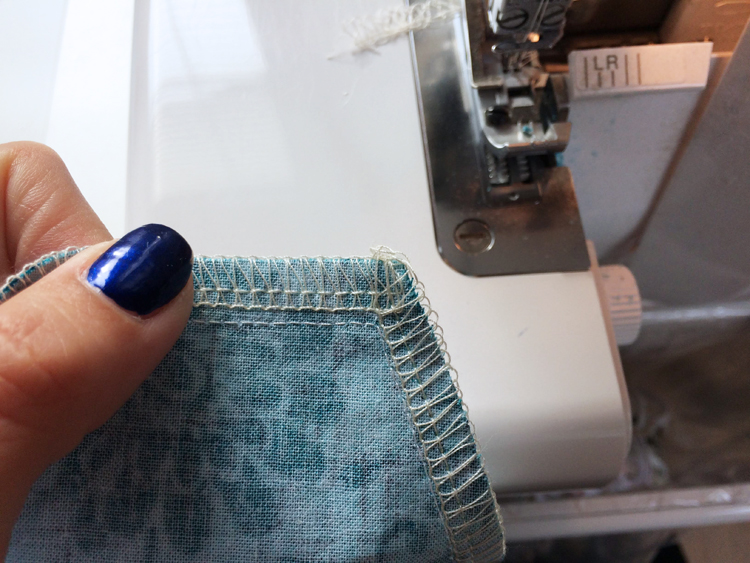
Use a regular sewing machine to clean the pocket pouch (with a zigzag stitch, for example). If you want to finish the pocket pouch on an overlock, follow the steps below:
- sew to the corner and then stop
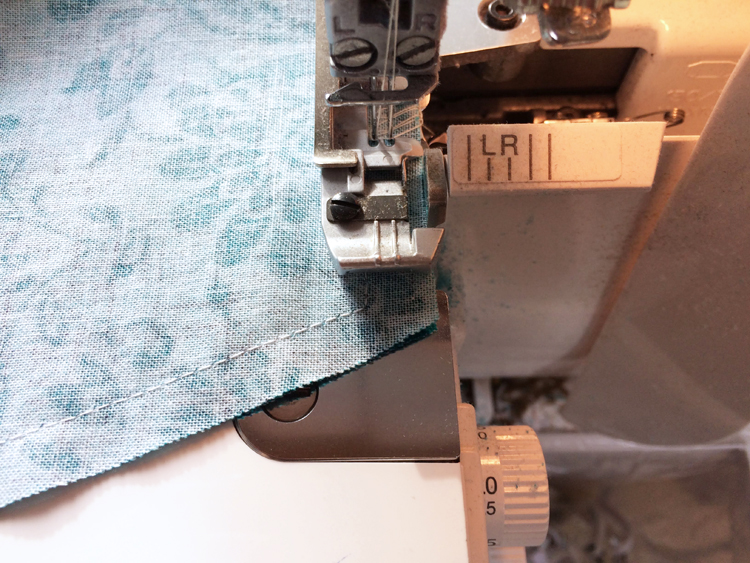
- when you reach the edge of the fabric, sew two more stitches outside the fabric by hand (using a hand wheel)
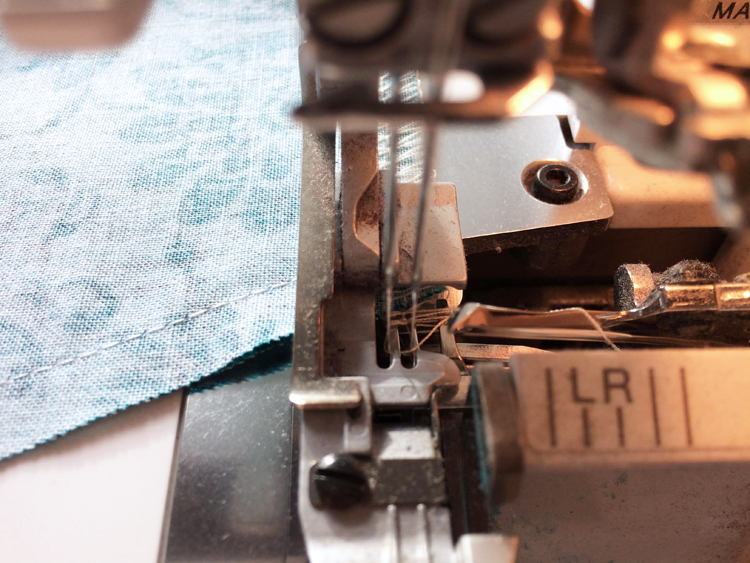
- leave the needle in the upper position and lift the presser foot
- turn the piece so that you can continue sewing
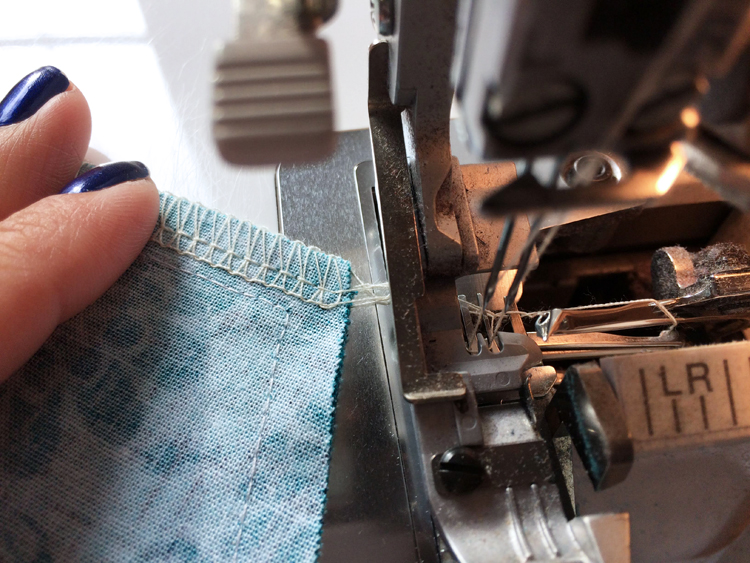
- put the fabric back under the foot, the corner is under the needles
- lower the presser foot and continue sewing
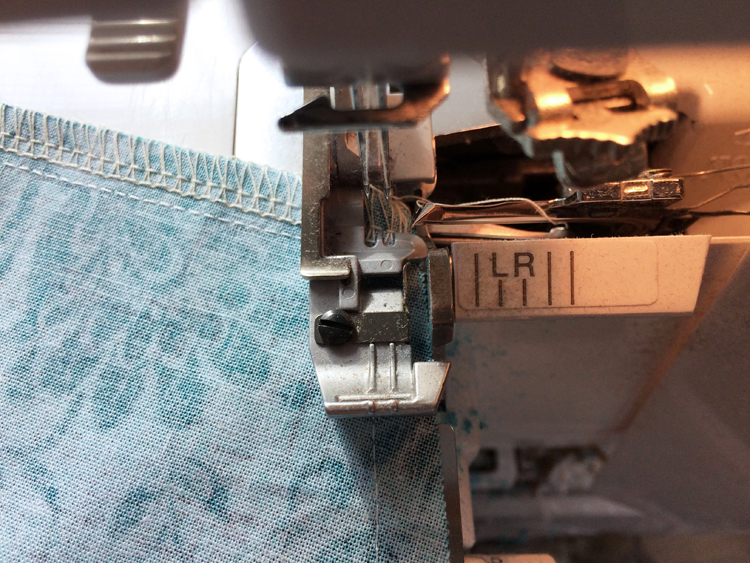
Clean the rest of the pocket pouch and then work on the other one in the same way.
Side seams & Instep seams
Place the prepared front piece with the pocket pouch on the back piece (face side to face side). Pin the side seam.
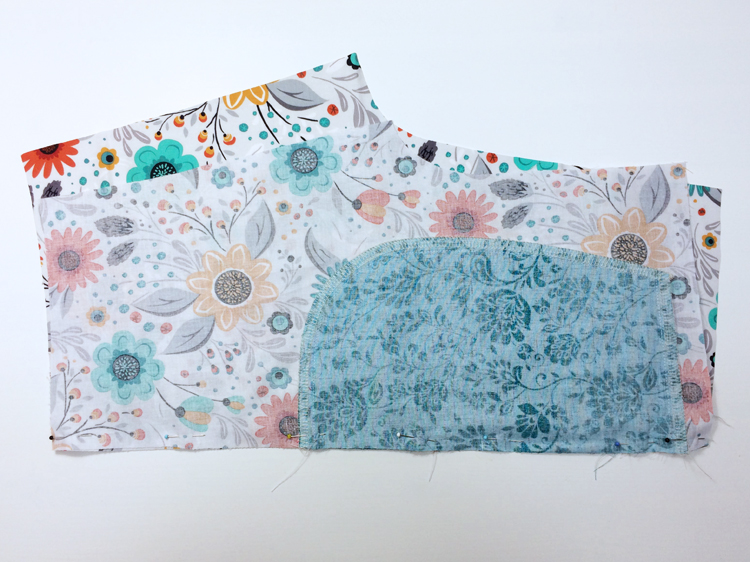
Sew and clean the side seam - don’t sew too far to avoid closing the pocket opening.
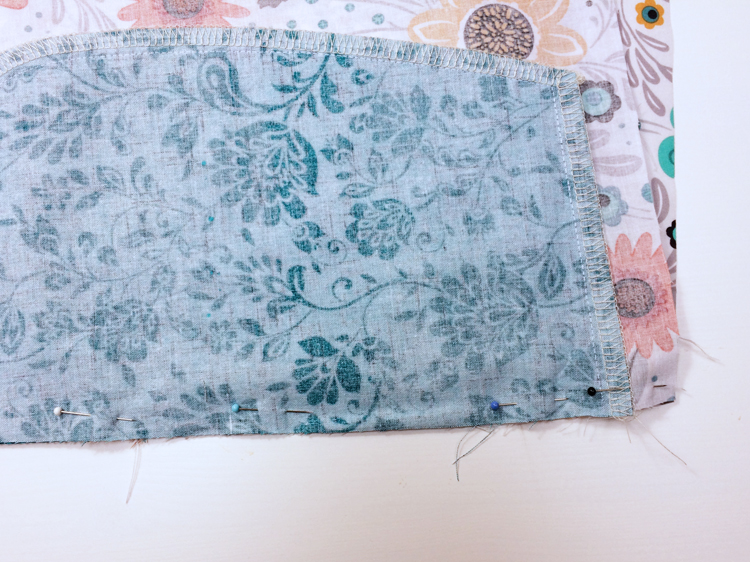
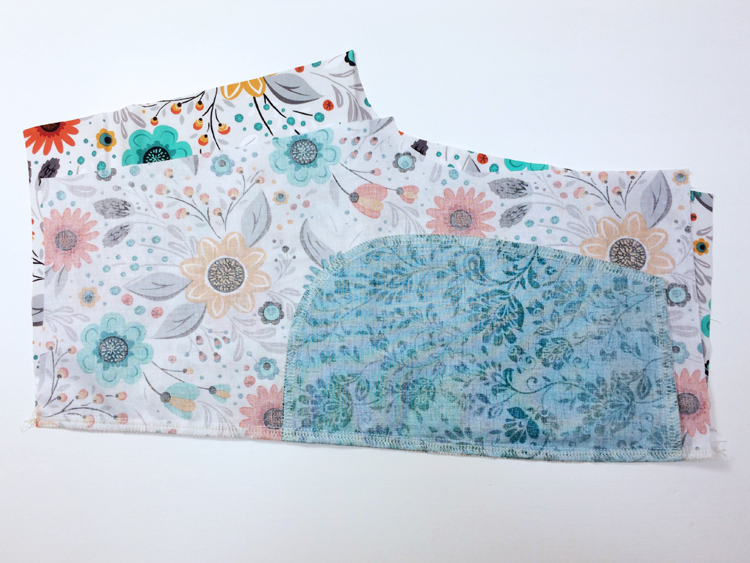
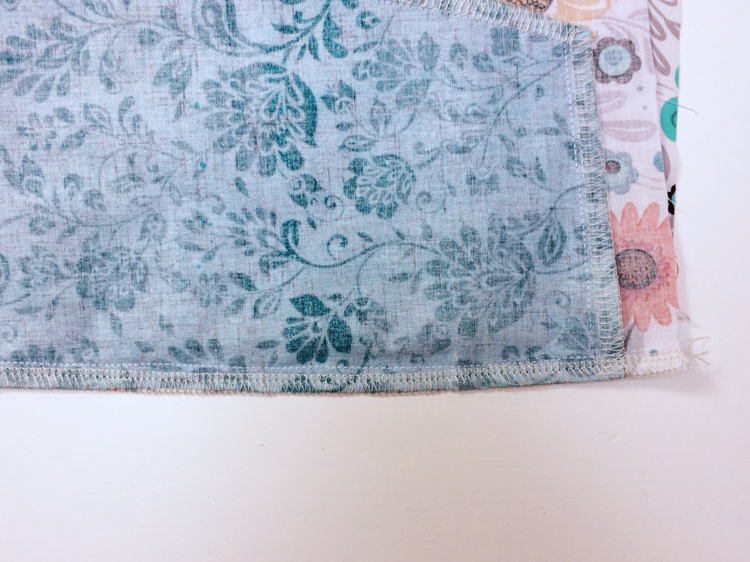
Check the seam & pocket opening. :)
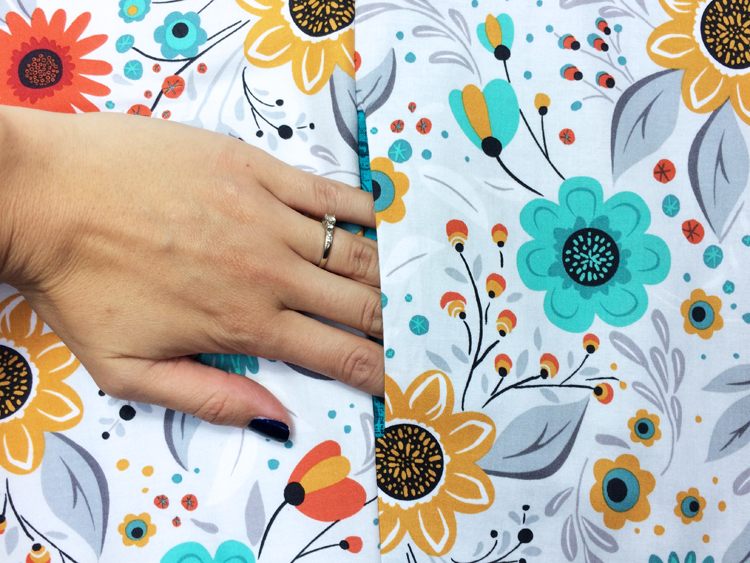
If everything is in order, iron the side seam carefully (press the seam allowances towards the back piece).
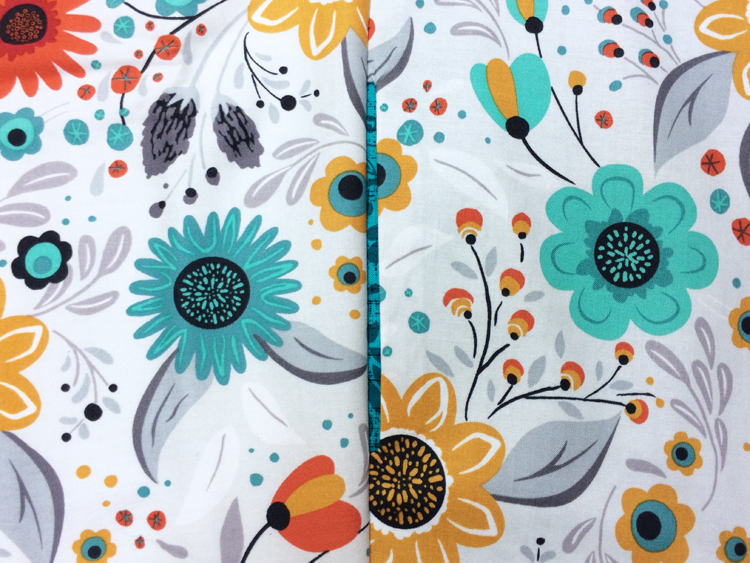
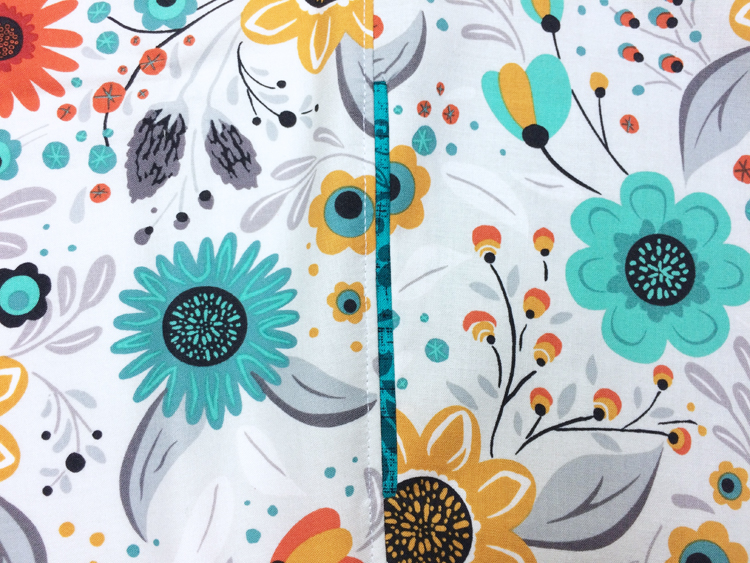
If you want, you can topstitch the side seam.
(Sew from the face side of the back piece - about 3 mm / 1/8” from the seam - through seam allowances on the other side.)
Now pin the instep seam.
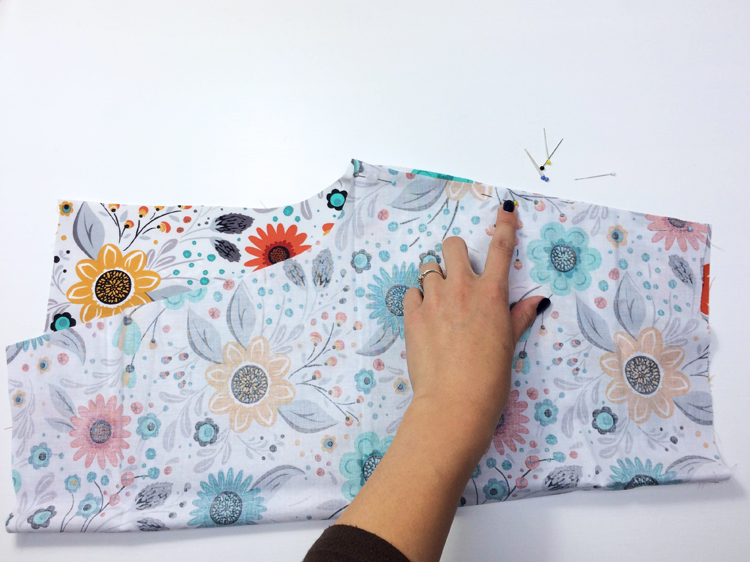
Sew and clean the instep seam.
Topstitching is usually absent in instep seams, the only exception being jeans where thick seam allowances need to be flattened as much as possible.
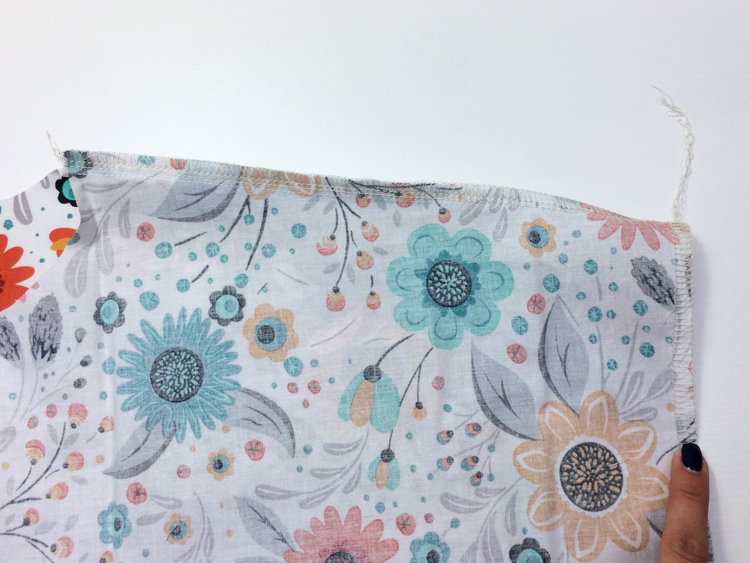
When you have finished the instep seams and side seams, you can clean the bottom cutting edge of the leg. Work on the other leg in the same way. Pull free ends of the thread chain under the loops (when using your serger).
Crotch seam
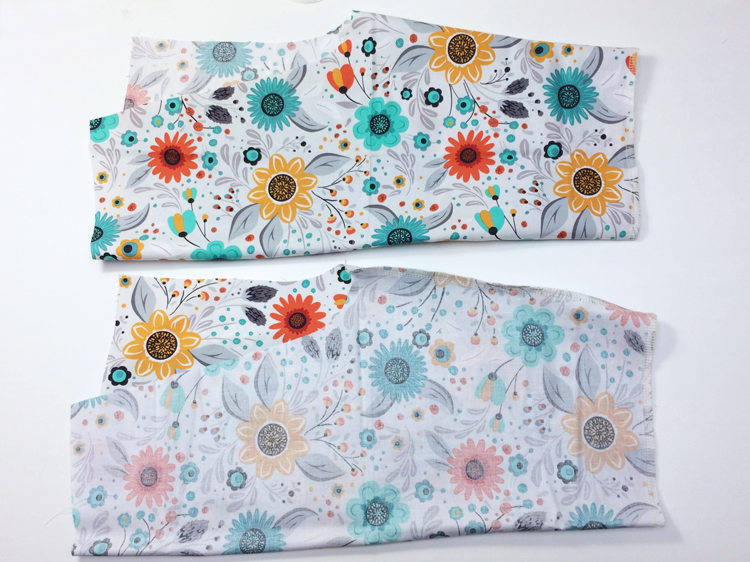
Turn one of the legs face side out and insert it into the other leg.
Align and pin both crotch seams (back & front).
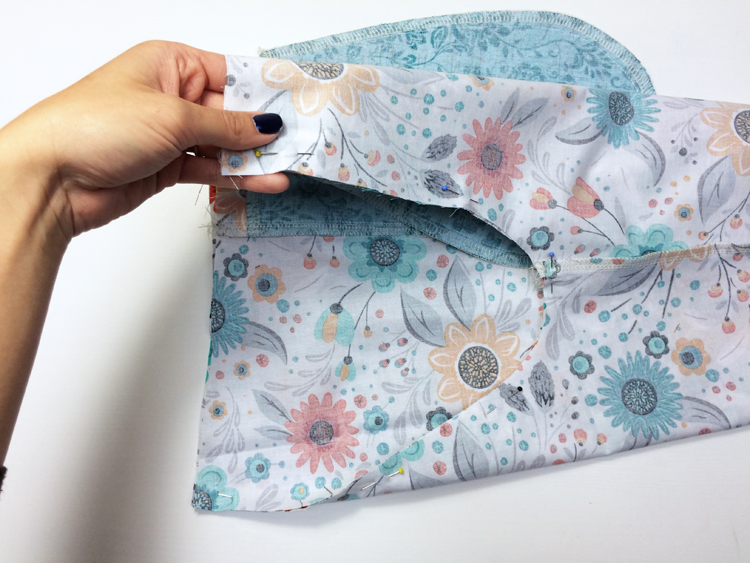
Sew both crotch seams in one go. Clean both crotch seams.
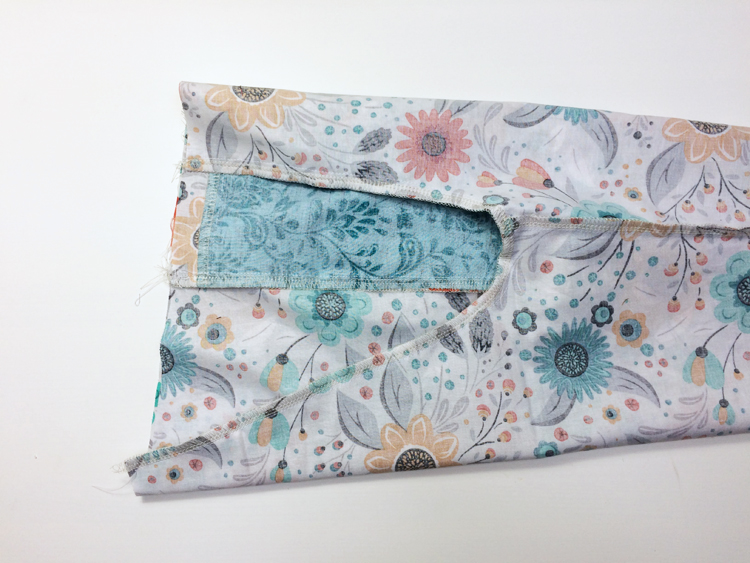
Turn the shorts face side out and iron them thoroughly.
If you are sewing sports shorts, you can topstitch the crotch seam.
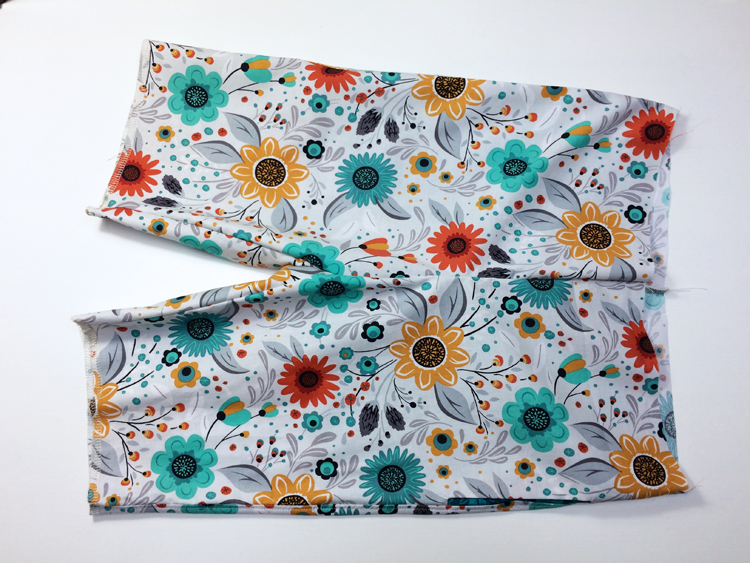
Waistline
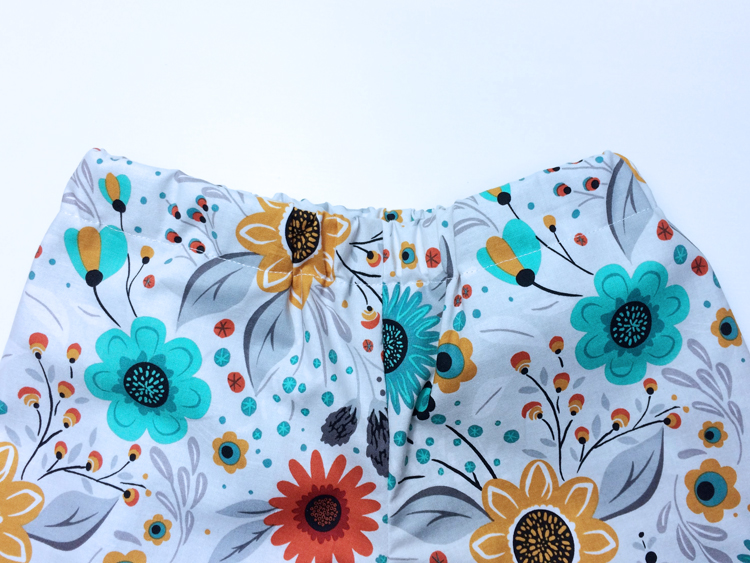
Clean the entire waistline.
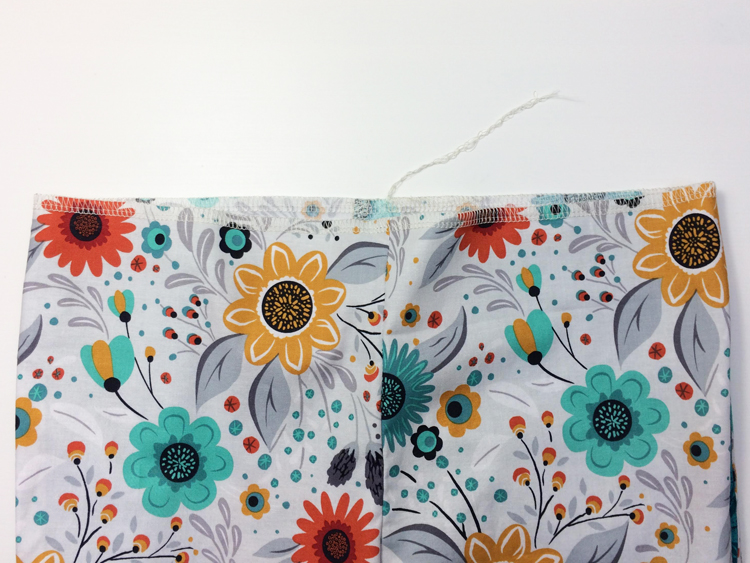
Sew the ends of the elastic band to form a loop - try to make the connection as flat as possible and be careful not to twist the band.
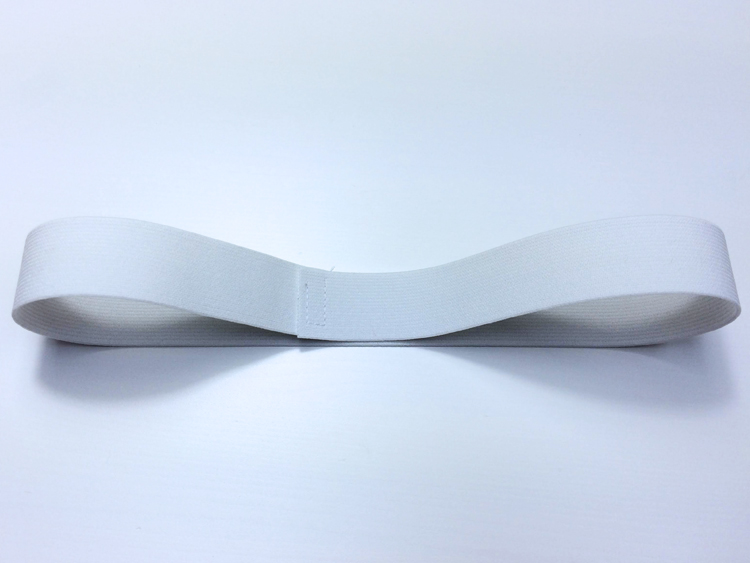
Insert the band into the shorts and fold the edge (about 3 cm / 1.18") over it.
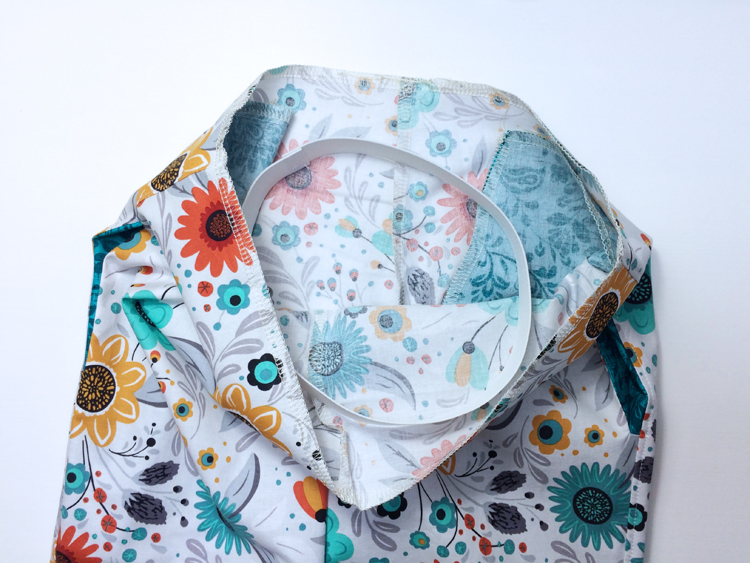
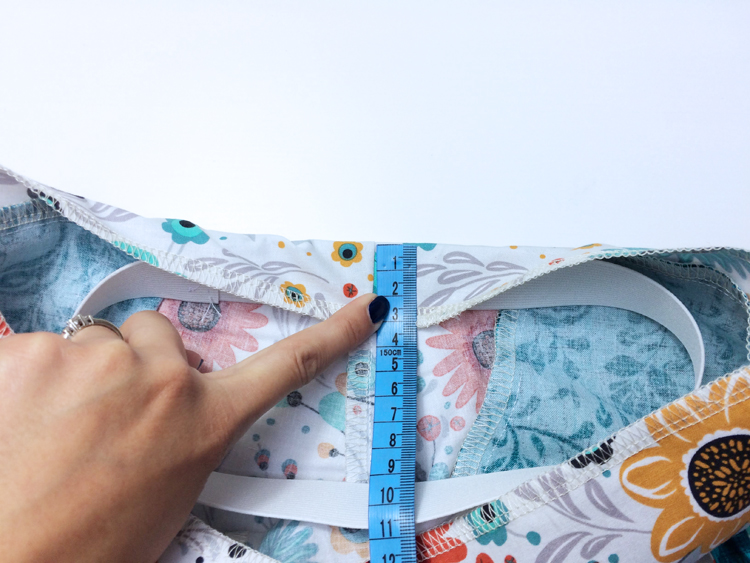
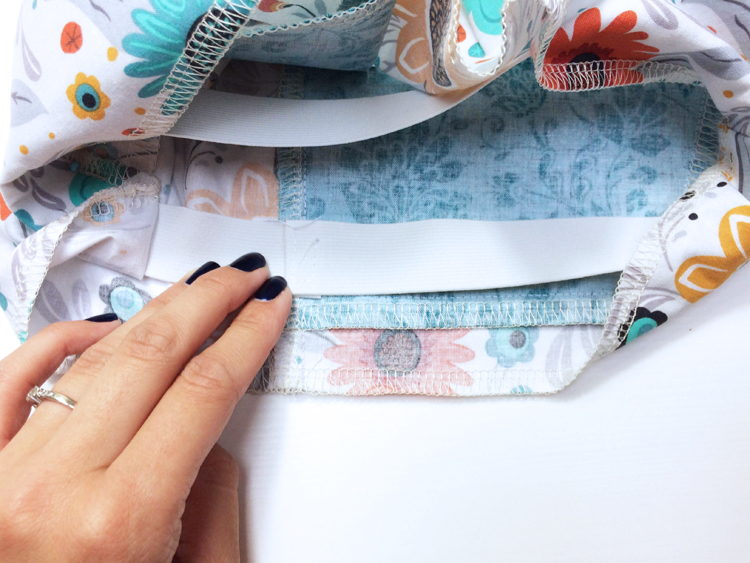
Pin the waist and elastic band in this position.
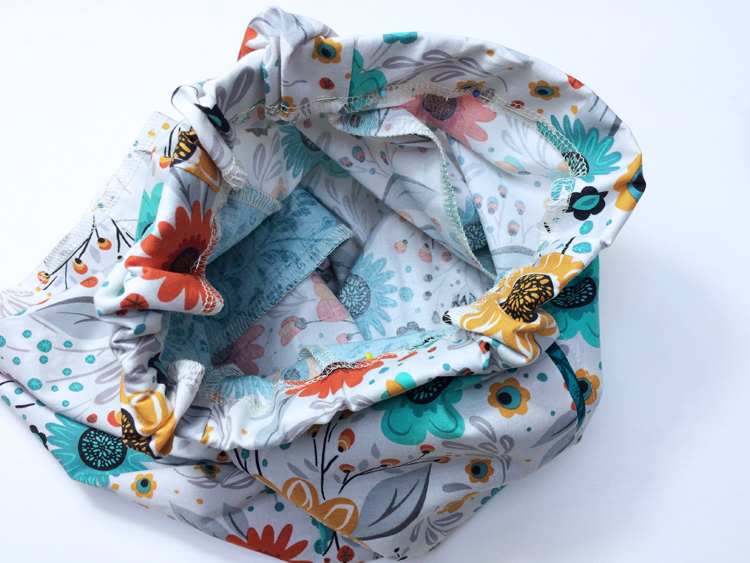
Topstitch the waistband. Take care not to accidentally sew through the elastic band.
Legs
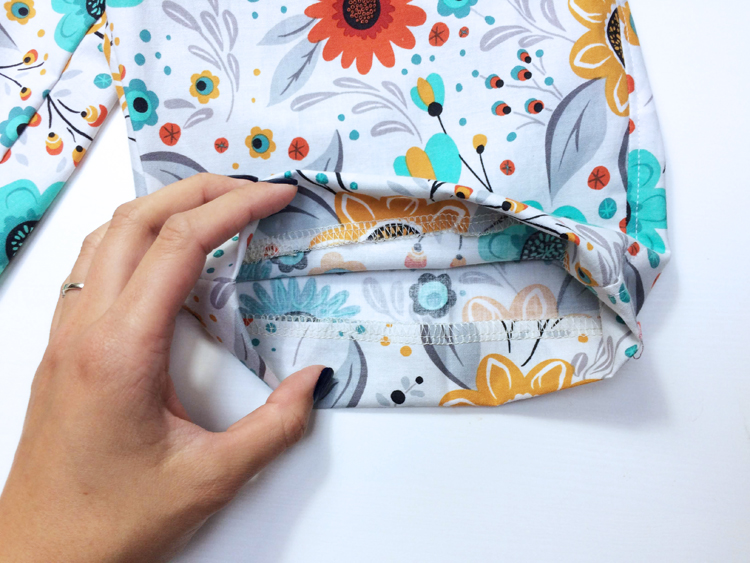
Fold the cutting edges 3 cm / 3/4" to the inside of the legs and topstitch them.
Aaand that's it... Good job! :)
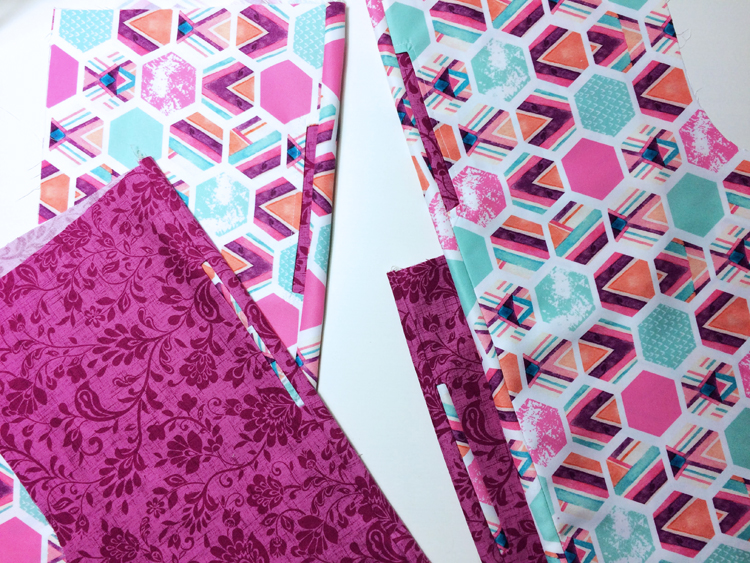
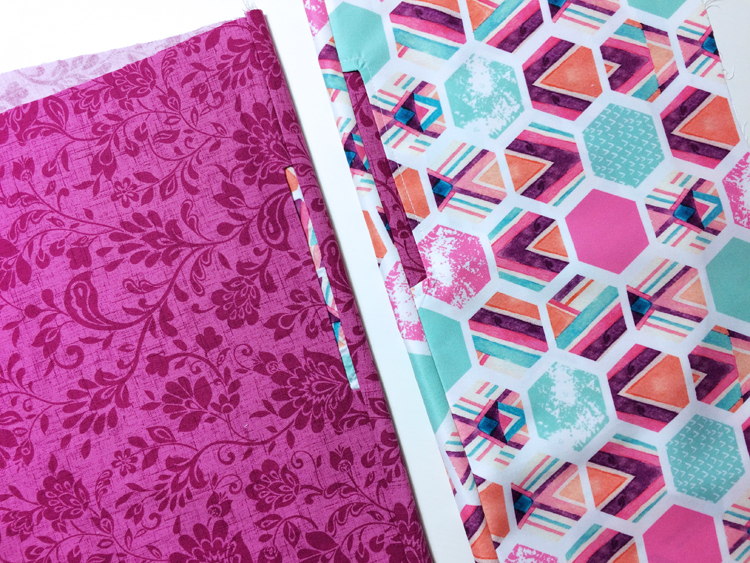
Finally, a small demonstration of how I made the contrasting pocket openings.
You can get the pattern featured in today's article here:
- The pattern for children’s shorts HAWAII (2in1, sizes 80–176)
- The pattern for women’s shorts HAWAII (2in1, sizes 32–46)
- Pattern set - Women's and children's shorts HAWAII
Don't forget to share your joy with others!
Do you like this article? If so, share it with your friends and tell me about it in the comments section below. I will be glad for any feedback! ♥
PS: Did you know that there are other FREE PATTERNS available on my blog?


