


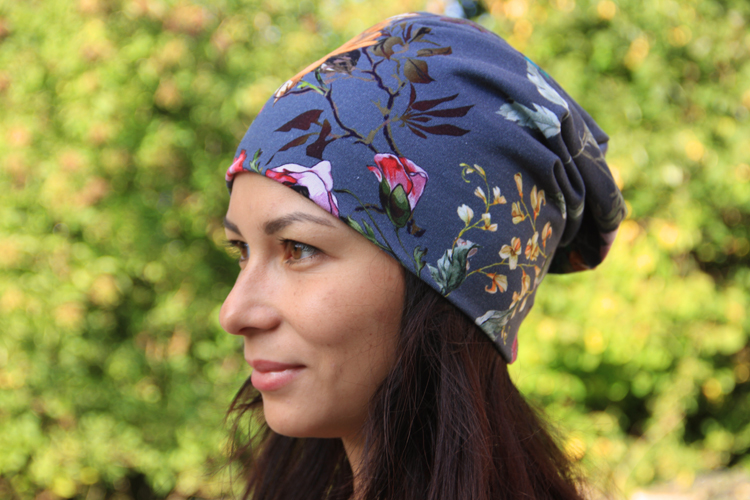
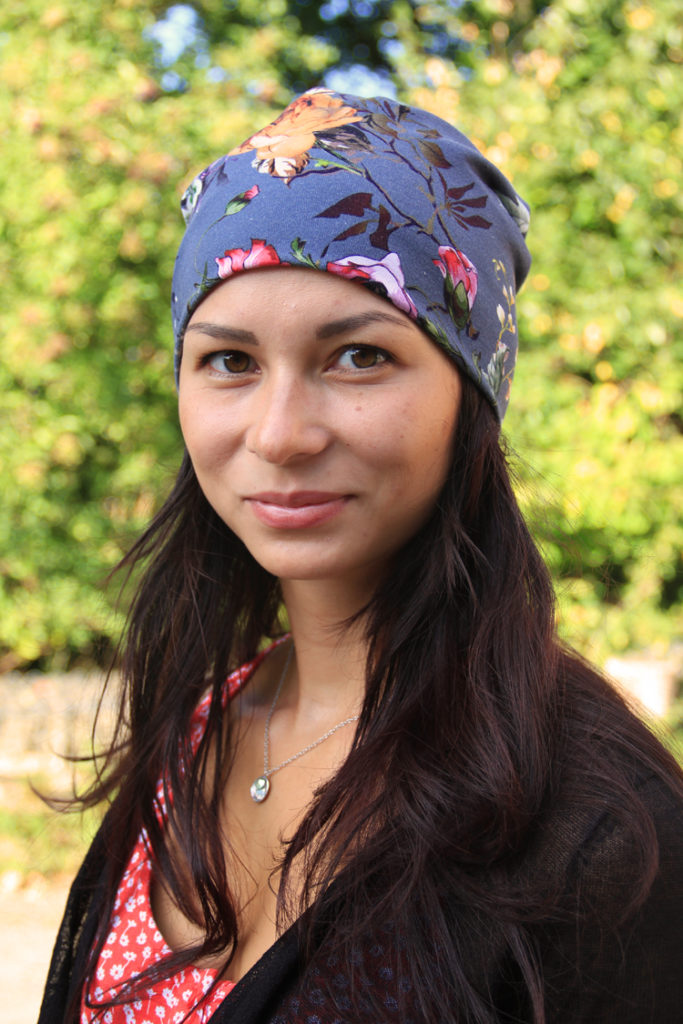
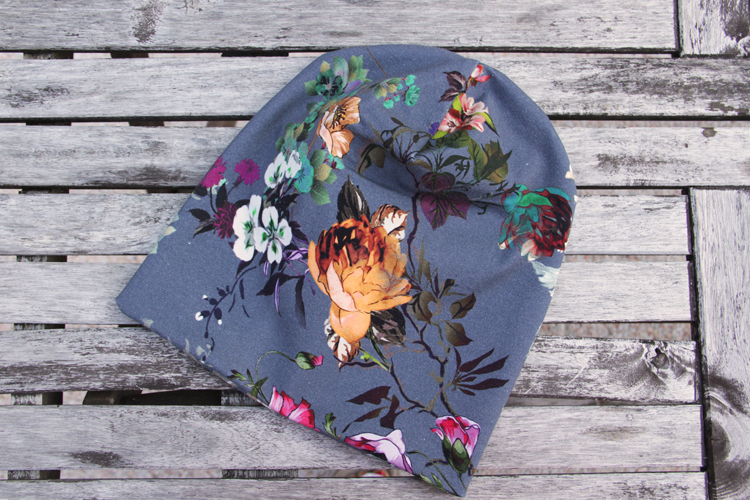
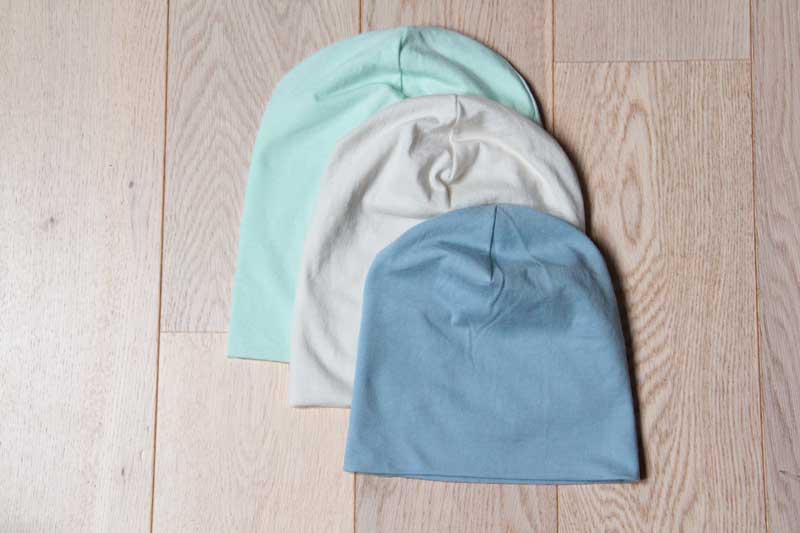
We might be in the middle of summer, but you know how it is... It’s better to be prepared! I’ve been working on the autumn collection this summer (in fact I’m still working on it) and today I would like to show you the first piece of this collection - the pattern for a beanie hat. This hat is available in all imaginable sizes - you can sew it for a newborn baby or your grandpa. I have all children’s, women’s and men’s sizes. You can, of course, find detailed photo instructions for this hat in the article below and I also have a new video tutorial for you. This hat is very easy to sew and you can do it in five minutes. Literally.
The pattern
You can get this beanie hat pattern in our online store:
Sizes
This pattern is available in nine sizes:

Recommended material
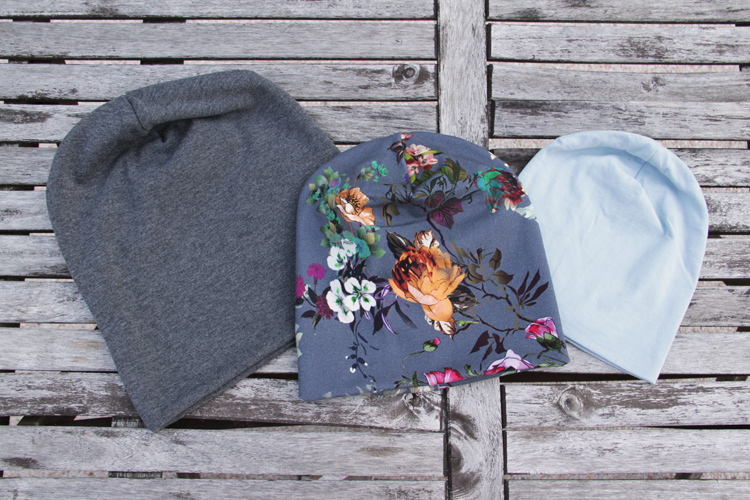
This hat can be made from many different fabrics, but the fabric should always be stretchy, so use only knits.
You can use:
- Combed/uncombed laid-in knit → Laid-in knits
- Elastic knits → With Prints / Monochromatic
Use your judgment when choosing your material and the appropriate size. Regular knits are usually more flexible and pliable than laid-in knits - consider the properties of your material when choosing the right size.
The required amount of material:
(for 140 cm / 55" wide fabric)
- Size 46 (Kids 0–1): 50 cm (20")
- Size 48 (Kids 1–2): 55 cm (20")
- Size 50 (Kids 2–4): 55 cm (22")
- Size 52 (Kids 4–6): 60 cm (24")
- Size 54 (Kids 6+): 60 cm (24")
- Size 56 (Women S): 65 cm (26")
- Size 58 (Women L): 65 cm (26")
- Size 60 (Men S): 70 cm (28")
- Size 62 (Men L): 75 cm (30")
Sewing instructions
My tip: I recommend sewing the hat on an overlock machine (if you have one). But you can get great results with a regular sewing machine. Here are some tips for you:
Video tutorial
Photo instructions
Pattern layout
Choose appropriate size (based, among other things, on the material). Today I will show you how to work with a pattern without pre-drawn seam allowances.
Fold the fabric so that it is stretchy in a side-to-side direction (of your hat). Fold it face side in.
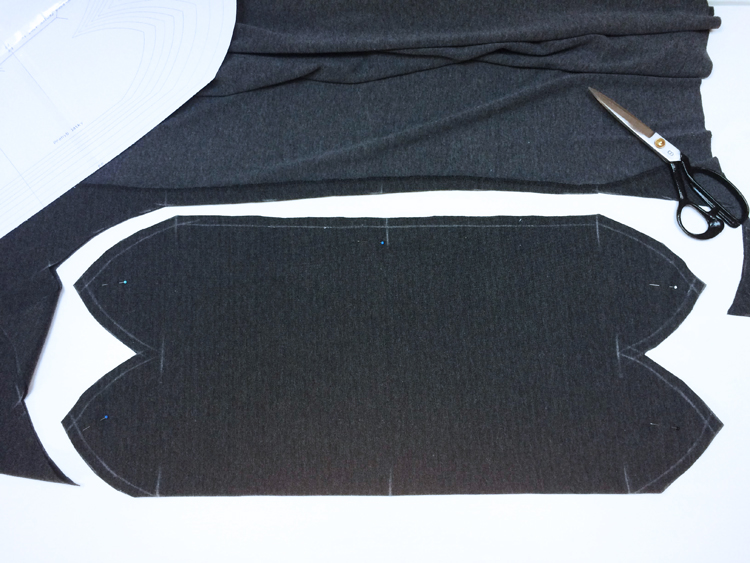
Place the paper pattern on the fabric and pin it to the fabric carefully. Start pining near the fabric fold, and then pin the rest of the pattern.

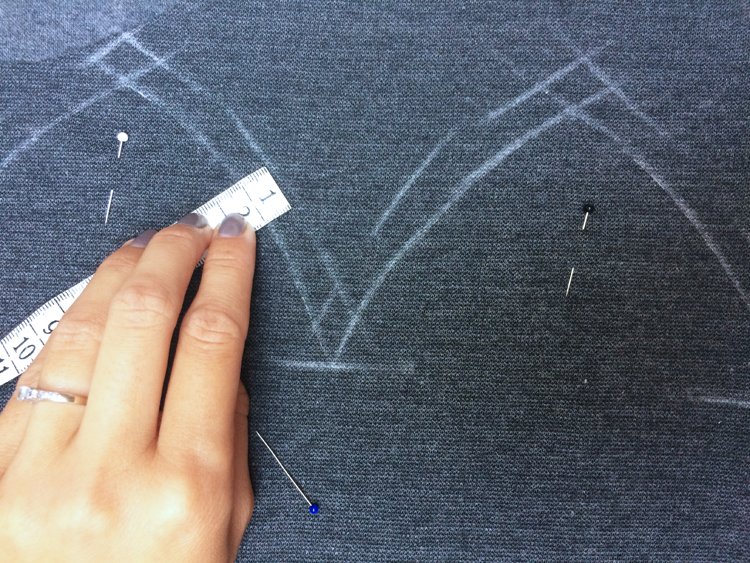
Transfer the paper pattern to the fabric. You can find more about this phase in one of my older articles:
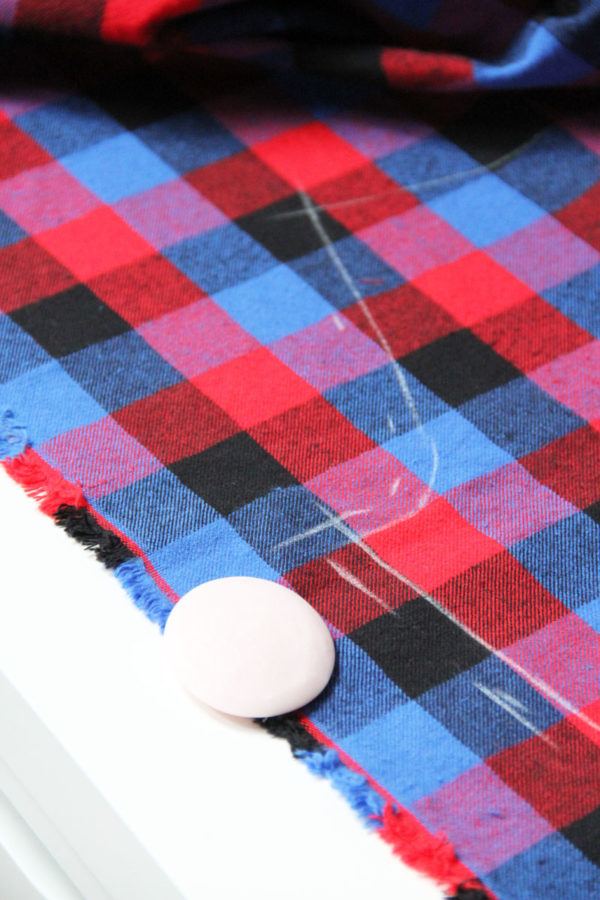
Mark seam allowances around the transferred shape. I recommend making the allowances 1 cm (0.4") wide everywhere - you won’t get confused during sewing thanks to this. Mark/add seam allowances around the pattern lines. Just don’t add anything at the fold of the fabric (technically it is not even possible, but there are beginners among us, so let’s be clear about this).
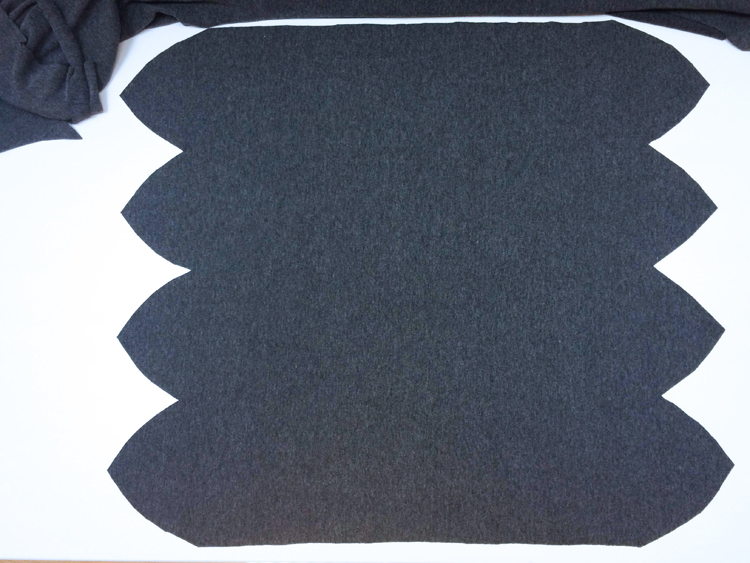
Cut out your new shape (you are cutting both fabric layers at once).
Sewing
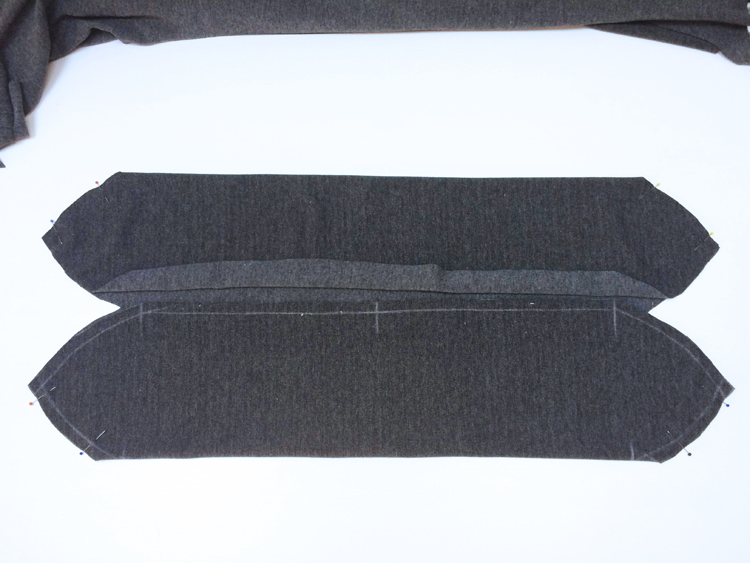
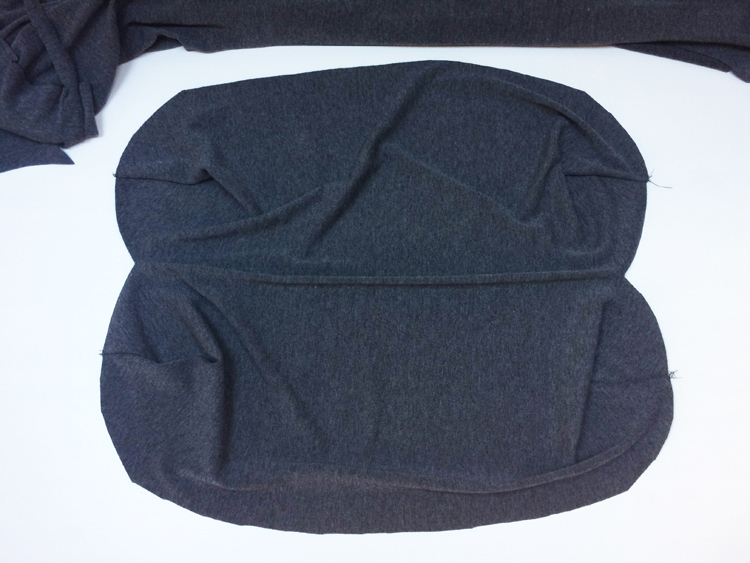
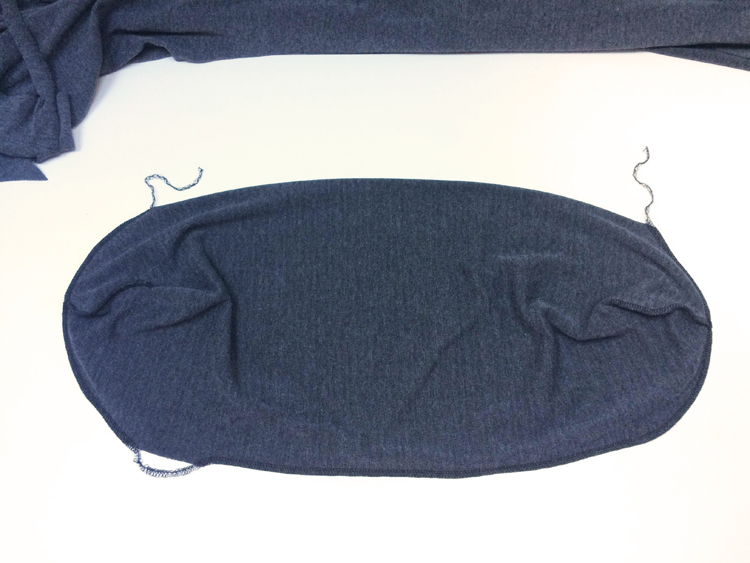
Spread the piece on the table (face side up).
Fold the bottom part of the hat towards the center (initial fold).
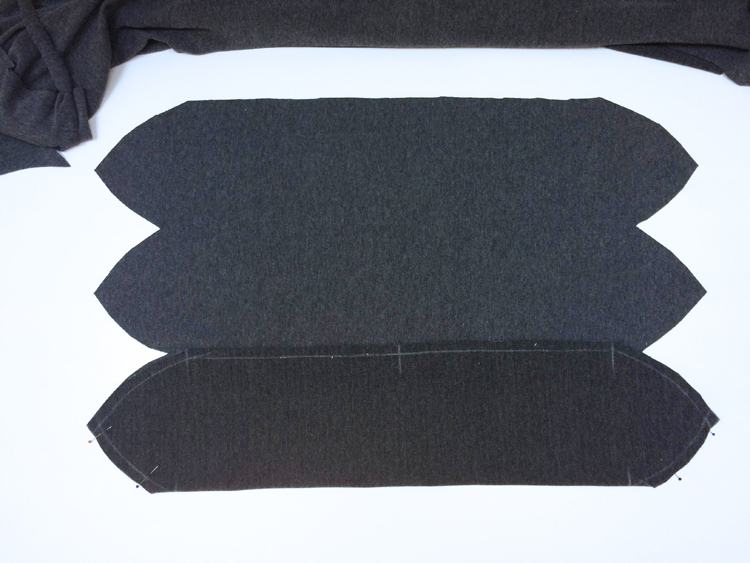
Align and pin the outer edges (“tops” of the hat).
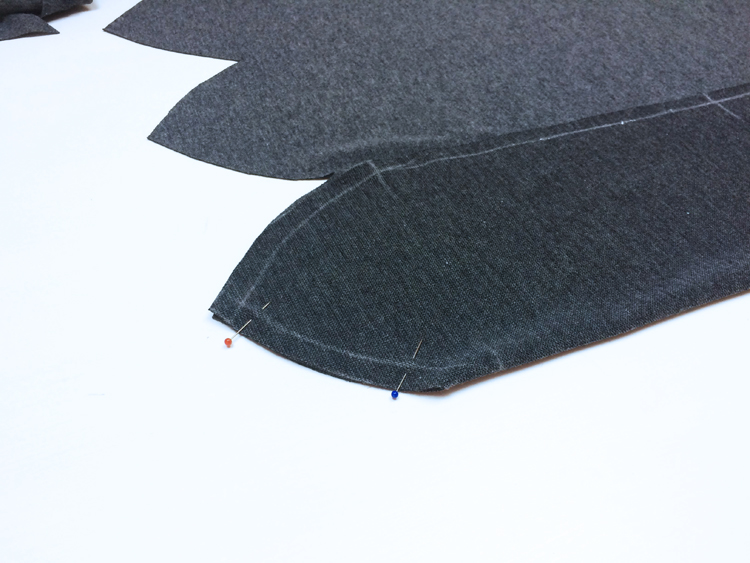
Do the same thing with the upper part of the piece.
And pin the outer edges here too.
Sew pinned parts.
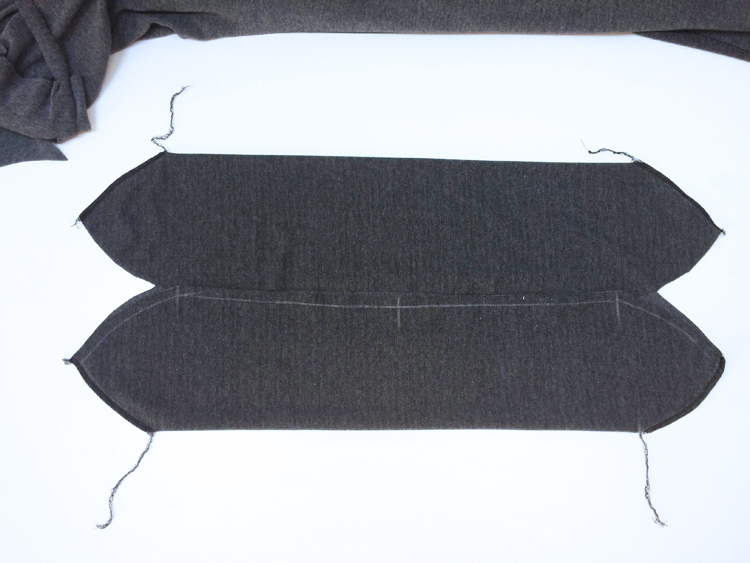
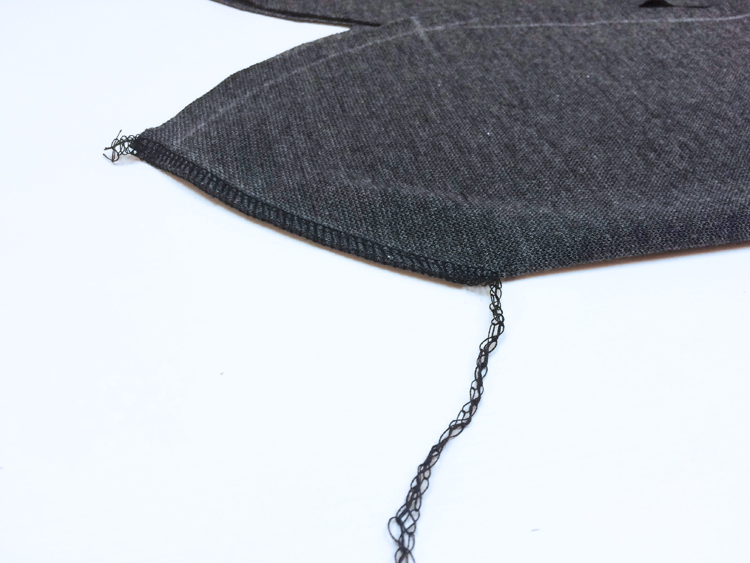
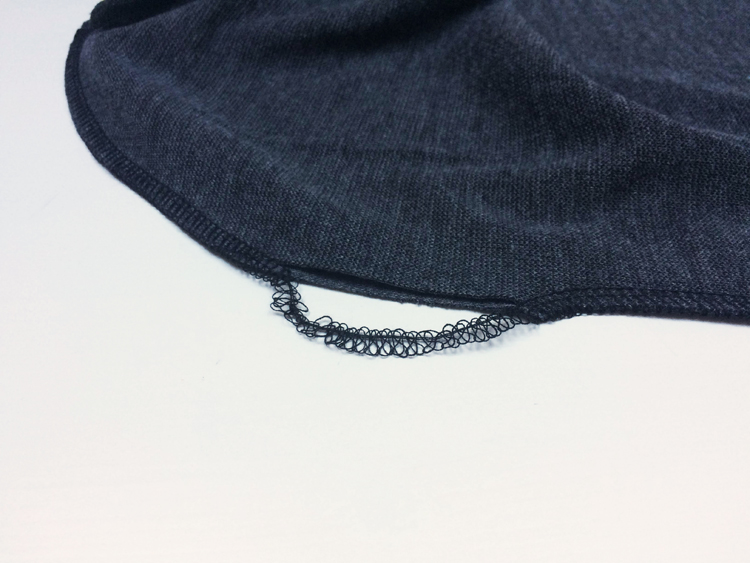
Leave longer thread chains near new folds (and pull them under the loops) when using the overlock.
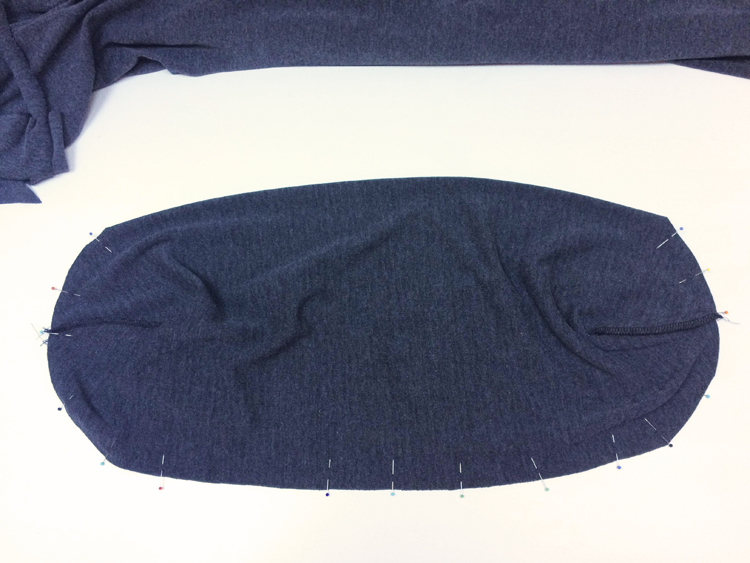
Spread the piece on the table again (face side up)
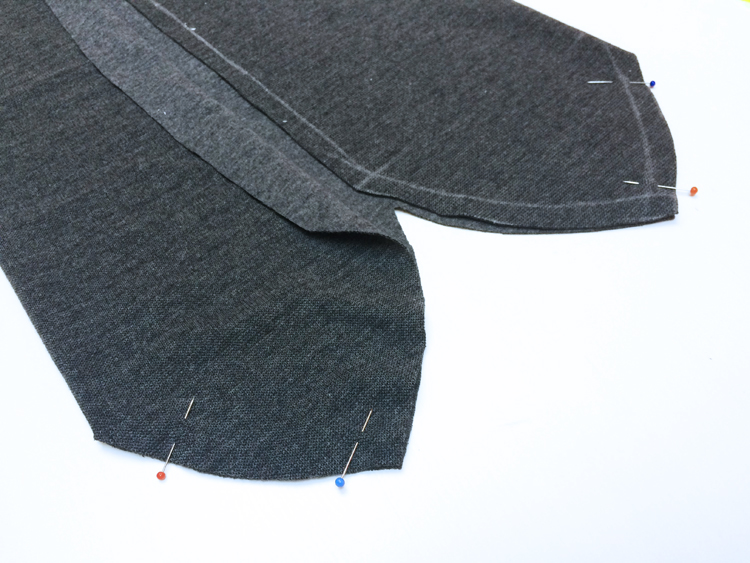
And fold it in half (face side to face side). Pin the long side of the hat and rounded “top” of the hat.
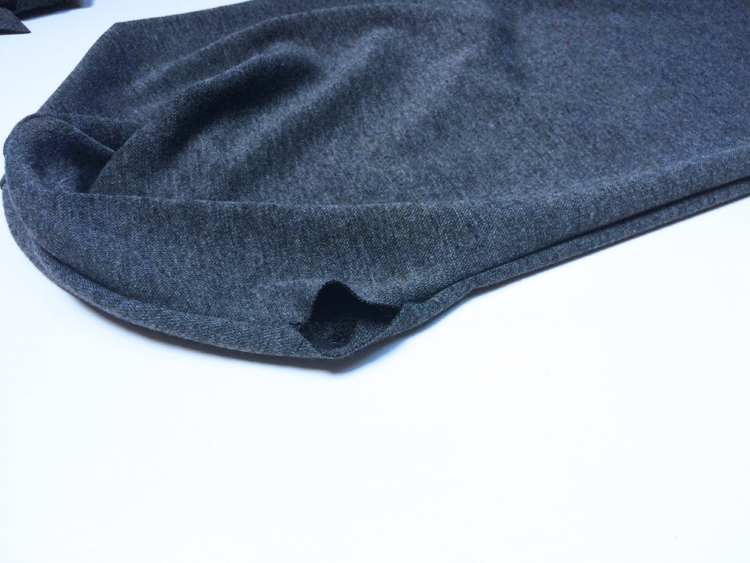
Now you are going to sew around the edge but leave out about 5 cm (2") long gap a short distance away from the “top” of the hat (do this in the straight part of the edge, not in the curve).
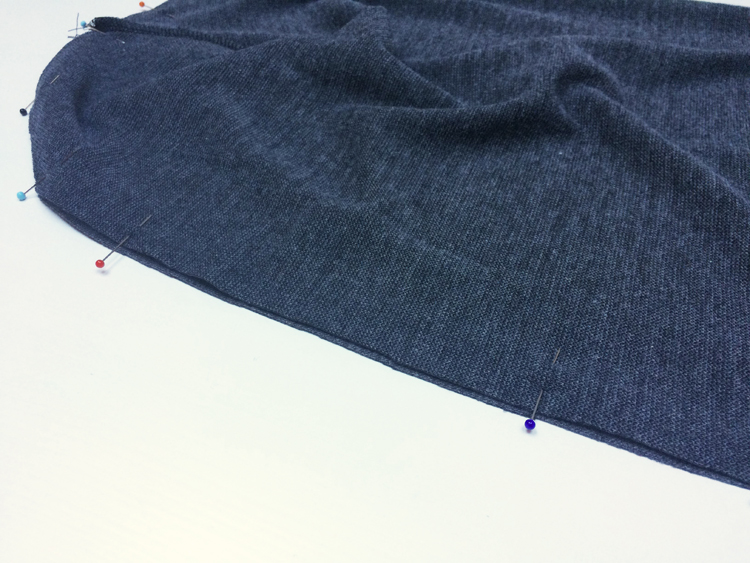
Sew around the edge (don’t close that gap you pepared earlier).
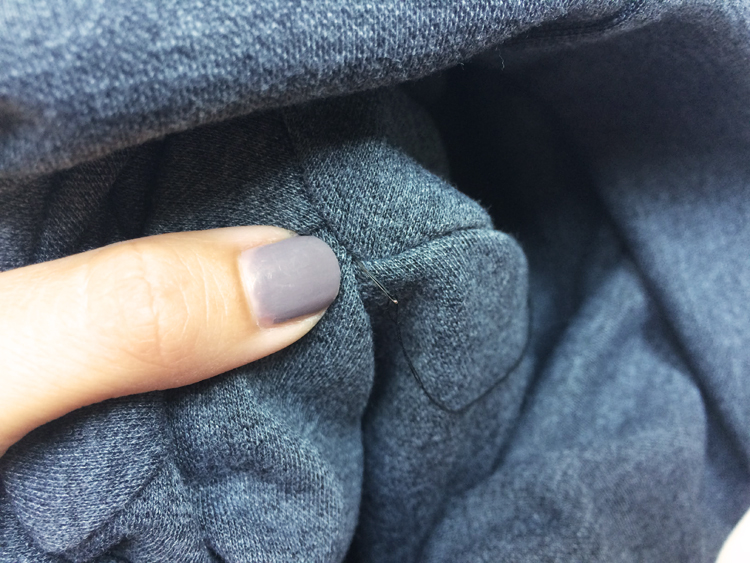
Turn the hat “outside out” through this hole.
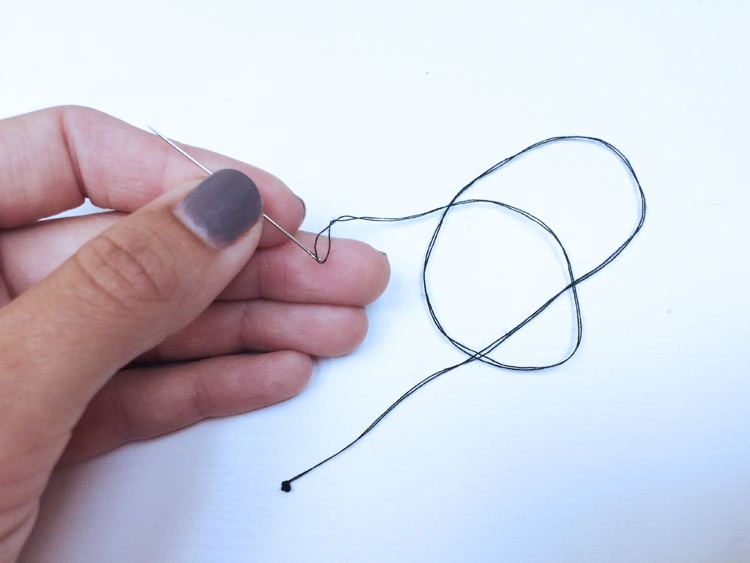
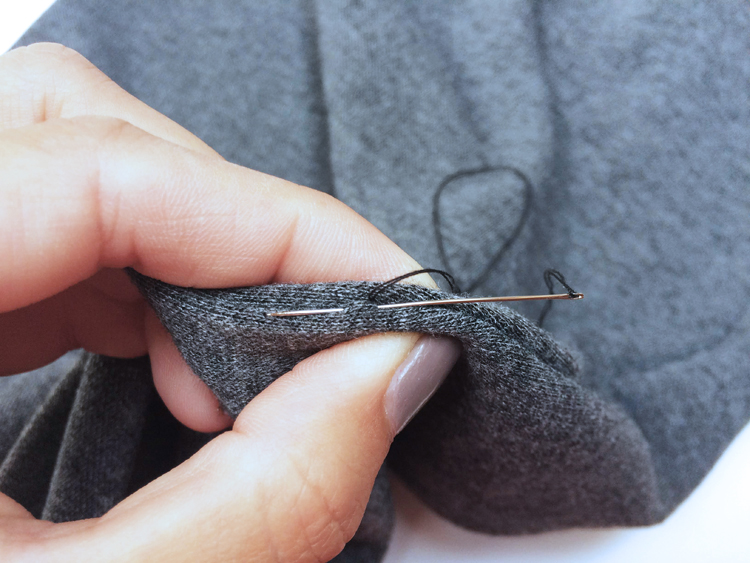
Use a hidden mattress stitch to close the hole by hand.
I recommend double-threading the needle to make this seam stronger.
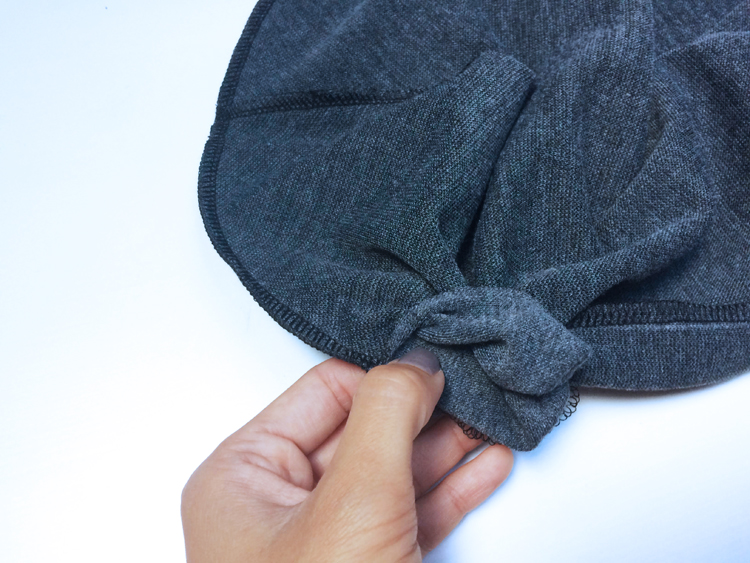
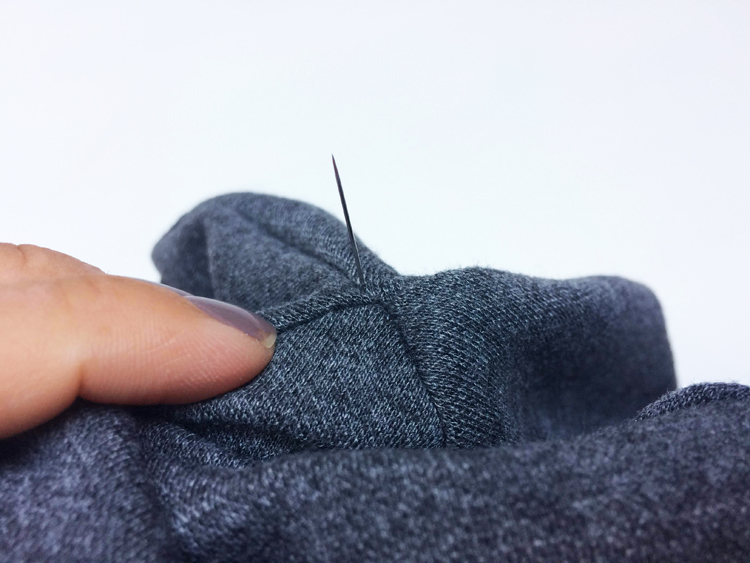
Now fold the hat to its final shape - align the outer top with the inner top.
Sew tops together to make the hat stay in its shape.
Okay, iron the cap and you are done! :)


If you don't like this pattern, then I can recommend a practical pattern for an earflap hat, and a pattern for a reversible hat:


Don't forget to share your joy with others!
Do you like this article? If so, share it with your friends and tell me about it in the comments section below. I will be glad for any feedback! ♥
PS: Did you know that there are FREE PATTERNS available on my blog?