


In my online store, you will now find an updated version of a very popular pattern for the dress BASIC, which is available in both women's and children's versions. The women's version is available in sizes 32–60 and the children's version is available in variant CLASSIC (sizes 80–176) and variant SLIM - for skinny kids - (sizes 80–164). You can get both women's and children's versions in A4 and A0 format. And after purchasing the children's version, you will receive both its variants (CLASSIC and SLIM).
The pattern
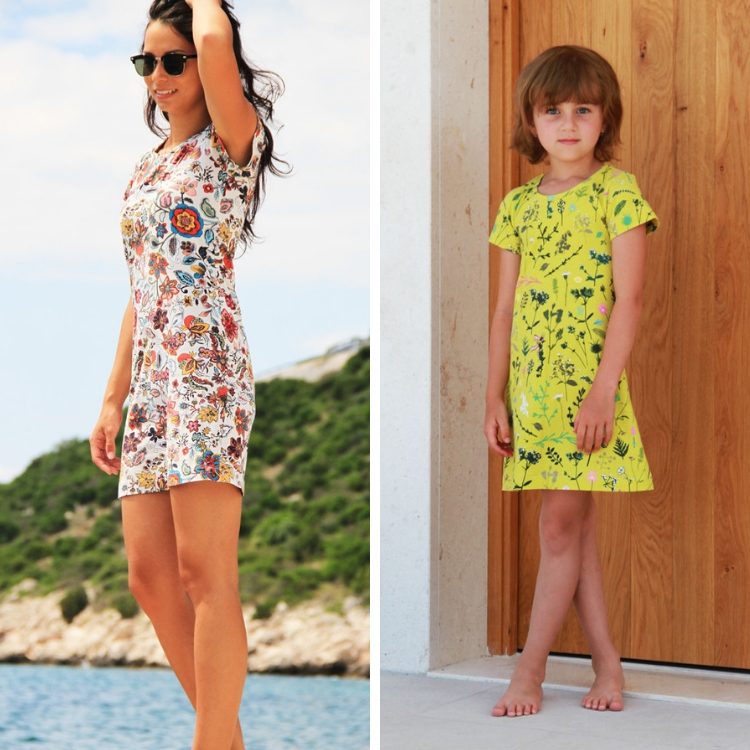
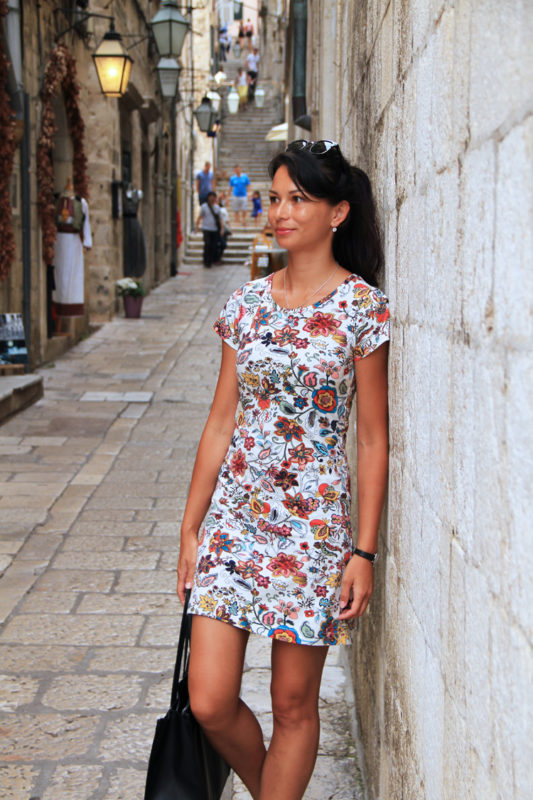
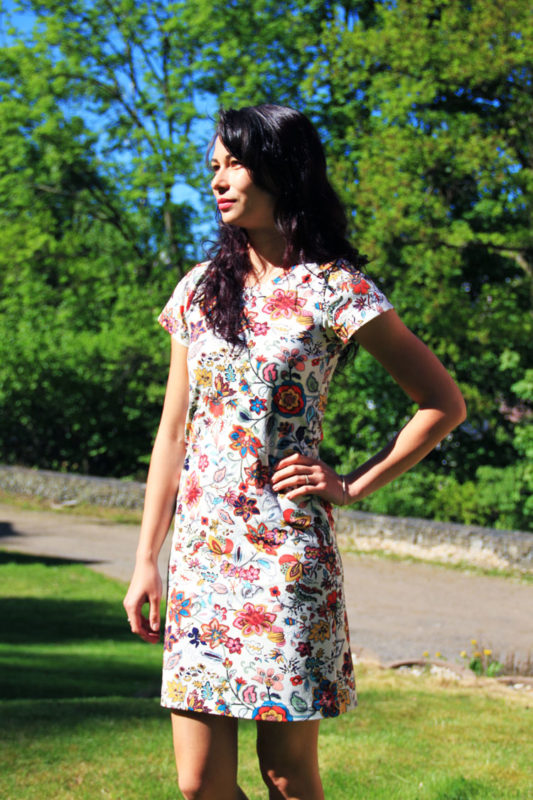
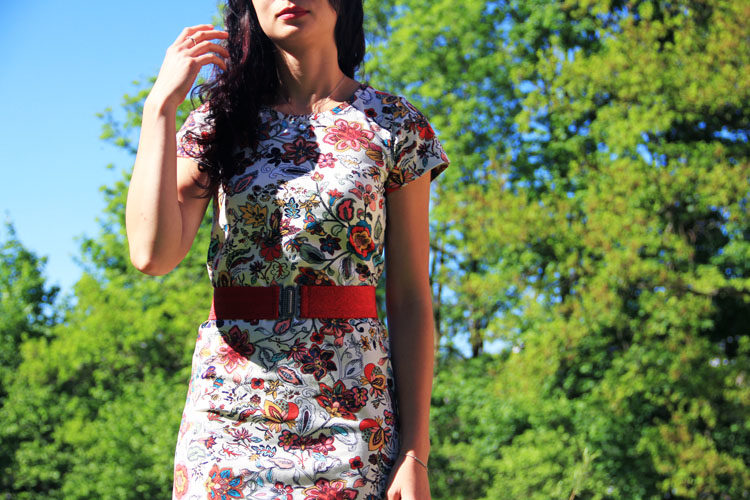
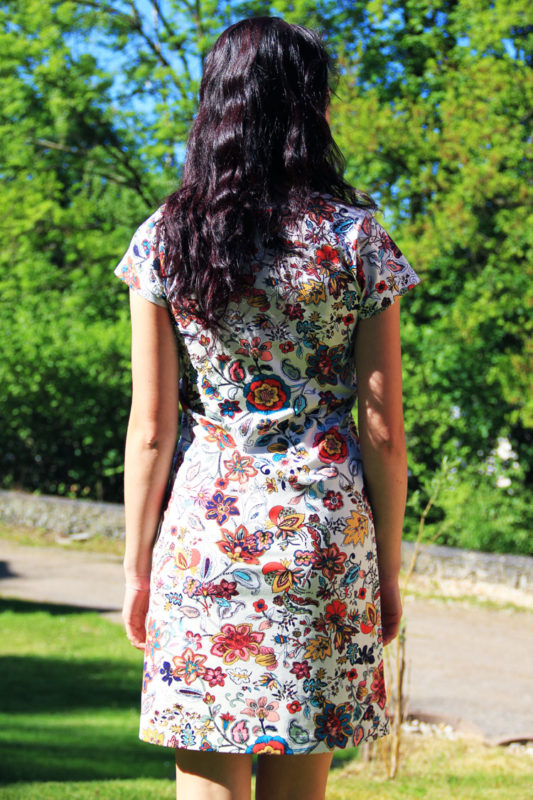
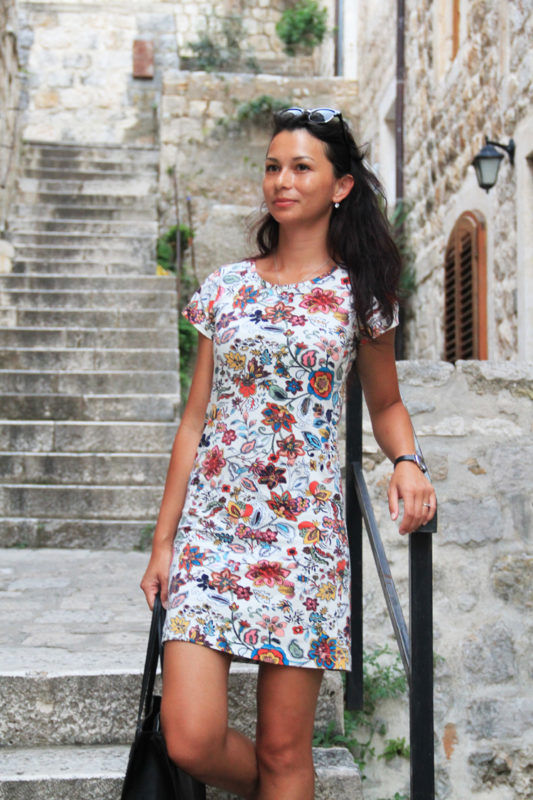
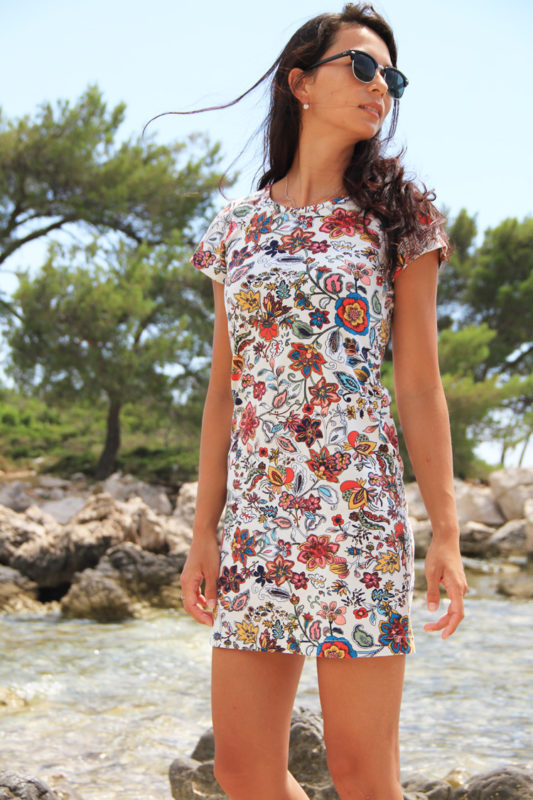
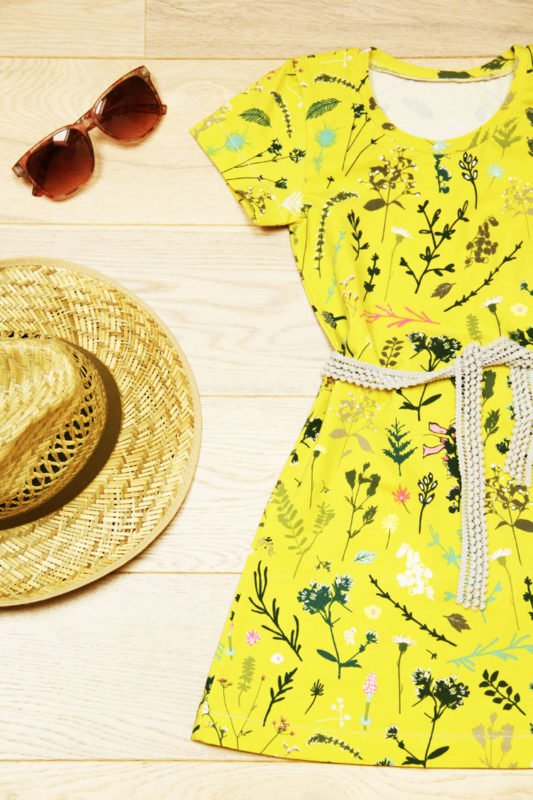
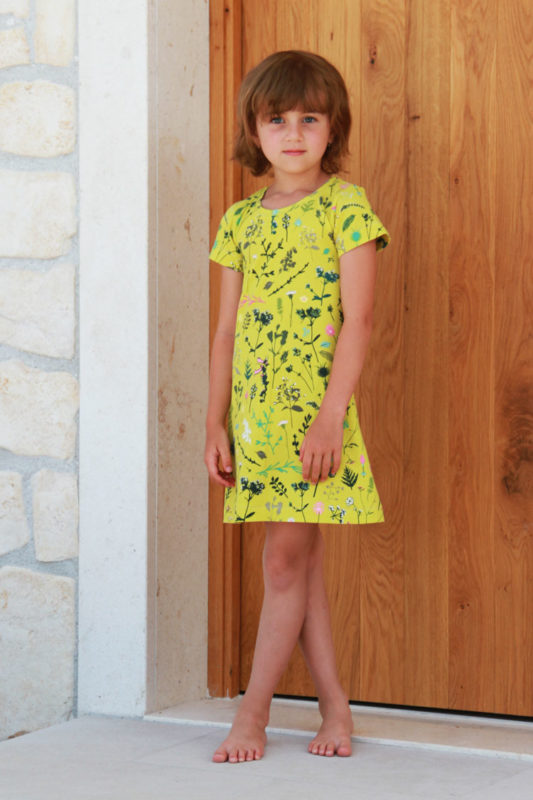
This mini (mid-thigh) dress is of a semi-tight silhouette. The pattern is easy to use and suitable for beginners & intermediate sewists.
UPDATE: This pattern has undergone an extensive update. The design of the dress is still the same, but I have modified the pattern files to make sewing easier for you. I have also expanded the range of available sizes and you can choose "all sizes view" (without seam allowances) or "individual sizes view" to sew your dress. Which type of pattern you decide to use for your project entirely up to you, you will receive all available versions after purchase.
You can find the two patterns here:
You can also get this convenient pattern set, which includes both pattens:
Pattern set - Women's and children's dress BASIC
Recommended material
Choose a weaker knit (stretchy material), such as cotton knit with elastane.
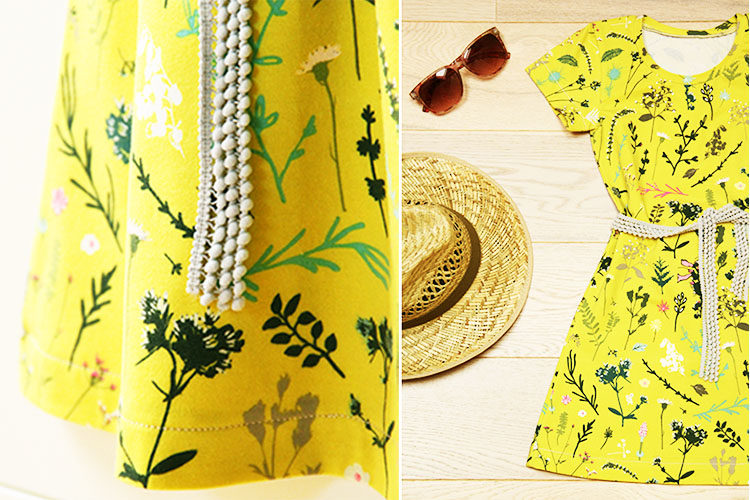
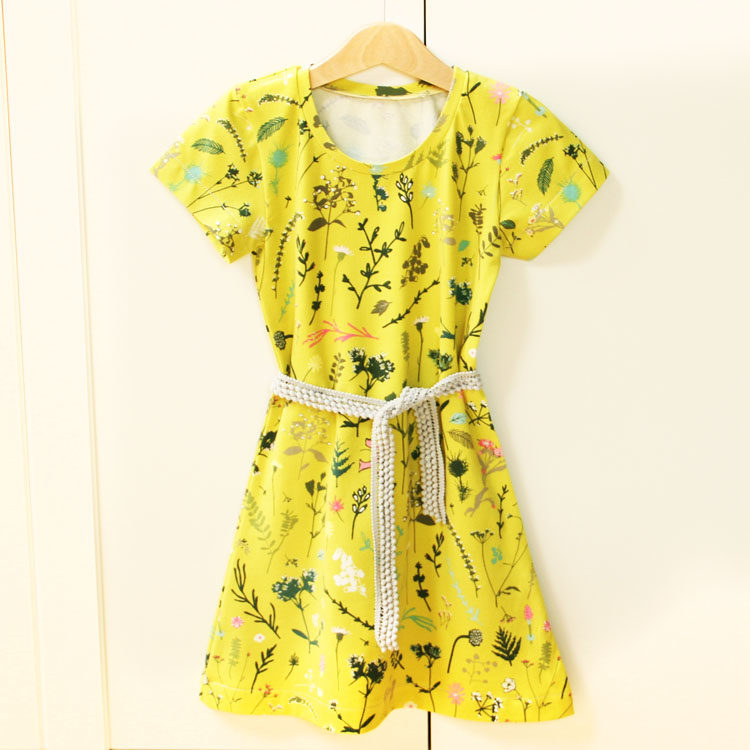
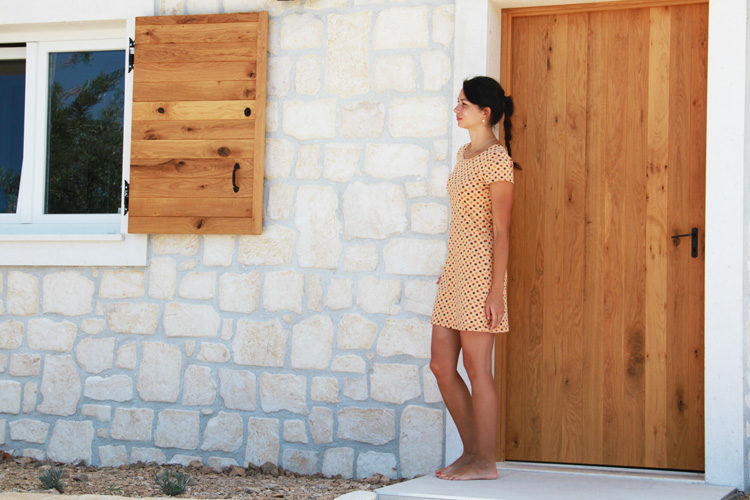
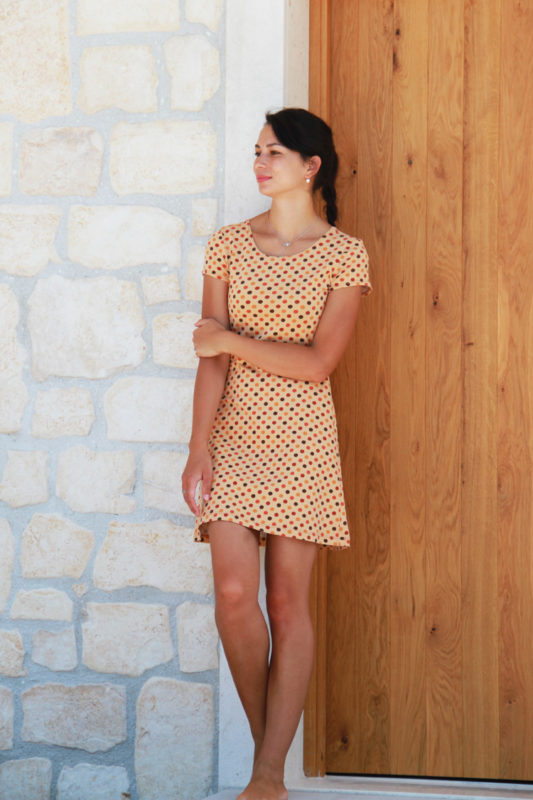
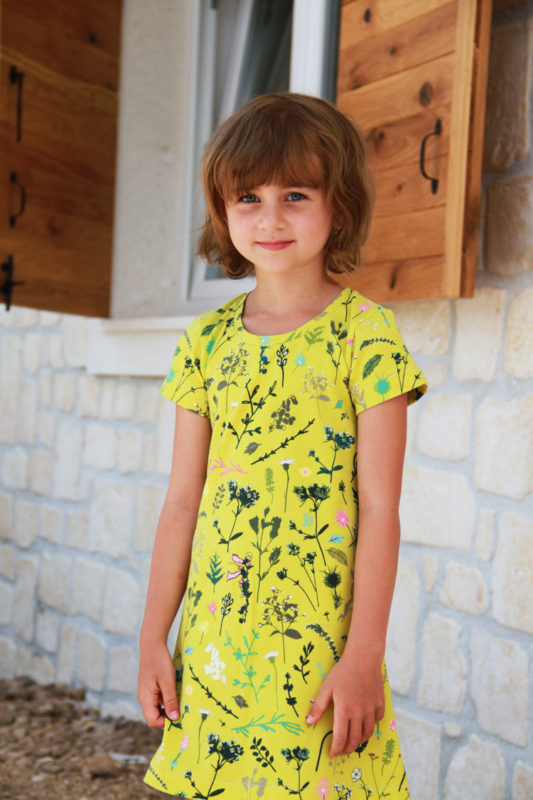
For the children's dress, I used a beautiful fabric with a summer meadow motif (by Art Gallery Fabrics), which I bought at Dumlatek.cz.

Classic cotton knits with elastane work great with this pattern. I bought this beautiful knit with painted flowers at Unuodesign.cz.
Sewing instructions
Suggestions
You should use elastic stitches for all seams to prevent tearing. Use your regular sewing machine if you don't have an overlock, but I recommend reading this article first:
You can go through this article to find out how to choose the right pattern size and how to adjust the pattern for a perfect fit:
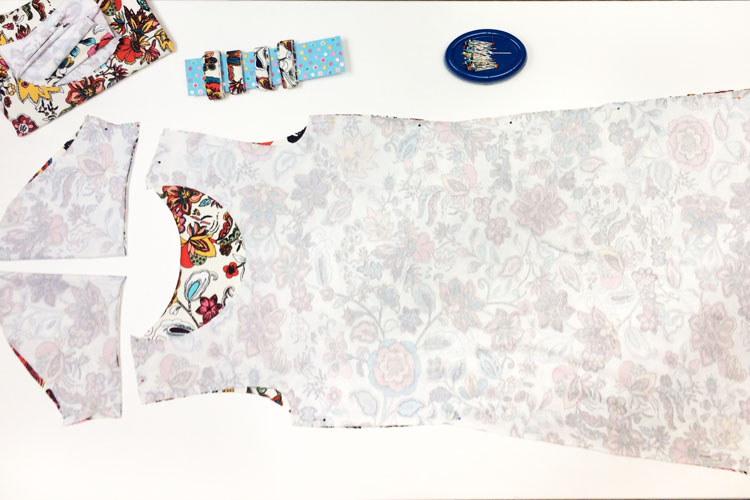
Pattern layout
Prepare:
- 1x front piece (cut on the fold)
- 1x back piece (cut on the fold)
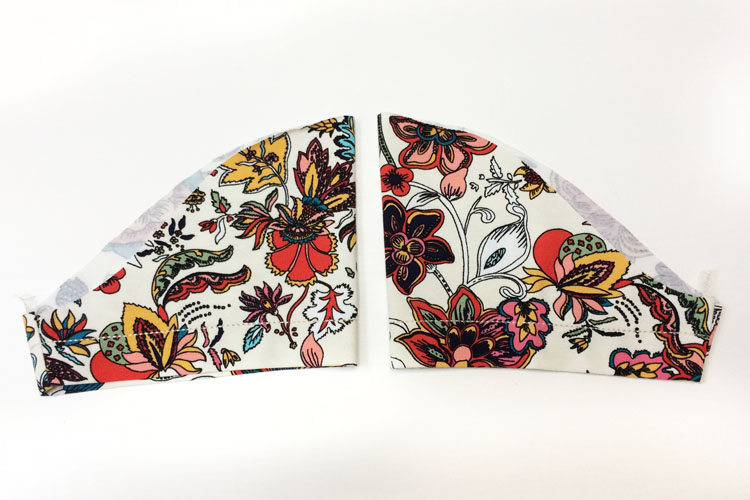
- 2x sleeve piece
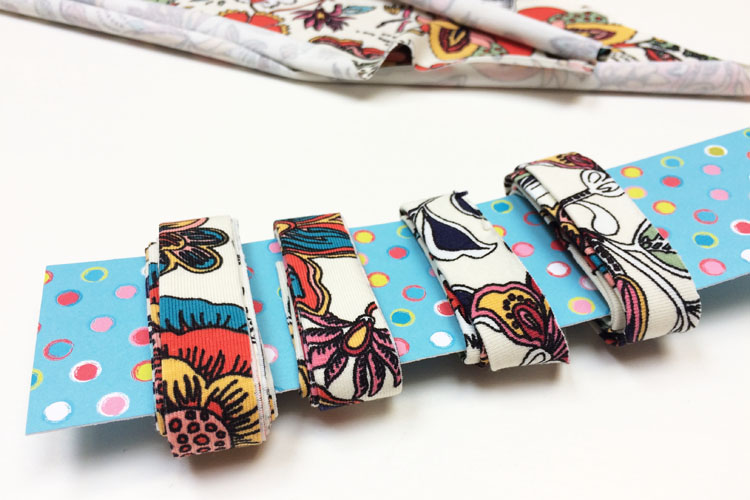
- Knit strip - about 50–60 cm (20"–24") long and 3,5 cm (1 3/8") wide
You can learn how to prepare a knit strip here:
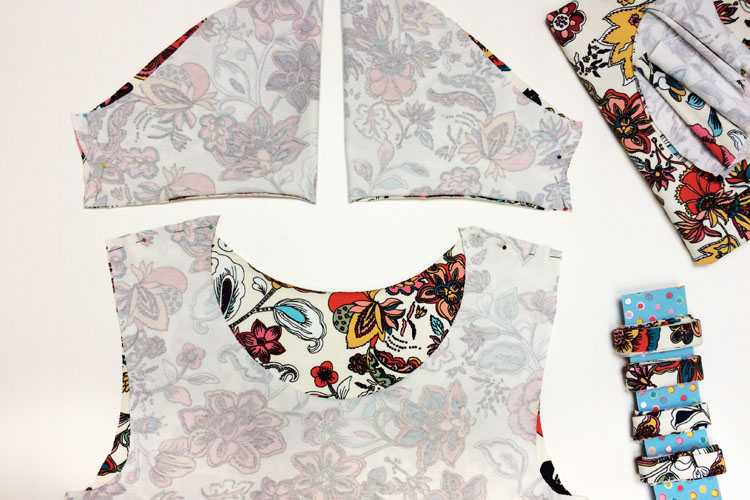
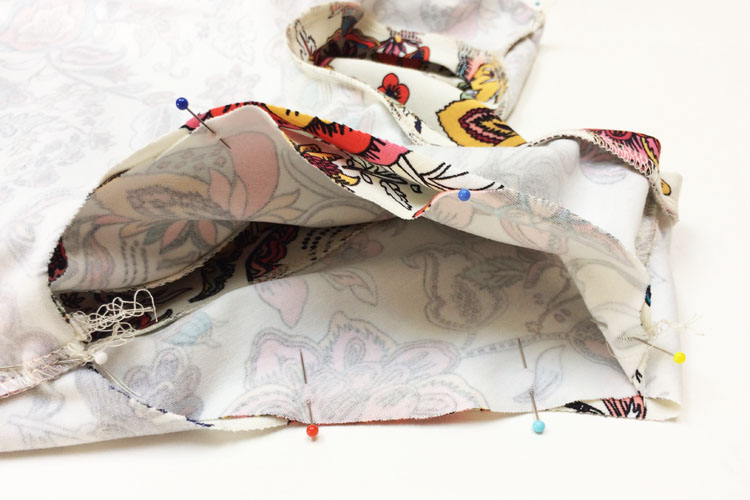
Lay the front piece over the back piece (face side to face side). Pin the side seams and shoulder seams.
You can also pin both sleeve seams. Fold the sleeve pieces in half (face side in) and pin the sleeve seams - shortest sides.
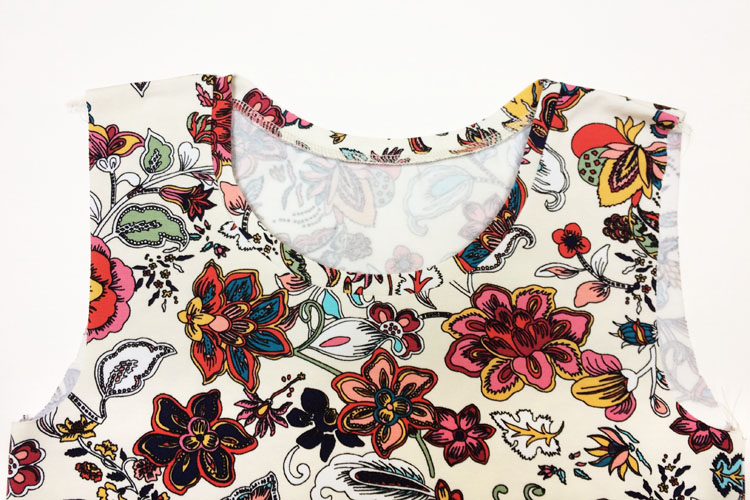
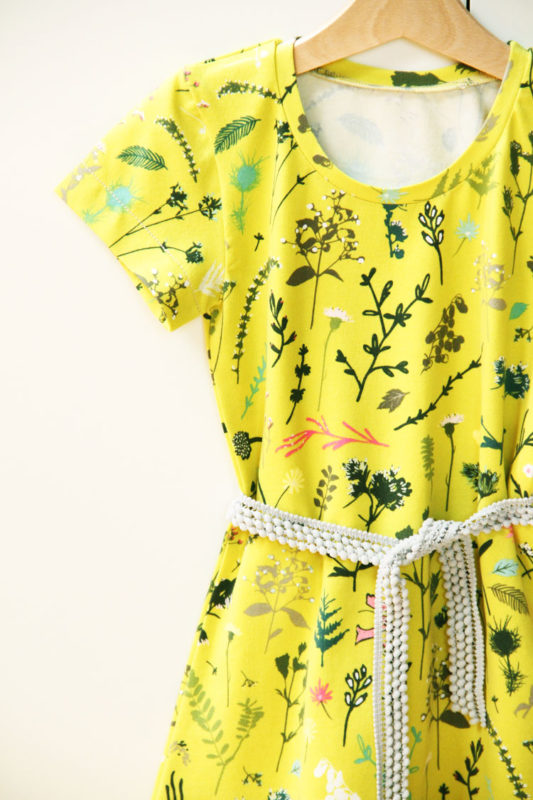
Neckline hem
Sew all the pinned seams, and then you can start sewing the neckline hem.
Carefully measure the circumference of the neckline. I recommend using a tailor's tape laid on its side.
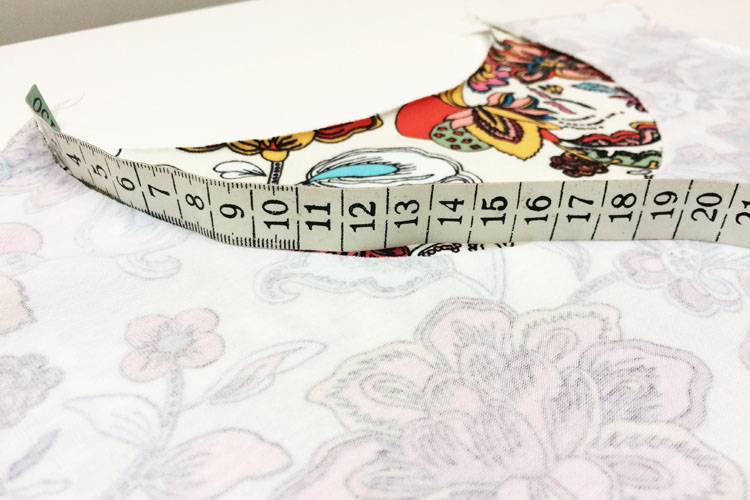
Prepare a knit strip of the required length using this formula:
- Neckline circumference * 0,85.
The result is the (approximate) required length of the neckline hem.
Note: If you have very stretchy fabric, you should multiply by a smaller number, if you have rigid fabric, multiply by a larger number.
Grab the top of the left shoulder seam and find the point that is exactly opposite to it (stack the edges of the neckline until you get to "the other side").
This point should be a bit below the other shoulder seam (somewhere in the area where your collarbone would be if you put the dress on). Mark this point - you can use a small notch (cut), chalk, pin...
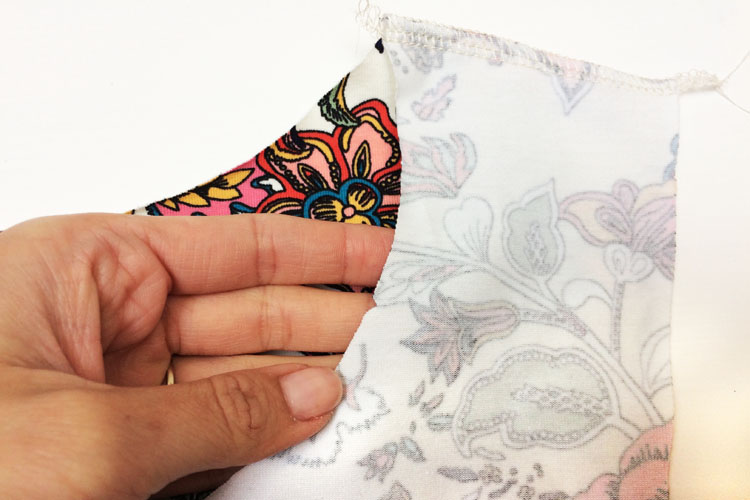
Fold your knit strip in half (face side in), mark the fold (midpoint), and then sew the two shorter sides to form a loop.
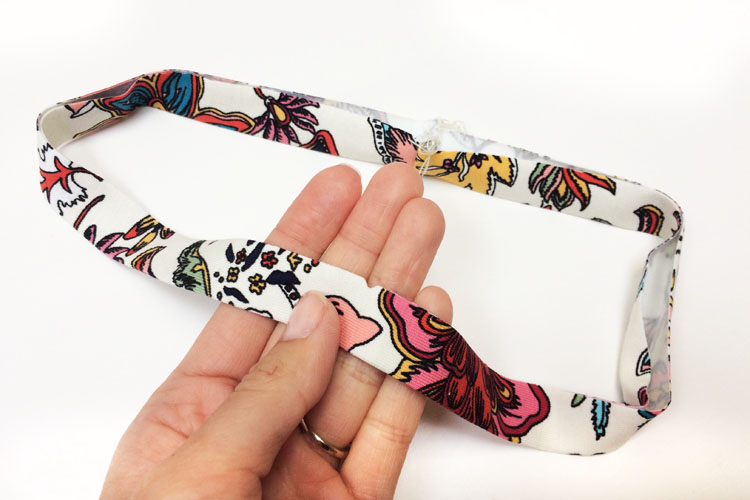
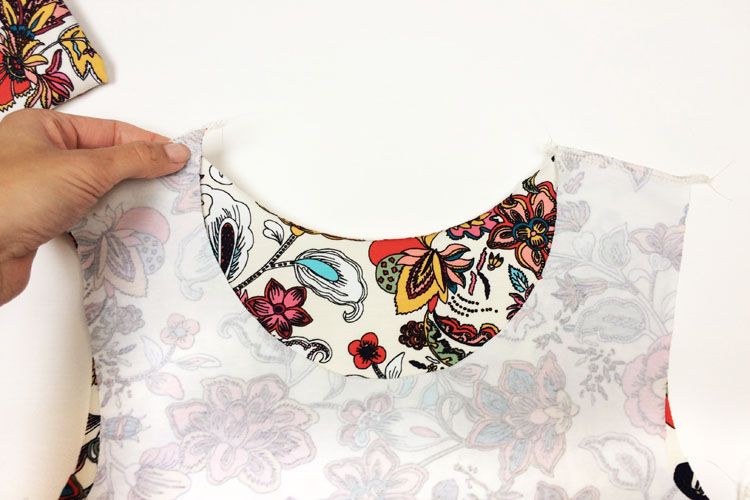
Fold ("roll") the knit strip in half and pin it to the neckline.
You can learn how to sew a neckline hem here:
Don't forget to pull free ends of the thread chain under the loops when using your overlock.
Bottom hem
Now I recommend performing a fitting test - put the dress on and see if everything seems fine. (I suppose you adjusted the pattern as needed before you started cutting the pieces...)
Check the length of the dress and adjust (shorten) it if needed.
If everything seems to be ok, you can clean the bottom cutting edge. Pull free ends of the thread chain under the loops when using your overlock.
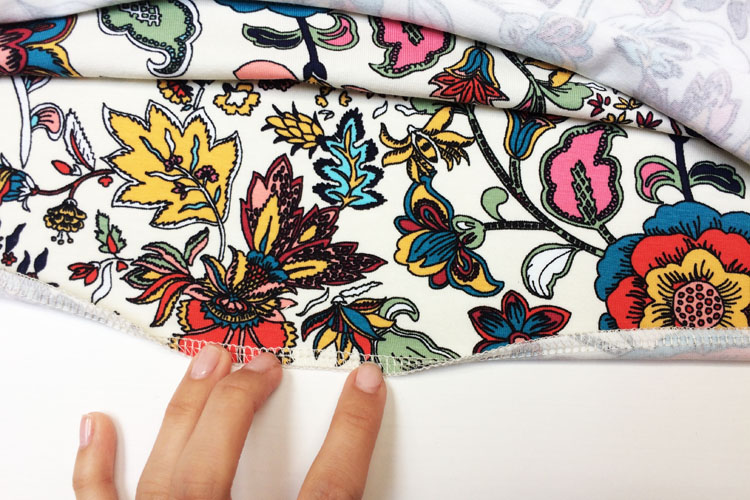
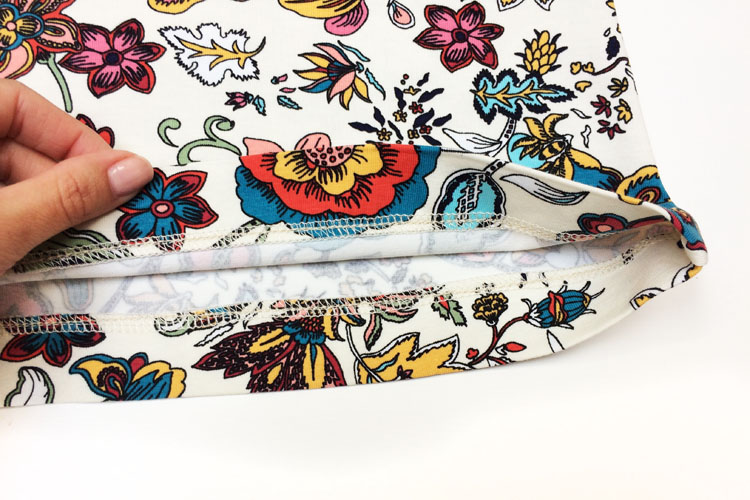
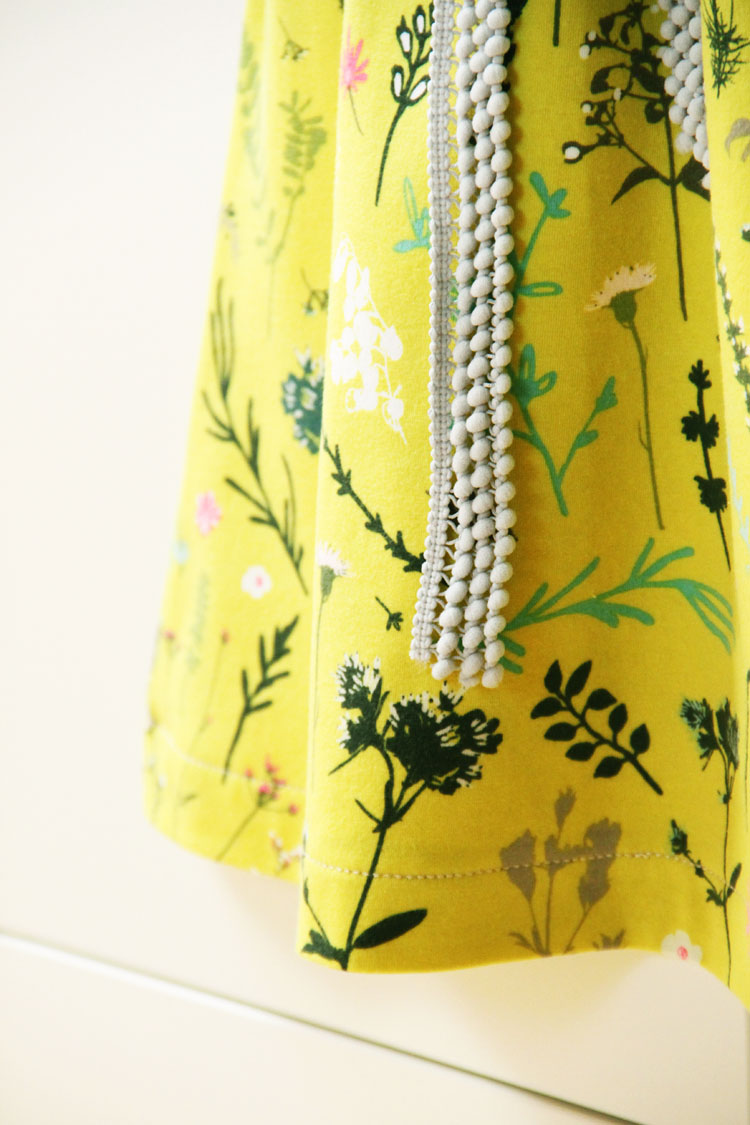
Fold the bottom hem to the inside of the dress and topstitch it - sew through the face side of the dress with some elastic stitch or twin needle. The distance of the seamline from the fold depends on the size of the folded part (hem allowance). It's 3 cm (1.18") wide in my case.
Sleeves
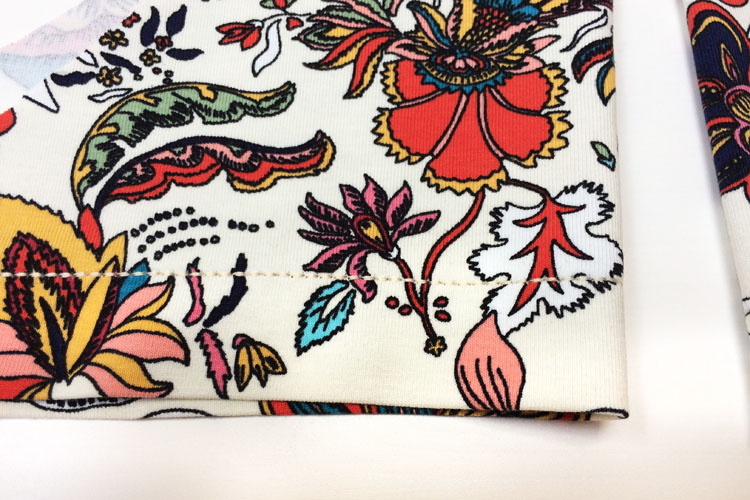
Clean the bottom cutting edge of the sleeve and fold it 3 cm (1.18") to the inside of the sleeve.
Topstitch the sleeve hem (use some elastic seam or double needle) and work on the other sleeve in the same way.

Pin both sleeve pieces to the dress (don't mix them up). Sew the sleeves to the dress (face side to face side). Pull free ends of the thread chain under the loops.
Your dress is ready! :)
Beginners may need an afternoon or two to sew this dress, advanced seamstresses will be able to do it in just a few minutes.
This pattern is quite versatile. You can use it to sew both very nice casual dresses and very elegant formal ones. Just choose a suitable material.


Don't forget to share your joy with others!
Do you like this article? If so, share it with your friends and tell me about it in the comments section below. I will be glad for any feedback! ♥
PS: Did you know that there are FREE PATTERNS available on my blog?