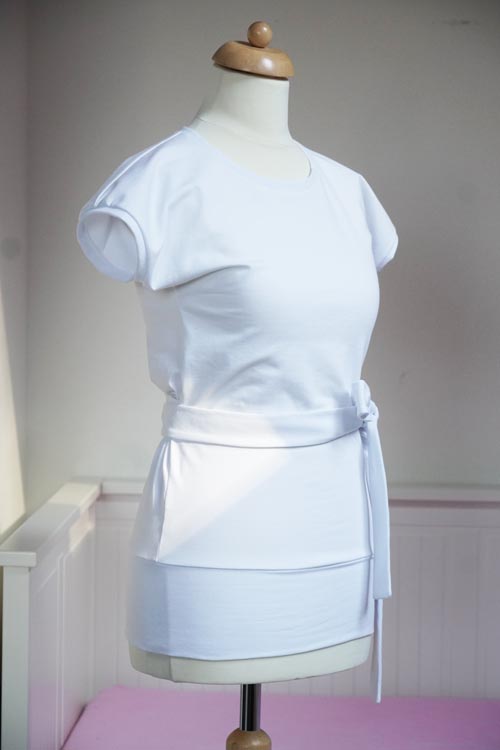
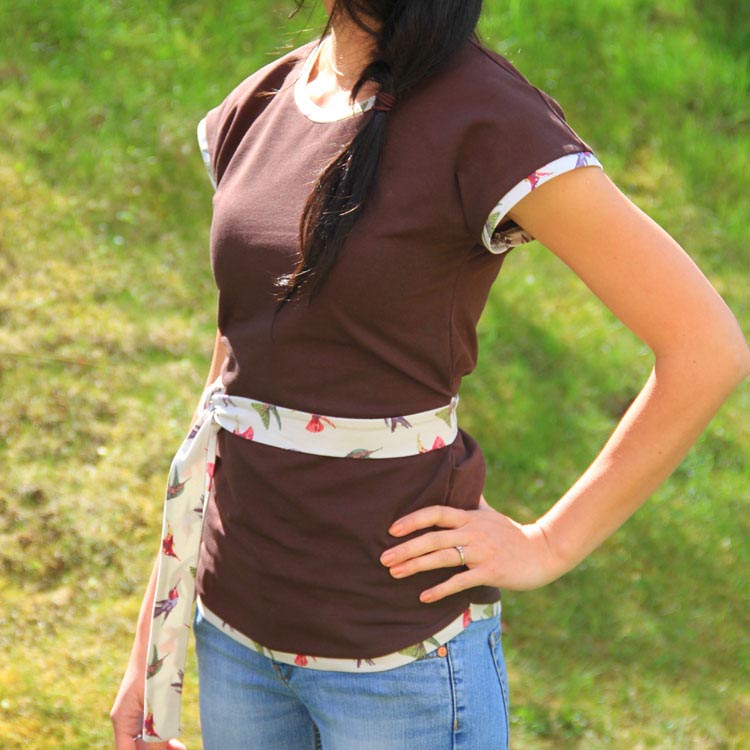
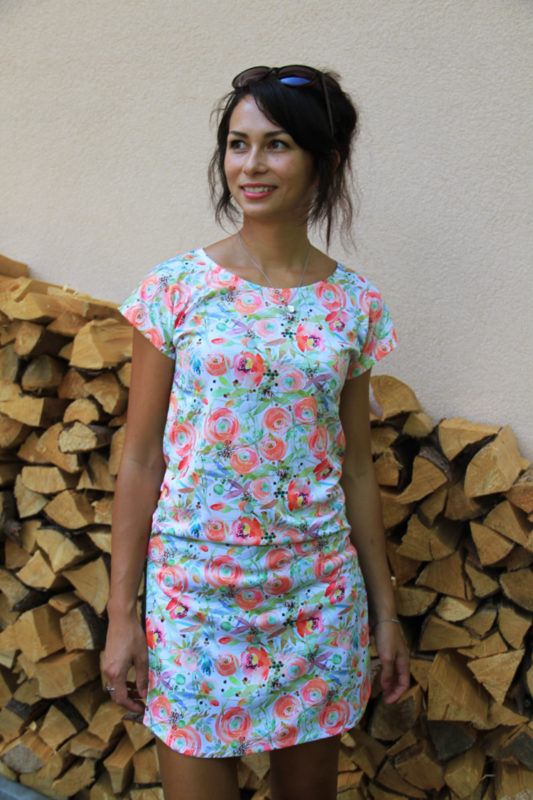
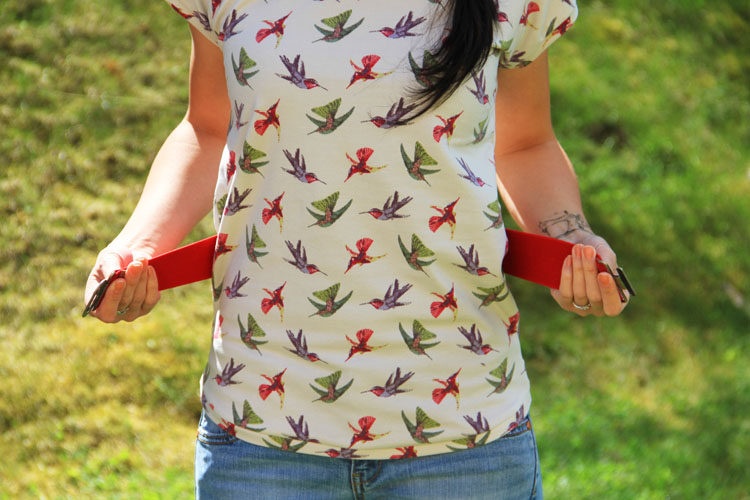
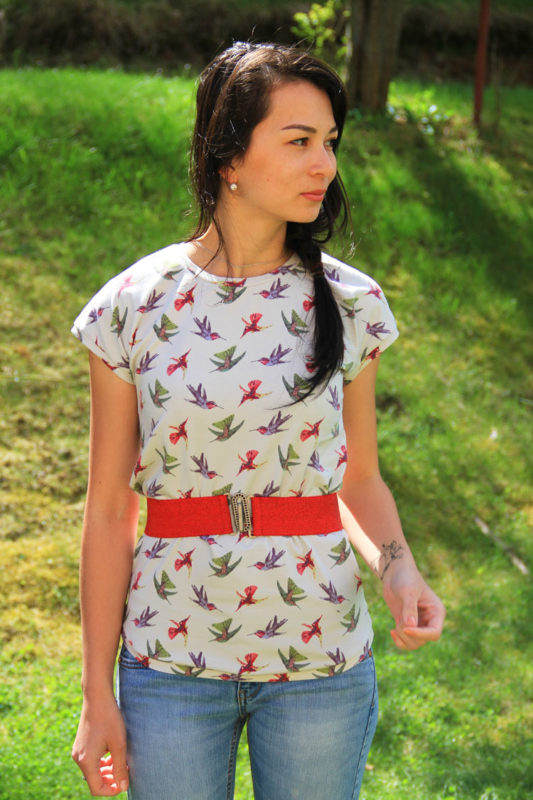
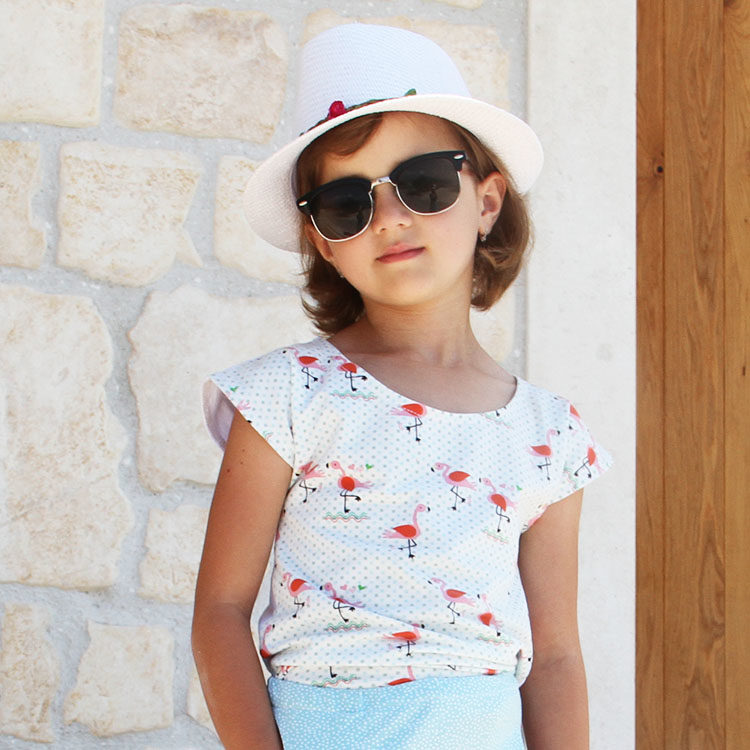
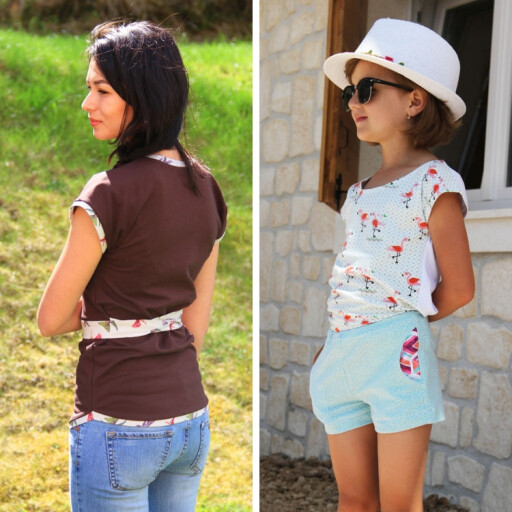
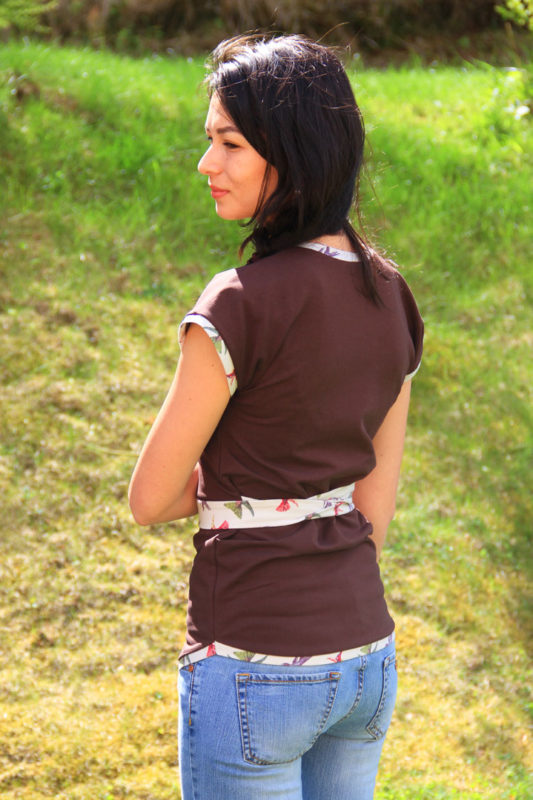
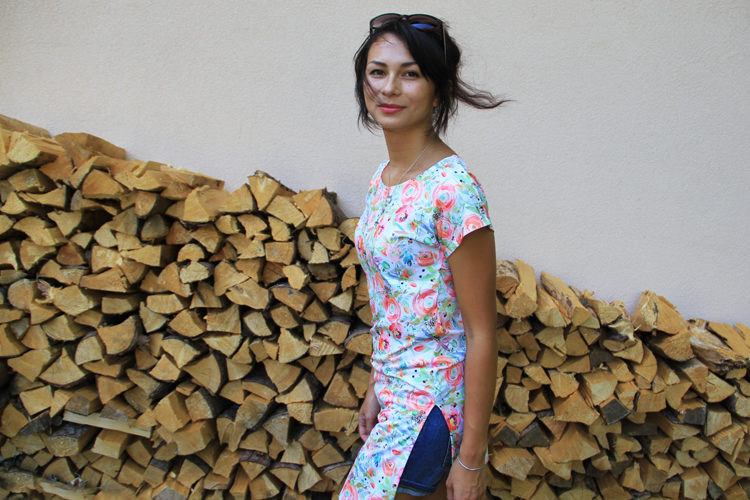
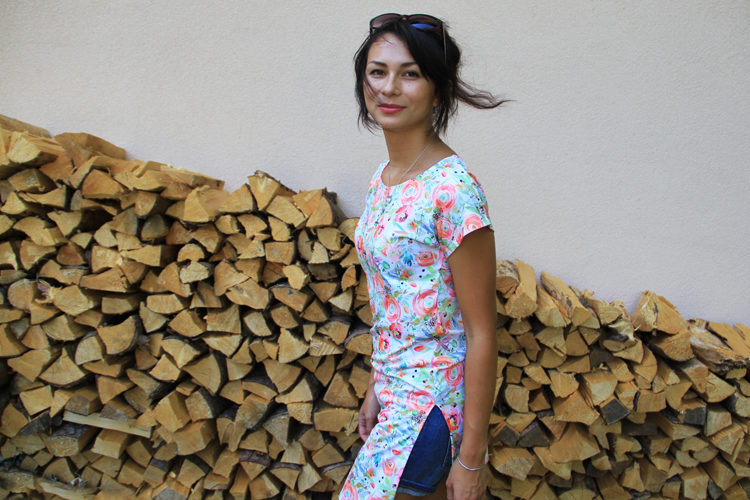
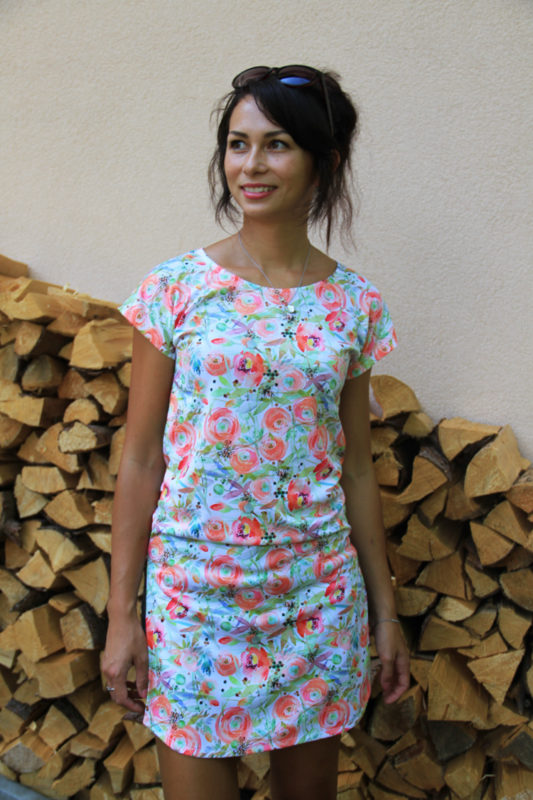
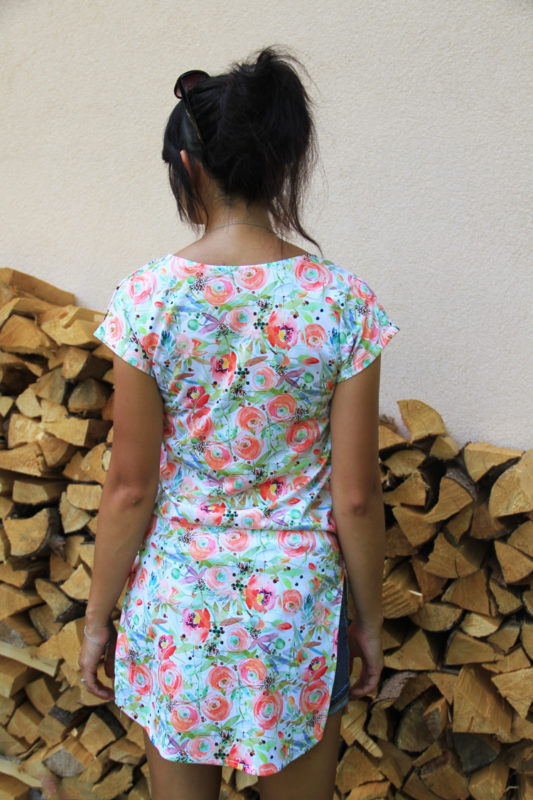
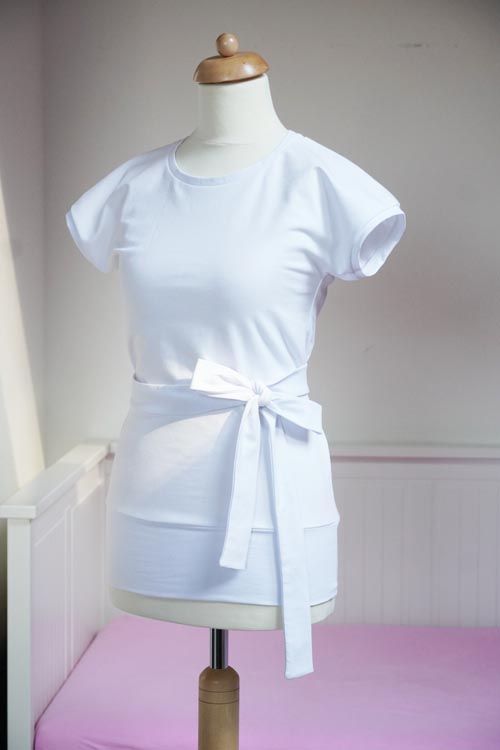
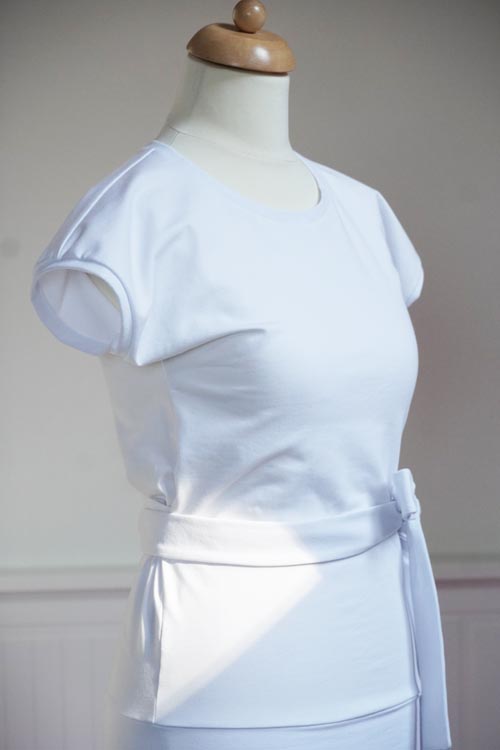
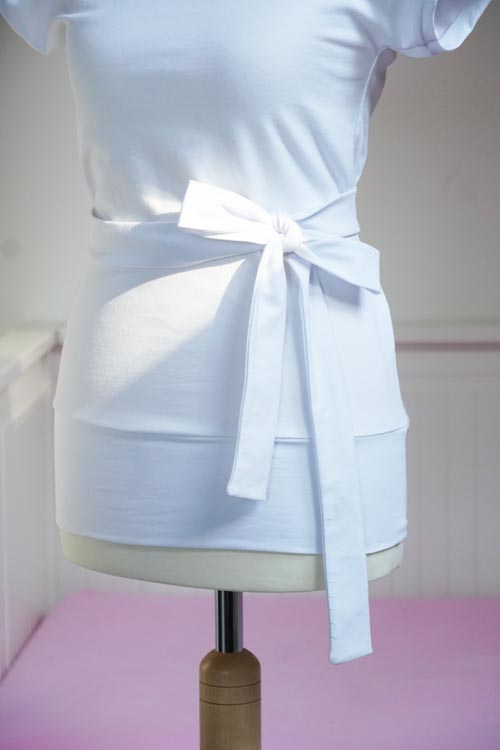
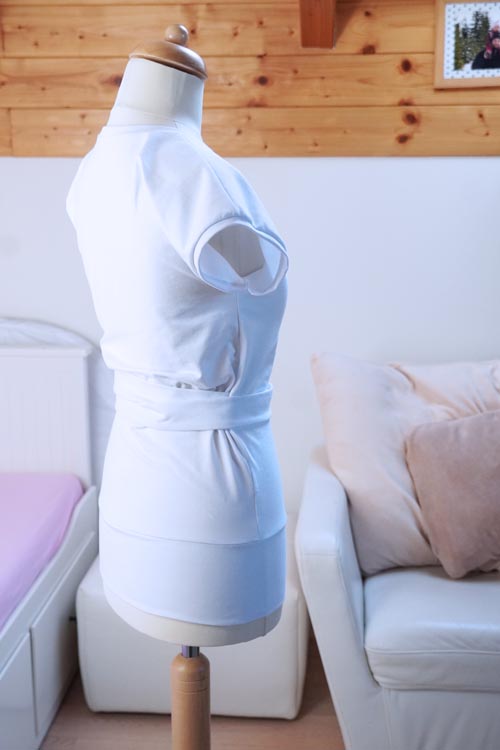
In this article, you will find sewing instructions for a simple T-shirt with short kimono sleeves. The sewing process is quite simple and is therefore suitable for beginners. The procedure is the same for sewing women's and children's T-shirts. I will show you how to sew several versions of a T-shirt - a basic version, a version with a tie, and a simplified version. This article also provides instructions for modifying the pattern to sew tunics.
![JAK UŠÍT TRIČKO S PŘINECHANÝMI RUKÁVY - VERZE S VÁZAČKAMI a širokým spodním lemem]()
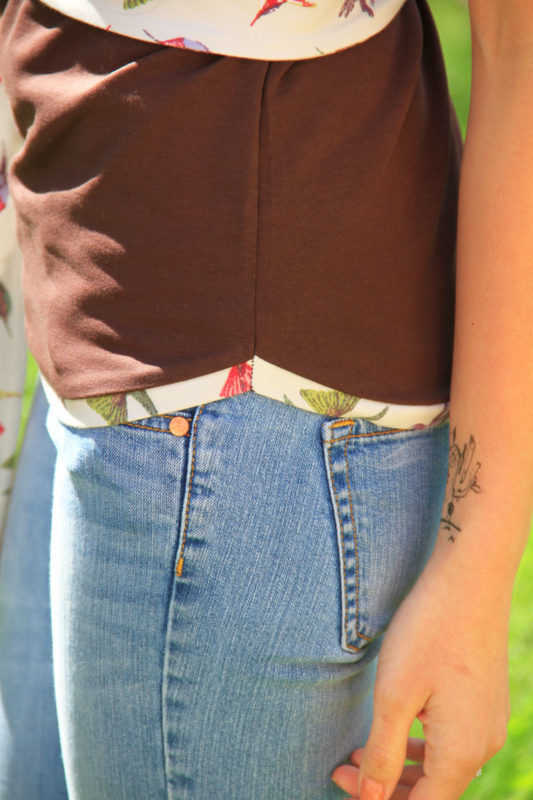
T-SHIRT EASY - WITH WIDE HEM ![]()
T-SHIRT EASY - SIMPLIFIED VERSION
![]()
T-SHIRT EASY - WITH TIES ![]()
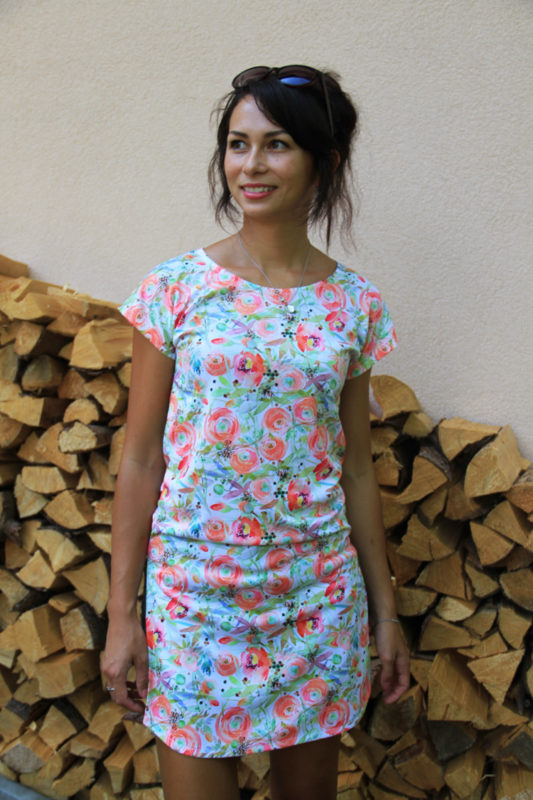
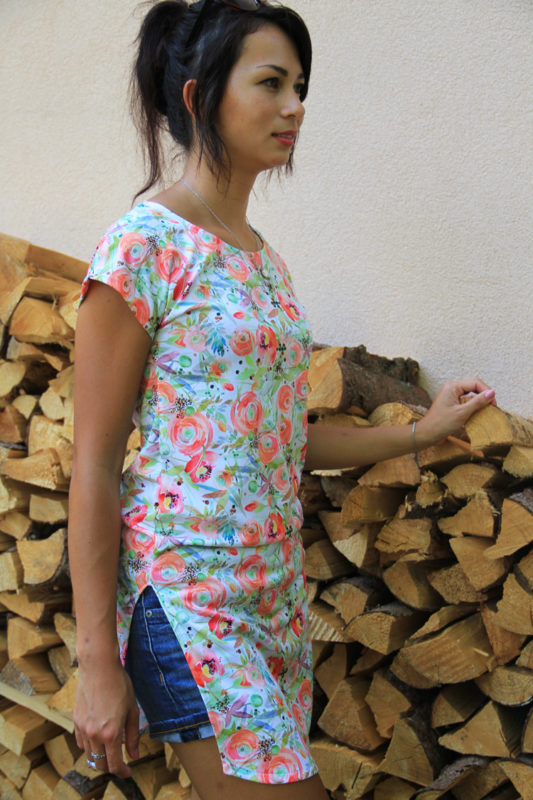
T-SHIRT EASY - TUNIC
T-shirt EASY with short kimono sleeves is semi-fitted and you can wear it on its own or with a belt to highlight your waist.
The pattern
I prepared the pattern for this T-shirt in children's and women's sizes and you can get it here:
You can also get these patterns as a part of a pattern set:
Recommended material
Use light knits - elastic materials.
You can use, for example, cotton knit with elastane or a viscose knit with elastane, but this material is more difficult to work with, so it is not suitable for beginners.
I used cotton knits from Unuodesign.cz for my T-shirts, and this T-shirt fabric for my tunic.
![]()
T-SHIRT EASY - COTTO KNIT WITH ELASTANE ![]()
T-SHIRT EASY - CONTRASTING KNIT STRIP
![Střih a návod jak ušít dámské tričko nebo tuniku s přinechanými rukávy]()
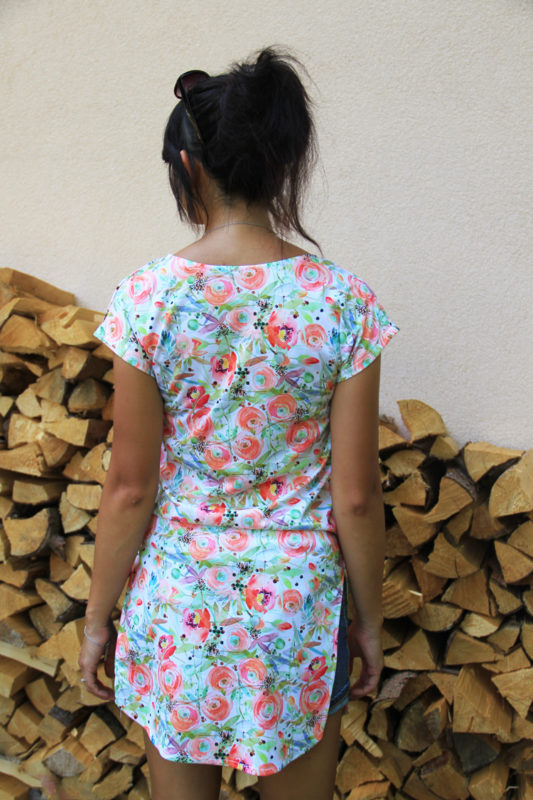
T-SHIRT EASY - TUNIC - T-SHIRT FABRIC ![]()
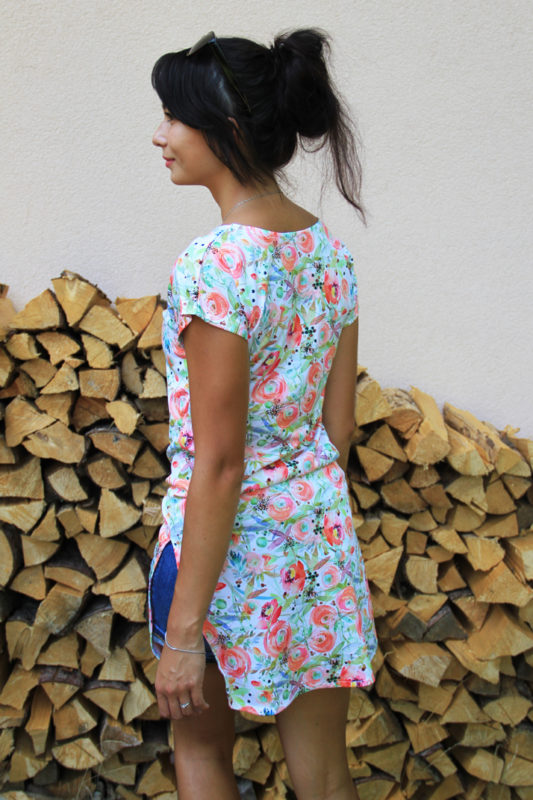
T-SHIRT EASY - TUNIC - SLITS FOR COMFORT AND FREEDOM OF MOVEMENT
![]()
T-SHIRT EASY - TUNIC - ROUNDED BOTTOM HEM ![]()
T-SHIRT EASY - TUNIC - T-SHIRT FABRIC
Suggestion
You can sew this T-shirt on an overlock machine or a regular sewing machine. If you are going to use a regular sewing machine, I suggest you read this article:
Tip
The photos in this article are embedded using mini-galleries (small pictures side by side). You can click the thumbnails and view the full-size photos so that you can see all the necessary details.
I. Sewing basic version & version with a tie
Pattern layout
Prepare:
- 1x front piece (cut on the fold)
- 1x back piece (cut on the fold)
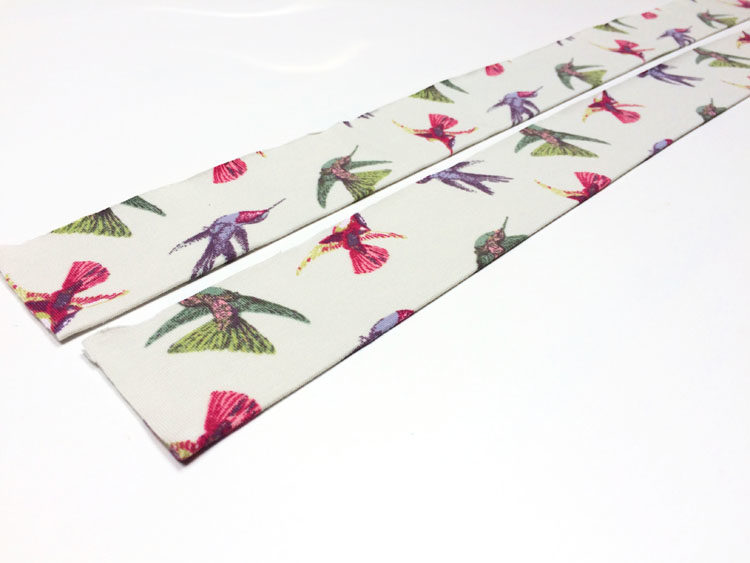
- 4 cm (1 5/8") wide knit strip
- Sizes 32–46: 250 cm (100") long
- Sizes 48–62: 300 cm (120") long
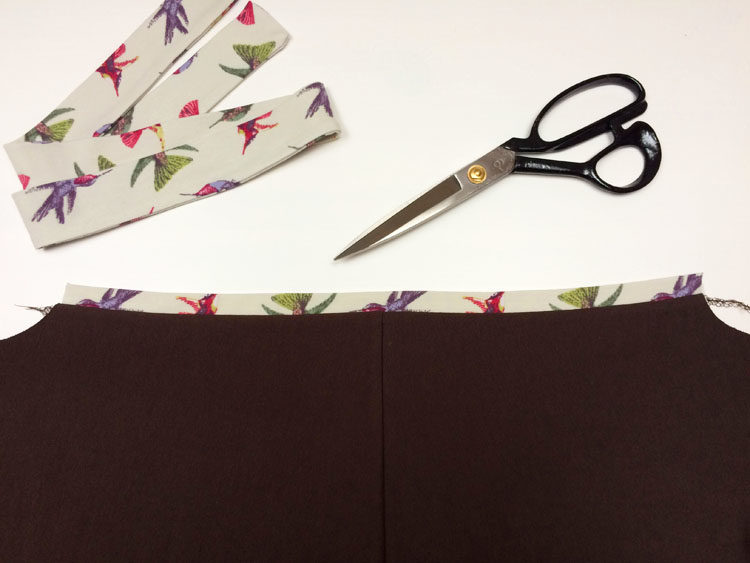
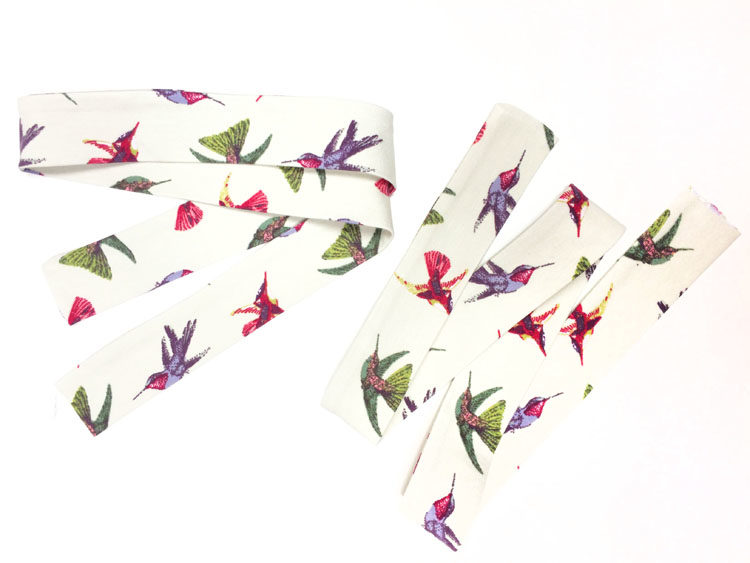
How to prepare a knit strip
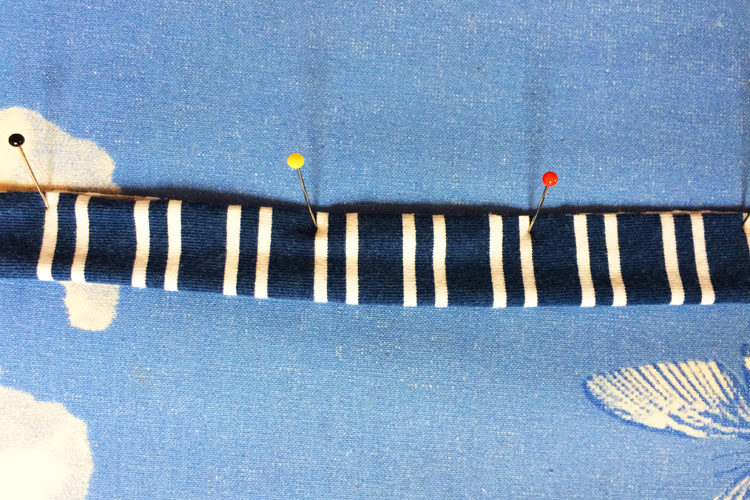
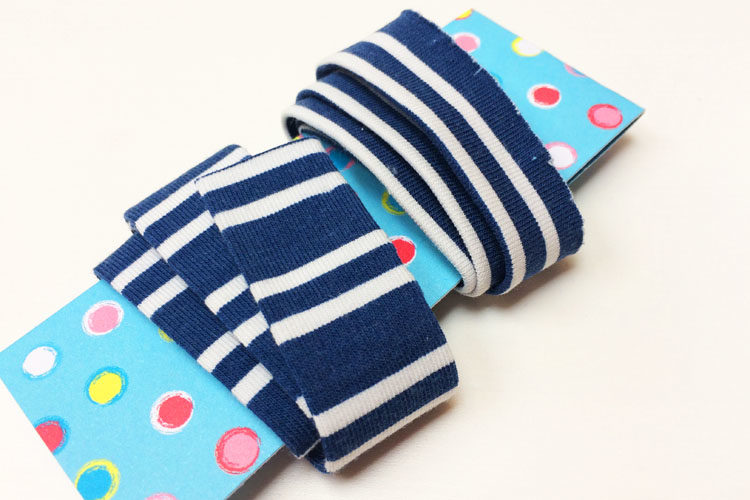
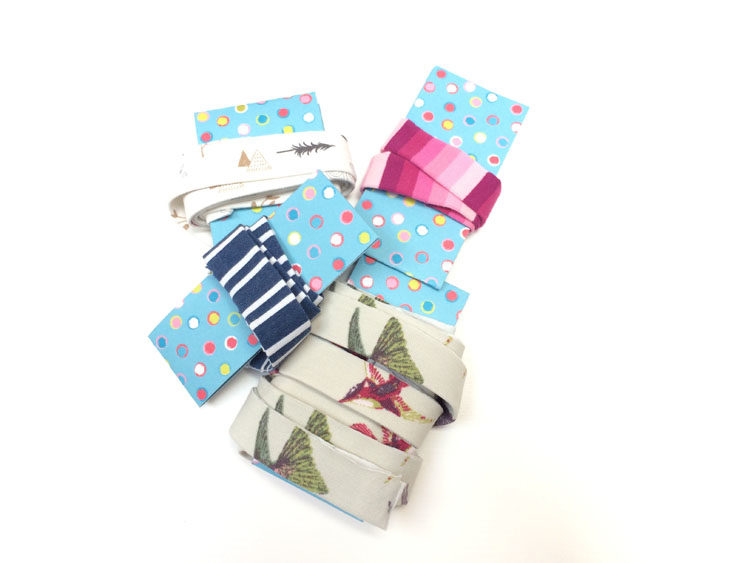
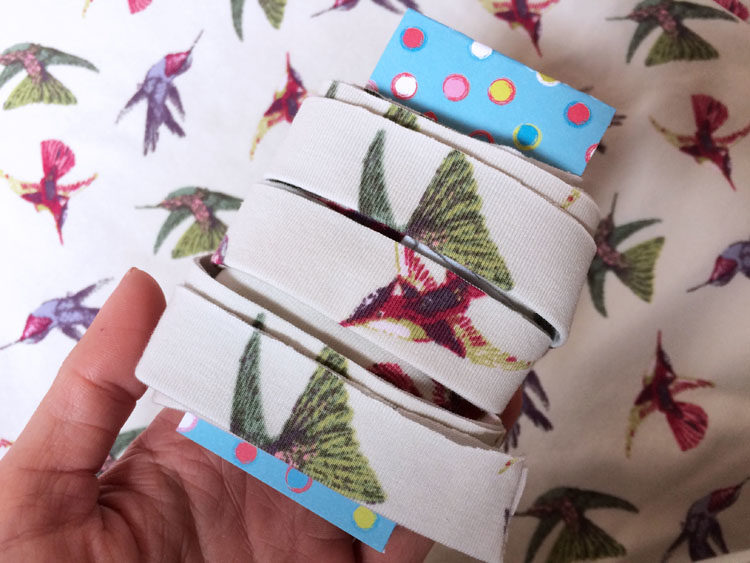
I like to cut my knit strips with a rotary cutter. It is faster and more accurate than cutting with regular scissors. Once you have your strip cut, fold it in half (lengthwise). If the edges of your strip twist, pin them (use glass head pins), steam the strip well, and iron it (until dry). Leave the pins in place and let the knit strip cool down. Then wind it (loosely) on a piece of cardboard.
Shoulder seams
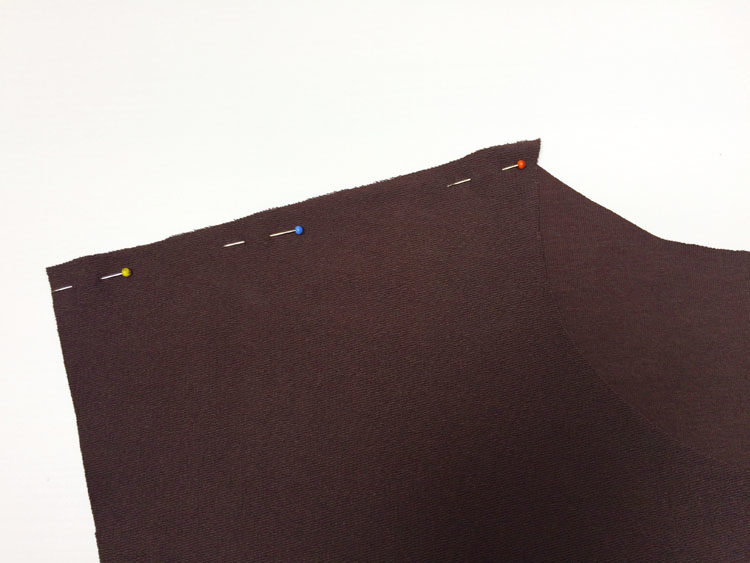
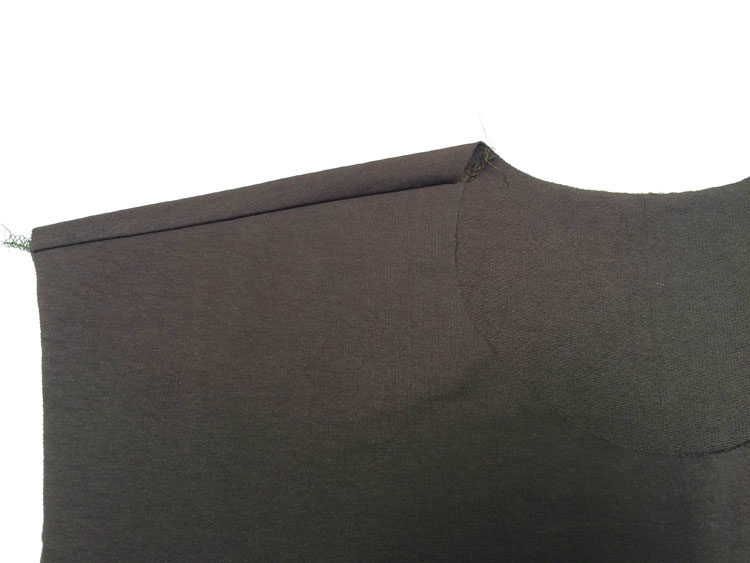
Lay the front piece on the back piece (face side to face side). Sew the shoulder seams.
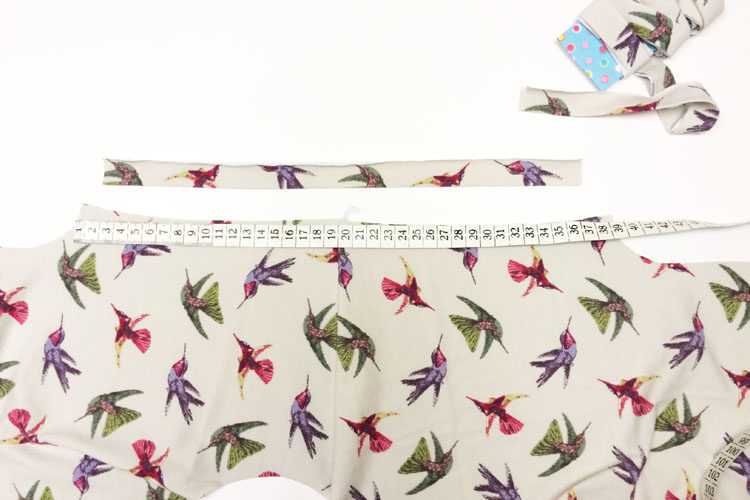
Turn the T-shirt face side out and measure the length of the cutting edge of the sleeve. If you want, you can add a little fullness to the bottom part of the sleeve (lightly stretch the knit strip when sewing it). This will make the sleeve look a bit puffier.
Sleeve hems
Puffy sleeves
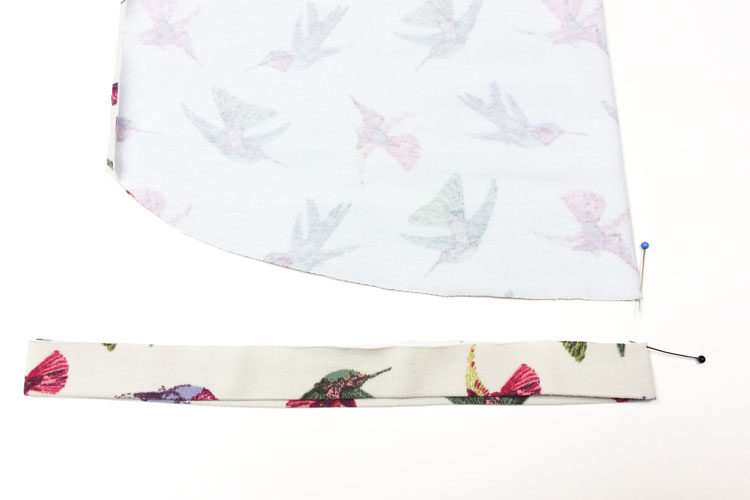
Multiply the length of the cutting edge of the sleeve by 0.8. The resulting value is the length of the knit strip you will need to sew the hem (and slightly drape the bottom edge of the sleeve). Find the middle of the strip (fold it in half and mark the fold with a pin, notch, or tailor's chalk...)
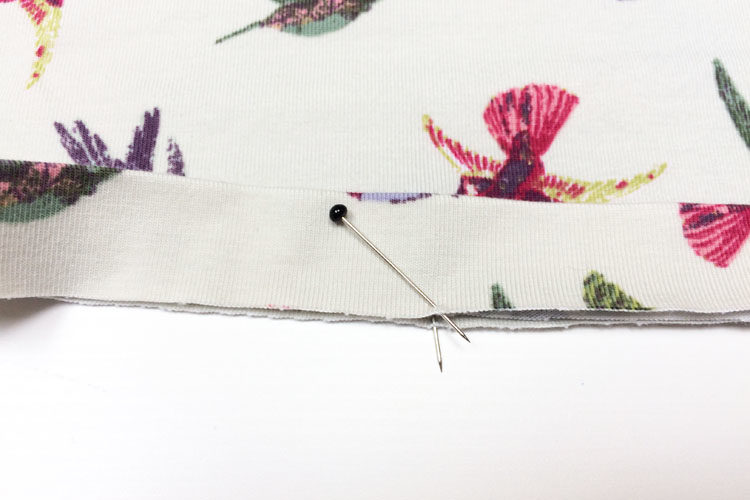
Place the strip (which is folded lengthwise) on the edge of the sleeve (face side to face side). The mark on the strip goes to the shoulder seam. Pin the strip to the shoulder seam. Then pin both ends of the strip and then the rest of the strip.
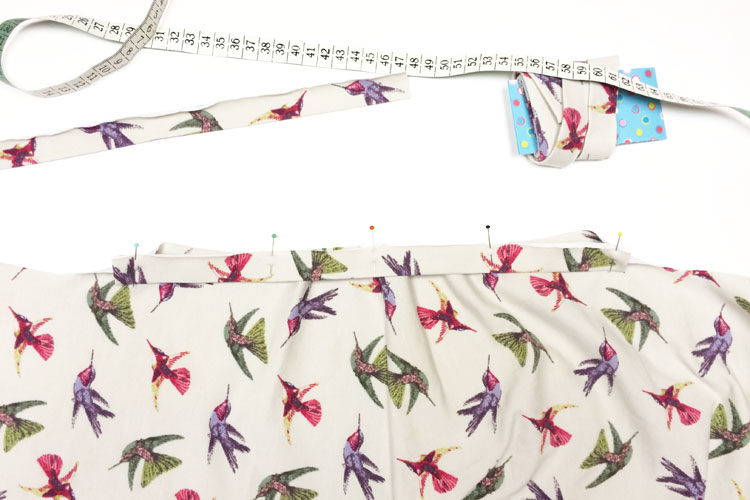
Sew and iron the hem.
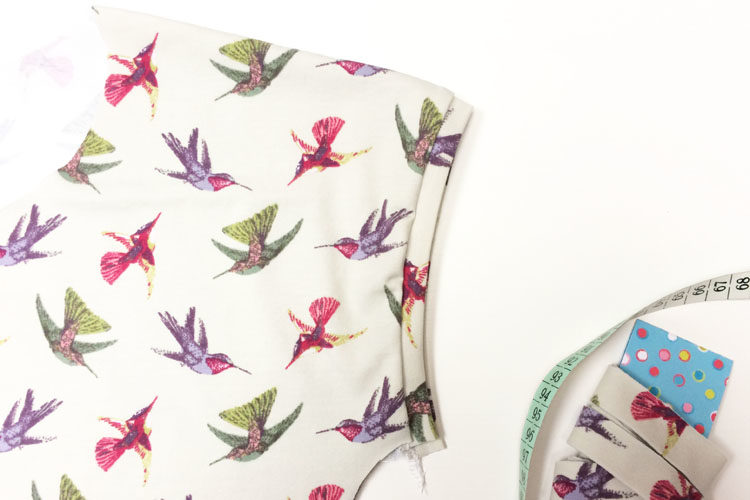
Regular sleeves
Use a knit strip that is the same length as the edge of the sleeve. Sew and iron the hem.
Bottom hem
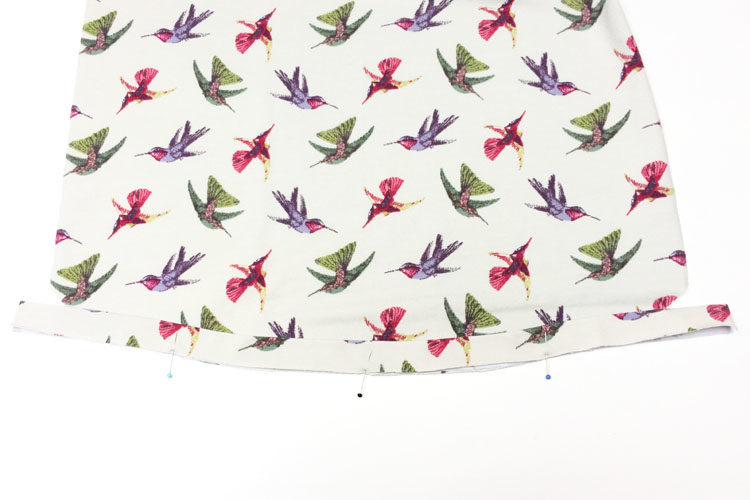
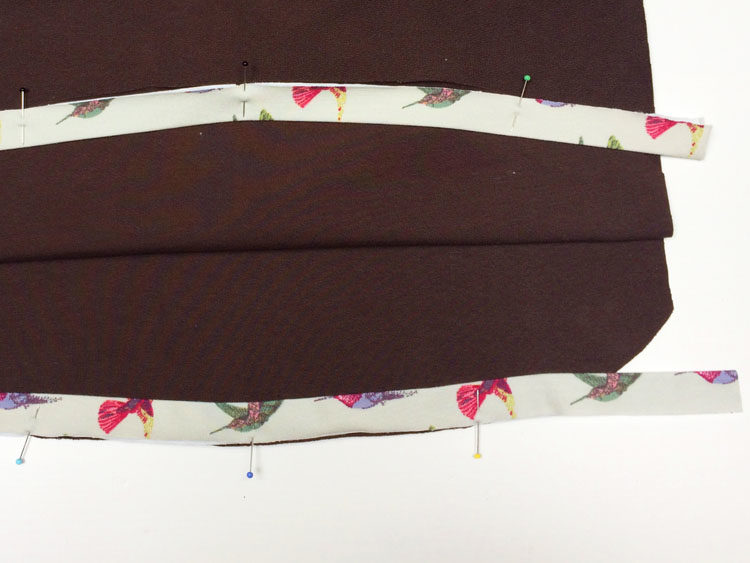
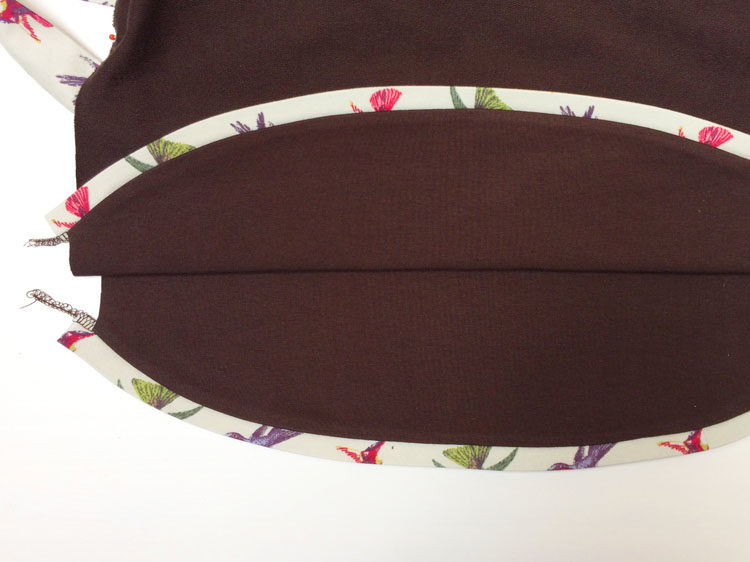
Hem bottom edges of the front and back piece in a similar way. Don’t stretch the strips when sewing the hems. The bottom edges are curved and if you stretch the strips while sewing, you will deform them.
Measure the length of the bottom cutting edge and prepare a strip that will be about 2 cm longer than the edge.
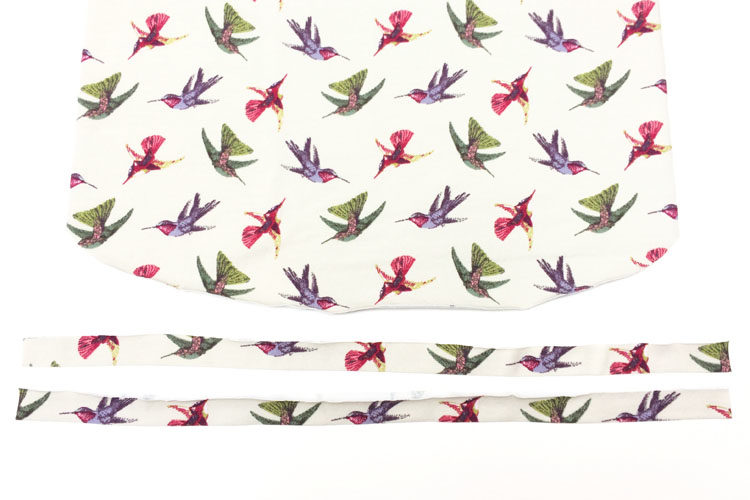
Find the middle of the strip and mark it. Mark the middle of the bottom edge of the front/back piece in the same way. Place the strip on the edge of the piece (face side to face side) and pin the midpoints of both pieces.
Then pin the other parts of the strip. Do not stretch the strip at all. Sew the hem of the front piece and then the hem of the back piece. Iron the hems and steam them well.
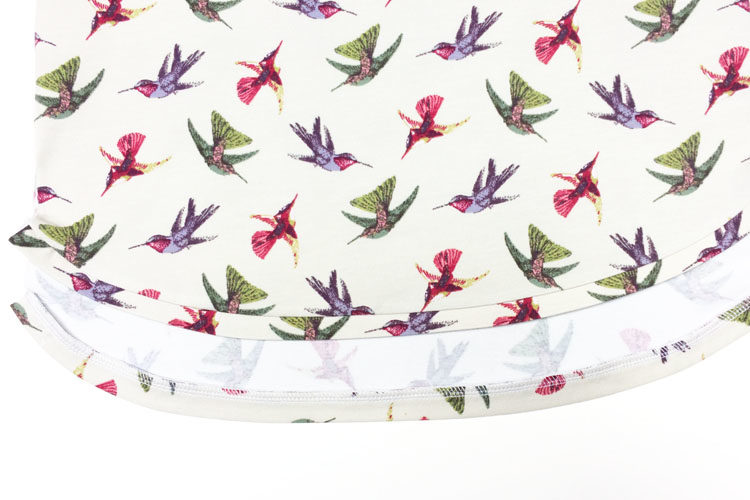
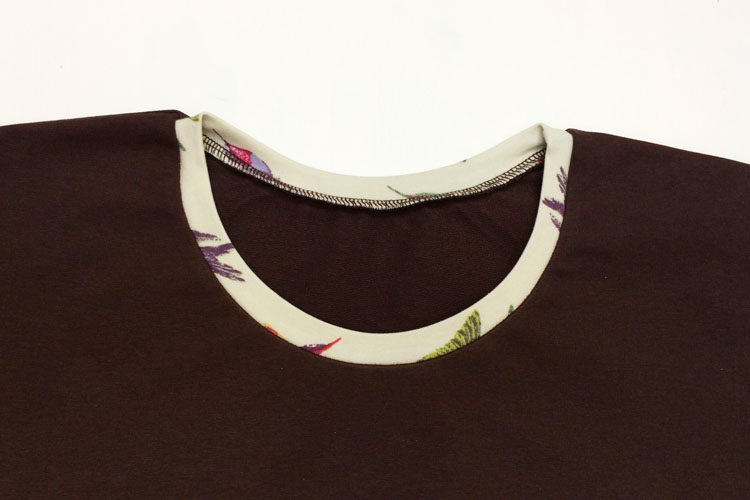
Neckline hem
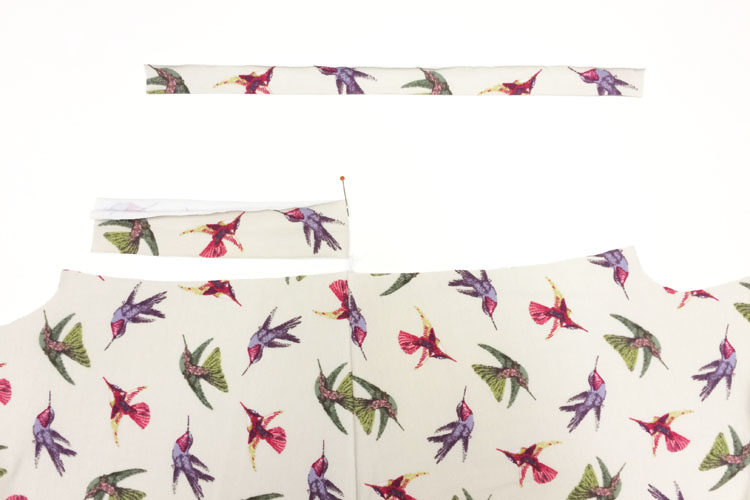
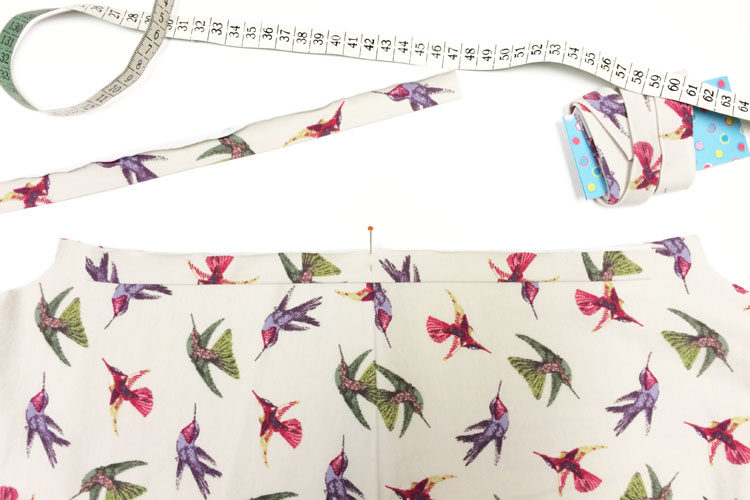
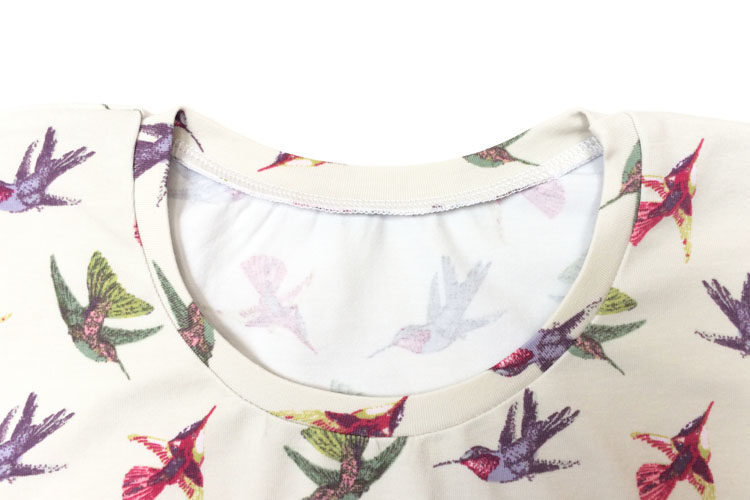
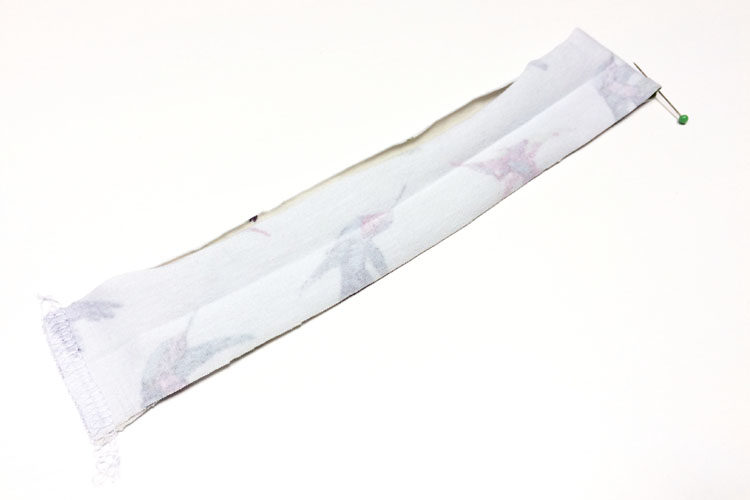
Let's work on the neckline hem. Measure the circumference of the neckline (with a tailor's tape laid on its side) and multiply it by about 0.85 or 0.9 (depends on the elasticity of your material) to find out the correct length of the strip.
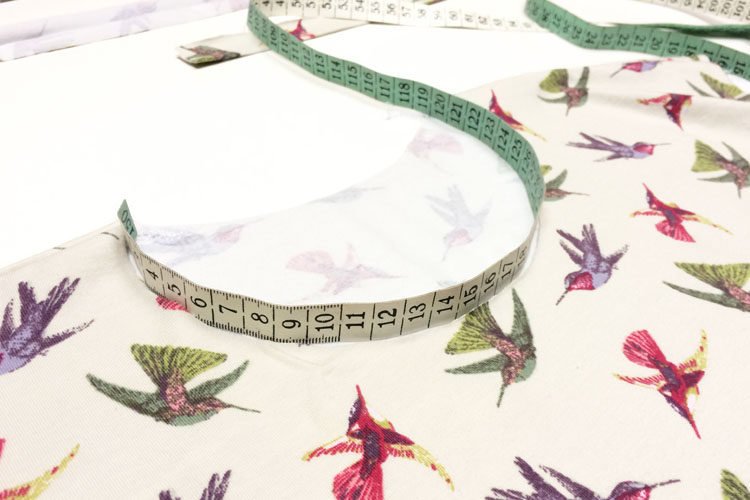
Fold the strip in half (face side in), mark the fold, and sew the two shorter sides.
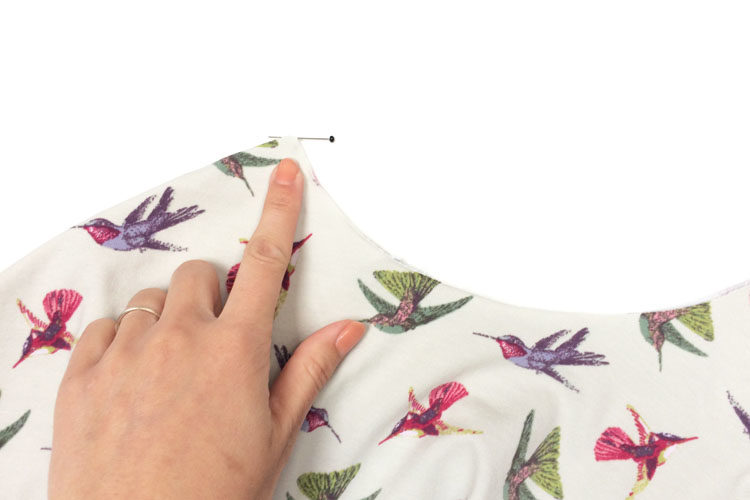
Find the middle of the neckline in the front piece - pinch the left shoulder seam...
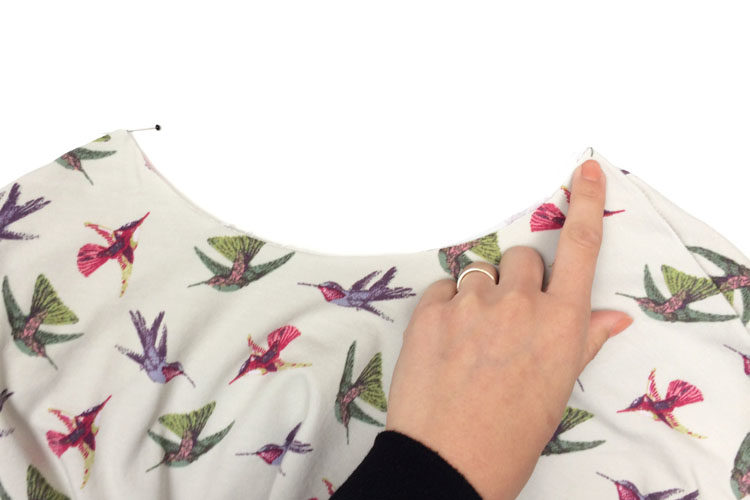
...and slide the front part of the neckline up until it is aligned with the back part of the neckline.
Mark the position of the fold opposite the left shoulder seam.
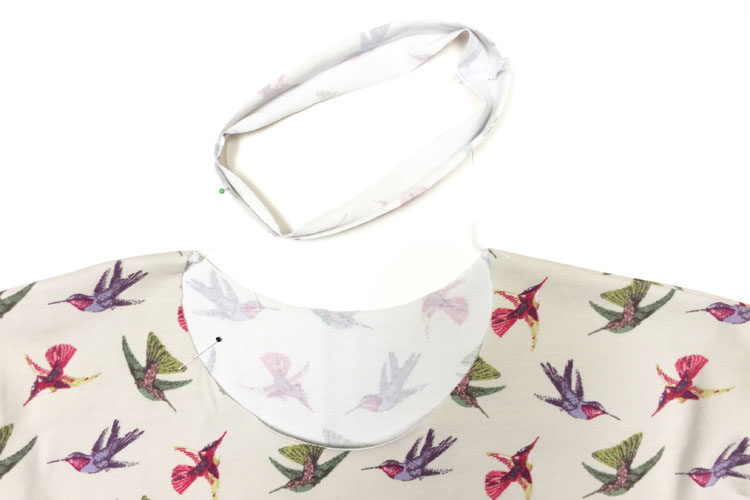
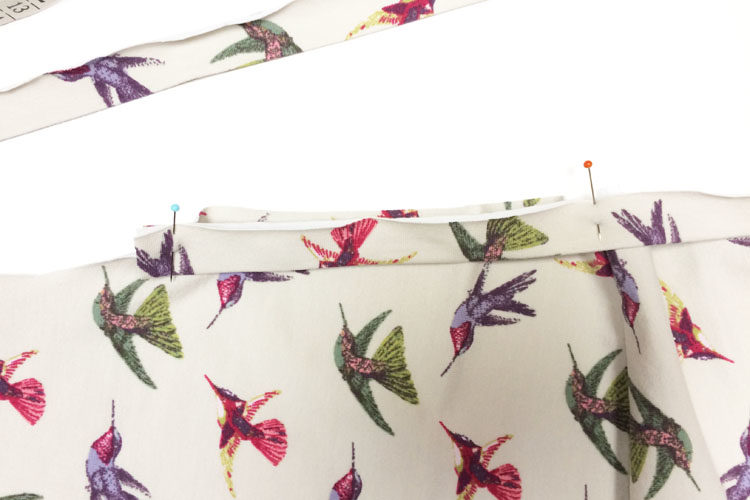
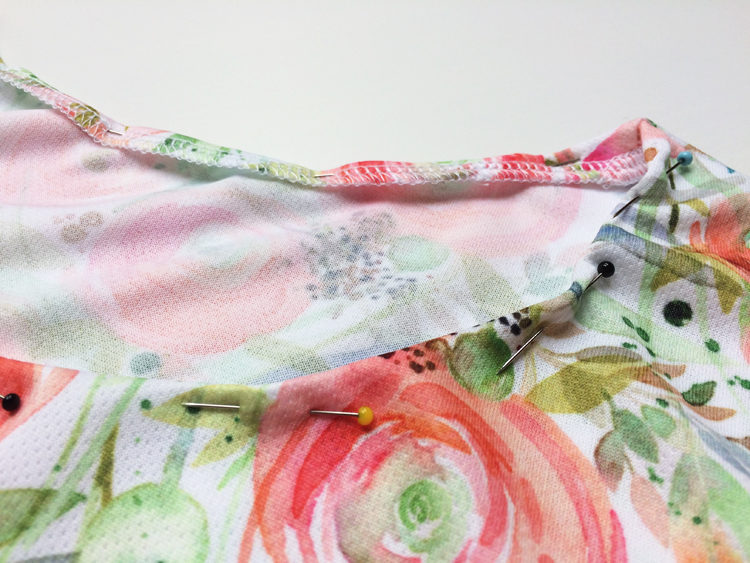
Turn the T-shirt inside out and pin the knit strip to the neckline. Align the mark on the strip with the mark on the neckline and the seam of the strip with the shoulder seam.
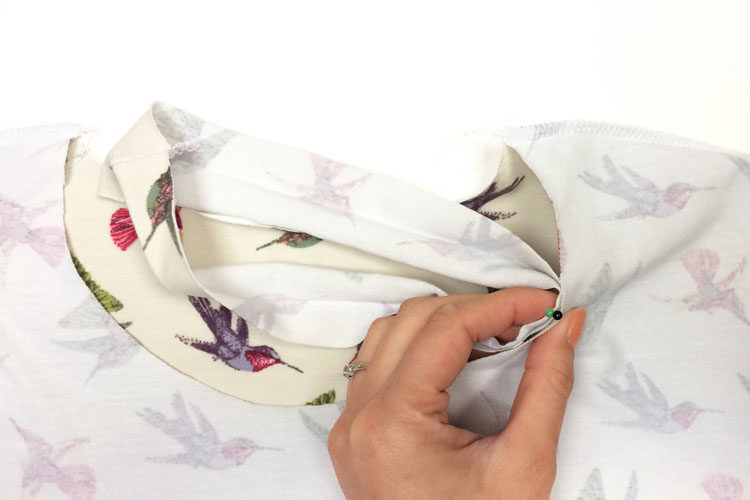
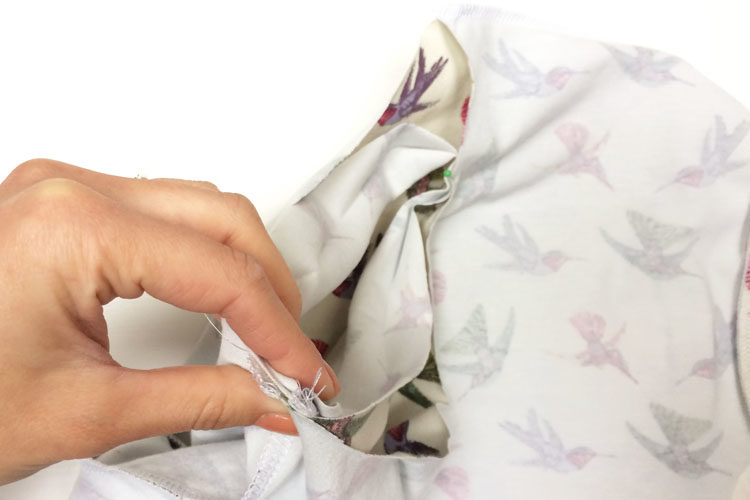
Fold the seam allowances in opposite directions - point the seam allowances of the shoulder seam towards the back piece and seam allowances of the strip towards the front piece.
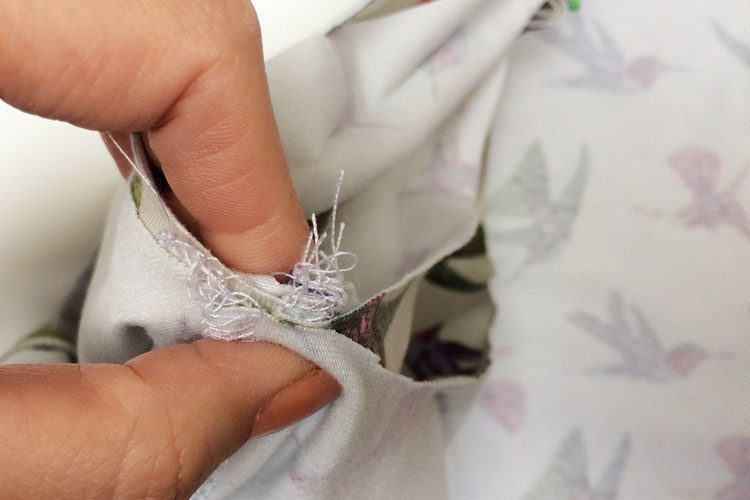
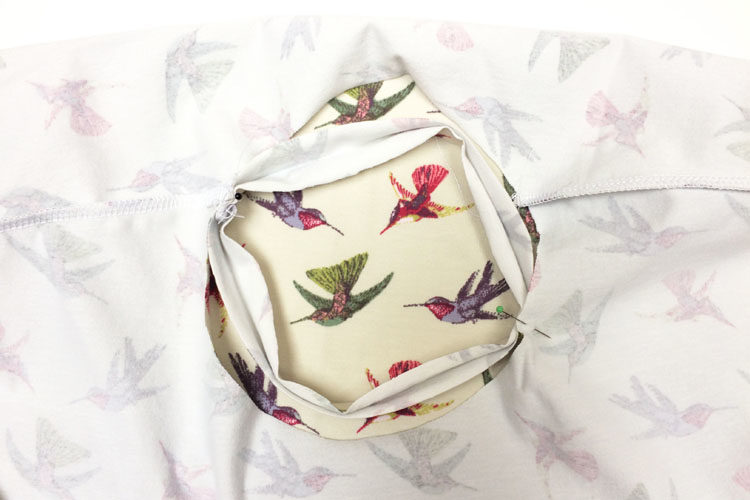
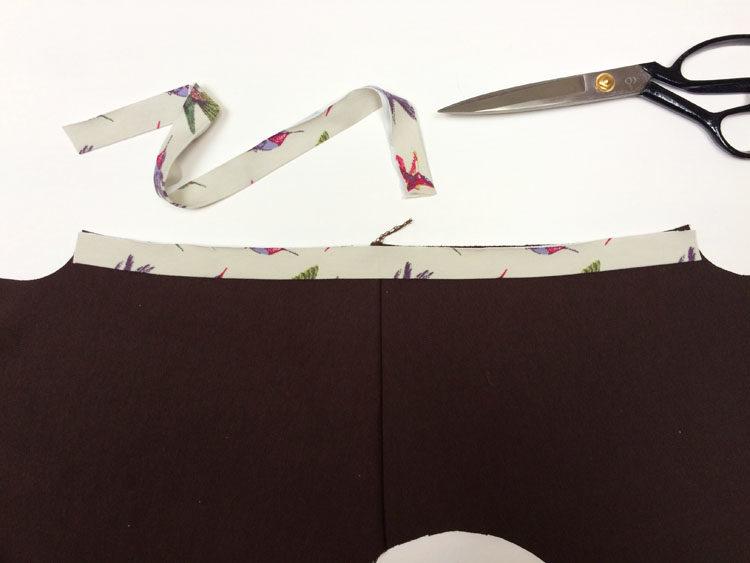
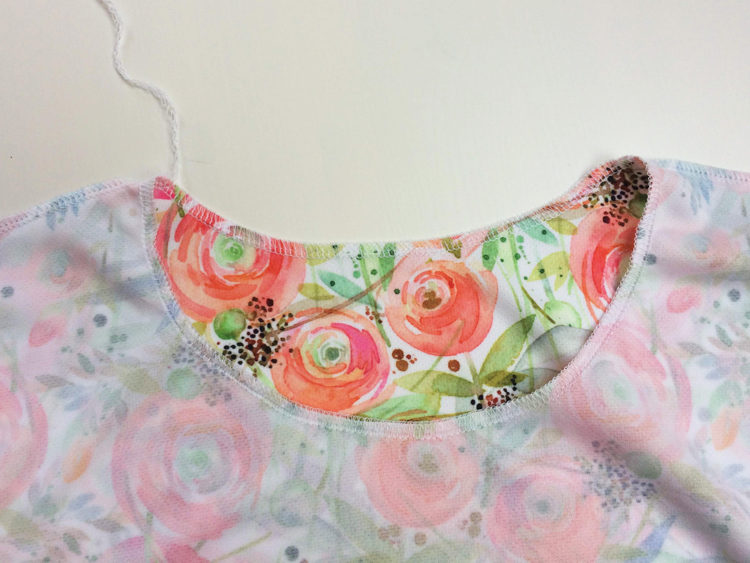
Sew the neckline hem - stretch the strip slightly when sewing. Pull free ends of the thread chain under the loops (when using your serger).
Simple side seams (without ties)
Put the front piece on the back piece (face side to face side). Pin both side seams (from the bottom edge up to the edges of the sleeves) Sew both side seams.
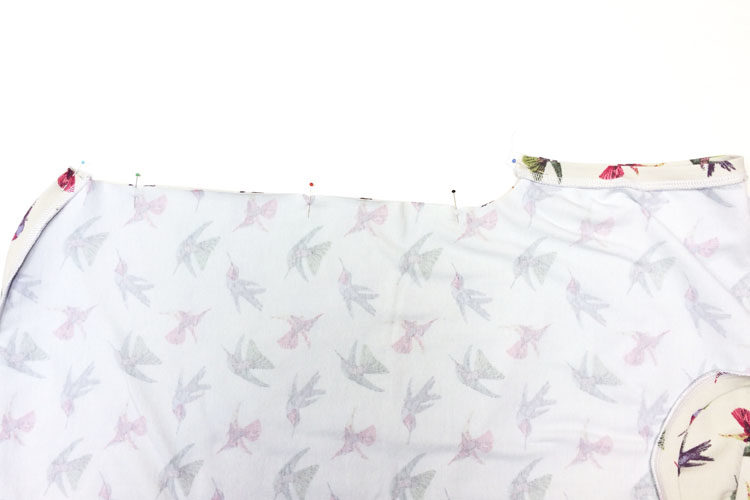
Pull free ends of the thread chains under the loops (when using your serger).
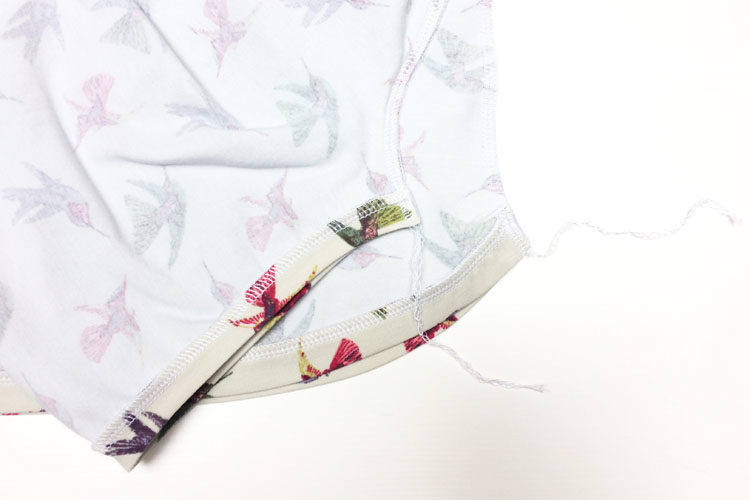
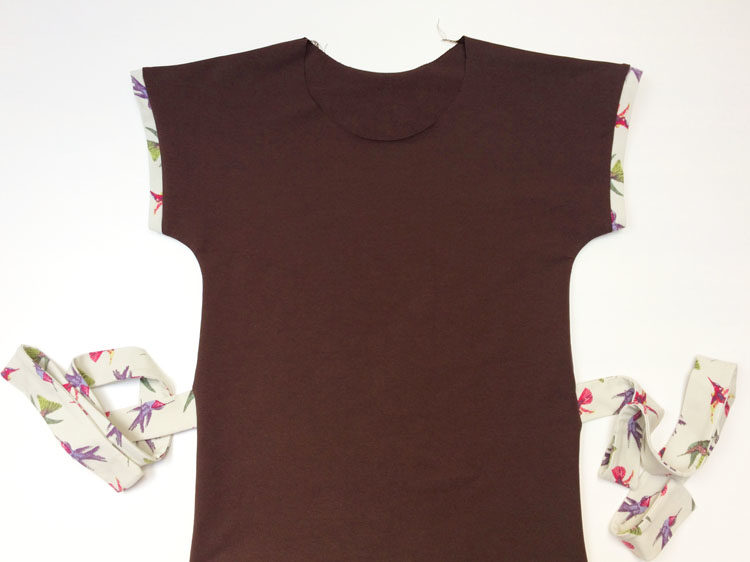
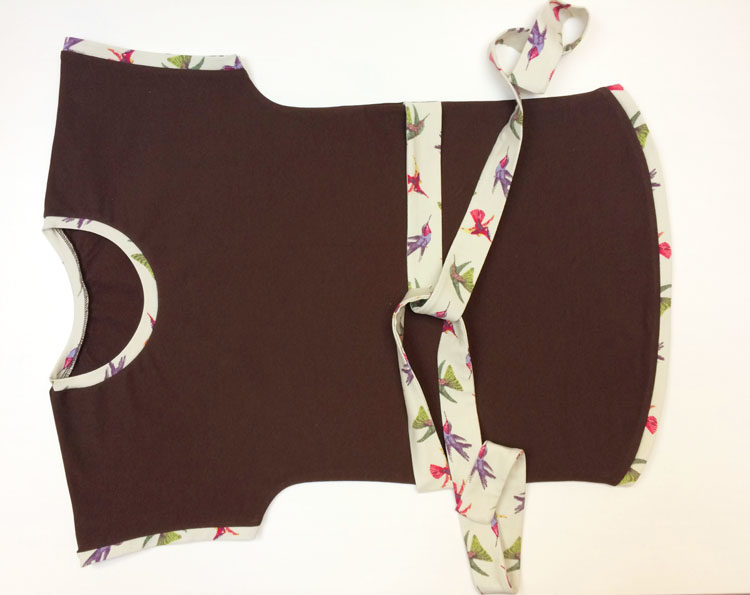
Side seams with ties
Before sewing side seams, prepare two ties. If you want, you can make the ties from an inelastic material (woven fabric). The strips of fabric for ties should be about 10 cm (4") wide. If you decide to use an elastic material, cut them 20 cm (7 7/8") longer than the circumference of your waist. For inelastic ties, add 35 cm (14 ") to your waist circumference.
Iron the strips and fold them in half (lengthwise, face side in). Sew the long side and one of the shorter sides - when you reach the corner, follow the steps below.
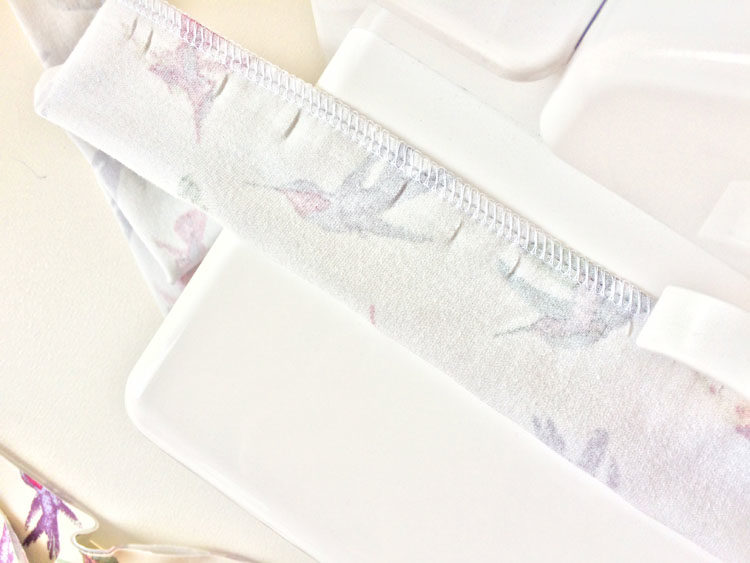
Corner
When you reach the edge of the fabric, sew two more stitches outside the fabric by hand (using a hand wheel).
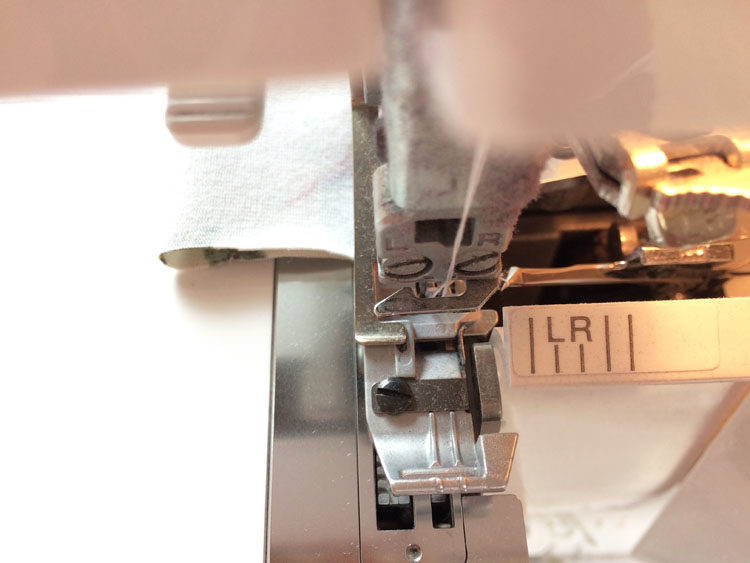
Lift the needle and presser foot and slide fabric further away (a little) to unhook the loops.
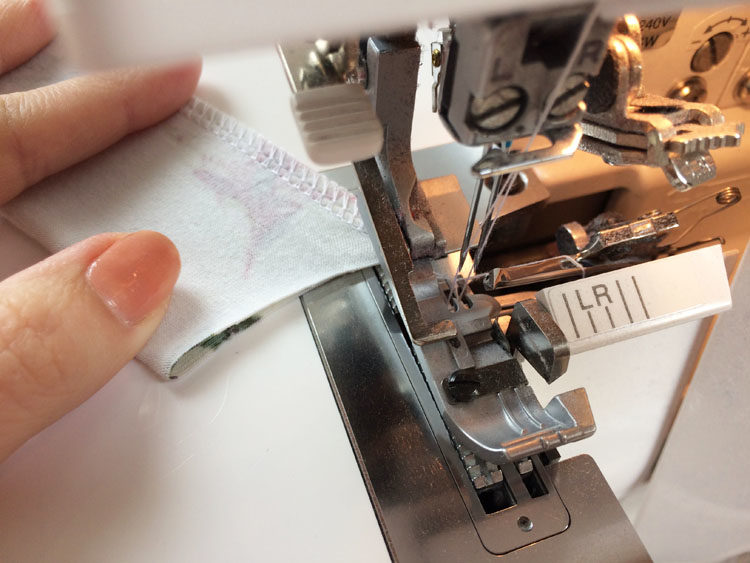
Turn your piece and put it under the presser foot so you can sew the next side. Aim the needles at the corner of the fabric (approx. 2 mm / 0.08” below the previous seam).
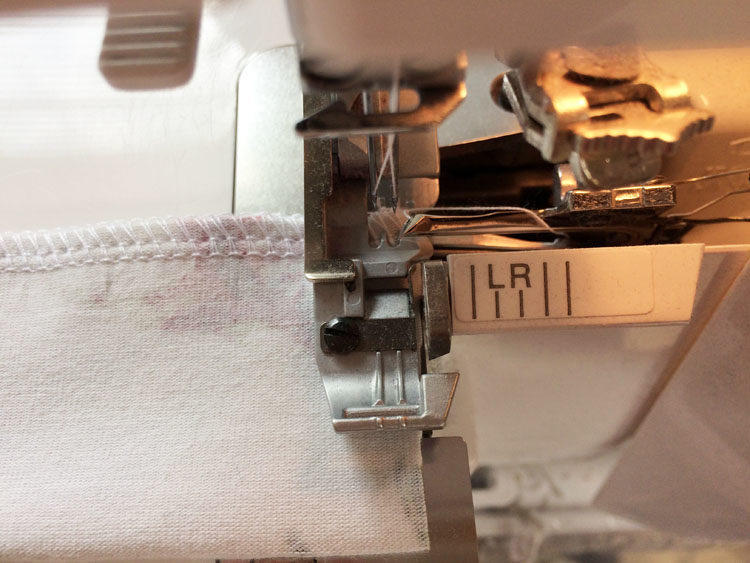
Sew the second side and pull the free end of the thread chain under the loops.
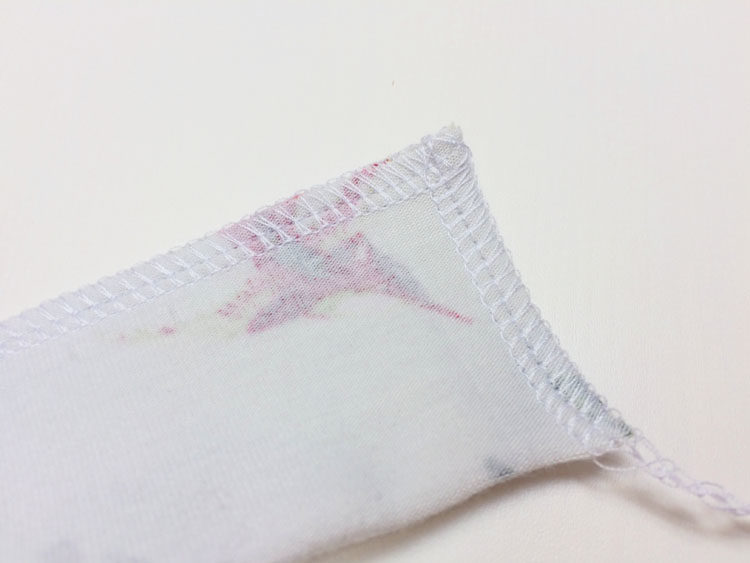
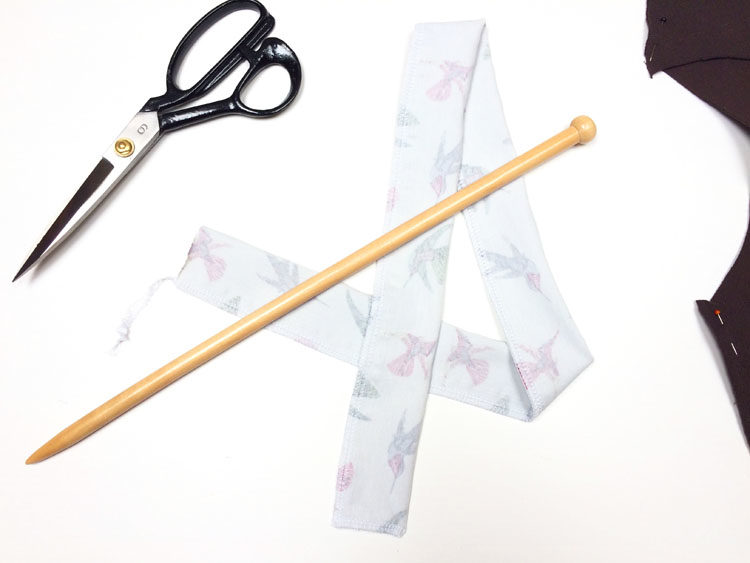
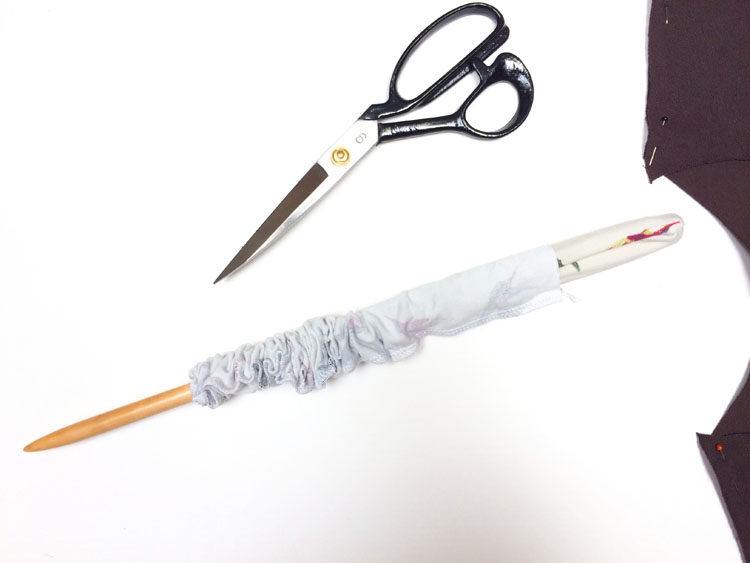
Turn the tie face side out - you can use a long wooden spoon or a knitting needle for that.
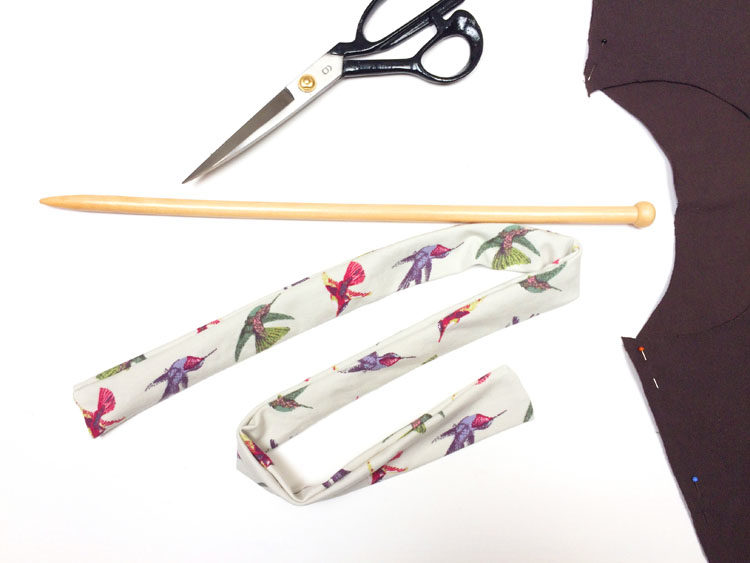
Iron the tie.
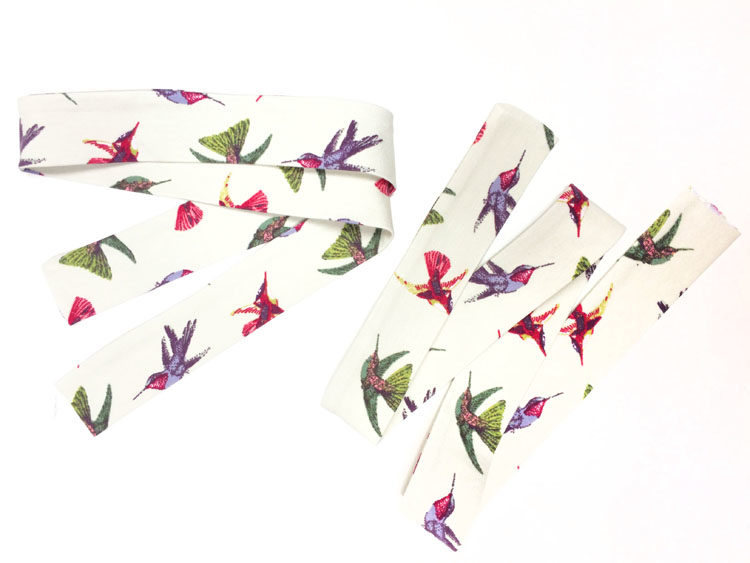
Sew the ties to the side seam
You should have the position of the waistline marked on the reverse side of both T-shirt pieces. Use these marks to place the tie.
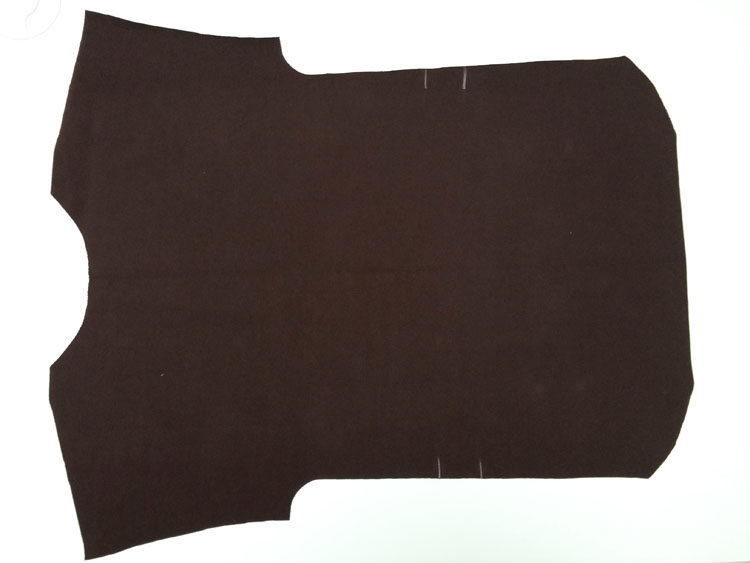
Put the shirt on so that you are looking at the face side of the front piece. Align the unstitched side of the tie with the marks (waistline).
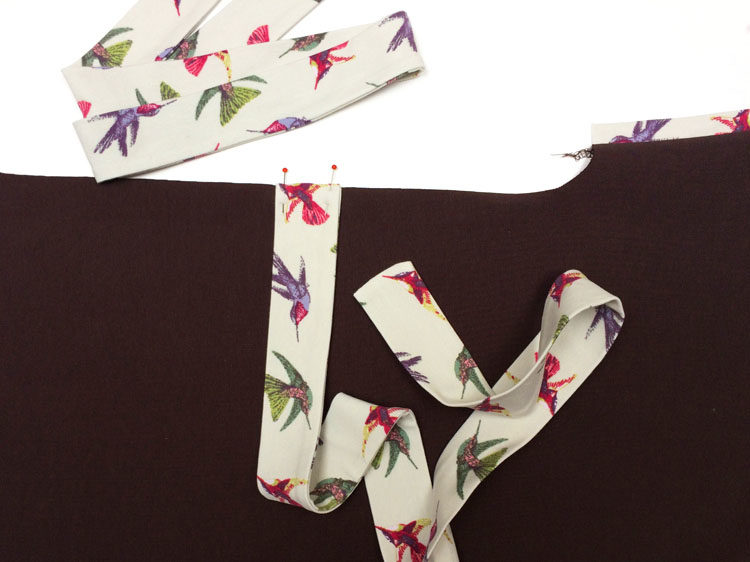
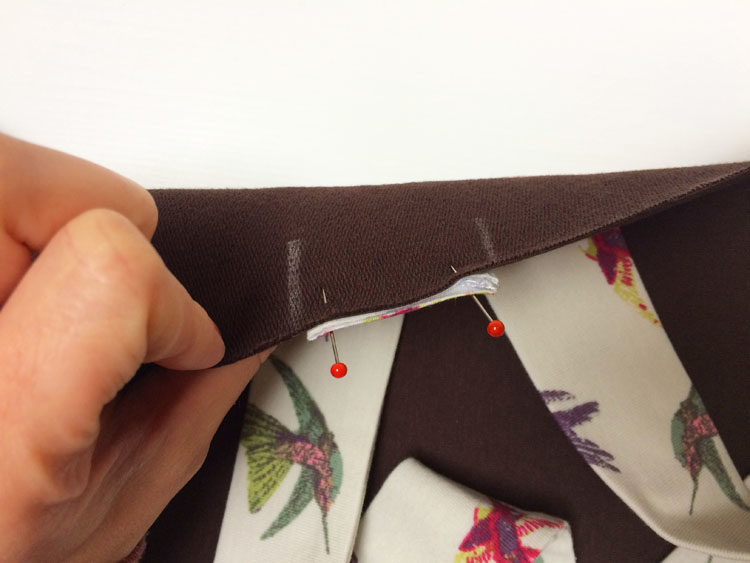
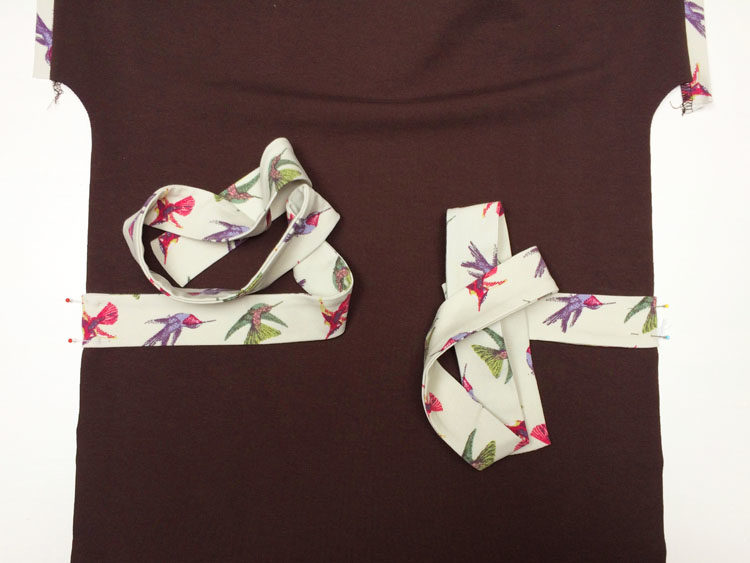
Lay the back piece over the front piece and ties and pin all three pieces.
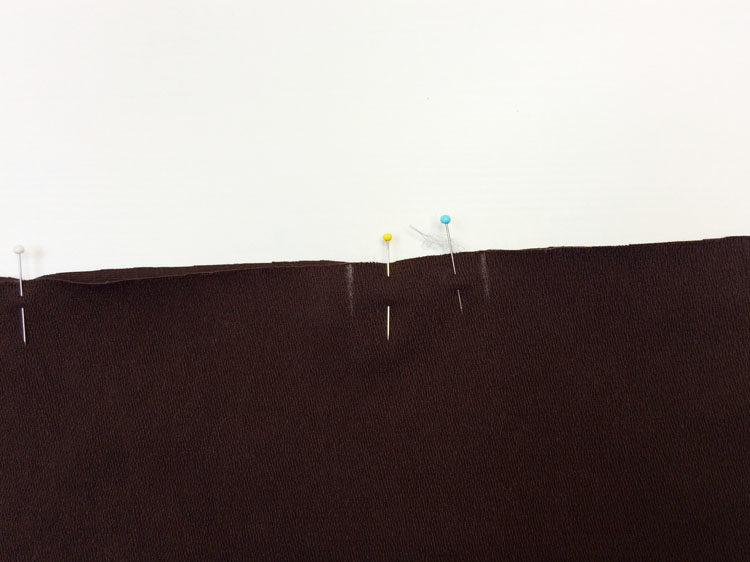
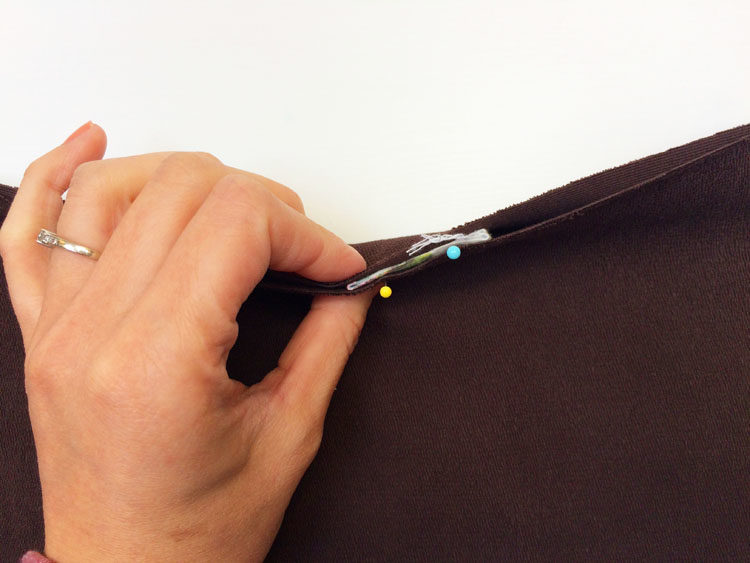
Sew both side seams.
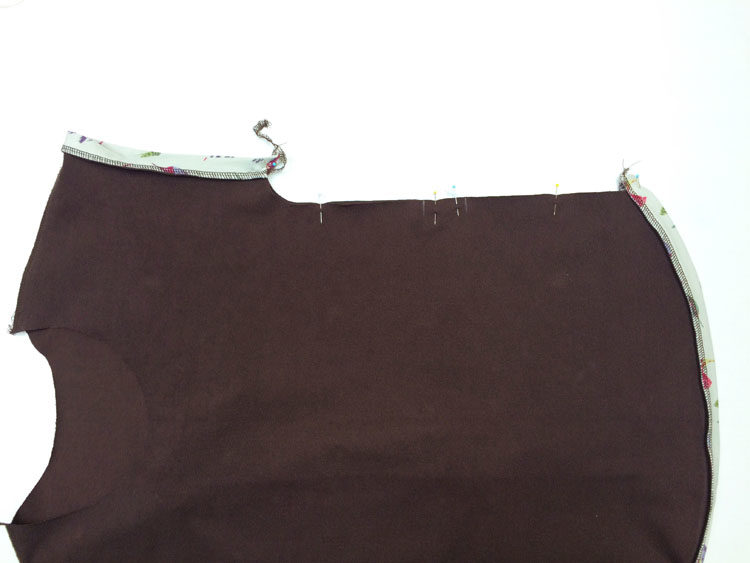
Turn the T-shirt face side out and check the positions of both ties. The shirt should be symmetrical. Pull free ends of the thread chains under the loops.
Wide bottom hem
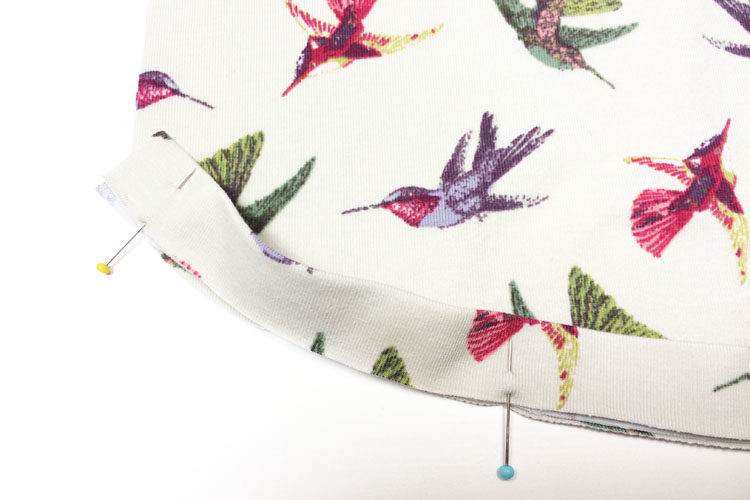
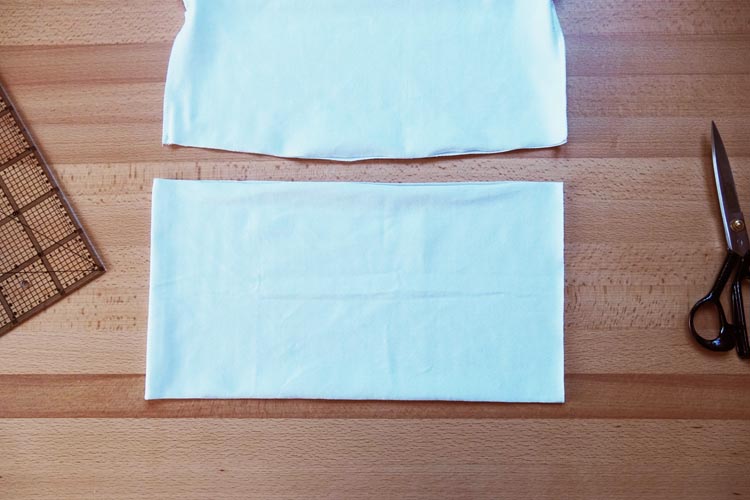
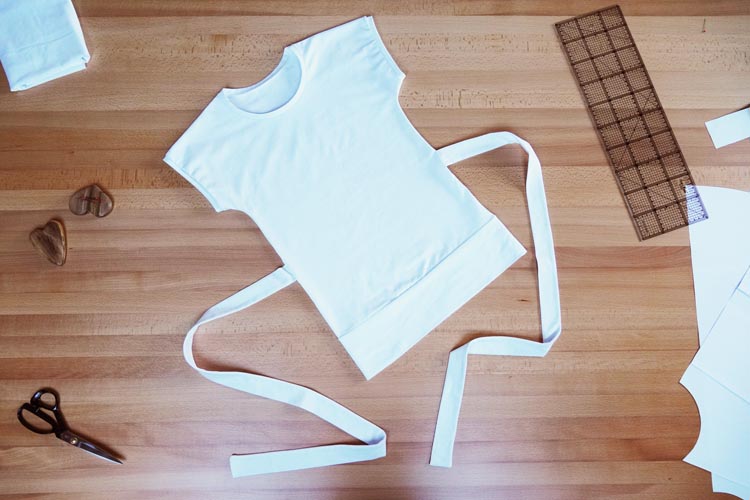
You can finish the bottom edge of your T-shirt with a wide hem. Sew the wide bottom hem last (after sewing the side seams). Measure the bottom circumference of the T-shirt and cut a strip of fabric that will have the same length. The width of the strip should be about 22 cm / 8.6 “ (for a 10 cm / 4” wide hem). Fold the strip in half (face side in) and sew the shorter sides. Then fold ("roll") the strip in half (face side out) and sew it to the bottom edge of the T-shirt.
II. Sewing simplified version
This procedure is easier and faster.
Pattern layout
Prepare:
- 1x front piece (cut on the fold)
- add 3 cm (1.18") wide hem allowance to the bottom edge and both sleeves
- 1x back piece (cut on the fold)
- add 3 cm (1.18") wide hem allowance to the bottom edge and both sleeves
Shoulder seams & side seams
Put the front piece on the back piece (face side to face side). Pin both shoulder seams and both side seams.
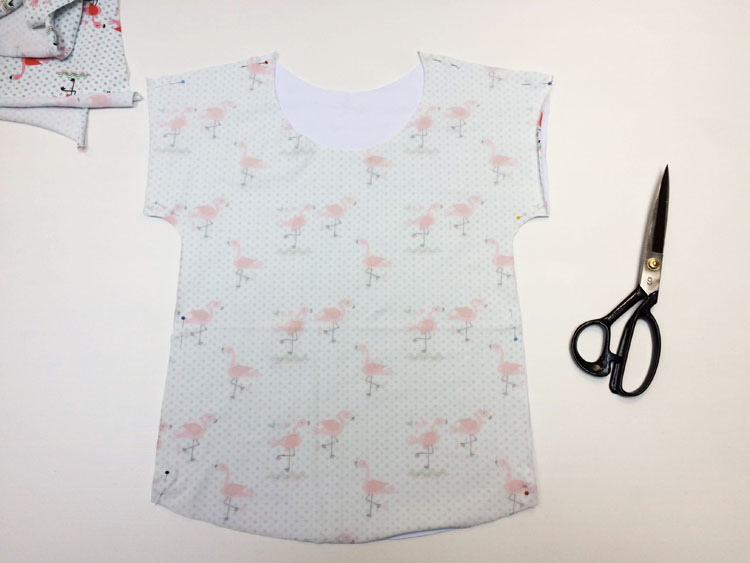
Sew all pinned seams.
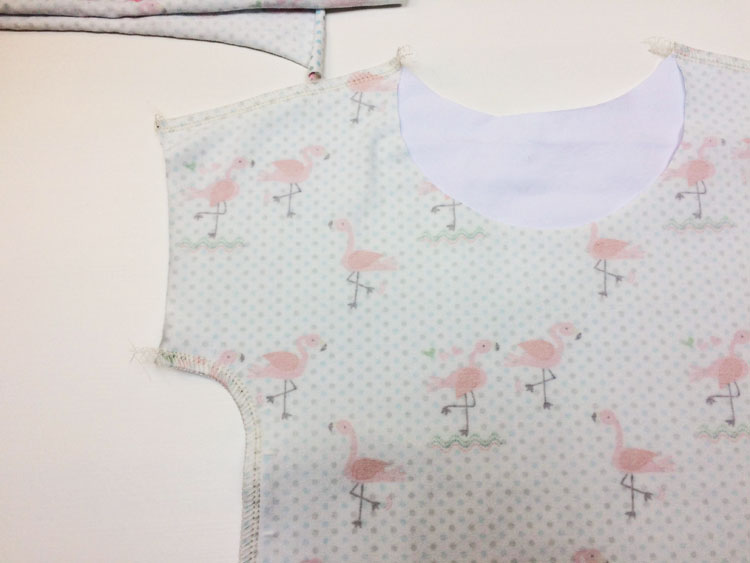
You can finish the neckline with a knit strip (as described above), or you can simply fold the edge of the neckline to the inside of the T-shirt. If you choose the second method, then clean the cutting edge of the neckline. You can also clean other cutting edges (sleeves and bottom edge of the T-shirt).
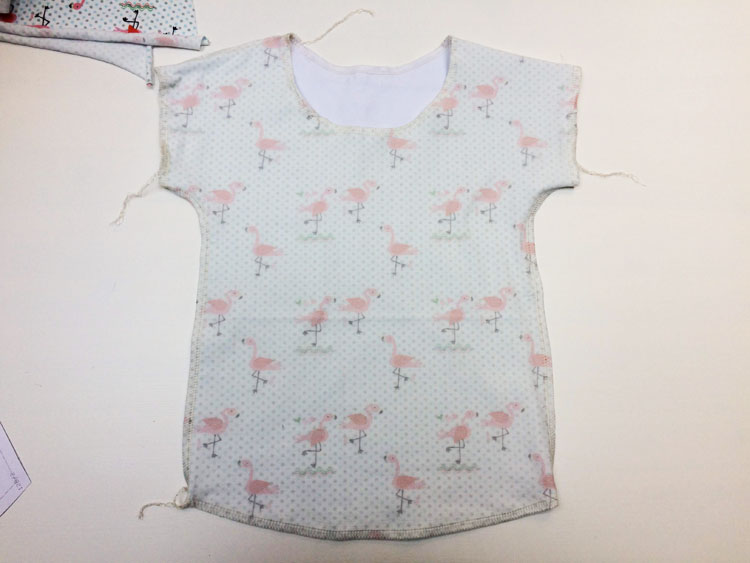
Fold the edges of the sleeves and the bottom edge 3 cm (1.18") to the inside of the T-shirt and topstitch them with an elastic stitch. The easiest way to finish a neckline is described in this article:
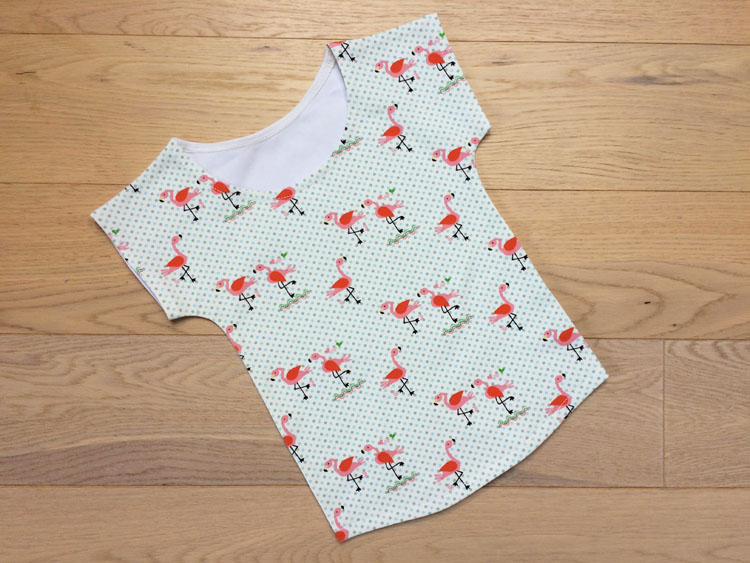
And that's all! Your new T-shirt is ready! That was quick, wasn't it? :)
III. Sewing a tunic
Modifications
Again, you will need a front piece and a back piece. But this time you have to add 2 cm (3/4") wide hem allowances to the sleeves and adjust the length of both pieces.
Extend the side seams. Place the pieces on the fold and extend the side seams about 50 cm / 20" below the waistline (marked in the pattern). (You can extend the pieces more or less, it's up to you.) You don’t have to change the shape of the side seam, just extend the existing line downwards.
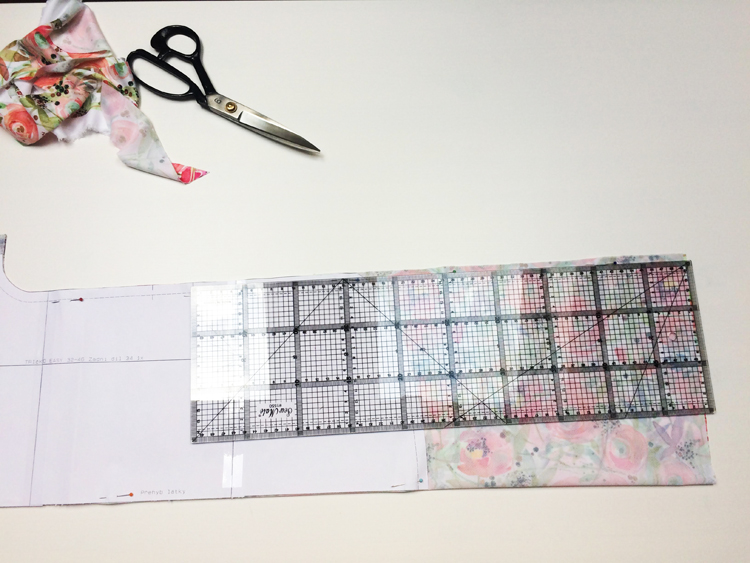
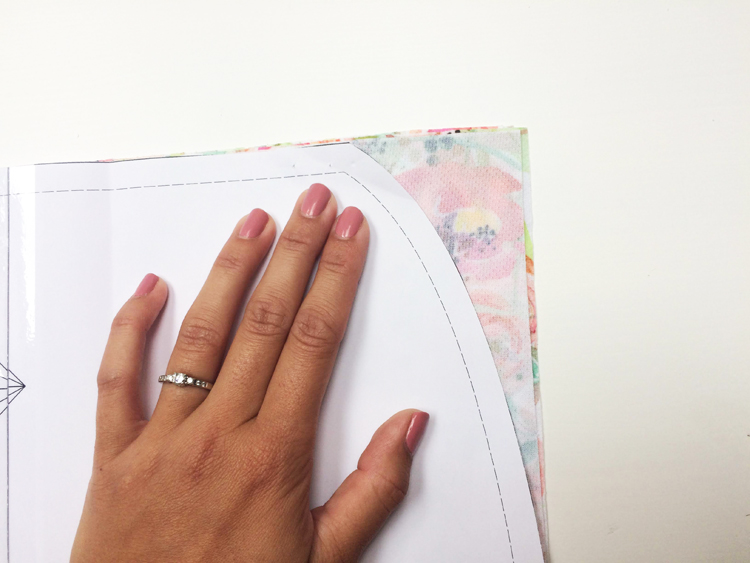
The lower rounded edge of the tunic can be cut according to the original pattern piece.
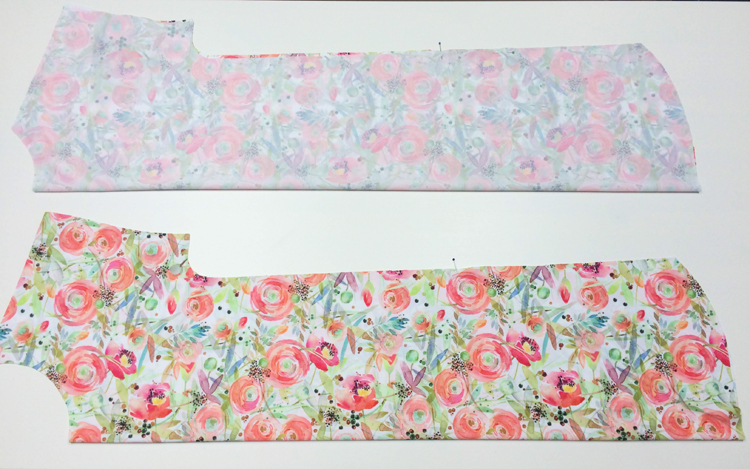
Mark the tops of the slits - about 27–30 cm (10”–12") above the bottom edges of the side seams. Slits make the tunic more comfortable to wear.
Bottom hem
This time, start with the bottom hem. Clean the bottom edges of both pieces...
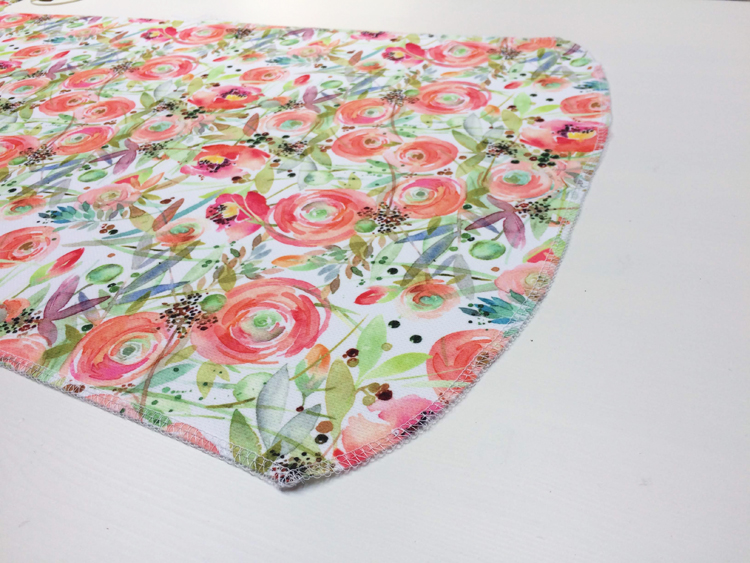
...and slits (from the marks downwards).
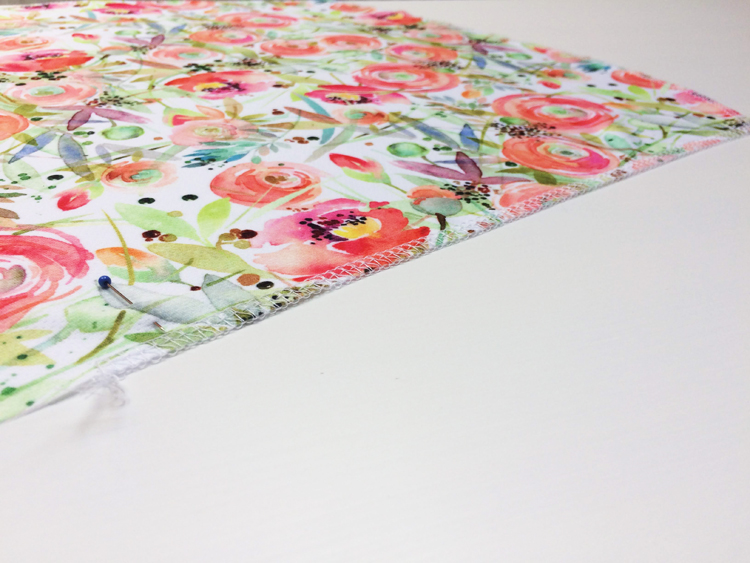
Fold the bottom edges 2 cm (3/4") to the reverse side.
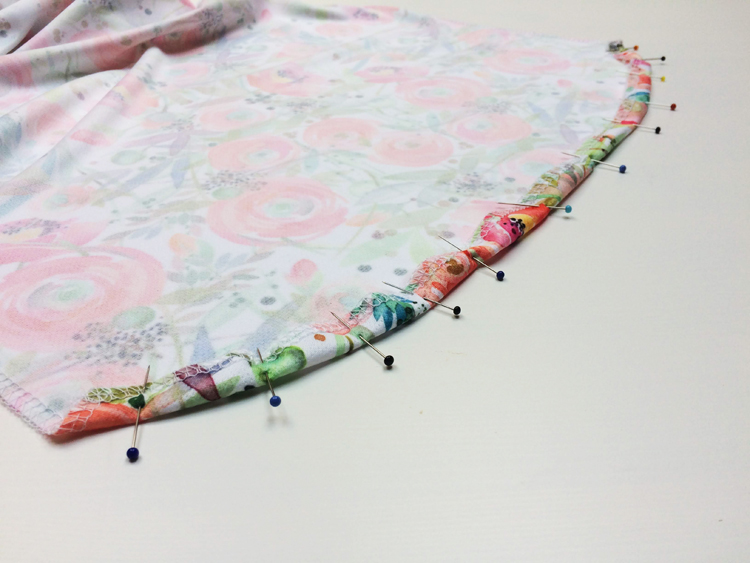
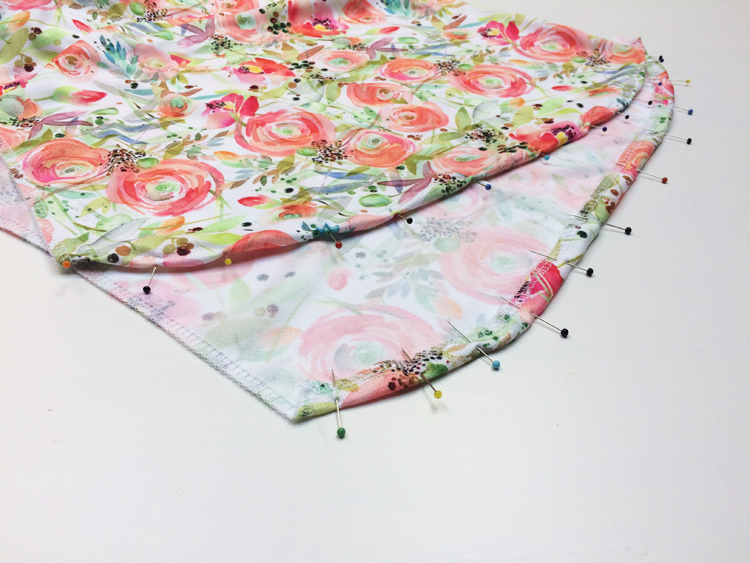
Topstitch the hems (use elastic stitches or twin needle).
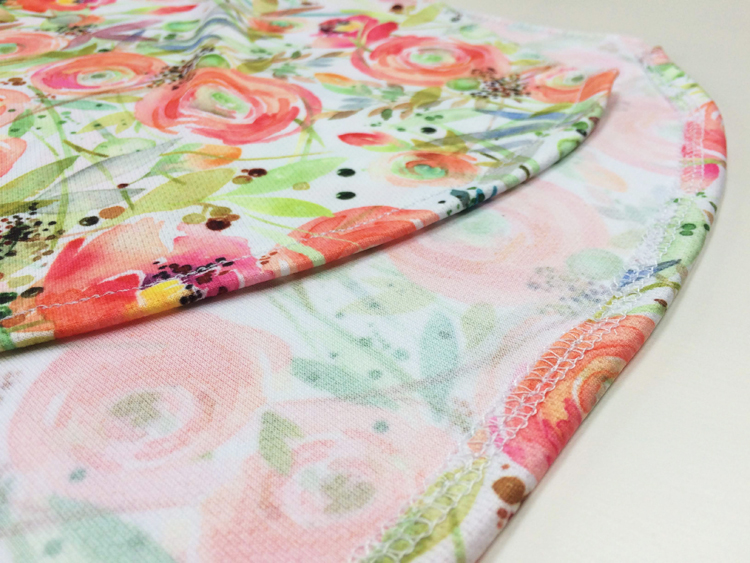
Shoulder seams
Put the front piece on top of the back piece (face side to face side) and pin the shoulder seams. Sew and clean the shoulder seams.
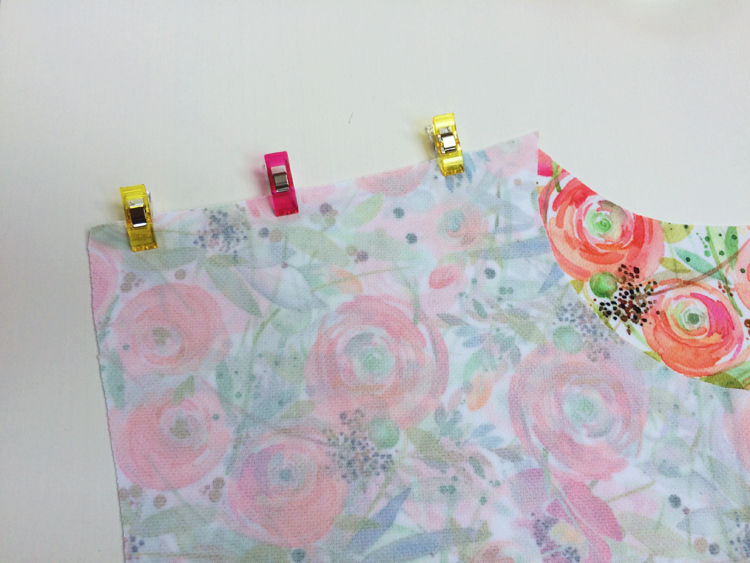
Clean cutting edges of both sleeves.
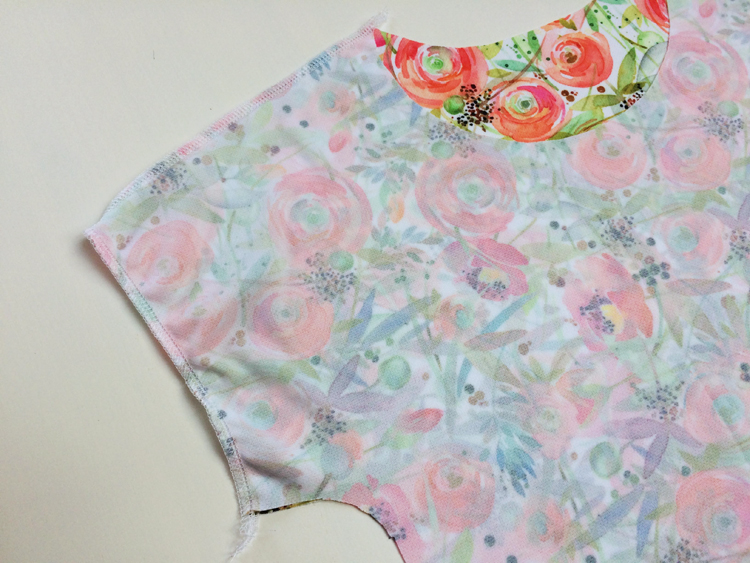
Side seams
Now pin the side seams. Remember that there are slits at the bottom of the side seams. You can mark the tops of the slits more prominently so that you don’t accidentally sew them shut.
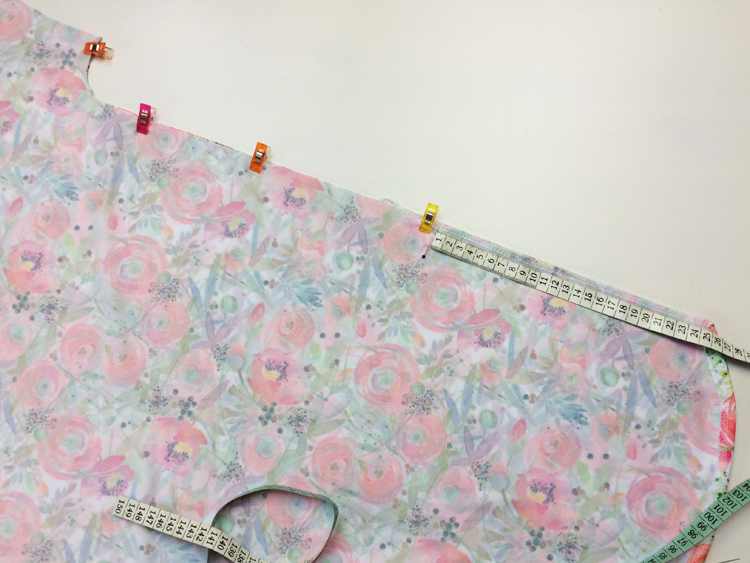
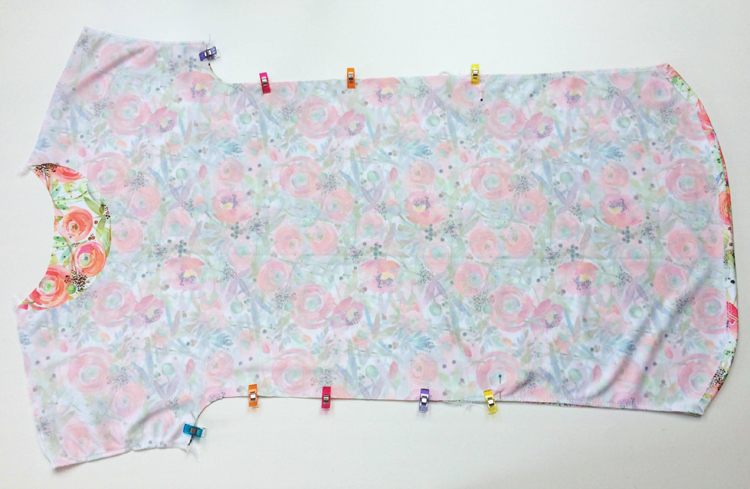
Sew both side seams - from the edges of the sleeves to the tops of the slits. Pull free ends of thread chain under the loops when sewing on an overlock.
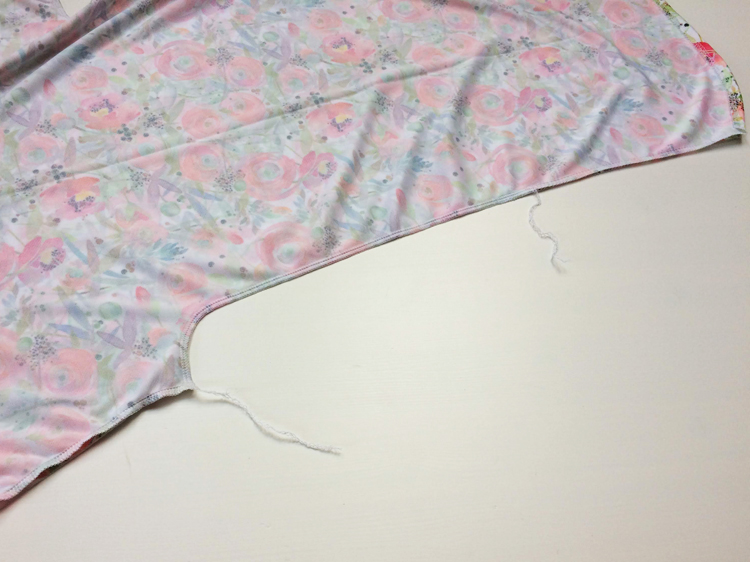
Neckline
Clean the neckline. Pull free ends of the thread chain under the loops when using your overlock. I will use the simplest method again... Fold the edge of the neckline (1–1.5 cm / 0.4"–5/8") to the inside of the tunic and pin it there. Topstitch the neckline (use elastic stitches).
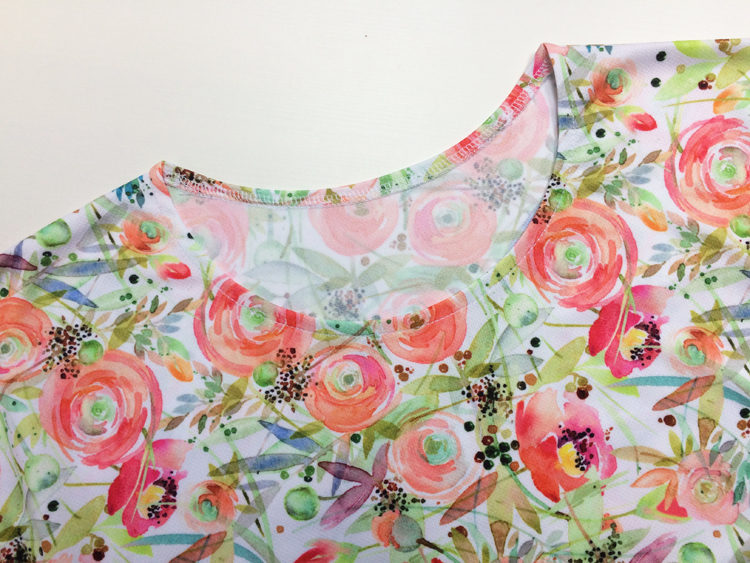
Finish the sleeves
Fold the cutting edges 2 cm (3/4") to the inside of the sleeves and pin them there.
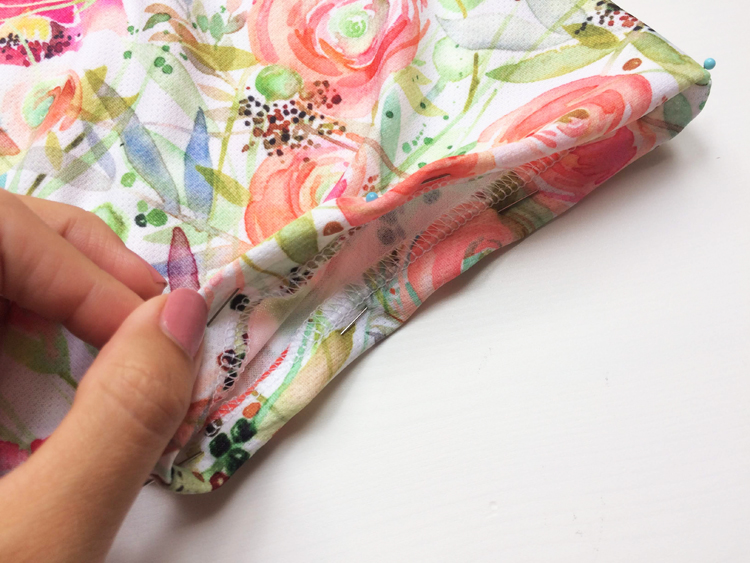
Topstitch hems of both sleeves.
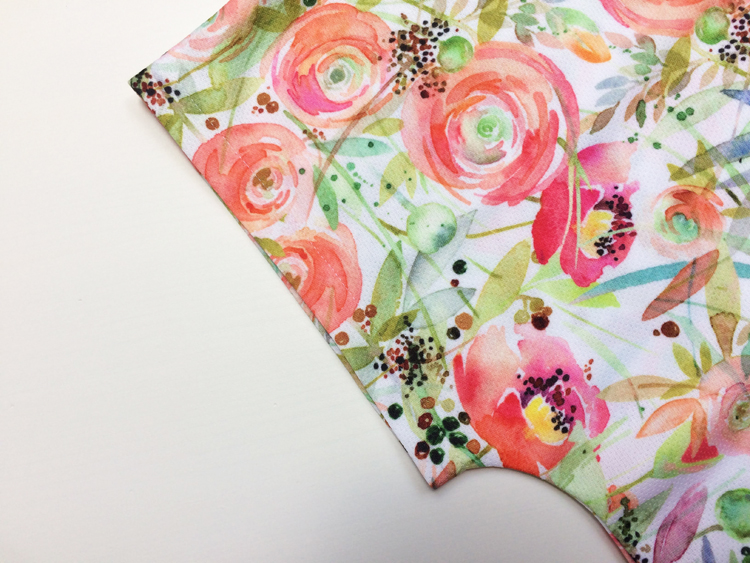
Slits
Fold the cutting edges of the slits 1.5 cm (5/8") to the inside of the tunic and pin them there.
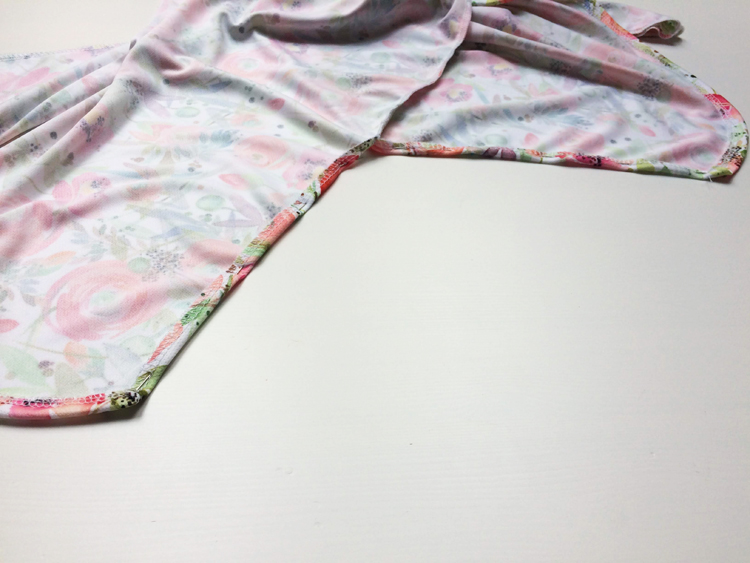
Topstitch the slits.
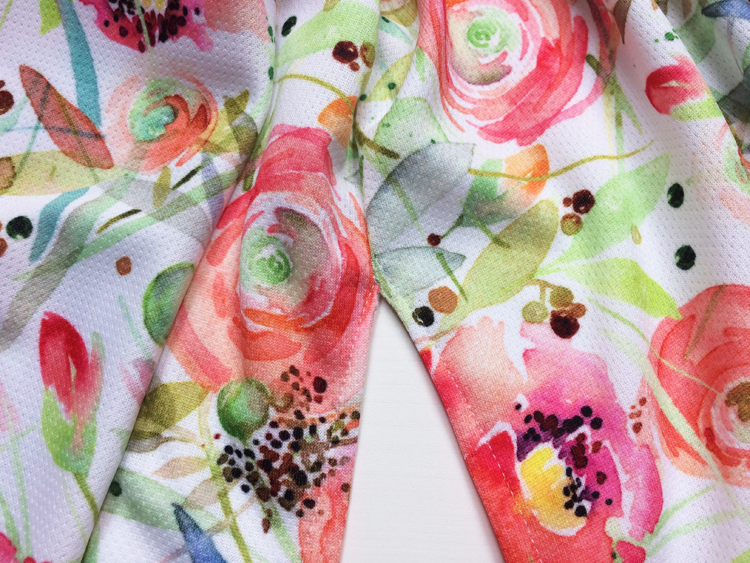
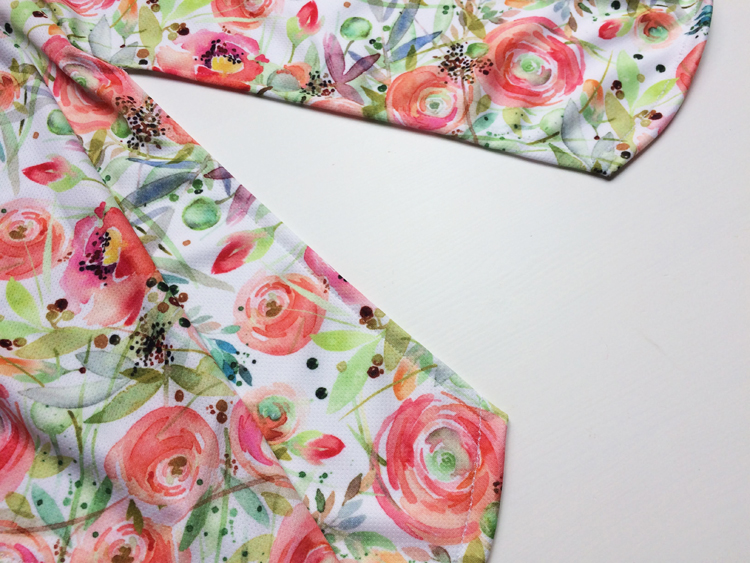
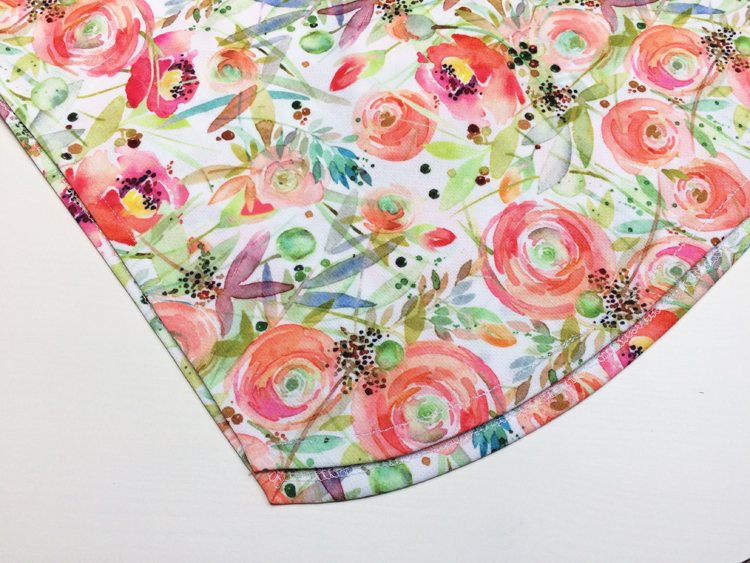
Your tunic is ready!
And that's all for today. If you've read this far, thank you for your patience. I hope you will use my pattern for children’s/women’s T-shirt EASY to sew a lot of nice pieces. :)
You can explore the pattern featured in this article here:
Don't forget to share your joy with others!
Do you like this article? If so, share it with your friends and tell me about it in the comments section below. I will be glad for any feedback! ♥
PS: Did you know that there are FREE PATTERNS available on my blog?


