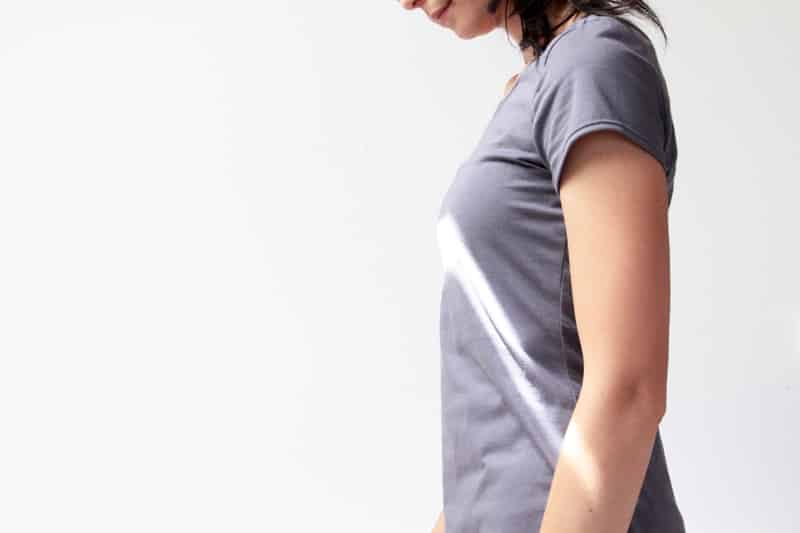
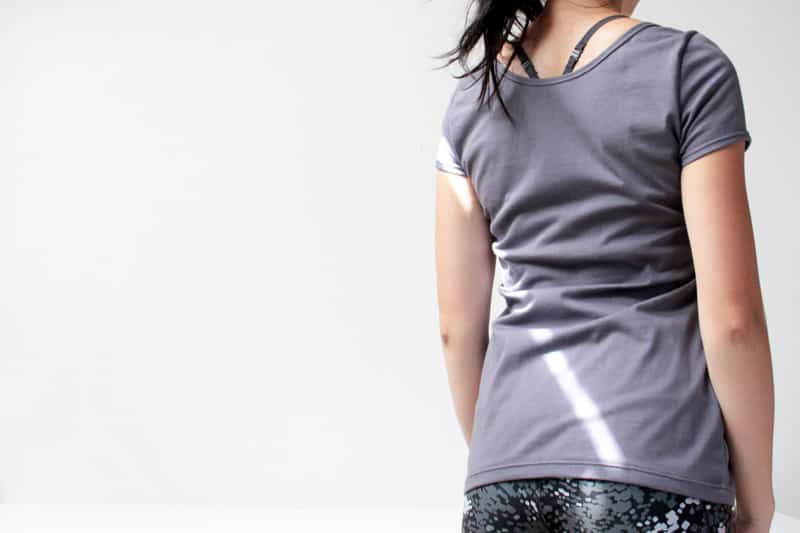
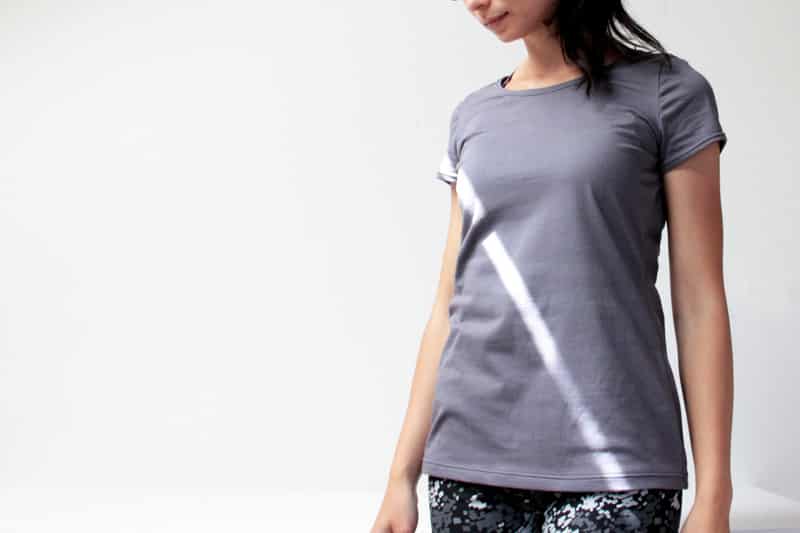
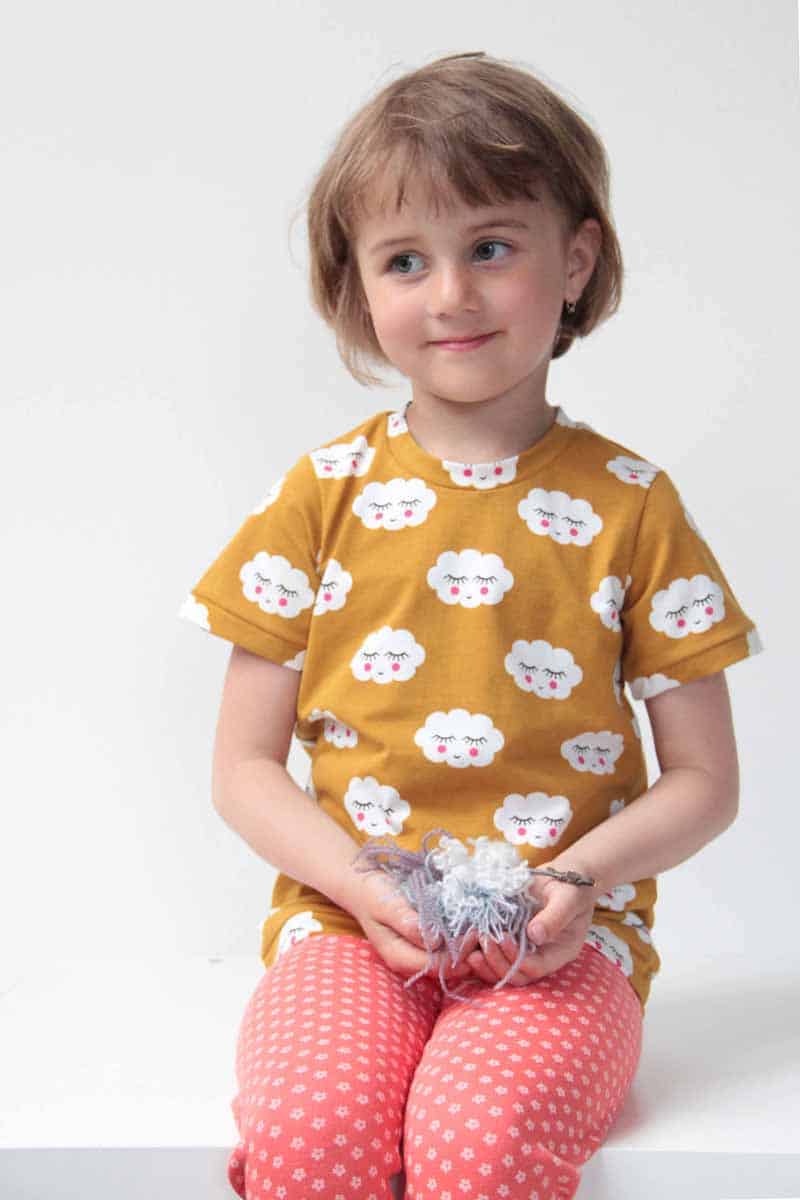
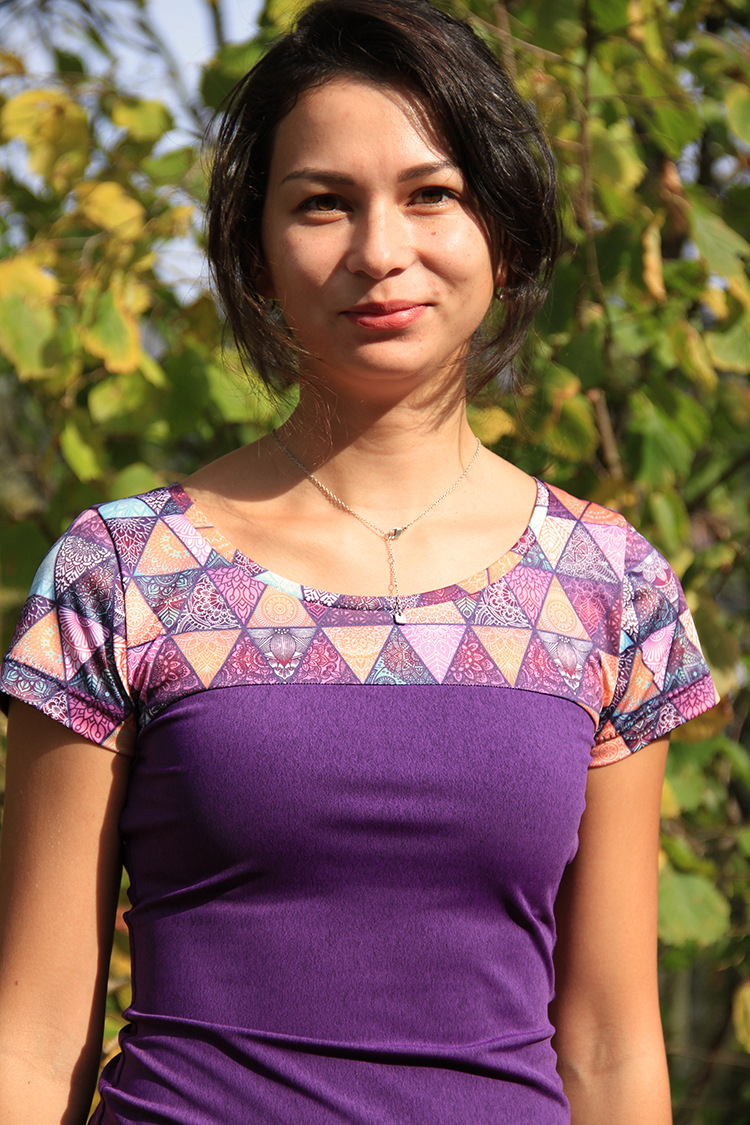
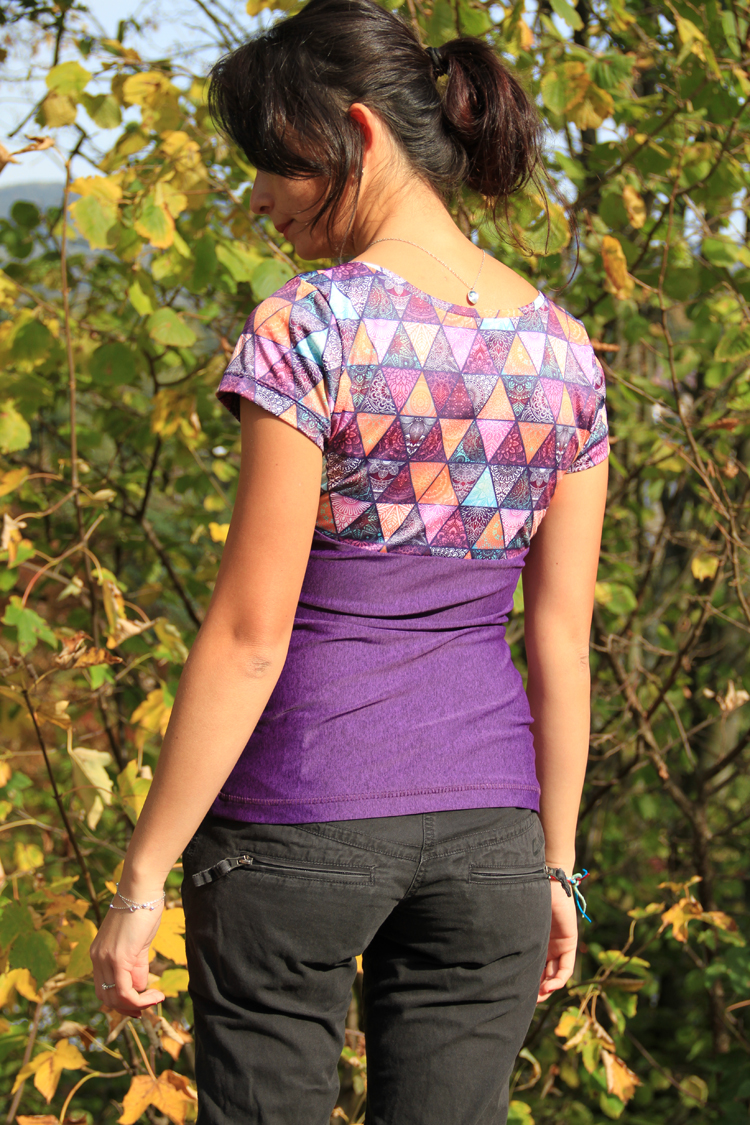
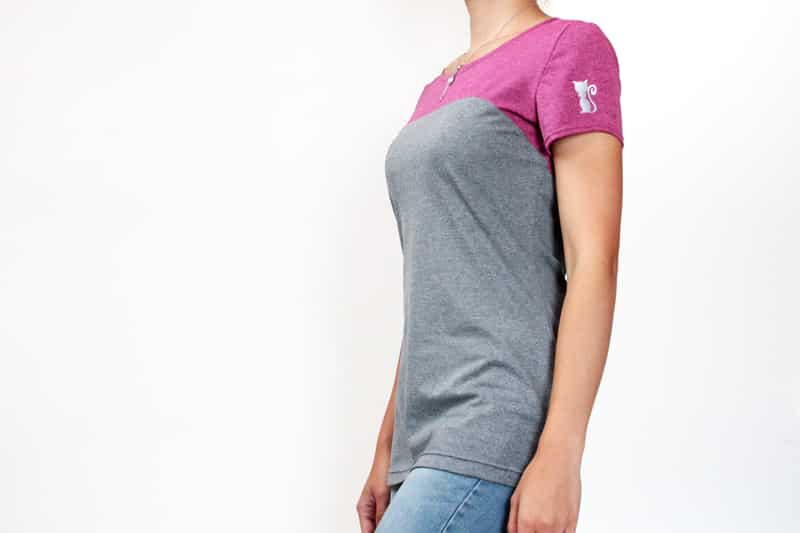
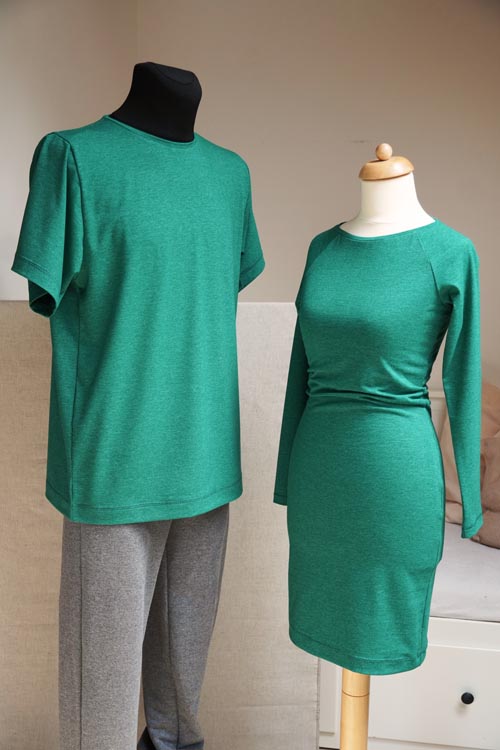
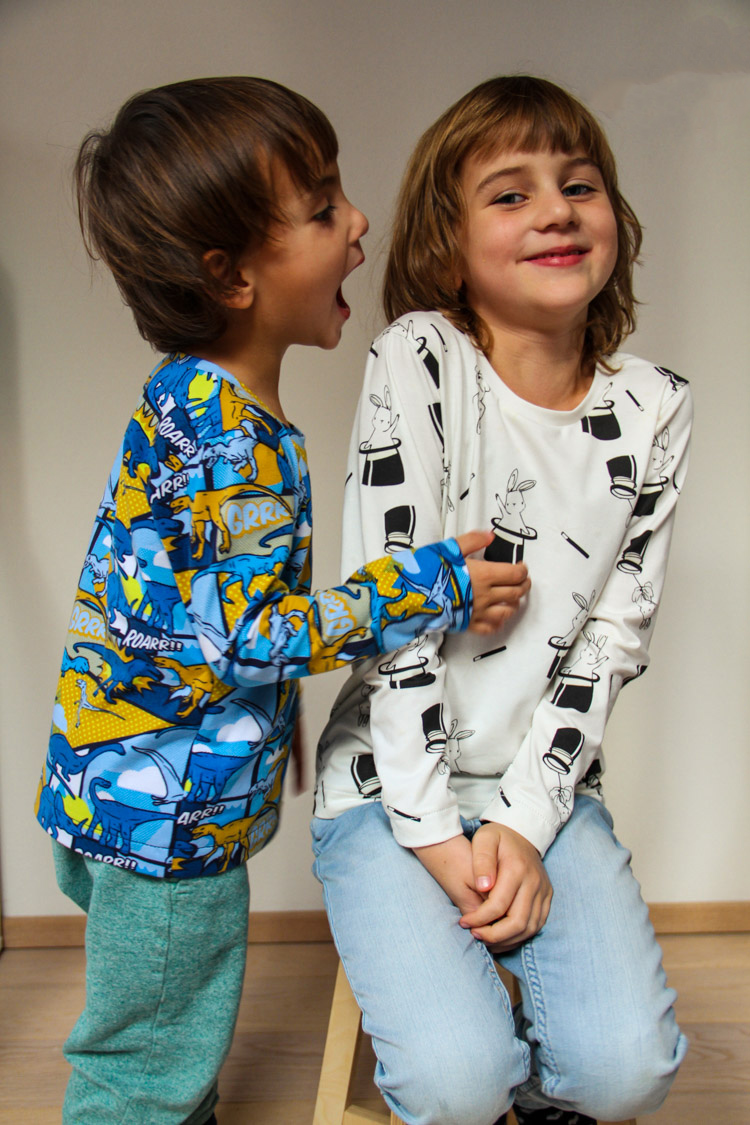
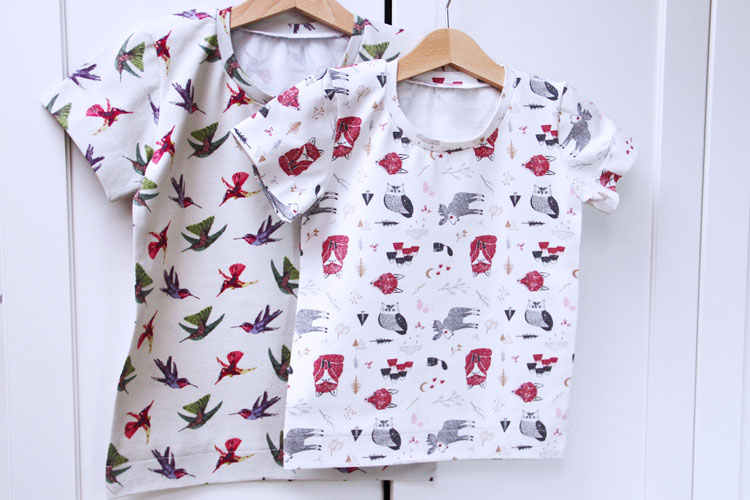
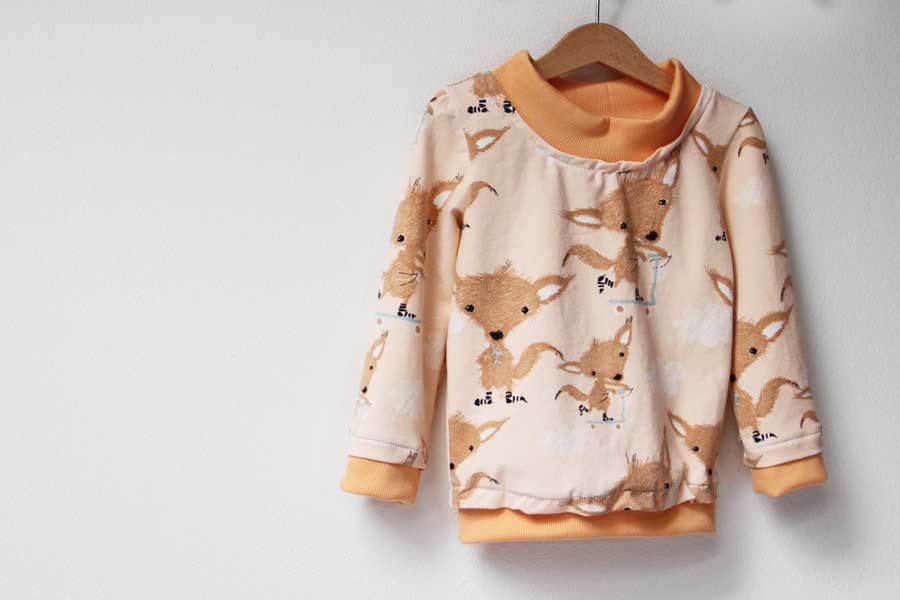
T-shirts are probably the most common garment sewn by hobby sewers. That's why I wrote this comprehensive article, which will tell you everything you need to know about sewing T-shirts. In addition to detailed instructions, you will also find many other tips and tricks here. The article also refers to various T-shirt patterns, for example - Kid’s T-shirt patterns, Women’s T-shirts, and Men’s T-shirts.
Fabrics for T-shirts
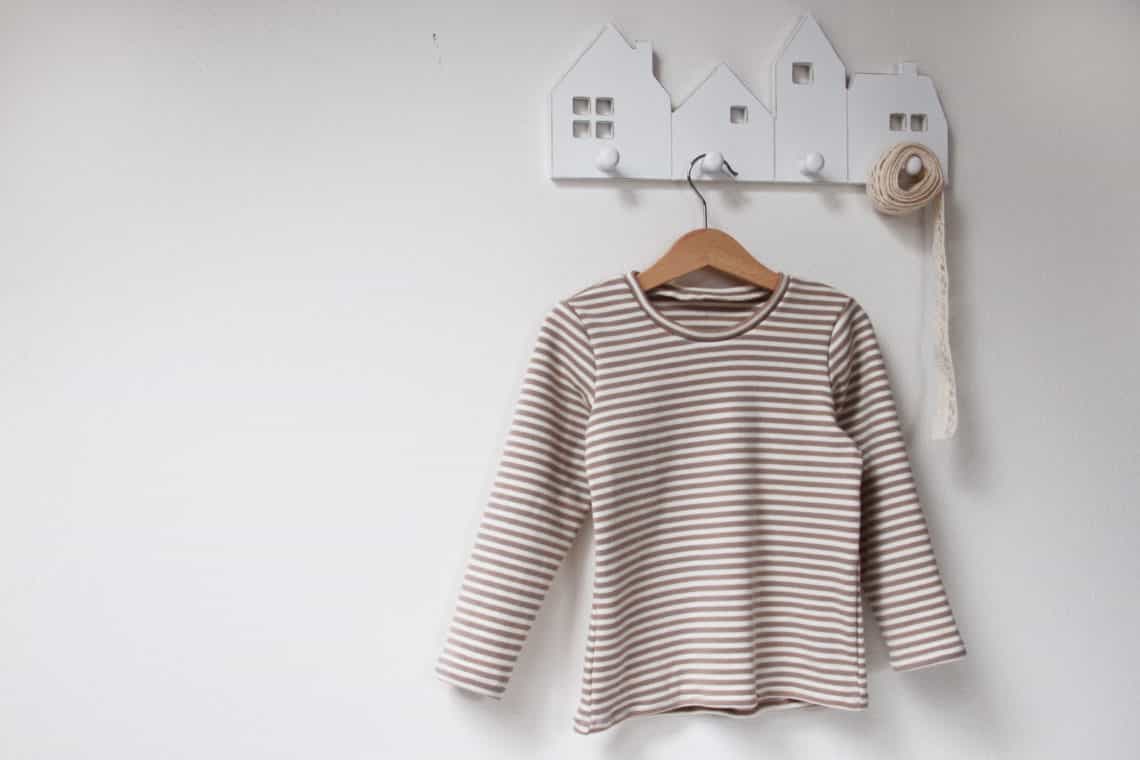
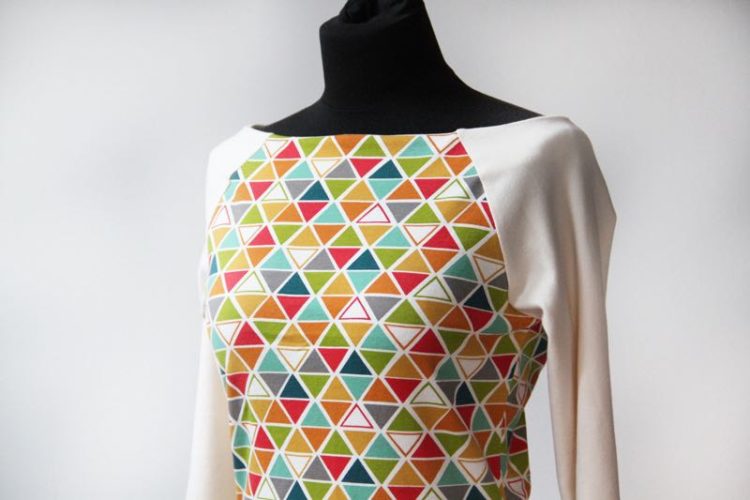
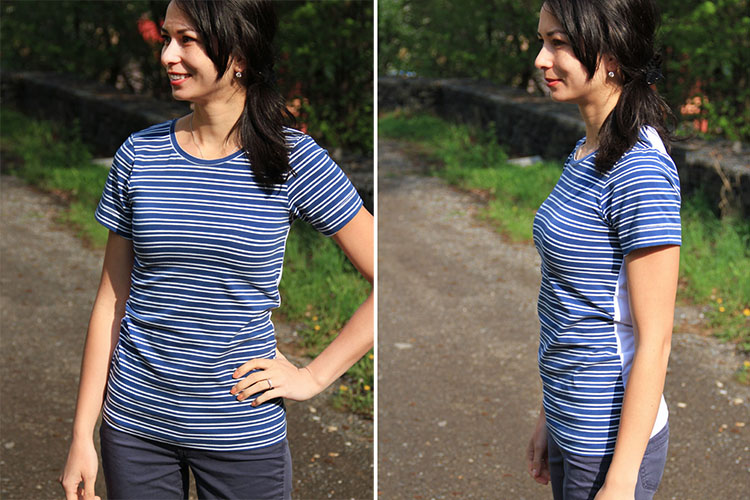
Knits are great for simple T-shirts – I recommend natural (cotton, viscose...) knits with elastane. Ordinary knits without elastane (cheaper Wendy knits, etc.) are more suitable for pajamas. These knits tend to stretch-out in areas that are exposed to higher levels of stress - elbows on T-shirts, knees on sweatpants. You can also get relatively expensive BIO cotton fabrics, for example from Birch fabrics (T-shirt with triangles) or the Czech company Moraviatex.cz (striped T-shirt). BIO knits are natural, so they can't contain synthetic elastic fibers - they are high-quality, eco-friendly materials (which is good), but the colors of these fabrics usually fade relatively quickly and they will stretch out over time…
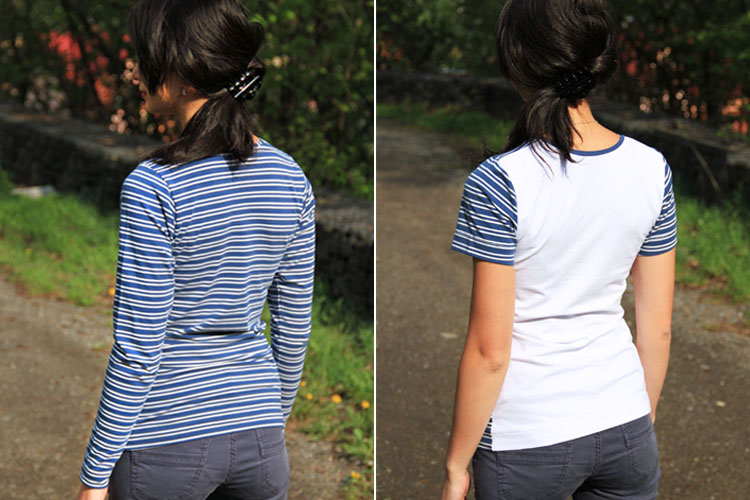
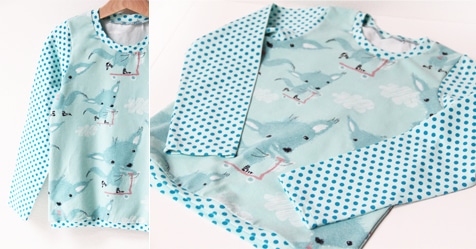
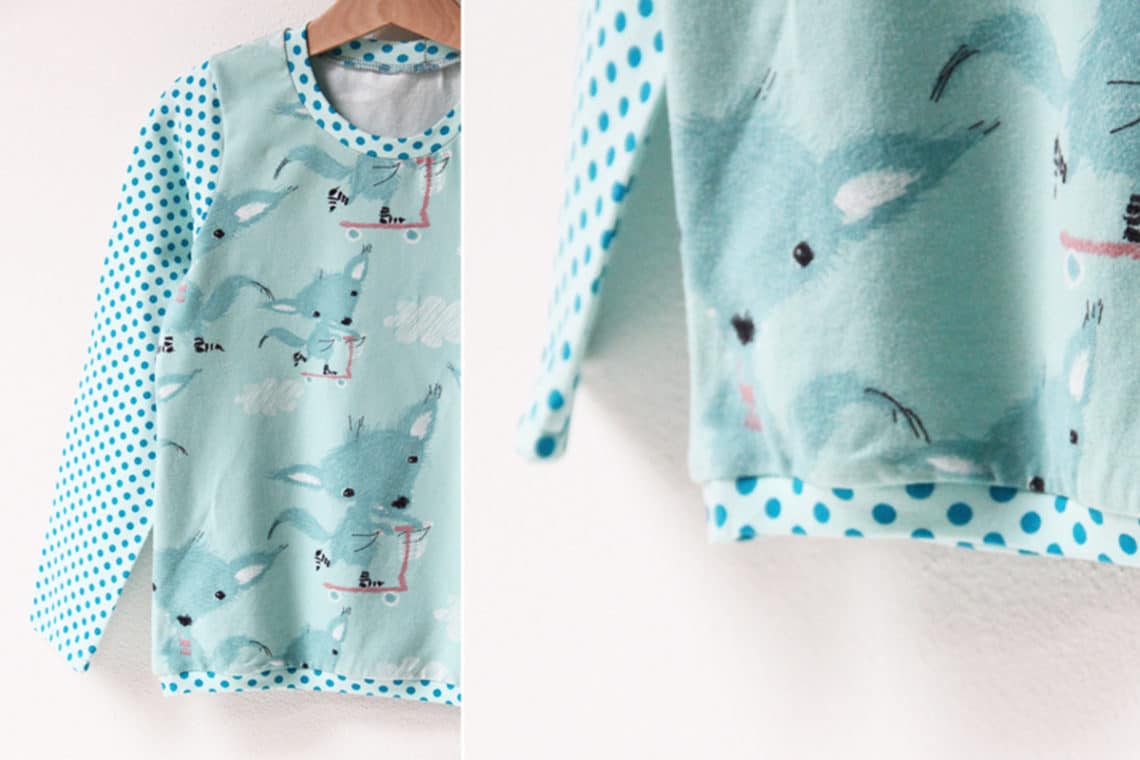
I solve these problems, for example, by sewing a torso of a T-shirt from BIO knit and then adding sleeves made of a knit that contains elastic fibers - the torso of the T-shirt is not very stressed and the sleeves made of fabric containing elastic fibers can handle it. See also: How to sew a T-shirt with raglan sleeves.
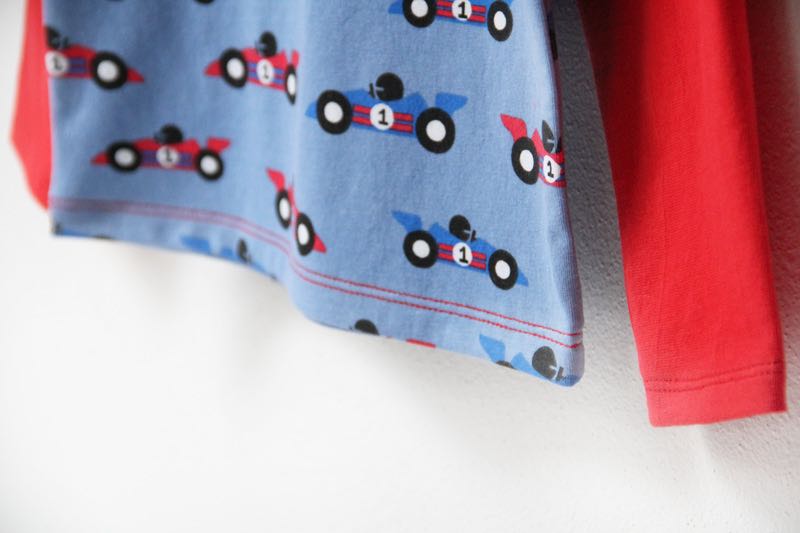
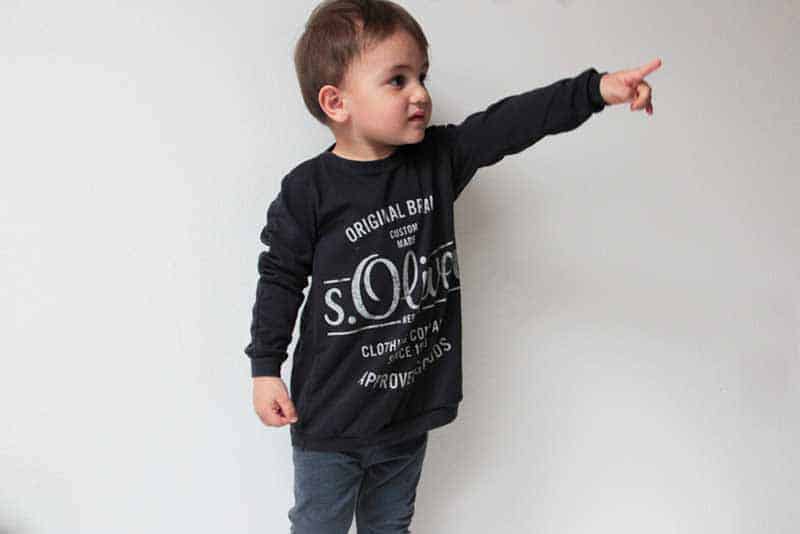
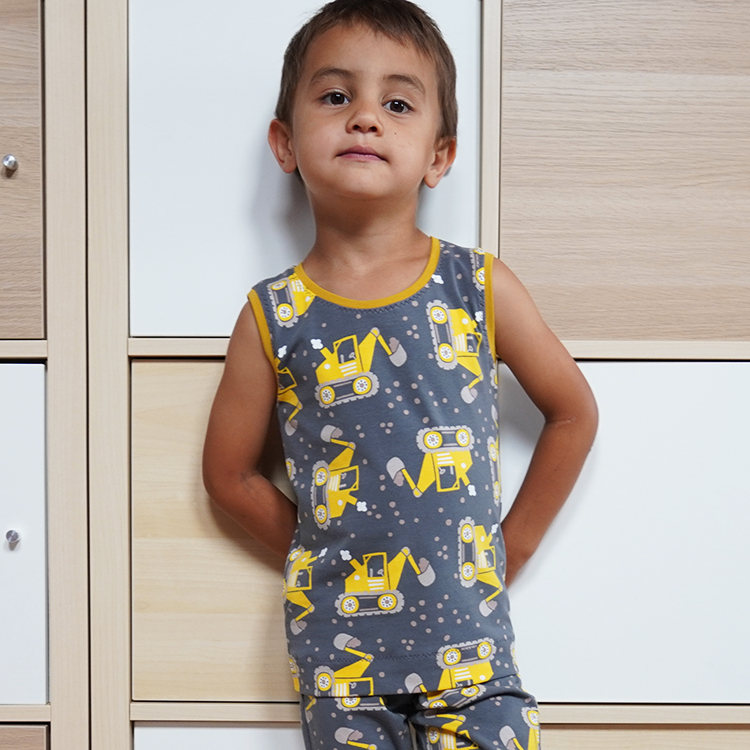
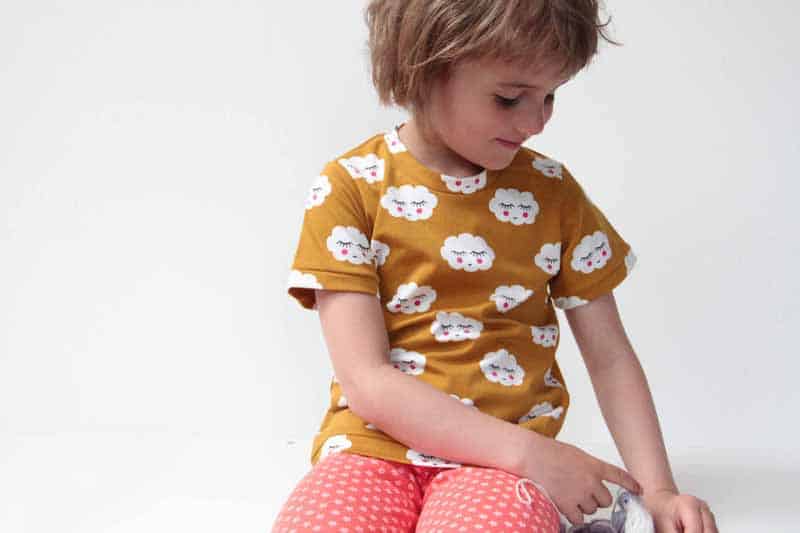
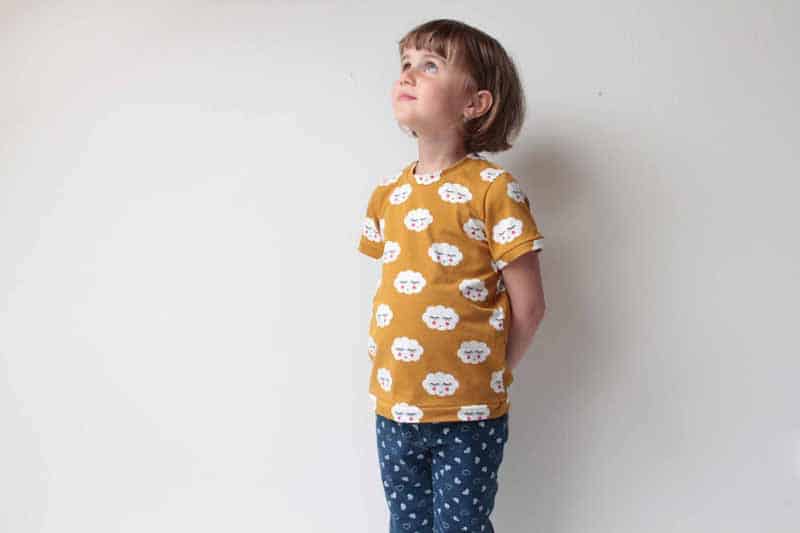
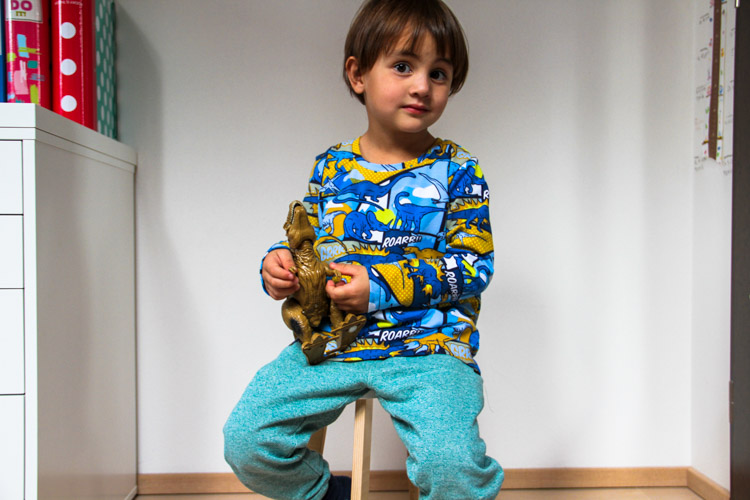
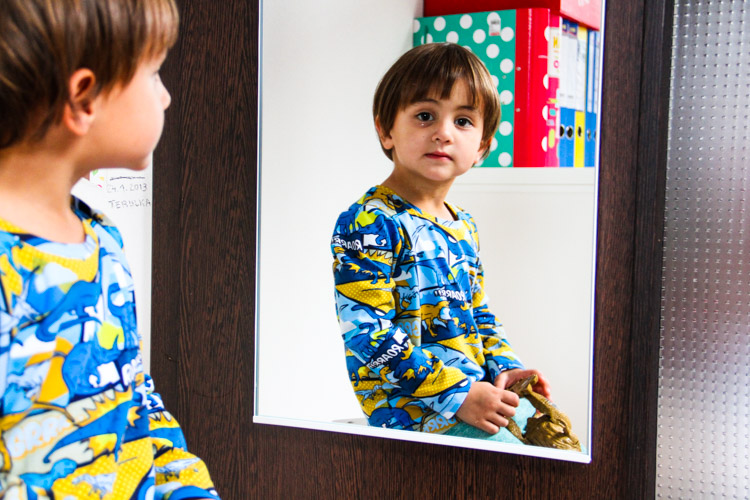
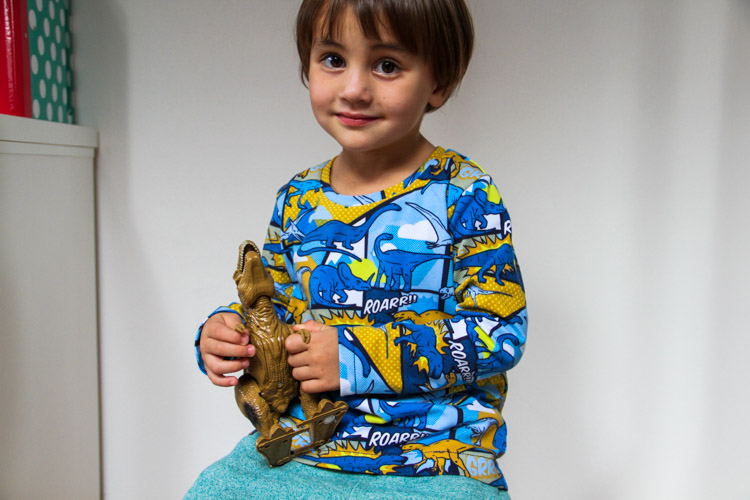
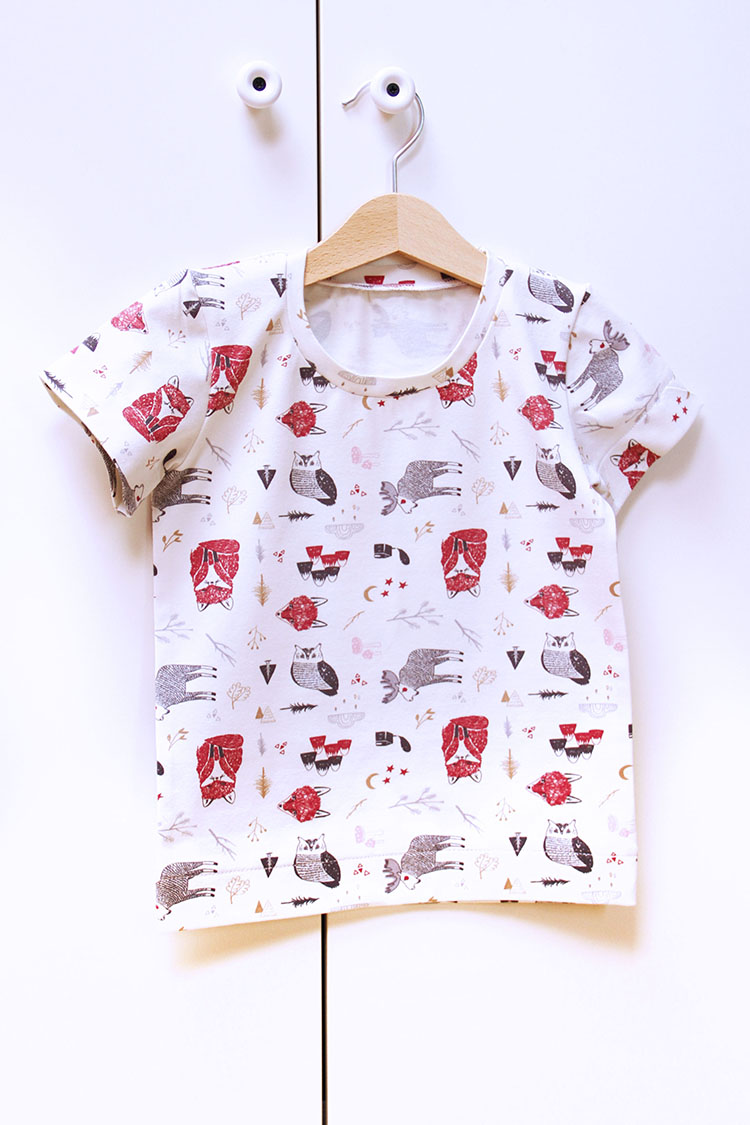
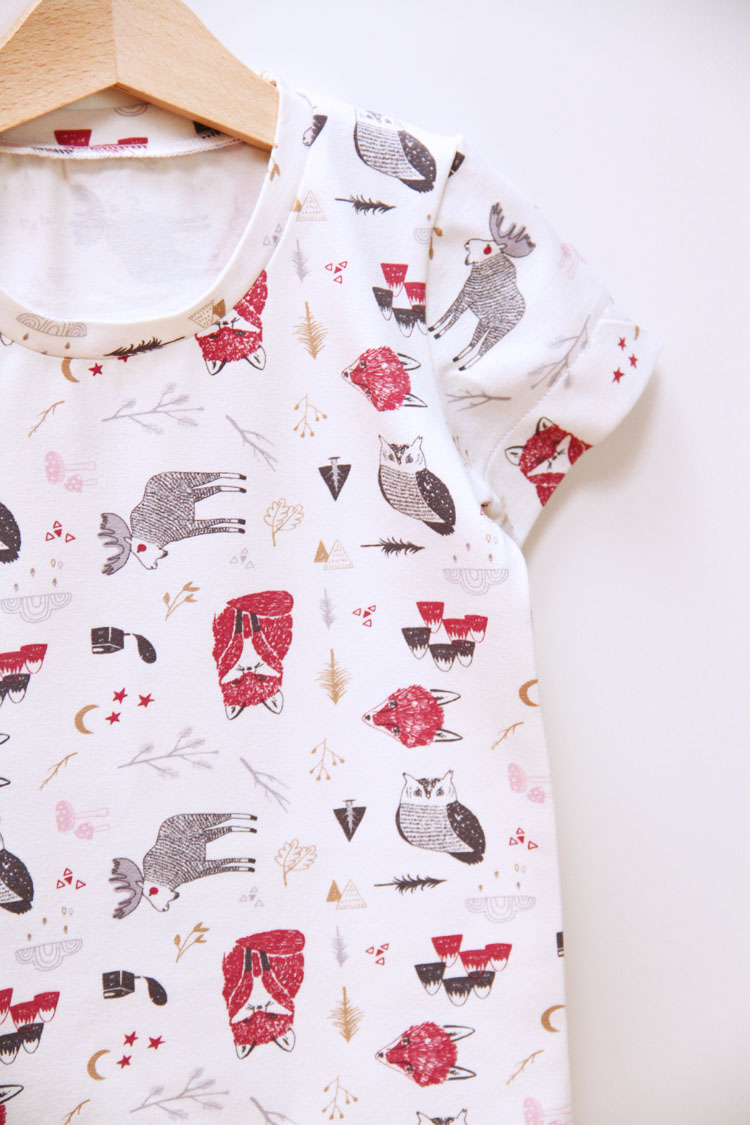
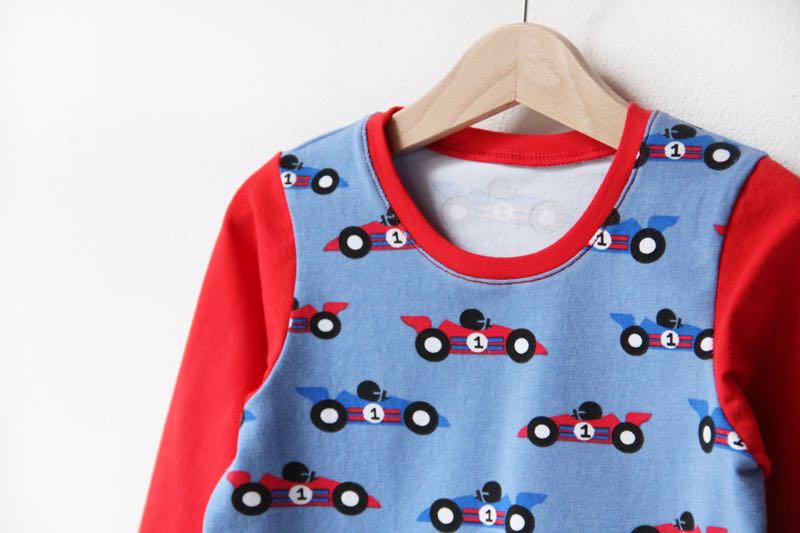
For this T-shirt, which I sewed for Tomík, I used classic cotton knit with elastane.
Selecting and preparing fabrics - What to look out for
When combining fabrics of different colors, you need to choose ones that will not bleed the dye. I always pre-shrink woven fabrics and wash knits before sewing. I soak my new colored knits in warm water and lightly massage them - this way I know if any of them will bleed the dye. Then I sort them (according to their colors) and put them in the washing machine. I will use the settings that I will use later when washing finished clothes. I only put a small amount of washing powder or gel in the washing machine (no fabric softener) and I usually wash knits at 40°C. I wash the fabrics like this for four main reasons:
- During their production, fabrics undergo countless chemical treatments - dyeing, color stabilization, impregnation... There are a lot of processes where they are exposed to various chemicals, and I don't want to work all day with fabrics full of god knows what. Washing removes some of those chemicals. On the other hand, it also removes impregnation and the edges of washed knits may twist a bit more, which is a bit of a disadvantage, but life is full of difficult decisions and one has to think about what is important to him at a given moment. :)
- Washing will also reveal which fabrics bleed the dye, and you will know, for example, that it’s not a good idea to combine them with light colors.
- Washing (pre-shrinking) also stabilizes the structure of fabrics - you won't have to worry that the finished T-shirt will shrink after the first wash.
- I only store "clean" washed materials in my sewing workshop, so I don't unnecessarily expose myself to dirt & chemicals. Moreover, if I decide to sew something, I can just pick up any fabric and start right away. I don't have to worry about washing, drying, ironing... Then, when I finish a product, it’s immediately ready for use. There are no "dirty" clothes stuffed with chemicals in our wardrobes.
You can read more about (not)washing fabrics before sewing here:
Should you wash fabrics before sewing?
It is clear that in large factories that sew clothes for huge retail chains, fabrics are not washed (with some exceptions). It is not possible to simply put the whole roll of fabric into the washing machine and washing individual pieces would increase costs quite a bit. That is why fast fashion clothes often deform, shrink, and bleed colors... You can find more about why T-shirts deform here: Why fast fashion clothes deform (<- scroll down a bit...)
Recycle - Sew a new T-shirt from an old one
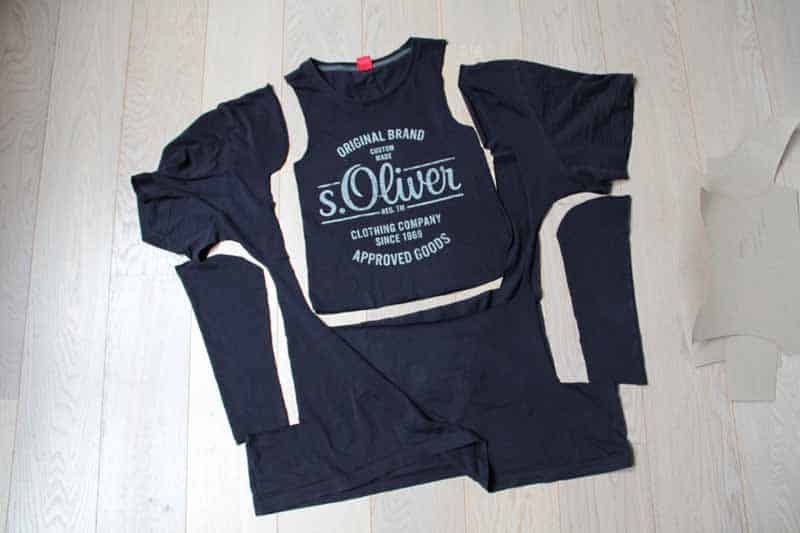
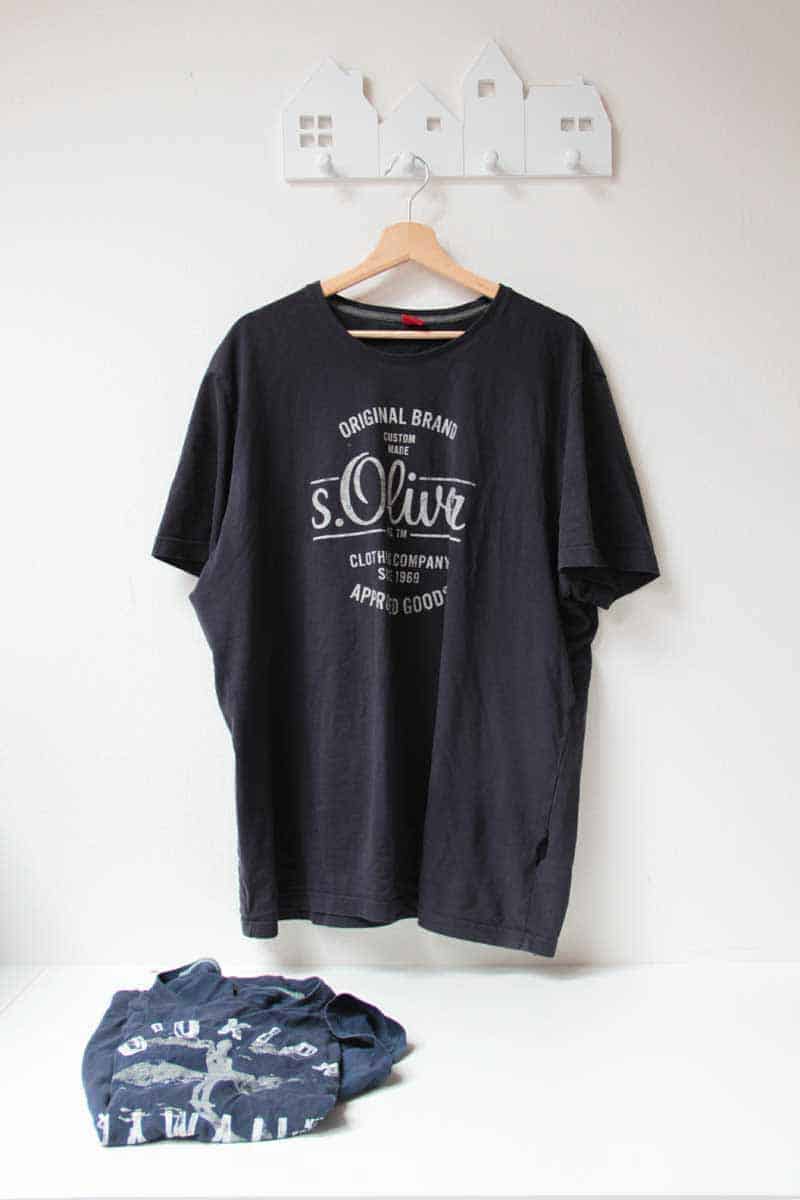
You can reuse materials from old clothes that you no longer wear. T-shirts or leggings sewn from men's T-shirts are a classic. Take a look at how I sewed a T-shirt made of a fabric that came from my husband's old T-shirt here:
T-shirt made of recycled fabric
The right T-shirt pattern
So if you have a suitable material prepared (washed & ironed) you can choose a pattern...
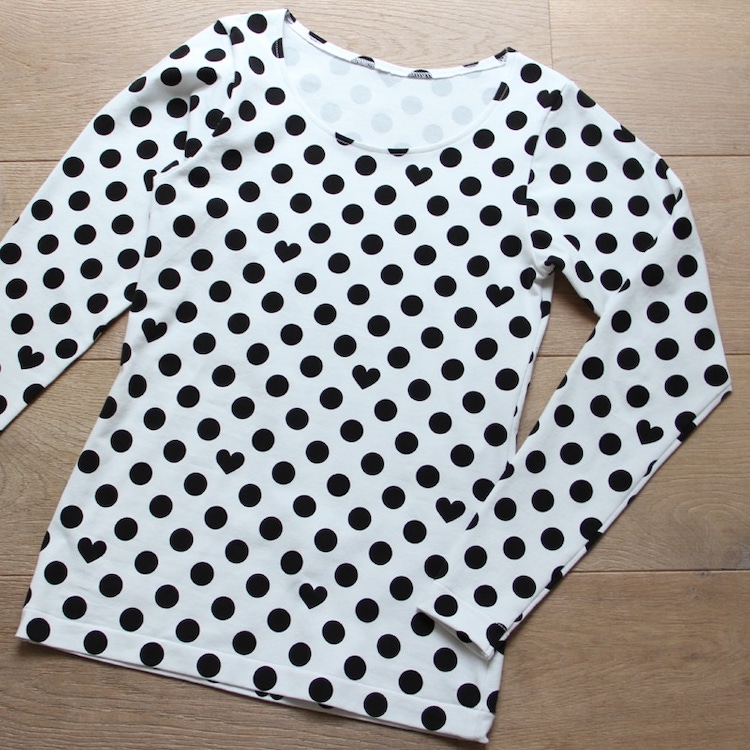
You can also try this free pattern for a women's T-shirt
How to cut the pattern pieces
The usual way to start is to fold the fabric in half - selvage to selvage, face side in. The front and back pieces of the T-shirt are then placed on the fold and the sleeve piece is positioned next to them. We call this way of positioning "on the warp". Next cut one front piece and one back piece (both “on the fold”) and two sleeve pieces. Every (good) pattern should contain info about the layout and the number of individual pieces needed.
You can learn how to transfer a pattern to the fabric in this article: How to transfer a pattern to the fabric.
Standard seam allowances are usually 1 cm wide and the seam allowances for the hems (bottom hem & sleeves) are usually 3 cm wide. After cutting all the pieces, you can start sewing.

How to sew a T-shirt - Overlocks & Regular sewing machines
An overlock machine is an ideal choice, but you can sew a T-shirt with a regular sewing machine too. There are a few simple rules to follow when sewing on a regular sewing machine. Reduce the tension of the bobbin thread (bottom thread) and the presser foot pressure, use an elastic stitch (narrow zig-zag stitch, three-step straight stitch, etc.). If you have a walking foot, use it. You should also use needles suitable for sewing elastic materials - jersey, stretch, ballpoint, etc. You can learn more about the types of needles in this article: How to choose the right sewing machine needle. You may also appreciate this popular article on sewing elastic fabrics:
Sewing elastic fabrics with a regular sewing machine - 4 steps to success
How to sew a T-shirt - Step-by-step sewing instructions
When sewing a classic T-shirt (without raglan sleeves) you can proceed in two ways. (There are, of course, many ways to sew a T-shirt, and each sewers will find her favorite over time.) The first step of both basic ways is to sew the shoulder seams.
Pattern layout
Prepare:
- 1x back piece (cut on the fold)
- 1x front piece (cut on the fold)
- 2x sleeve piece
- Knit strip (about 50 cm long and 4 cm wide)
If you want to use a striped fabric (or any other that requires pattern/print matching), you should cut the pieces without folding the fabric so that you can see the whole print and control the position of individual pieces precisely. (You can find a video tutorial about positioning the pattern on a striped fabric here.)
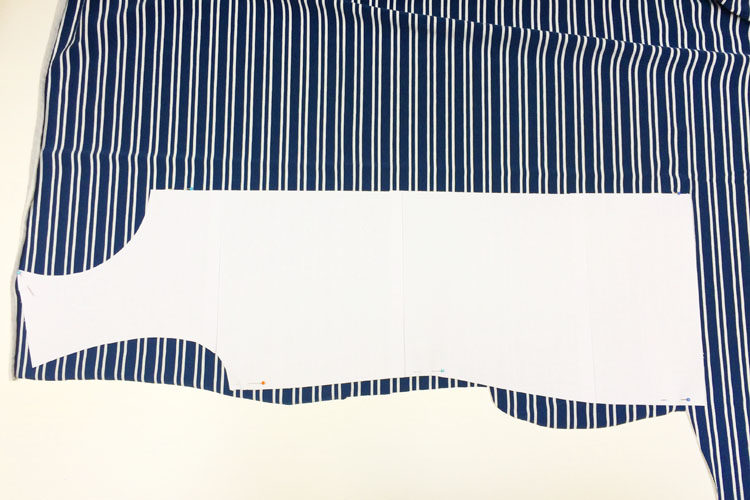
Don't forget the knit strip - future neckline hem. It should be about 50 cm long, 4 cm wide, and stretchy along the length. Fold the knit strip in half (lengthwise, face side out) and iron it thoroughly.
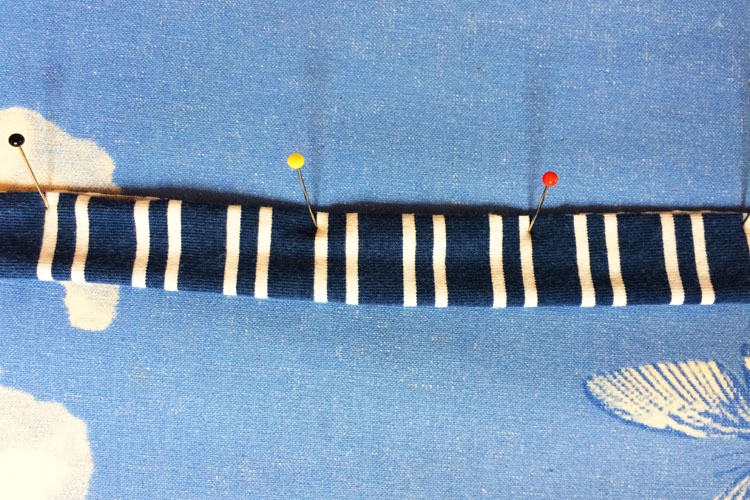
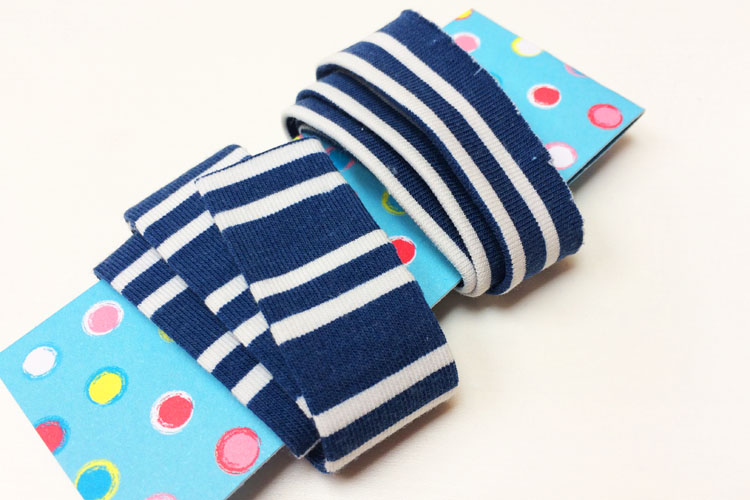
You can find out how to tame twisted edges in this video:
Loosely wind your knit strip on a piece of cardboard, you don’t want to stretch it out.
Sewing method No.1
“Blouse method” (side seam -> sleeve seam -> armscye)
Hobby sewers use this method most often (and it’s also my favorite) so I will describe it first.
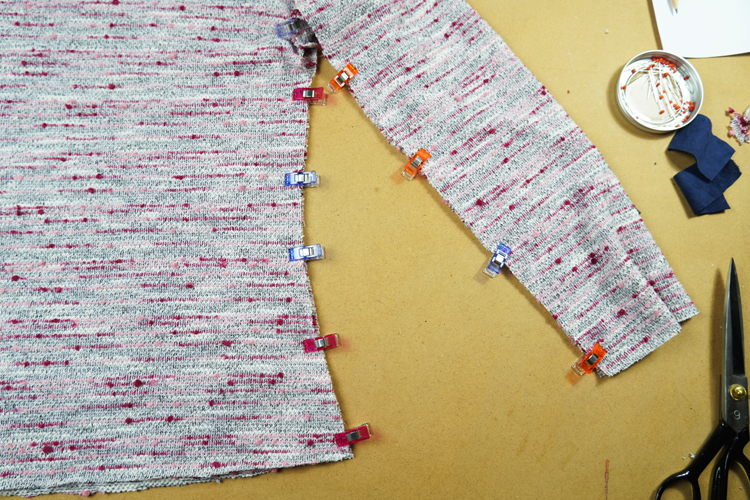
Put the front piece on the back piece (face side to face side) and sew shoulder seams and side seams.

Next, clean the bottom edge of the sleeve.
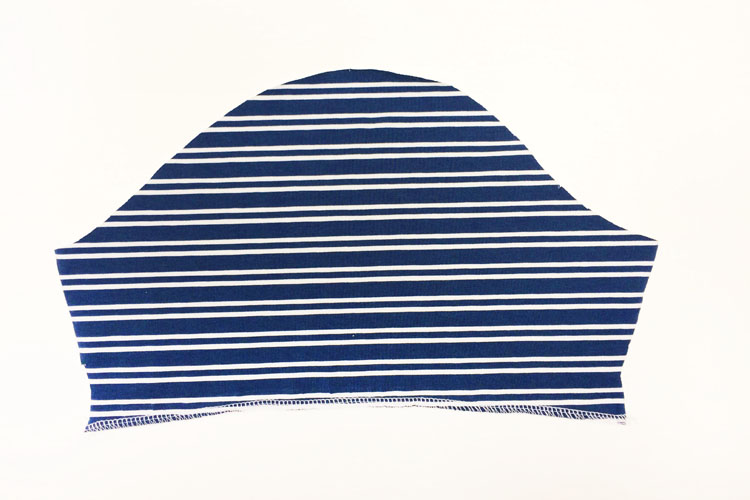
Fold the sleeve piece (face side in) and sew the sleeve seam.
Now turn the sleeve face side out and fold (“roll”) its bottom edge to the reverse side. It’s common to fold the last 3 centimeters, but it depends on the width of the seam allowance.
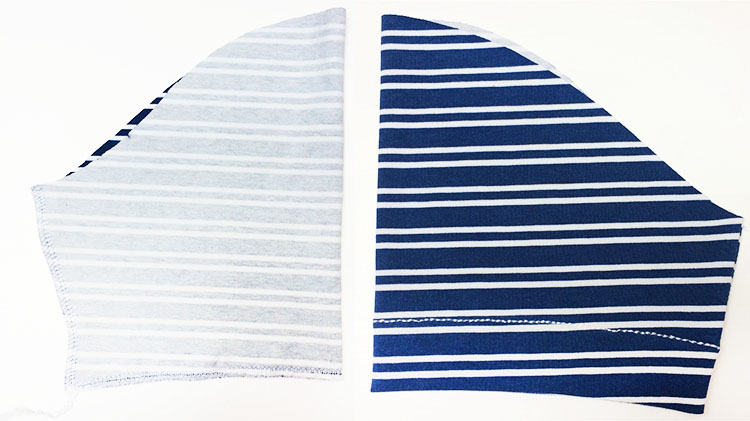
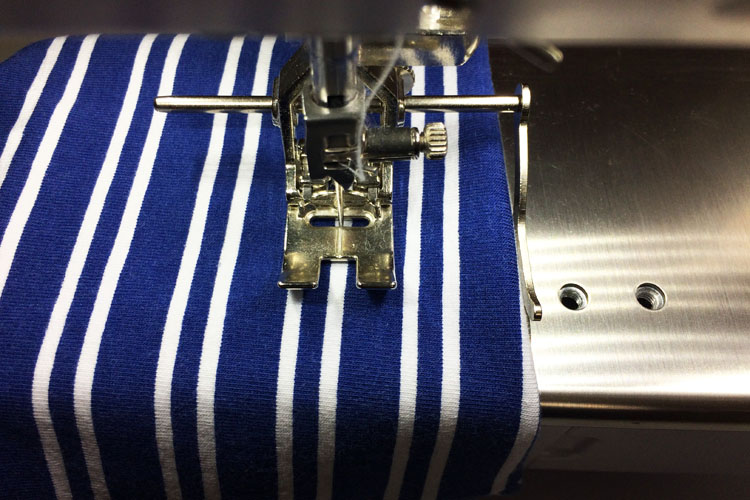
Topstitch the hem. You can use a twin needle or an elastic stitch - three-step zig-zag, for example.
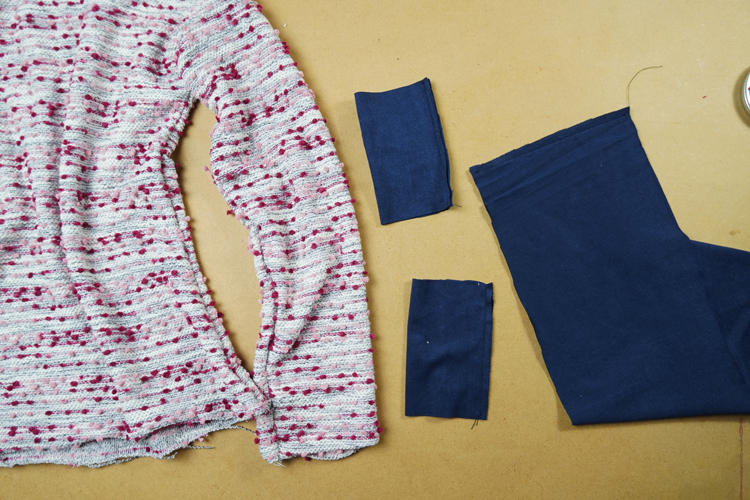
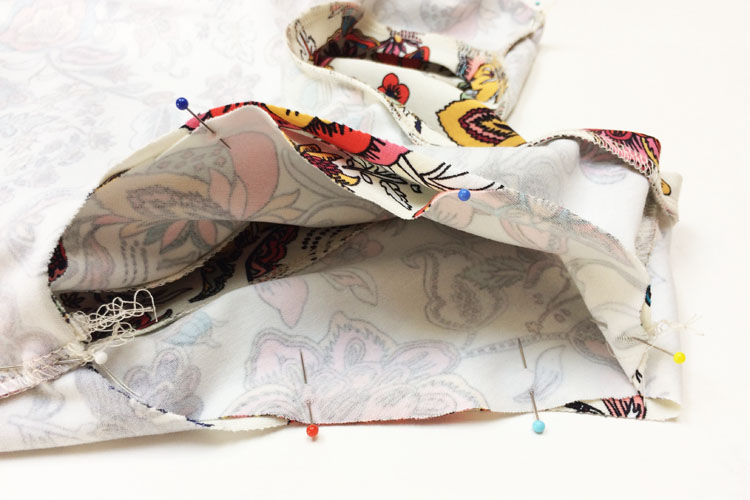
Pin the sleeves into the armscyes - first align the side seam with the sleeve seam, then pin the top of the sleeve head to the shoulder seam and then the rest of the sleeve head. Sew the sleeve to the torso. Pull free ends of the thread chain under the loops when using an overlock. When sewing, be careful not to accidentally sew the left sleeve into the right armhole and vice versa. The marks on the pattern pieces will help you attach the sleeves correctly. (I borrowed the following photo from my article about sewing simple dress BASIC.)
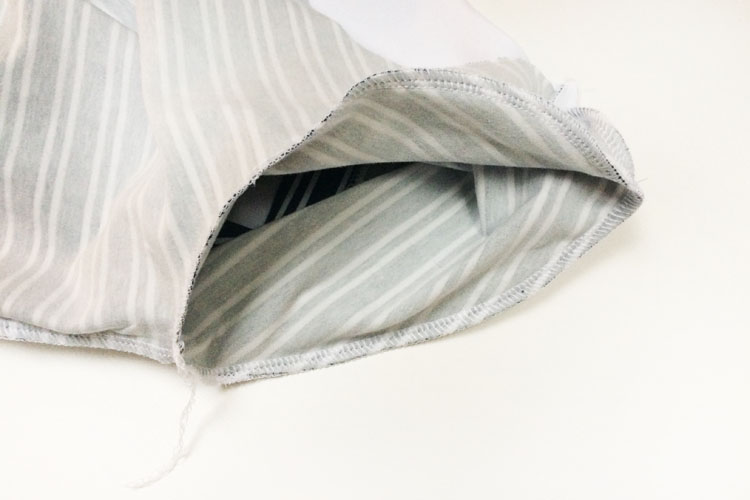
Now clean the bottom edge of the T-shirt, fold it to the reverse side and topstitch it with an elastic stitch.
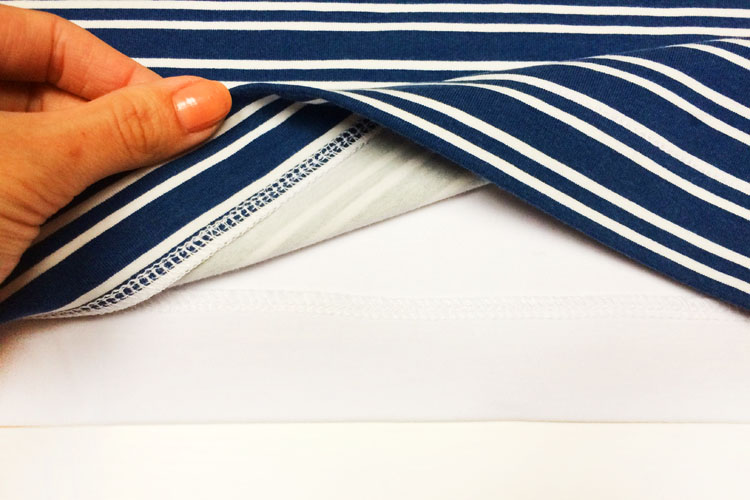
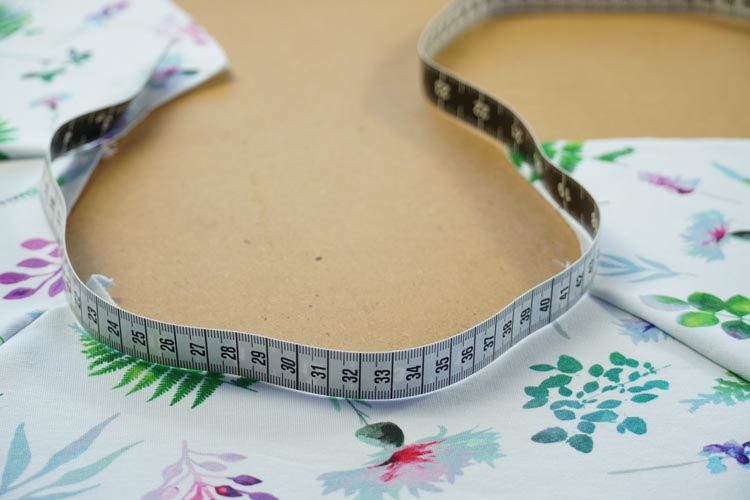
Finally, sew the neckline hem. Measure the circumference of the neckline (with a tailor's tape laid on its side) and multiply it by about 0.85 (depends on the elasticity of your material) to find out the correct length of the strip. You can hem the neckline with a home-made knit strip or a ready-made hem knit.
- If you plan to use hem knit (usually very elastic), I recommend multiplying the neckline circumference by 0.75.
- Multiply by 0.85 when using knit strip (less elastic).
- But it always depends on the specific material and the size and shape of the neckline…
The photo below comes from another article, but it demonstrates the correct way of measuring the neckline circumference. It should be done with a tailor's tape laid on its edge…
You can also finish the neckline by topstitching a cleaned and folded edge. This method is not suitable for all fabrics or all neckline shapes, but it often works.
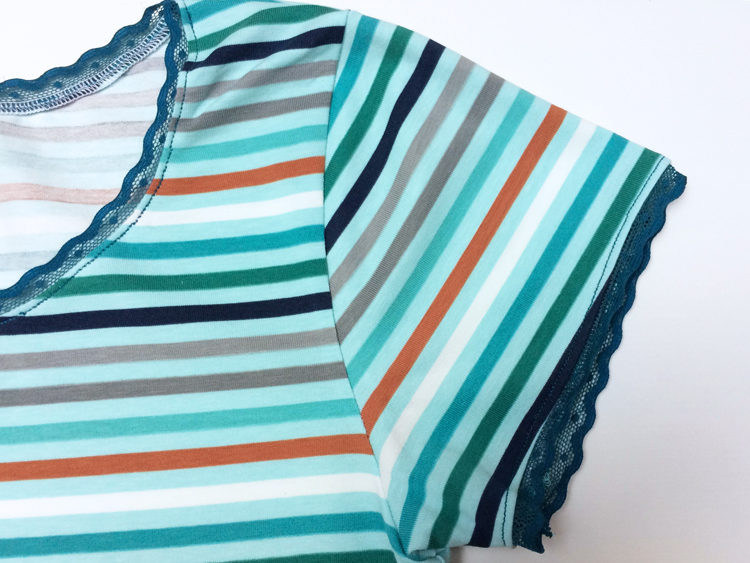
Another possible way is to use a lace:
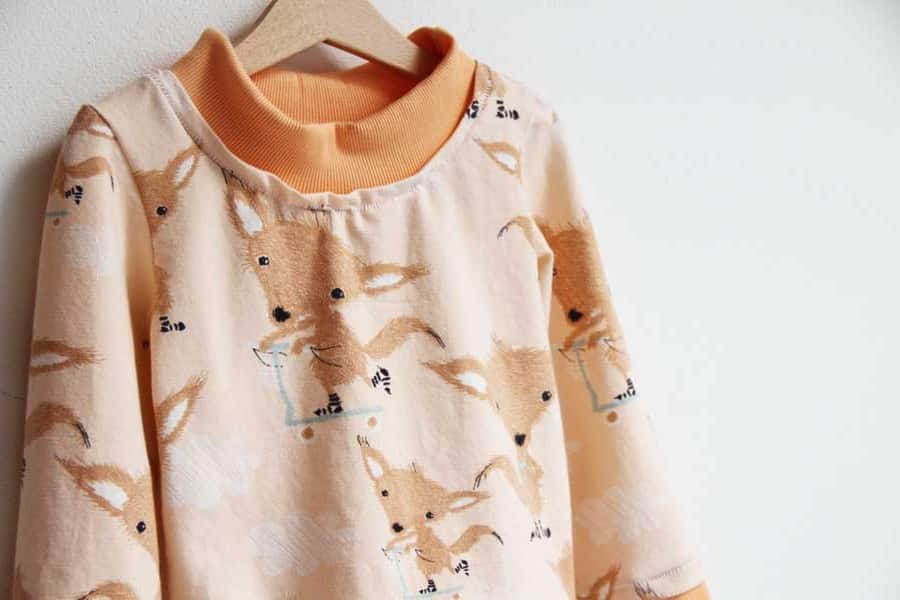
Then there is also a stand-up collar...
Simply cut a wide knit strip or hem knit (width is 2x the planned height of the collar + 2 cm for seam allowances) and sew it to the neckline as you would sew a knit strip. This will create a simple stand-up collar...
You watch one of the possible ways to sew a T-shirt in this video:
Sewing method No.2
“Shirt method” (armscye -> side seam & sleeve seam)
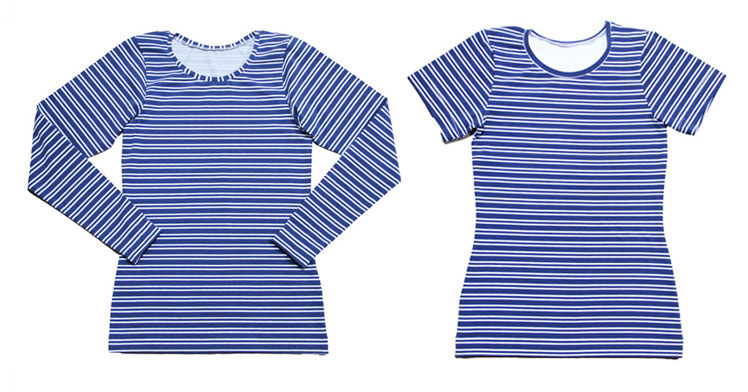
I use this method less often when sewing T-shirts, it is more suitable for sweatshirts and other tops.
- When you have sewn the shoulder seams, pin the sleeve into the armhole (face side to face side). Start by aligning (and pinning) one of the sleeve seam corners with the corner of the side seam. Then pin the top of the sleeve head to the shoulder seam and then the second set of corners.
- Sew the sleeve to the torso.
- Then pin the sleeve seam & side seam and sew them in one go.
- The rest of the procedure is the same as before - clean the neckline, bottom hem, and sleeve hems…
Sewing method No.3
"Industrial method" (most efficient and fastest)
You can also sew the T-shirt very easily and quickly using an “industrial method”. I described the whole process in this article:
How to sew a T-shirt – Industrial method
Sewing T-shirts - Have some fun!
If you can easily sew a classic T-shirt, you can try to sew an original T-shirt based on the basic pattern. This funky method is useful, for example, if you want to use some small scraps and pieces of more expensive materials that you just don’t want to throw away. In this way, I used the rest of a premium functional knit, which is just a little more expensive… You can read more about this method here:
How to sew an original T-shirt

Sewing a sports T-shirt is similar to sewing a basic T-shirt. There is just one extra step - connect the bottom piece & yoke before sewing the shoulder seams.
You can get the pattern for a women's sports T-shirt in my online store: Pattern for women’s sports T-shirt YOGA.
The pattern for tulip sleeves
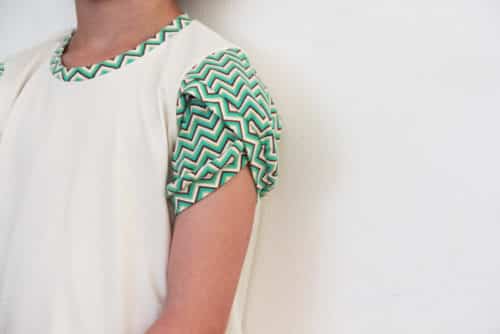
You can easily get a "new" piece by simply changing the sleeves. The free pattern for the children's tulip sleeve (which is compatible with my patterns for kids) and instructions for sewing the tulip sleeve can be found here:
You can find various T-shirt patterns in my store:
You can also check out my other articles on sewing T-shirts: T-shirts - Sewing instructions.
Have a nice day, Petra


